
Stock Materials
The first step in creating the wooden elephant baby rattle was selecting the stock material. I chose oak wood for this project due to its availability as a durable hardwood, which could be conveniently purchased from Home Depot. For the elephant’s body, I acquired a ½ inch × 7 ½ inch × 3 foot oak board. This board was cut into four 8-inch sections using a miter saw. I then lightly sanded the surfaces of two of these sections and bonded them together with wood glue, creating a single 1-inch-thick board for added strength. For the rattle component, I purchased a 1 ½ inch × 1 ½ inch × 30-inch oak board. Using the miter saw, I cut a 1 ½ inch section from this board to form a cube, which will spin around a ⅜ inch oak dowel that will be trimmed to the appropriate length.
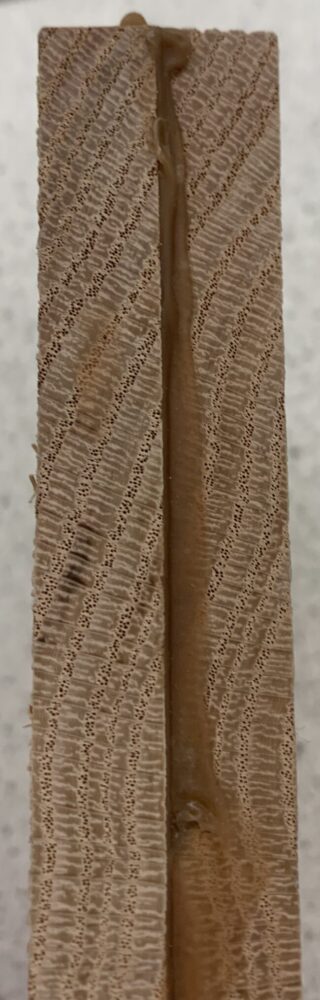
Figure 1. The two 1/2 in boards that were laminated together to create the body of the elephant.
Setup
Rather than attempting to freehand the elephant shape onto the wood, I decided to create a precise stencil. I began by selecting a reference image of the elephant from a side profile view, sourced from the Etsy shop Olson House Woodwork. This image was imported into AutoDesk Fusion 360 as a canvas, where I calibrated its size to be 7 inches in width. Using this scaled image as a guide, I created a sketch by tracing the outline with spline, arc, and circle tools. Once completed, the sketch was exported as a DXF file for use with a laser cutter.
To begin prototyping, I used the laser cutter to create a stencil from cardboard, a cost-effective option for initial testing. After confirming that the shape and size were accurate, I produced a second, more durable stencil from acrylic, which provided greater rigidity and smoother lines. I then used this acrylic stencil to transfer the elephant shape and feature locations onto the 1-inch-thick oak board I had prepared.
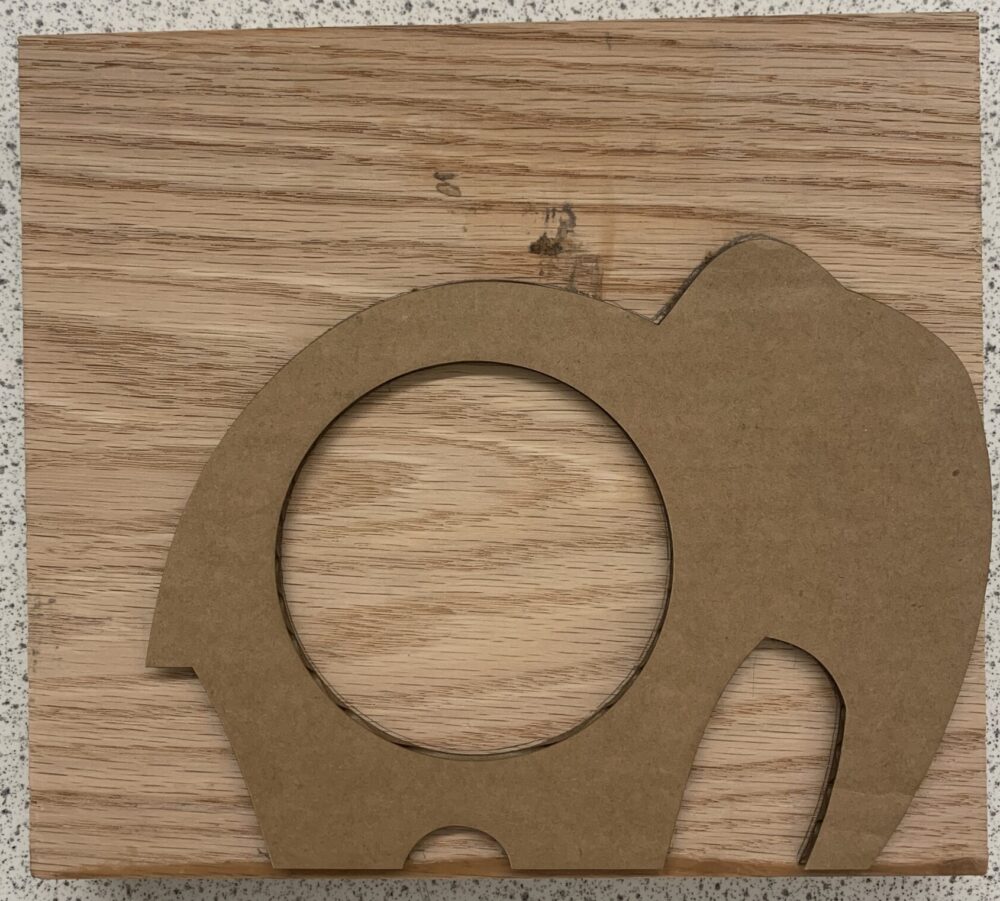
Figure 2. The stencil on the stock material after being traced.
Rough the Shape
With the shape transferred onto the stock material, the next step was to begin removing material and roughing out the form. I started by creating the central hole in the elephant while the board was still square and flat, which made it easier to secure and minimized the risk of cracking or breaking. Using a 3 ½ inch hole saw mounted on a drill press, I carefully drilled the central opening.
Next, I focused on the semicircular cutout between the elephant’s feet. This was achieved by drilling a series of progressively larger holes until the resulting curve closely matched the intended arc. Unfortunately, this approach led to minor tear-out along the seam where the two laminated boards joined. In hindsight, using smaller, incremental drill bit sizes could have minimized this tear-out. This issue was primarily a result of my impatience during the drilling process.
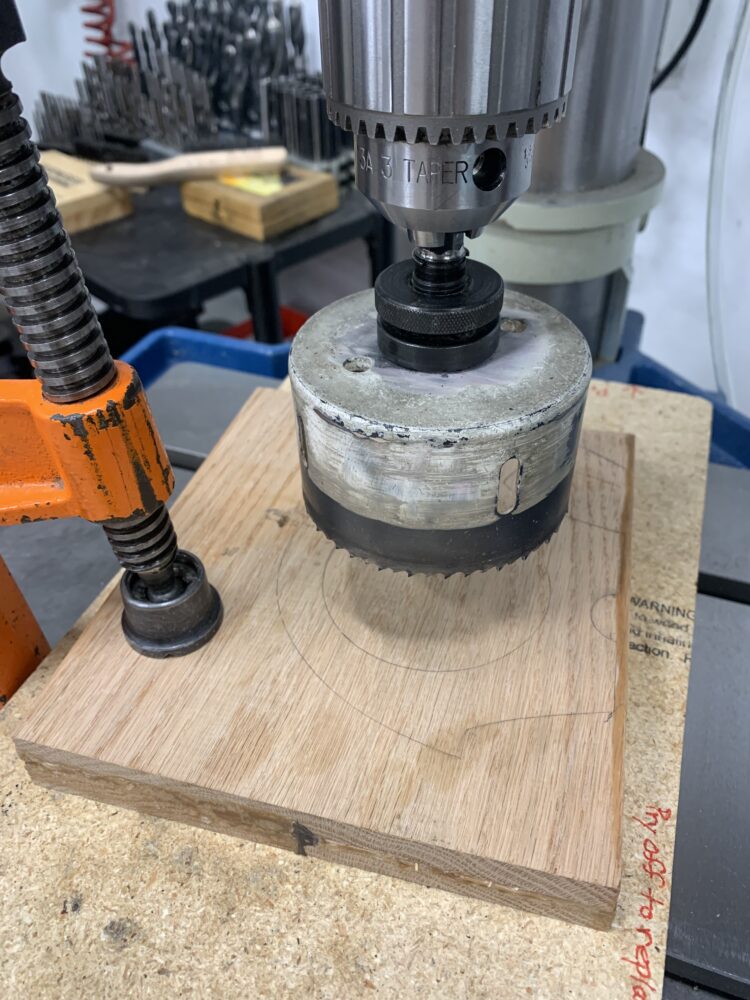
Figure 3. The 3 1/2 in hole saw used to cut the hole in the body of the elephant
With the basic material removal complete, I moved on to refining the shape of the elephant using a bandsaw. The bandsaw is well-suited for cutting along gentle curves but can struggle with tight radii. To maximize control, I began with the easiest cuts, straight lines and broad curves, before tackling the more intricate sections.
For the tighter curves and hard-to-reach areas, I made a series of relief cuts, which allowed me to carefully approach the final outline without straining the blade. Evidence of these relief cuts can be seen along the underside of the trunk, but this is not a concern, as any rough edges will be removed during the sanding stage. At this point, the focus was on bringing the shape close enough to its final form for precise finishing.

Figure 4. The elephant body after being cut out using the bandsaw
Using a drill press, I drilled a hole straight through one side of the elephant, extending across the open gap and approximately ¼ inch into the far side of the central hole. This hole creates a secure notch for the dowel, which will support the rotating block. It also provides a large contact area for adhesive, ensuring that the dowel remains securely in place. Since the dowel has a diameter of ⅜ inch, I used a ⅜ inch drill bit to achieve a press fit.

Figure 5. Drilling the hole for the dowel into the elephant using the drill press
Rounding the Edges and Smoothing the Kinks
I began the sanding process with a belt sander to refine the curve along the elephant’s spine, ensuring it was smooth and uniform. This was necessary because the initial cuts on the bandsaw required multiple passes, which left minor inconsistencies. Following this, I used a spindle sander with the smallest available spindle. This tool was particularly effective for rounding out the area beneath the trunk and for removing any excess material left over from the bandsaw, as shown in figure 4.
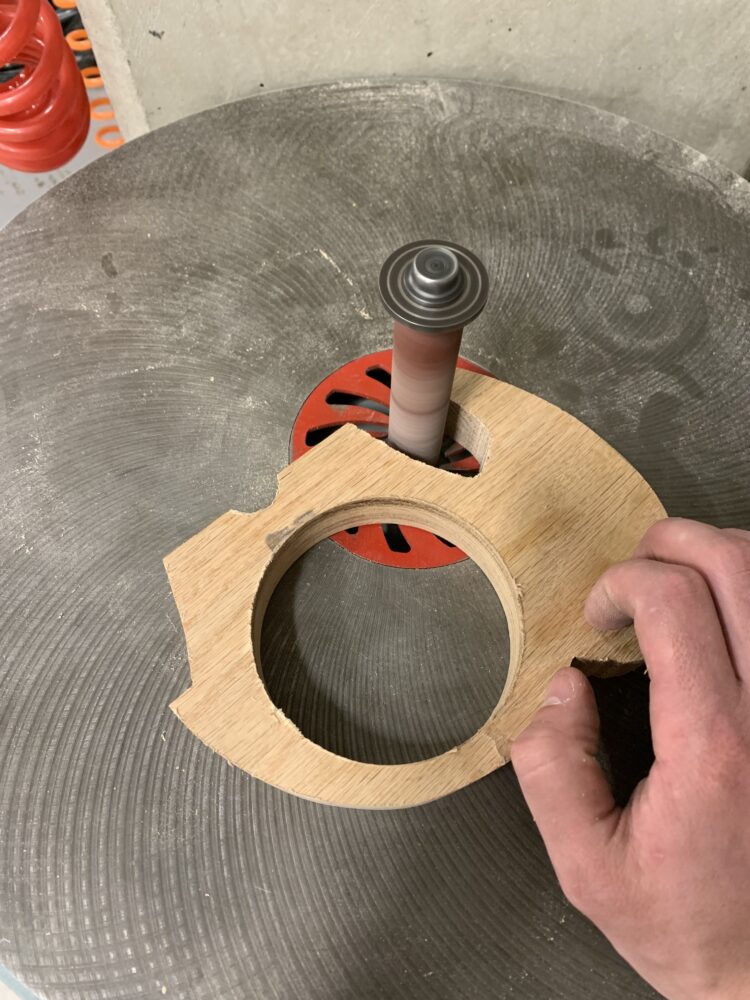
Figure 6. A spindle sander being used to smooth the surface of the wood.
Since this is a baby toy, it was crucial to eliminate any sharp corners for both safety and aesthetic reasons. To create rounded edges, I began by using a Dremel with a sanding drum to add a ⅛ inch chamfer along all edges of the elephant. Following this, I cut a sanding belt into long strips and used these strips to sand over the chamfers. This method gradually transformed the chamfered edges into the smooth, rounded corners seen on the finished product.
Once the rounded edges were fully shaped using 80-grit sanding strips, I continued refining the surface. I sanded all faces of the elephant with flat sheets of sandpaper, progressing through increasingly fine grits starting with 100, then moving to 220, followed by 320, and finally 400 grit. This careful, step-by-step process ensured a smooth, high-quality finish suitable for a baby toy.
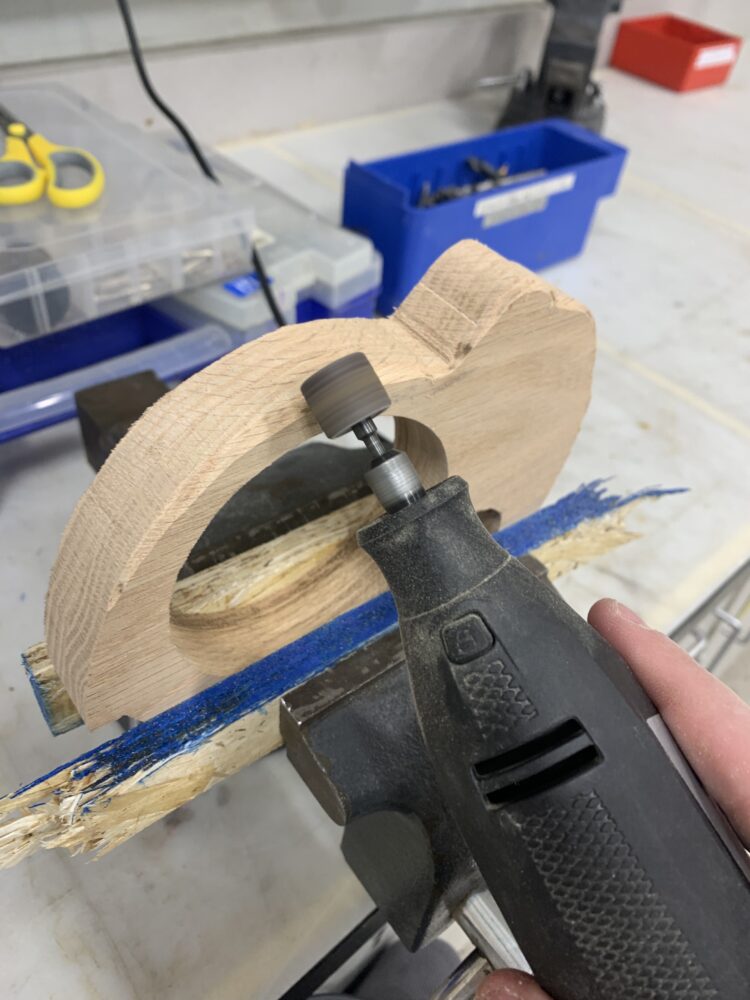
Figure 7. Using a Dremel with a sanding drum to create a chamfer on the elephant.
At this stage, the main body of the elephant was complete, leaving only the rattle component to be finished. I began by refining the 1½-inch cube I had previously cut, using a belt sander to round all edges and corners. I then used the same progressive sanding technique applied to the main body—starting with coarse grit and gradually moving to finer grits (100, 220, 320, and 400)—to achieve a consistent, smooth finish on the cube.
Next, I assembled the rattle mechanism. The ⅜-inch dowel was inserted halfway into the drilled hole on one side of the elephant, and the sanded cube was positioned on the dowel. Wood glue was applied to both the dowel and the hole, and the dowel was pressed securely into place. Any excess glue was carefully wiped away with a paper towel, and the assembly was left to cure.
Once the glue had fully dried, I performed additional sanding on the dowel’s end to ensure it was flush with the surrounding wood and free of any residual glue. Finally, I drilled a small hole for the elephant’s eye by hand, taking care to round the edges of the hole for a smooth, finished appearance.
Finishing
Sealing wood is essential for protecting it from moisture, fungal growth, and rot, while also allowing the natural beauty of the grain to shine through. However, many wood finishes and stains are toxic and unsuitable for use on baby toys, especially those that might be placed in a child’s mouth. To minimize any potential risks, I focused on using a food-safe finish. I chose Howard’s Cutting Board Oil, a product that is frequently recommended in woodworking forums and is known for its use on items like wooden spoons and bowls. This oil is widely available and provided the ideal solution for finishing the toy safely.

Figure 8. The brand of cutting board oil that was used to seal the toy
According to the instructions on the bottle of cutting board oil, the product recommends soaking wooden bowls and utensils for at least 20 minutes. To apply this method, I filled a plastic Tupperware container with oil and allowed the elephant to “bathe” in it. Since the elephant could not be fully submerged in the container, I opted to leave it in the oil for a longer period. Every 20 minutes, I rotated the elephant, ensuring that each side received full coverage. I repeated this process, bathing each side for about 20 minutes, a total of four times on each side, while I attended to other tasks. After several rounds, the wood had fully absorbed the oil and was no longer taking in more.
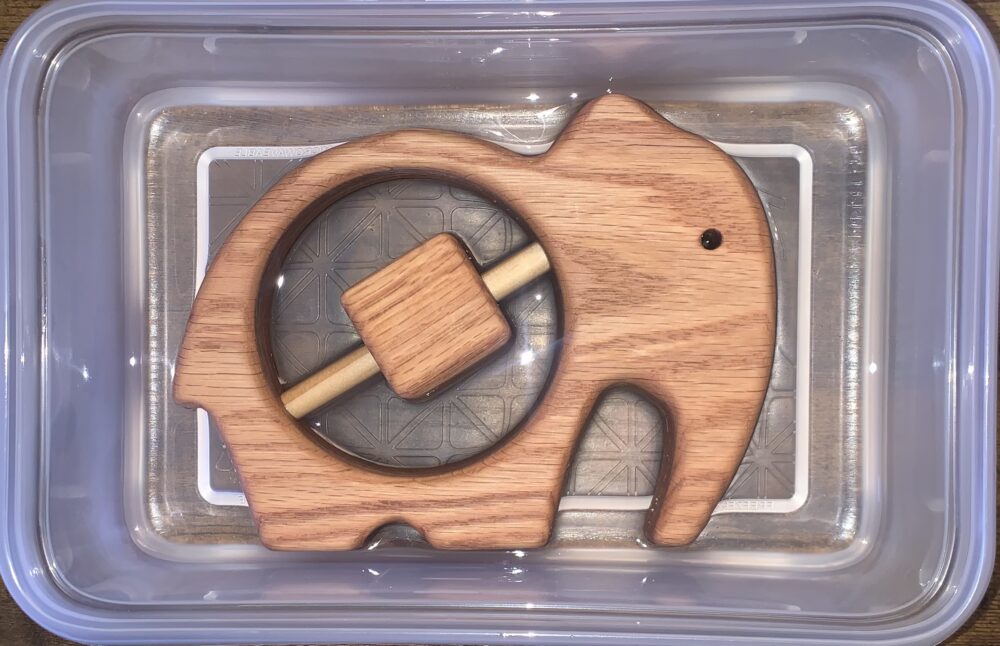
Figure 9. The elephant toy sitting in a bath of cutting board oil.
Once the elephant had finished its oil bath, it was carefully laid out on a towel to dry. During the drying process, I flipped the elephant every 30 minutes to ensure that the wood dried evenly on all sides. This helped prevent any uneven drying or potential warping.
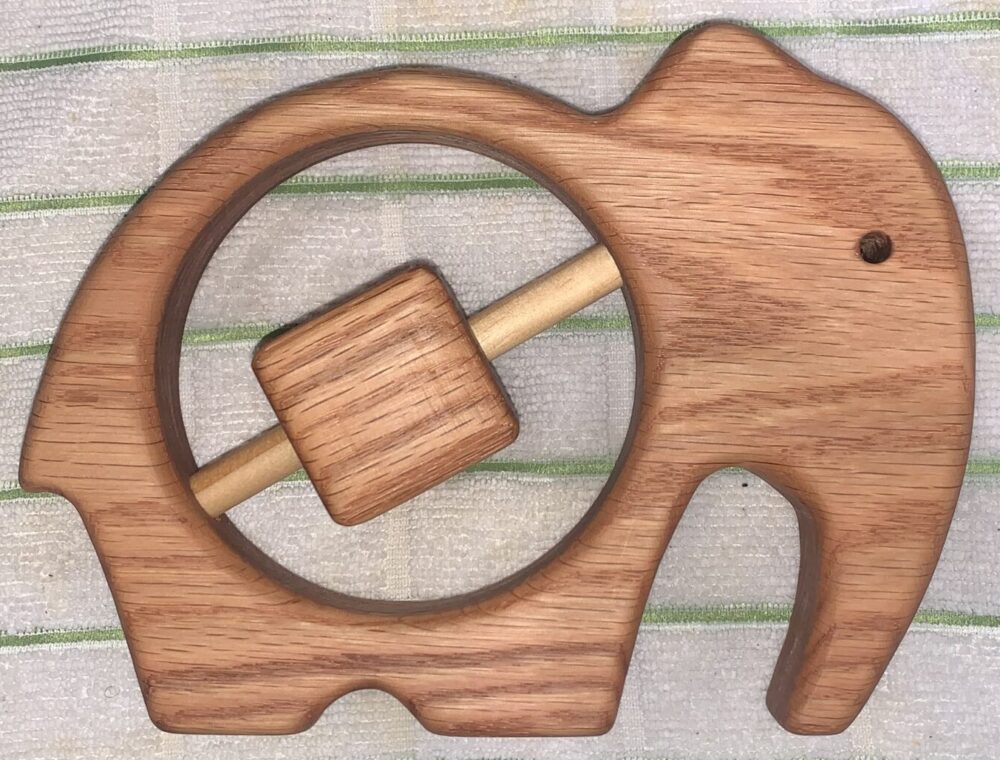
Figure 10. The elephant laying on a towel to dry.
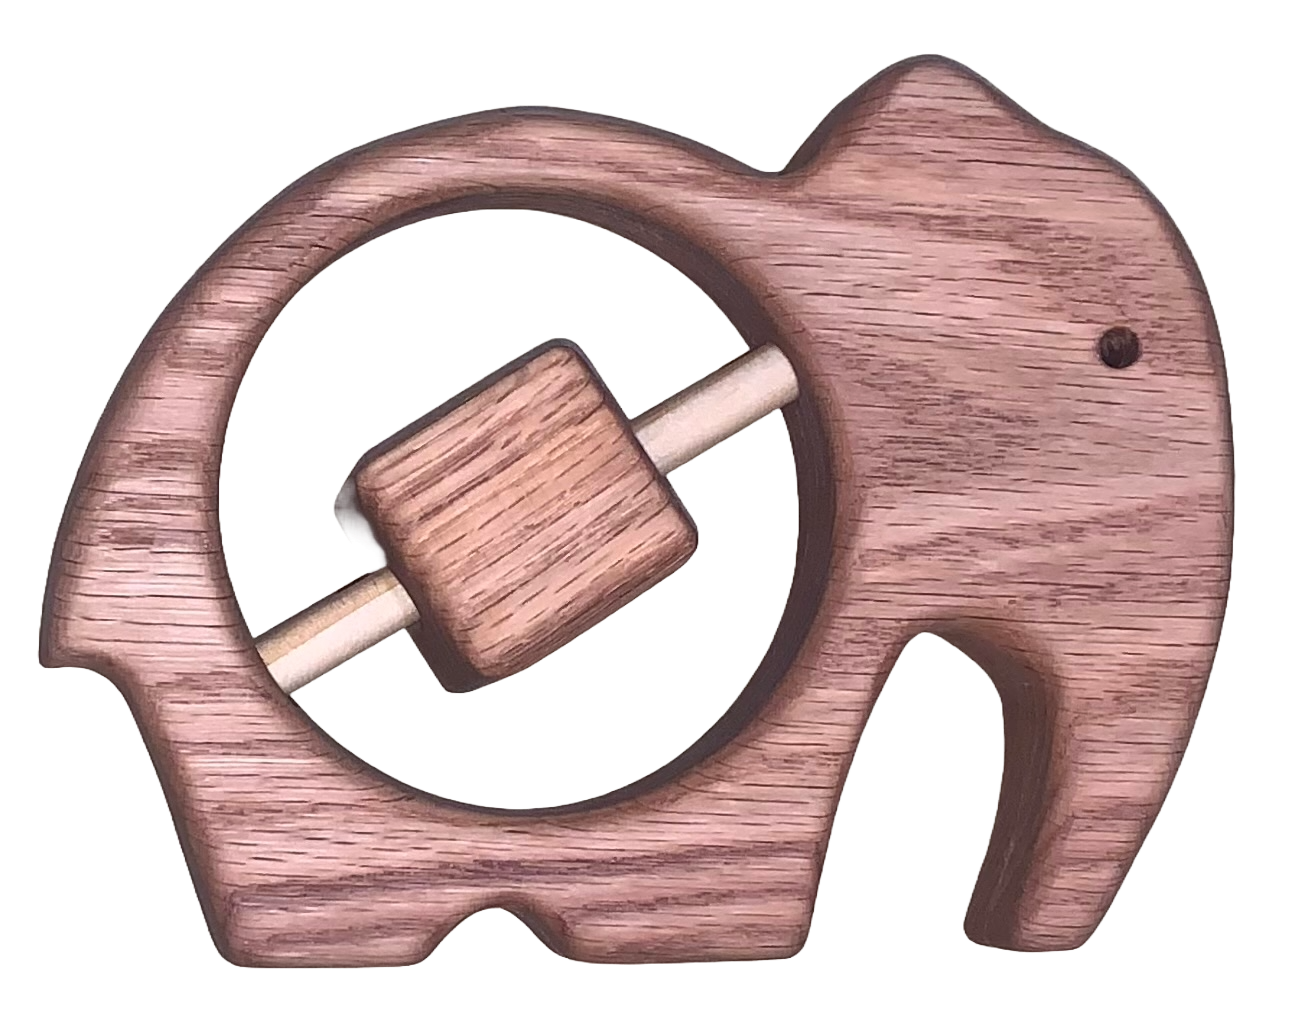
After the toy finished drying, I was left with a completed wooden elephant with a fully functional rattle that can be seen in figure 11. The oil treatment helped to enhance the grain, and I am pleased with how the elephant looks. While this project is less complex than my original plan to create a miniature safe, I believe the execution of the baby rattle has been a success. The rattle features an instantly recognizable shape, a beautiful finish, and is fully functional. The wood has a completely natural finish that emphasizes the handmade quality of the piece. It captures the essence of the Arts and Crafts movement while incorporating elements of modern minimalism.
The toy I created closely mirrors the reference images I initially aimed to replicate, with one notable difference: my toy is entirely the natural oak color, whereas the inspiration images feature a darker-colored block in the center. Overall, I am very satisfied with the outcome of this project and look forward to giving it as a gift to my soon-to-be-born niece or nephew.
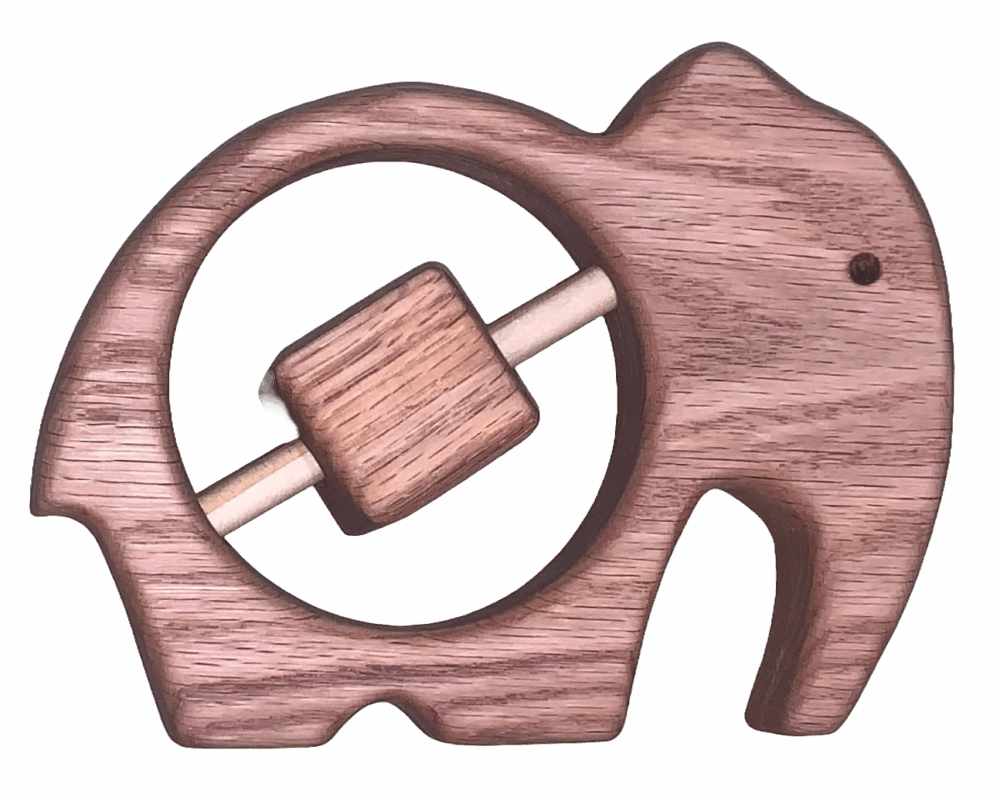
Figure 11. The elephant after it was done drying and in its current state.
Project Timeline

Figure 12. A timeline of the events of the creating the wooden elephant.
Images
- Figure 8 – https://assets.unilogcorp.com/187/ITEM/IMG/5907092.jpg
This post was edited for clarity and conciseness using ChatGPT.