
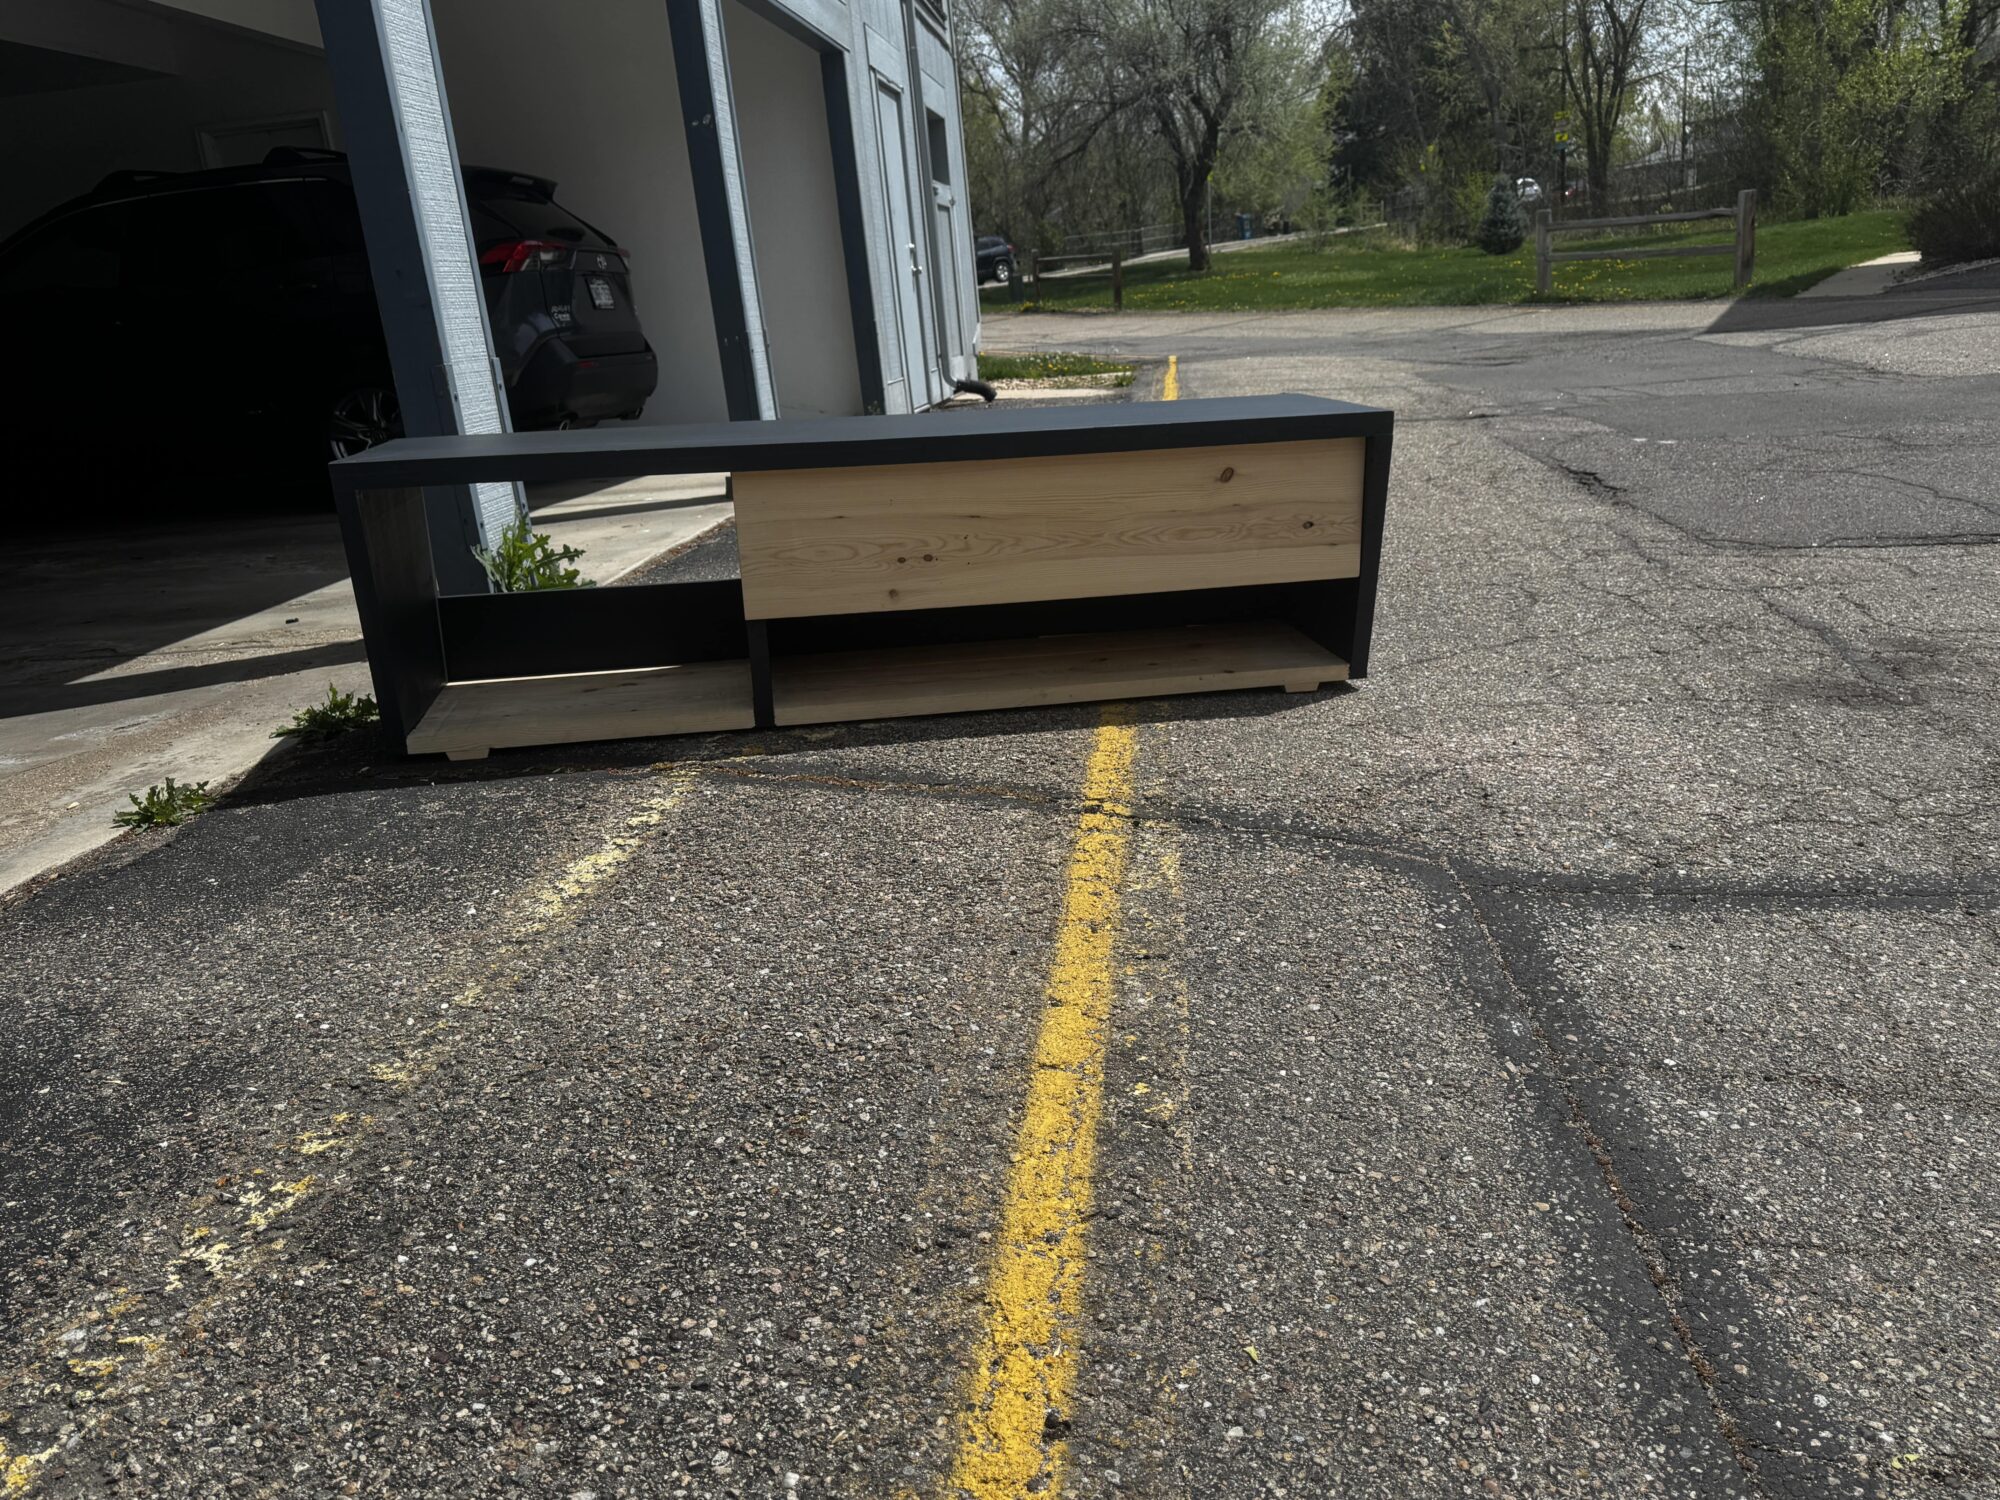
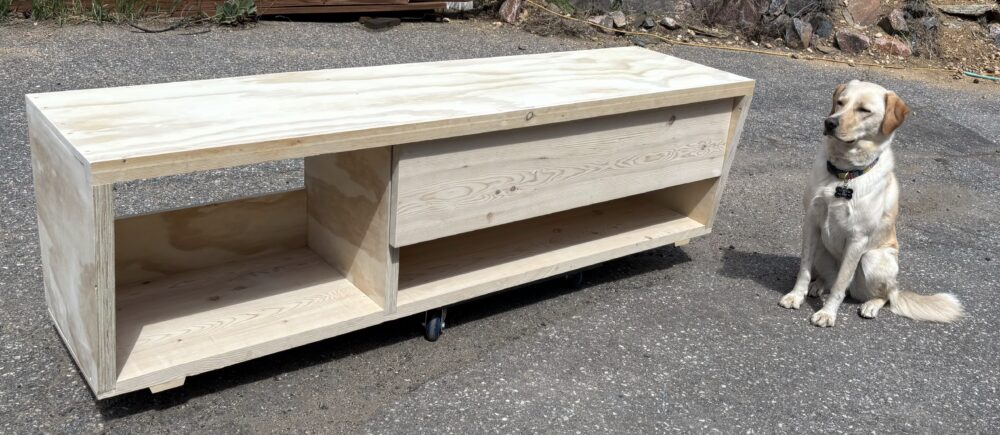
For my final project, I decided to make a Scandinavian modern TV stand. The initial design I settled on was heavily influenced by the “opposite” aesthetic that I chose- Brutalism, as it incorporates a concrete overlay to create the appearance of a thick, overhanging concrete slab. In line with the Scandinavian modern aesthetic, I chose to feature light wood (fir and pine). I didn’t end up using this concrete overlay, but the general design and aesthetic remained extremely similar.
Below is the timeline that I followed on my project. As expected, this project lagged behind my expected due dates, but I front-loaded it well enough to have enough time to finish the project before the senior design expo (4/25). As for the process itself, there was extensive time spent in both the exploration phase, as well as a notable amount of looping during the design work. Once fabrication began, there were two major changes to the design, and a surprisingly small amount of time was needed for skill acquisition.
I began the project by drafting the project on paper, followed by some initial CAD work. This initial CAD model was done in a single part, with different appearances applied to different extrusions (no merging was used, so there were multiple solid bodies). This was followed by another iteration of the design in Solidworks, this time with different parts for each wooden piece that needed to be cut.
Following the design preview presentation, I received the following feedback, and decided to integrate it into my design:
- An asymmetrical design was favored over the one I presented
- The white drawer plate looked tacky
- The concrete idea overlay could be:
- Difficult to achieve well
- May look out of place in my space
This led to another iteration of the design in Solidworks, this time with the above design changes in mind. This new design looked very similar to the one I had initially sketched on paper, and fit my vision of a Scandinavian modern TV stand much better than the previous iteration. I still decided to test the concrete overlay for the exterior surfaces, but started to think about what the design would look like if painted.
After the final design was chosen, the individual pieces were laid out on a standard (48”x96”) sheet of plywood. This led to another iteration, to save cost and prevent the need for a second sheet. This design has a few key features including:
- Extensive use of rabbet and dado joints to help keep things squared up
- A back plate to help keep corners square at the base
- A top rail to help keep the top flat, and the top corners square
- A front lip that will help to add the appearance of a thicker top layer and keep the top sheet square.
All of these design changes greatly helped to improve the manufacturability and assembly process of the TV stand’s frame design, especially since I had such easy access to both a table saw and a Dado blade. Additionally, the top lip will help to cut down on the wood cost and weight, and the back plate will help to cover any loose cords or baseboards behind the TV console.
The first step of the manufacturing process was ripping the plywood and cutting the boards down to size. This was particularly difficult for me, as my circular saw was broken, so the large ¾” thick plywood needed to be ripped on the table saw. All of the smaller clearance cuts were then made using either a jigsaw, japanese hand saw, or a combination of the two.
Vertical wall sections laid on top of baseboards.
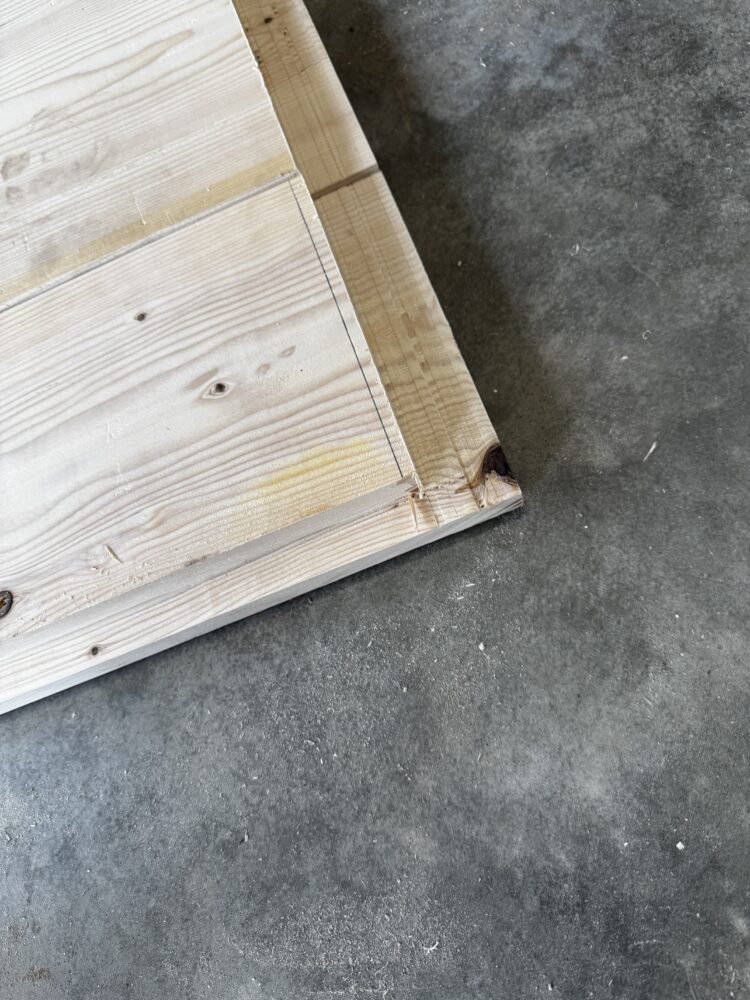
After this, the dado and rabbet joints were cut into the fir baseboards, to aid in strength and alignment. These were fairly simple to cut on the table saw, but required two passes, as the maximum thickness of the dado cutter is ¾”. Following this, the surfaces of the fir boards were planed to clean up the edges, and then joined together along their long edge using wood glue and toe nailed deck screws.
Rabbet cuts made in the fir base boards.
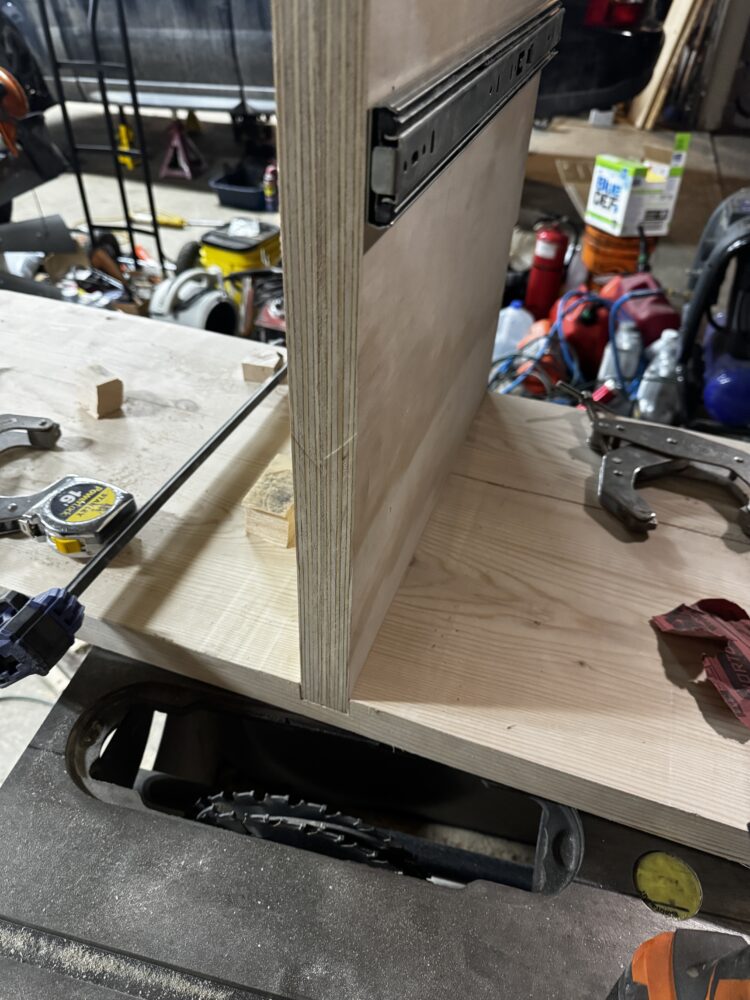
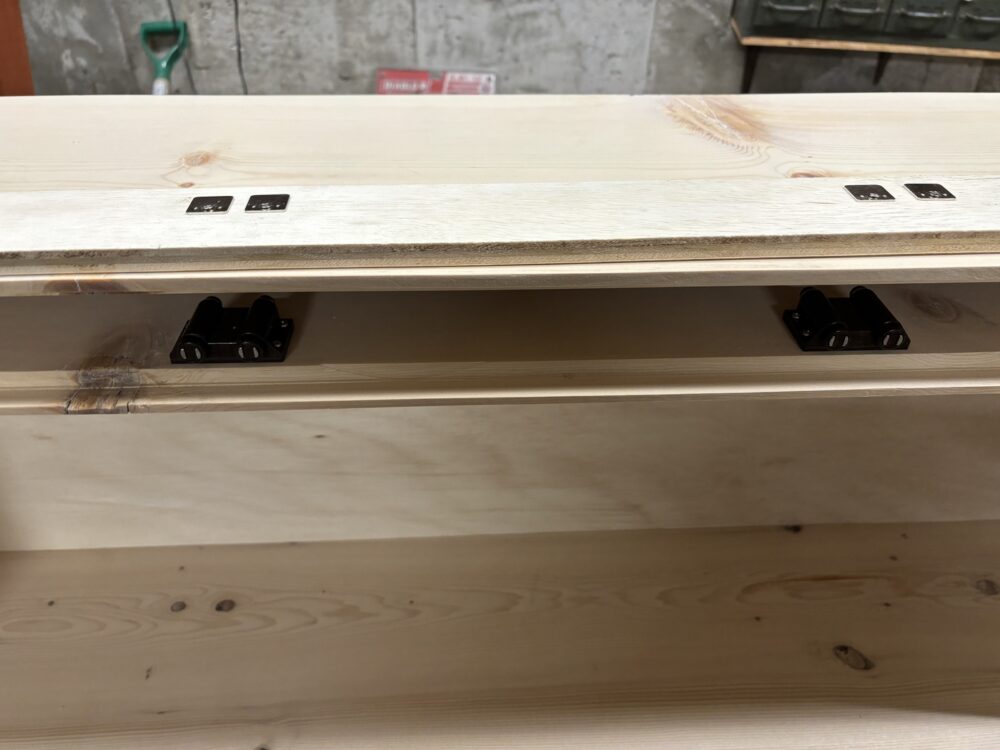
While the base was drying, the vertical boards were glued and screwed together. All of the flush edges were planed and then belt sanded. A third layer was added to the rightmost wall, so that the drawer slide could be offset from the wall of the TV stand. Both drawer slides were mounted 5” from the top of the walls.
While these dried, a lengthwise rabbet cut was made on one of the long strips of fir to act as a front fascia/lip for the top board. This was then clamped, glued and screwed to the top sheet of plywood. This process was exceptionally difficult, as this particular part of the plywood sheet had a ton of warping.
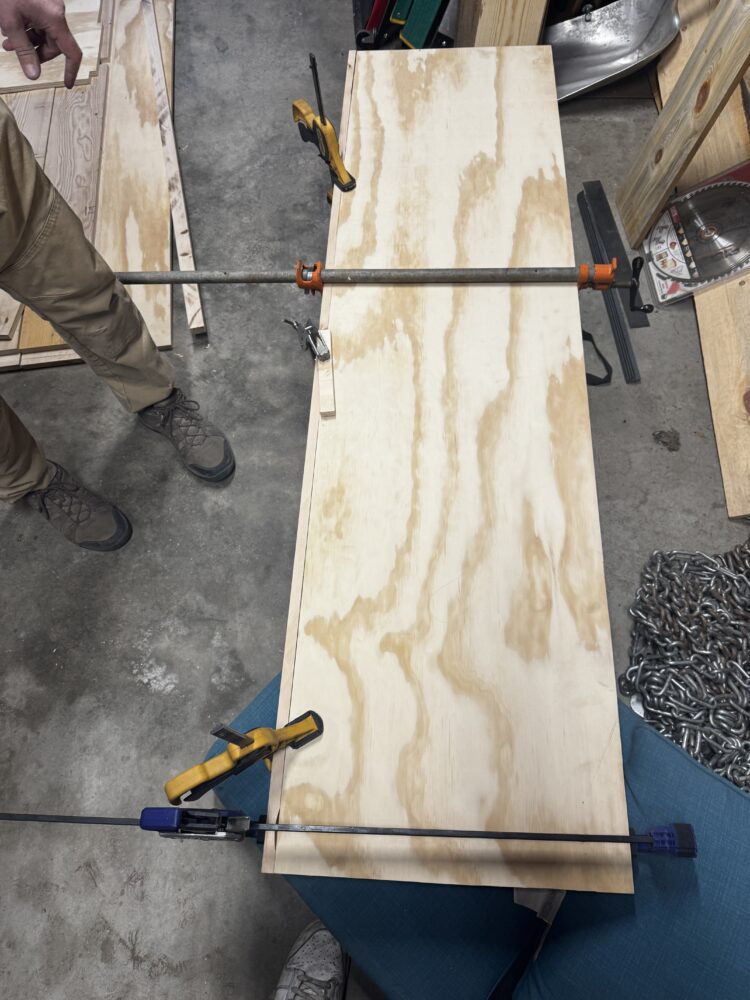
The clamped top sheet and front lip
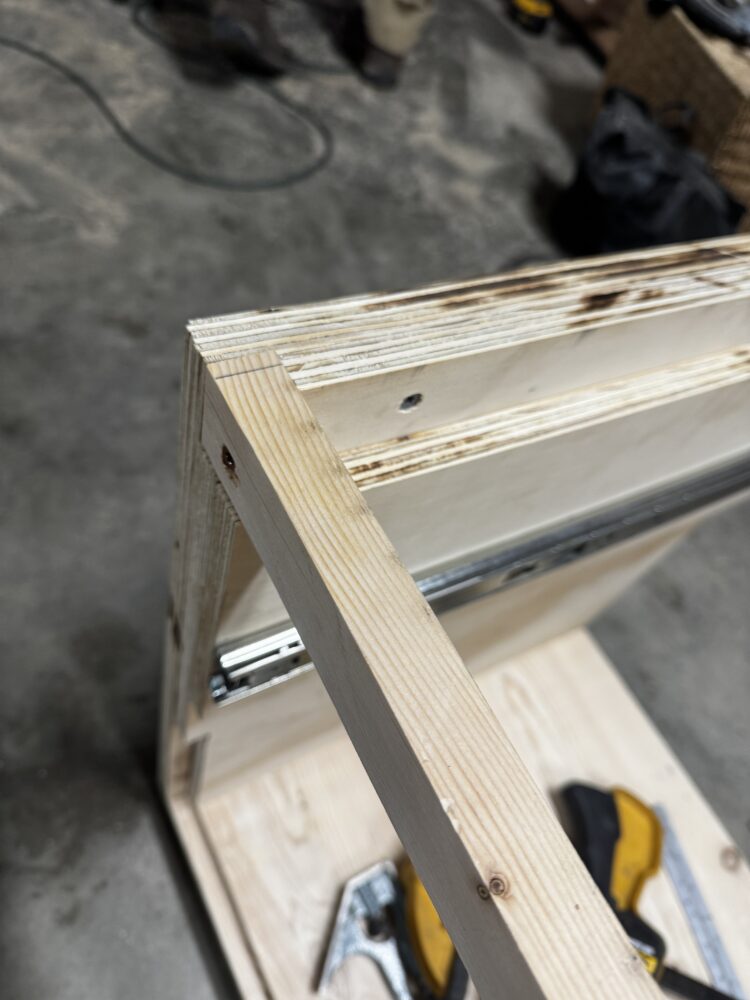
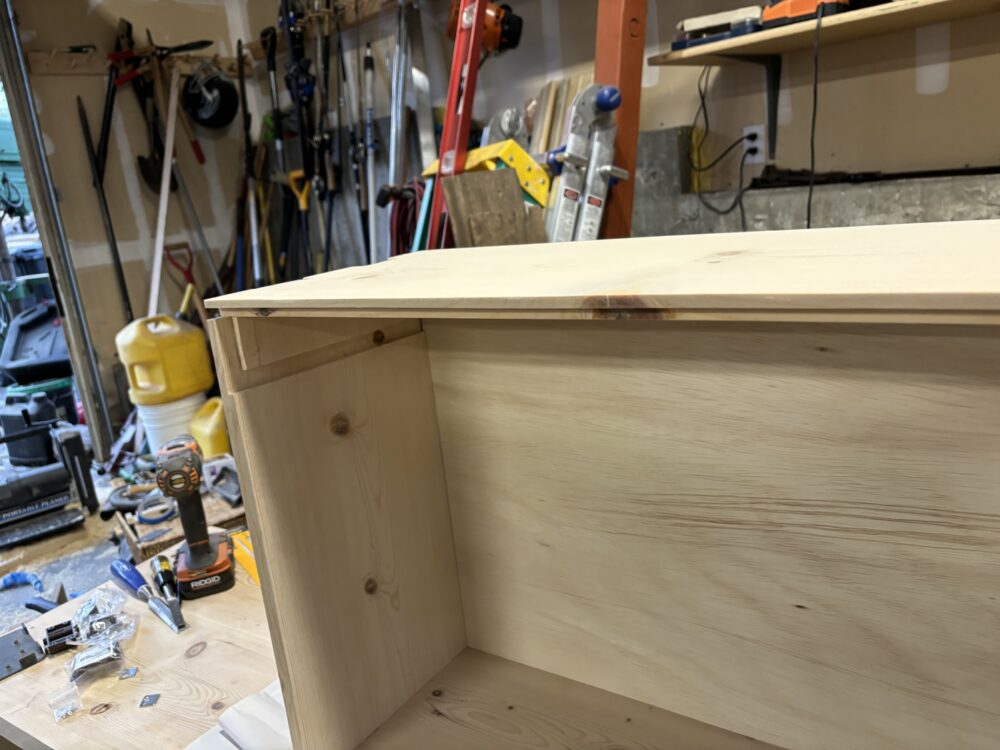
After everything had dried, the vertical components were glued and fastened into place using deck screws. These components were then pushed square using a fir top rail.
The dado joint on the middle wall
The top rail mounted on the right wall. Note how the slide is offset on this side.
Top view of top rail. Note the rabbet and clearance cuts for the rear strip.
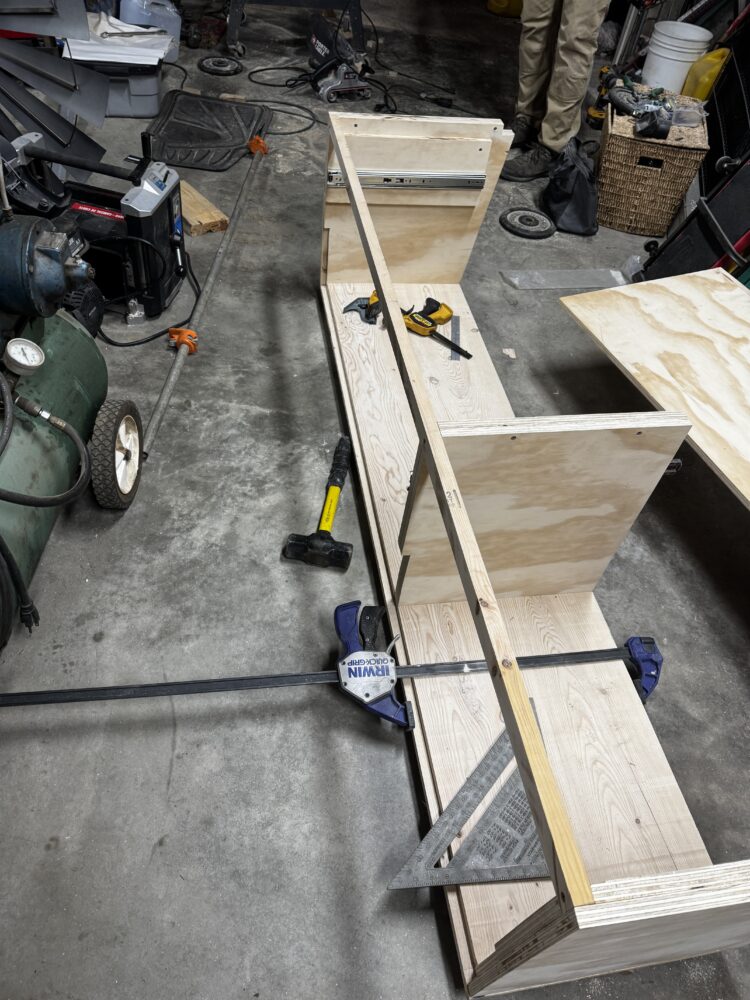
The top sheet and lip were then dropped on top, and fastened using a few screws in the corners. The entire table was shifted to be square using clamps, and about 20 screws were used to fasten the entire assembly together tightly.
The top sheet clamped onto the frame.
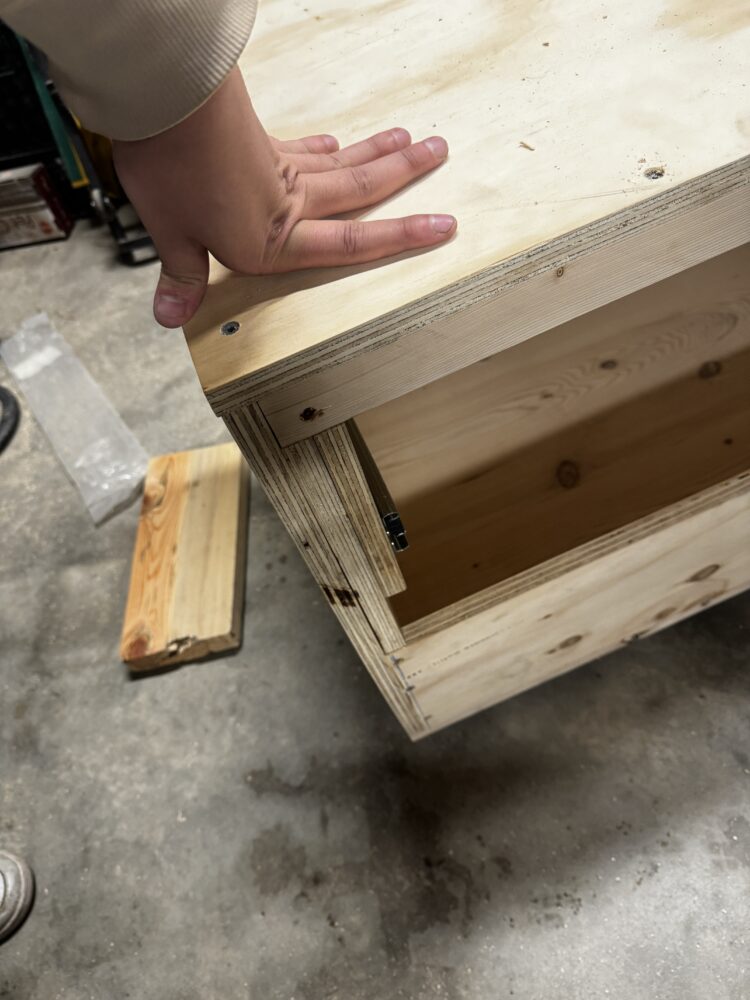
One of the corners, showing the front lip, and how the top fits together.
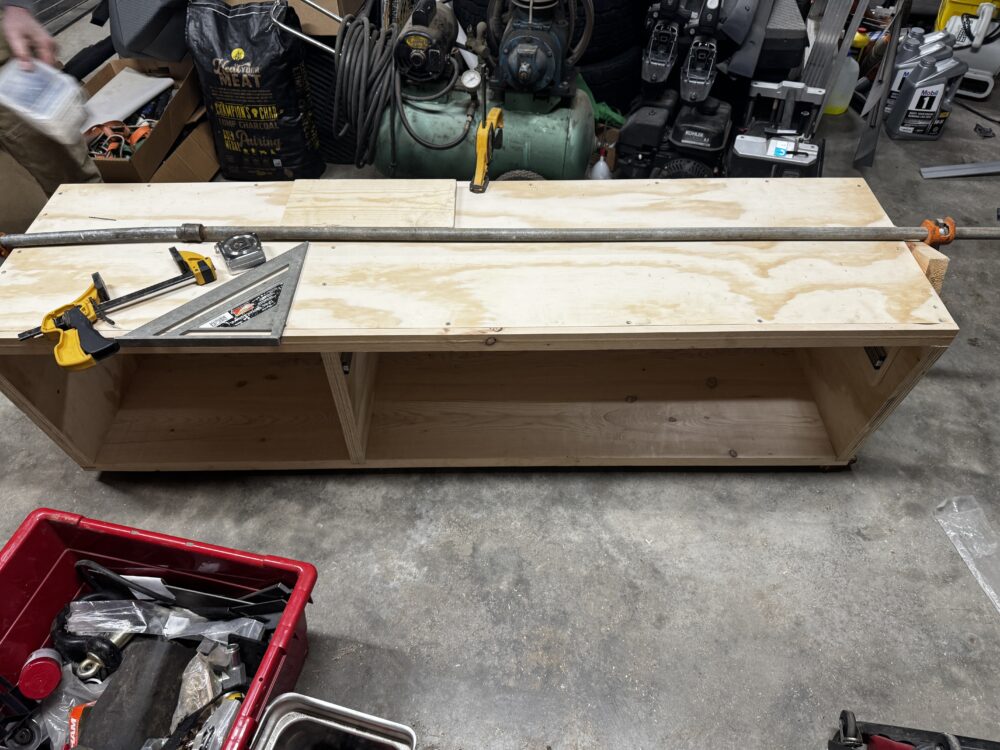
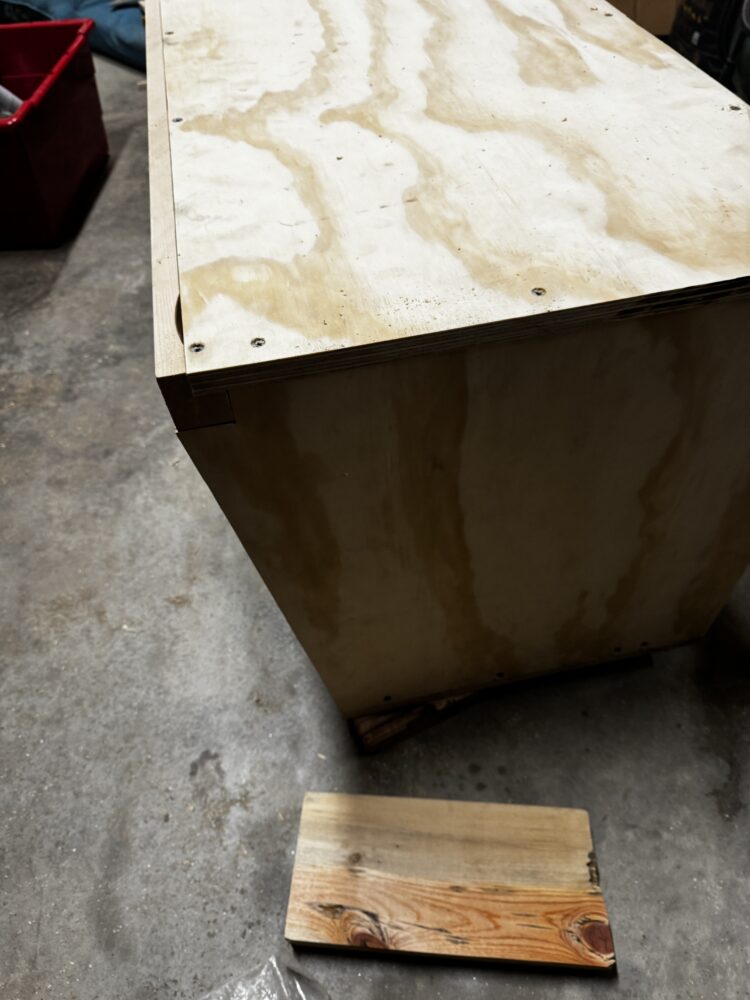
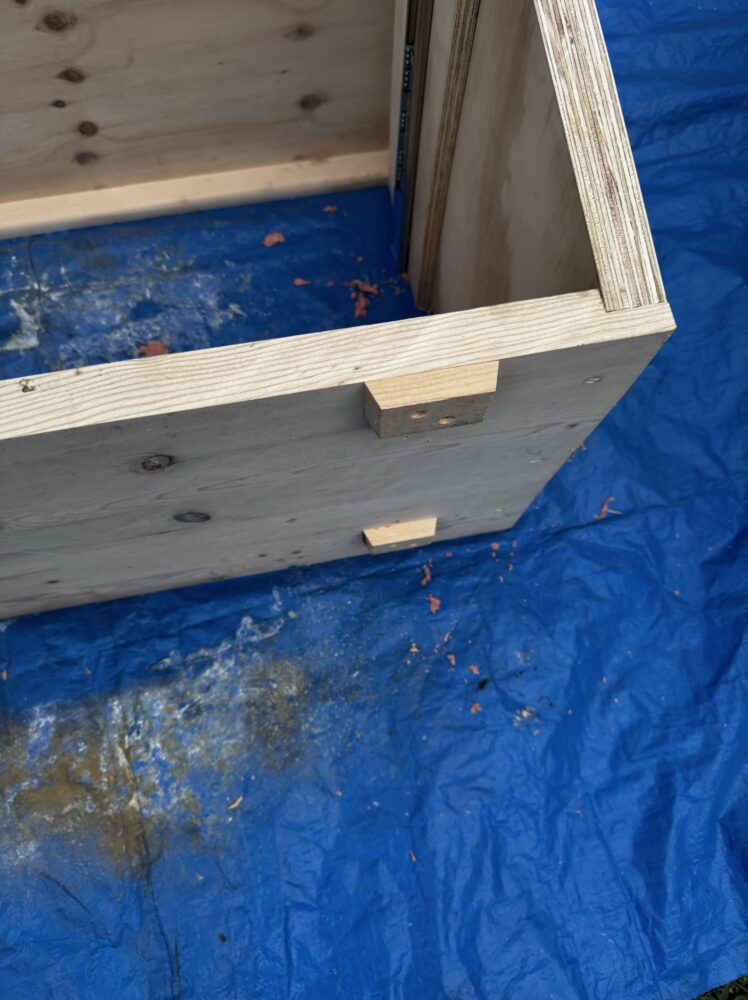
The final step of this process was attaching the 8” runner along the rear. This was a somewhat painful process, as the board had to be cut down two times to fit properly, and one of the clearance cuts on the left wall was too narrow to make the plywood flush.
The rear runner can be seen at the bottom here
The drawer fascia was then fabricated using the fir remnants from the base plate. This 1” thick plank was cut to 4 feet and planed to roughly ¾” thick. This took a significant amount of time, but thinning this drawer face allowed for the drawer to be taller without protruding past the angled side profile of the console.
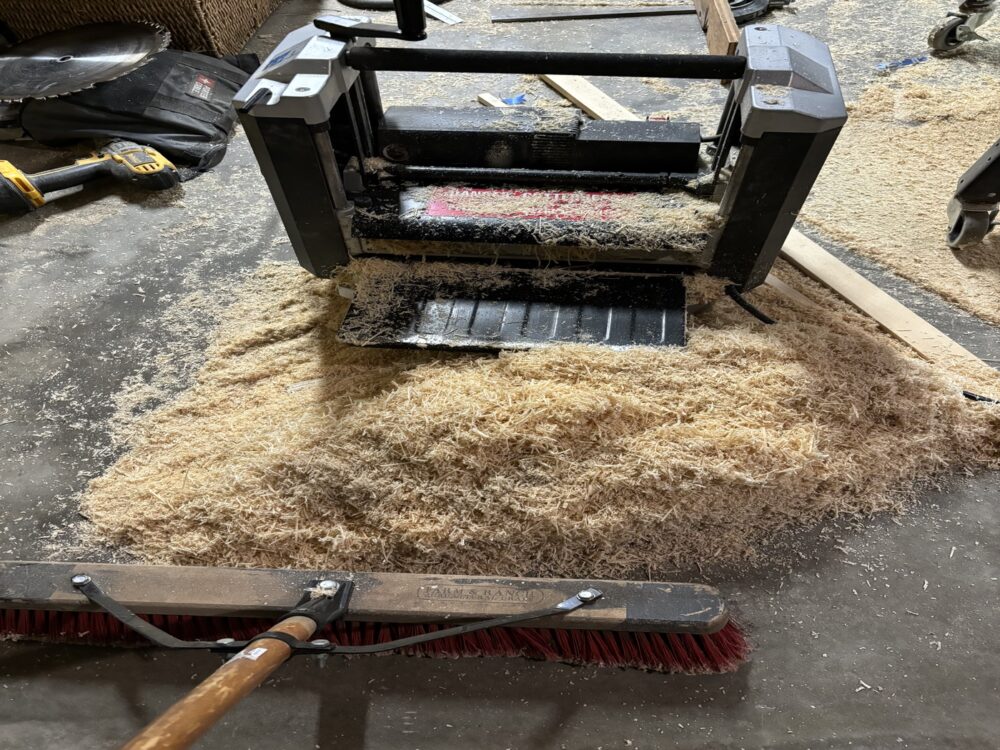
Wood shavings from planing the drawer face down
The cuts in the drawer face.
Dado cuts were then made to accommodate the pine sides of the drawer box, as well as the plywood drawer floor. There was clearance made to the sides of the drawer face to allow it to sit in front of the plywood the slides are mounted on.
The back, false back, and sides of the drawer box were then made. The rear plate is 45” wide, and a rabbet cut was made along the top edge to allow for a hidden compartment’s top plate. The false back is made the same way, but cut slightly shorter in both directions. The sides of the drawer box had a dado cut along the bottom to slot in the plywood floor, and dado cuts were made to allow the false back to be made for the hidden compartment. A relief rabbet cut was also made on these side plates to allow for the top of the compartment to be recessed.
Dado cuts on the drawer box.
The corners of the drawer have box joints, but due to the quality of the pine, and my craftsmanship, these didn’t turn out quite as tight as I had hoped. After all of these components were made, the whole assembly was clamped and glued together, except for the hidden compartment’s false wall. I chose to leave this removable, in case I ever wanted the extra storage space.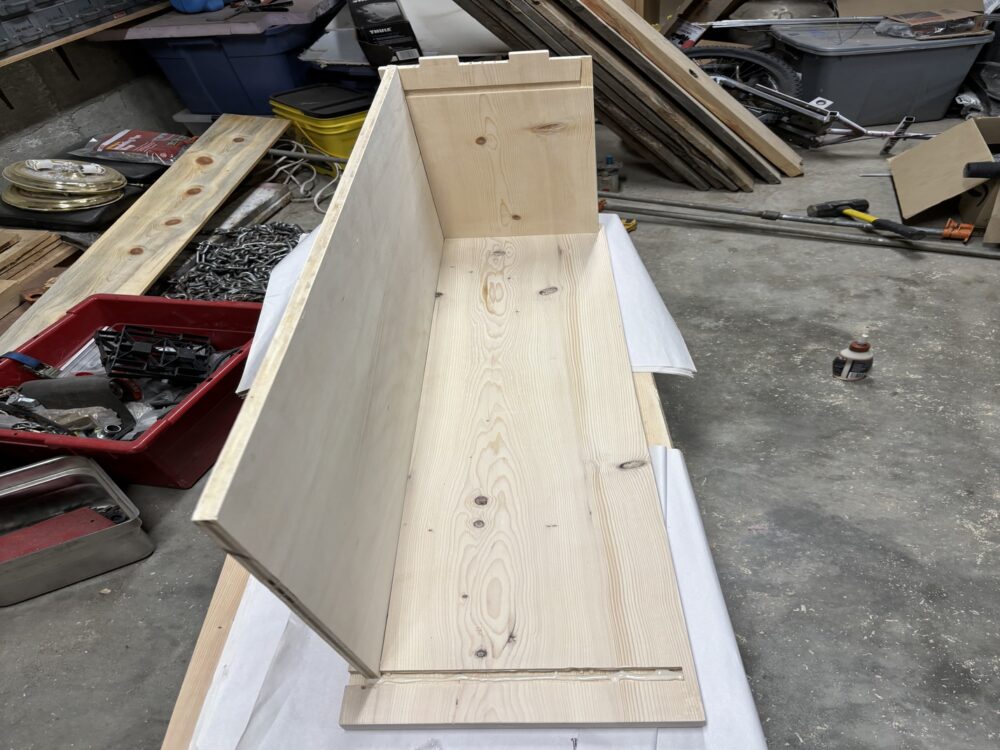
Gluing the drawer box.
The magnetic latches were then mounted to the inside of the hidden compartment, as well as some metal plates on the underside of the lid. This compartment is perfectly sized to fit under the lip of the overhang when the drawer is fully open, making it nearly invisible when the drawer is not removed.

The drawer box, fit together.
Finishing touches like final sanding and the addition of 4 legs were then added.
The legs attached to the underside of the table

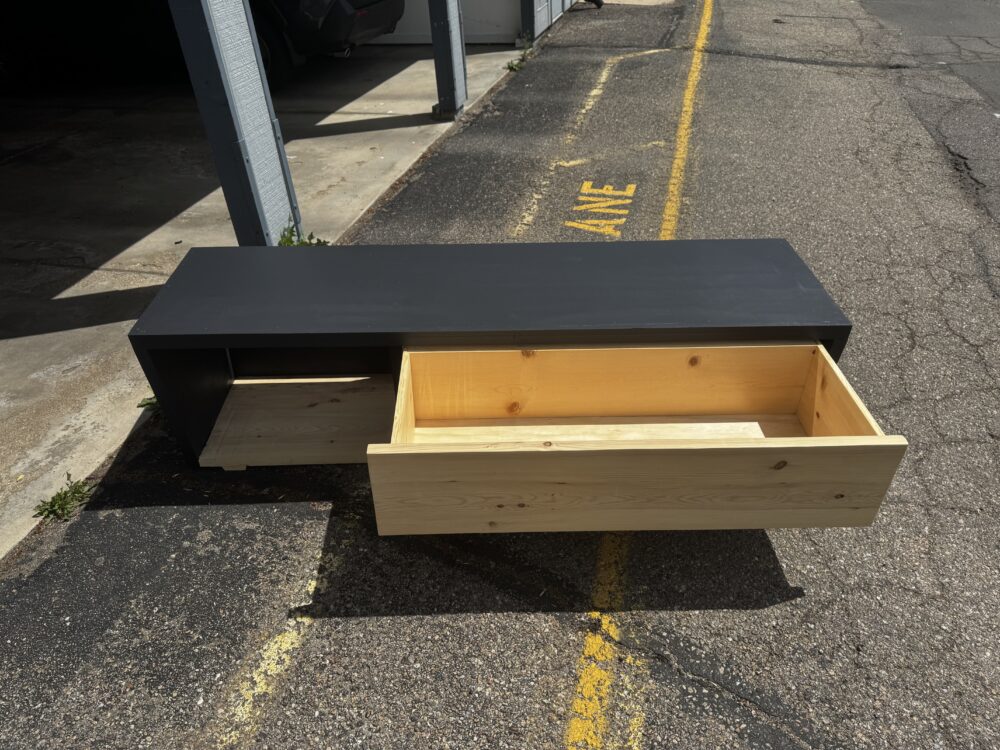
The table with drawer open, note the hidden compartment is nearly invisible.
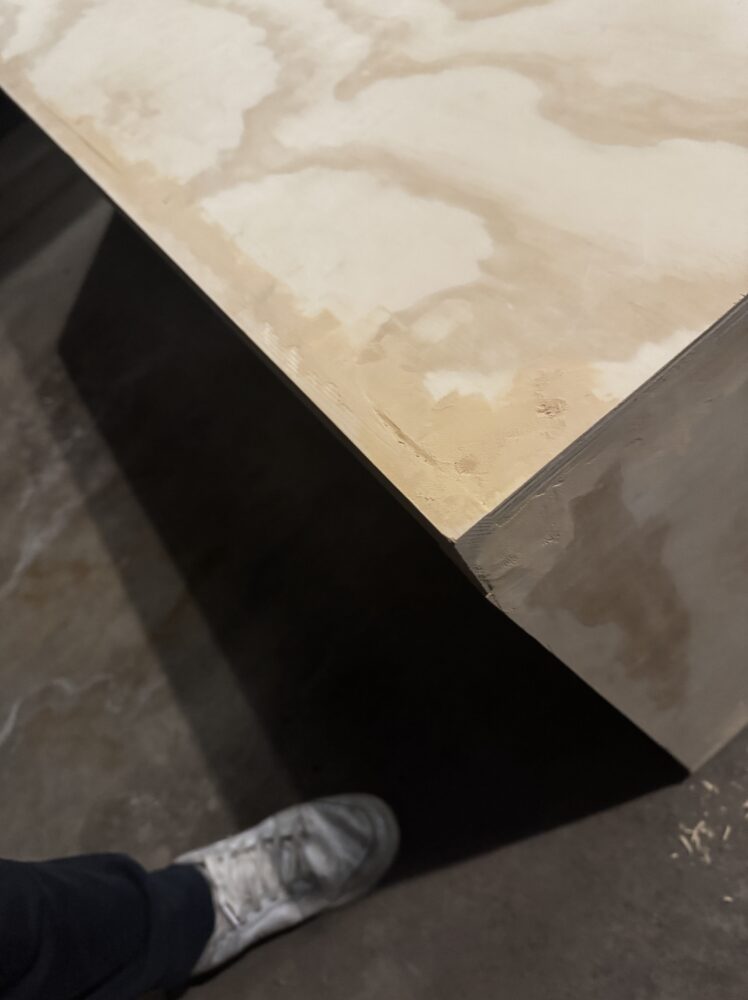
The TV stand prior to finishing.
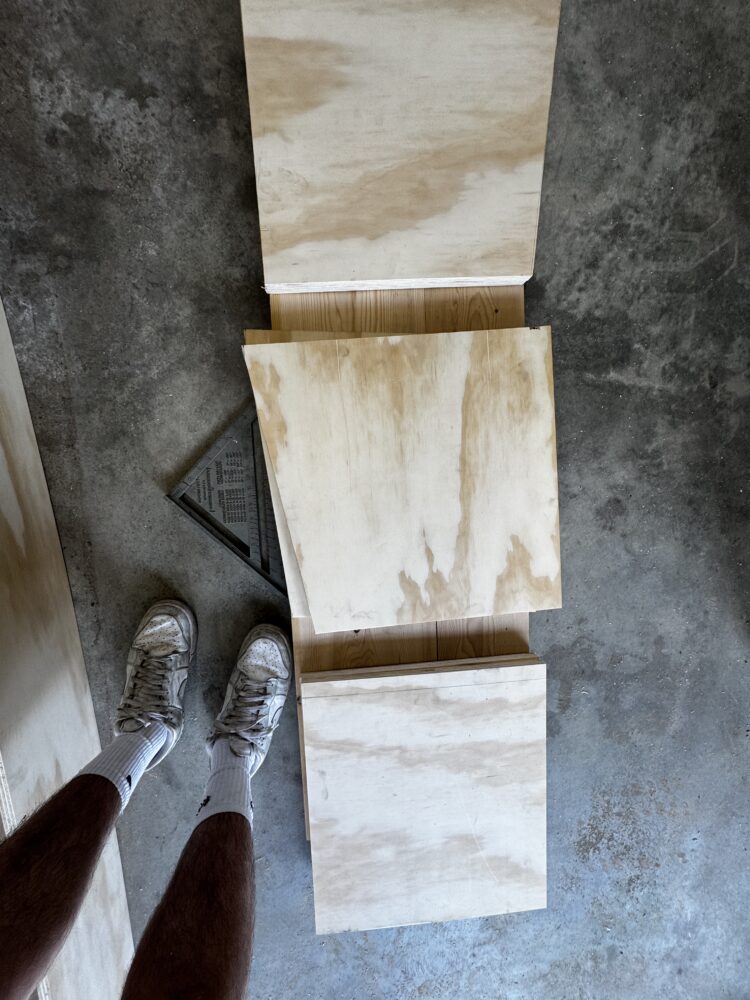
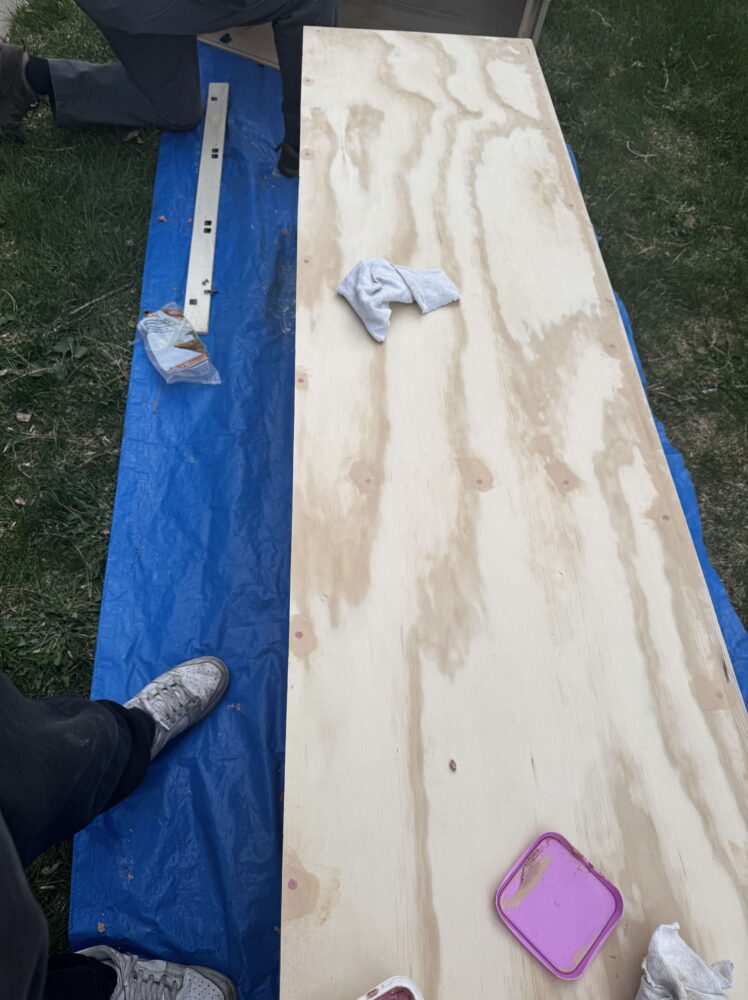
The next step of the process was finishing the project. I had initially planned on using a concrete micro topping to cover the table to achieve a more industrial modern aesthetic, but this proved to be difficult and didn’t yield the desired look I was going for. I tested this material on a small section of scrap plywood, first applying the concrete adhesion primer, and then spackling on a small amount of the microtopping. My first attempt at this had a mixture that was far too thin, and stained the plywood without changing the surface significantly. I then tried to do a thicker coat, which resulted in a grainy, rough texture. My third attempt was not able to smooth this out, and when I placed it vertically to dry (to simulate some of the surfaces of the console), I found that it dripped off quickly and didn’t adhere the way I wanted it to.
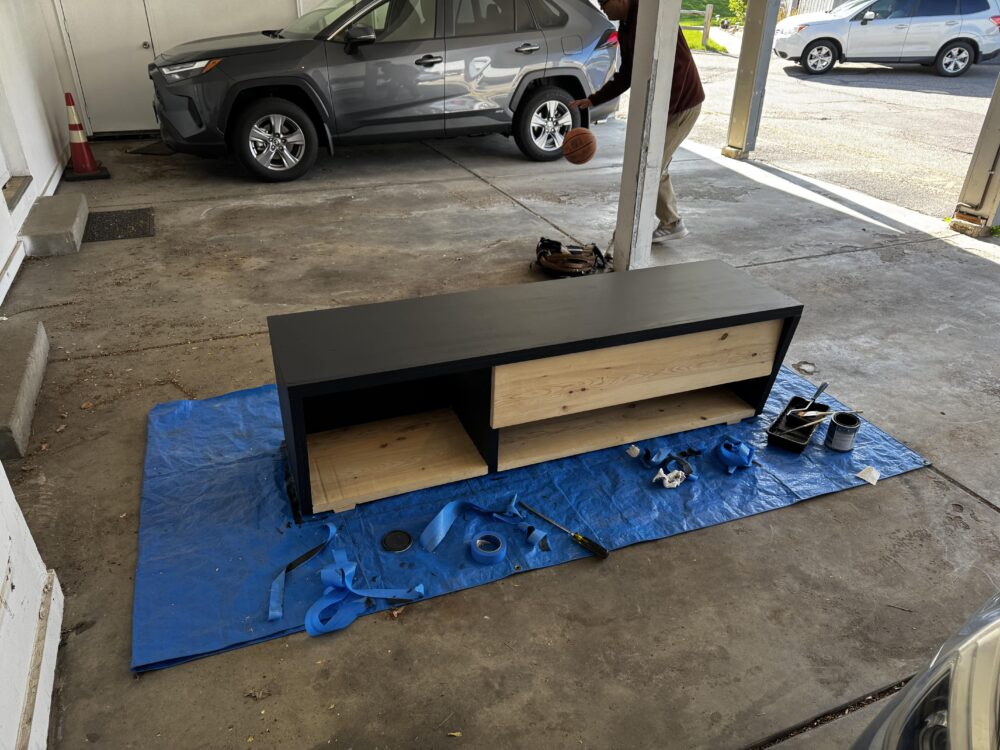
After these failed attempts at using concrete, I decided that the best course of action would be to paint the TV console with a dark gray color, in an attempt to replicate the look of slate. I chose to use a satin enamel cabinet paint, and had it mixed to BEHR’s “Night Club” color. This is described as an off-black, and I really liked the contrast this swatch had to the very light color of the fir boards. Wood putty was used to fill screw holes, and this was then sanded and scraped prior to painting.
Application of wood putty.
All of the wood that was not painted was sealed using a BEHR water-based polyurethane. Like the cabinet paint, this promised one coat coverage, good leveling, and a nice semi-gloss finish.
All of the polyurethane was applied using a paintbrush, and the cabinet paint was applied using a roller.

 In the end, I’m very happy with the final result of my project, and believe that it’s something that I will feature in my house. The hidden compartment is a nice touch that I feel helps to separate the design from what’s on the market, and the distinct two-tone palette helps to add some visual interest to what is an otherwise minimalist design. While I am somewhat disappointed that the concrete overlay didn’t work, I do think that it could be a change I make in the future, if I am able to source more quality microtopping materials. Other than that, I do feel like I achieved the aesthetic I was looking for.