
After the COVID-19 restrictions my next step was to reassess my capabilities of finishing this project. I had already acquired the Arduino I needed to get the motion sensor working and was beginning the code, however due to delays the accelerometer needed to make the motion sensor work was delayed in shipping so I was unable to finish that piece at this time, however I do still plan on getting this project functioning properly when the parts needed arrive.
So I began to work on the aesthetic, I started with an old snowboard I had lying around to use as a base. I removed the stomp pad and sanded down the worn and bumpy parts.

Next, as was suggested in a comment in an earlier post, I acquired mirror vinyl shown below. I used this to line the entire snowboard. This process was difficult because of the air bubbles that would get trapped and the trimming needed around the edges of the board. Using a box cutter I cut the outline of the snowboard. I wasn’t very precise here as the LED’s were going to wrap the edging anyway.


After I cut the vinyl to the snowboard I used an iron to press down and further secure the vinyl, and even still a few air bubbles remained, I tried to get these imperfections near the bindings so they would be covered up when the bindings were reattached.
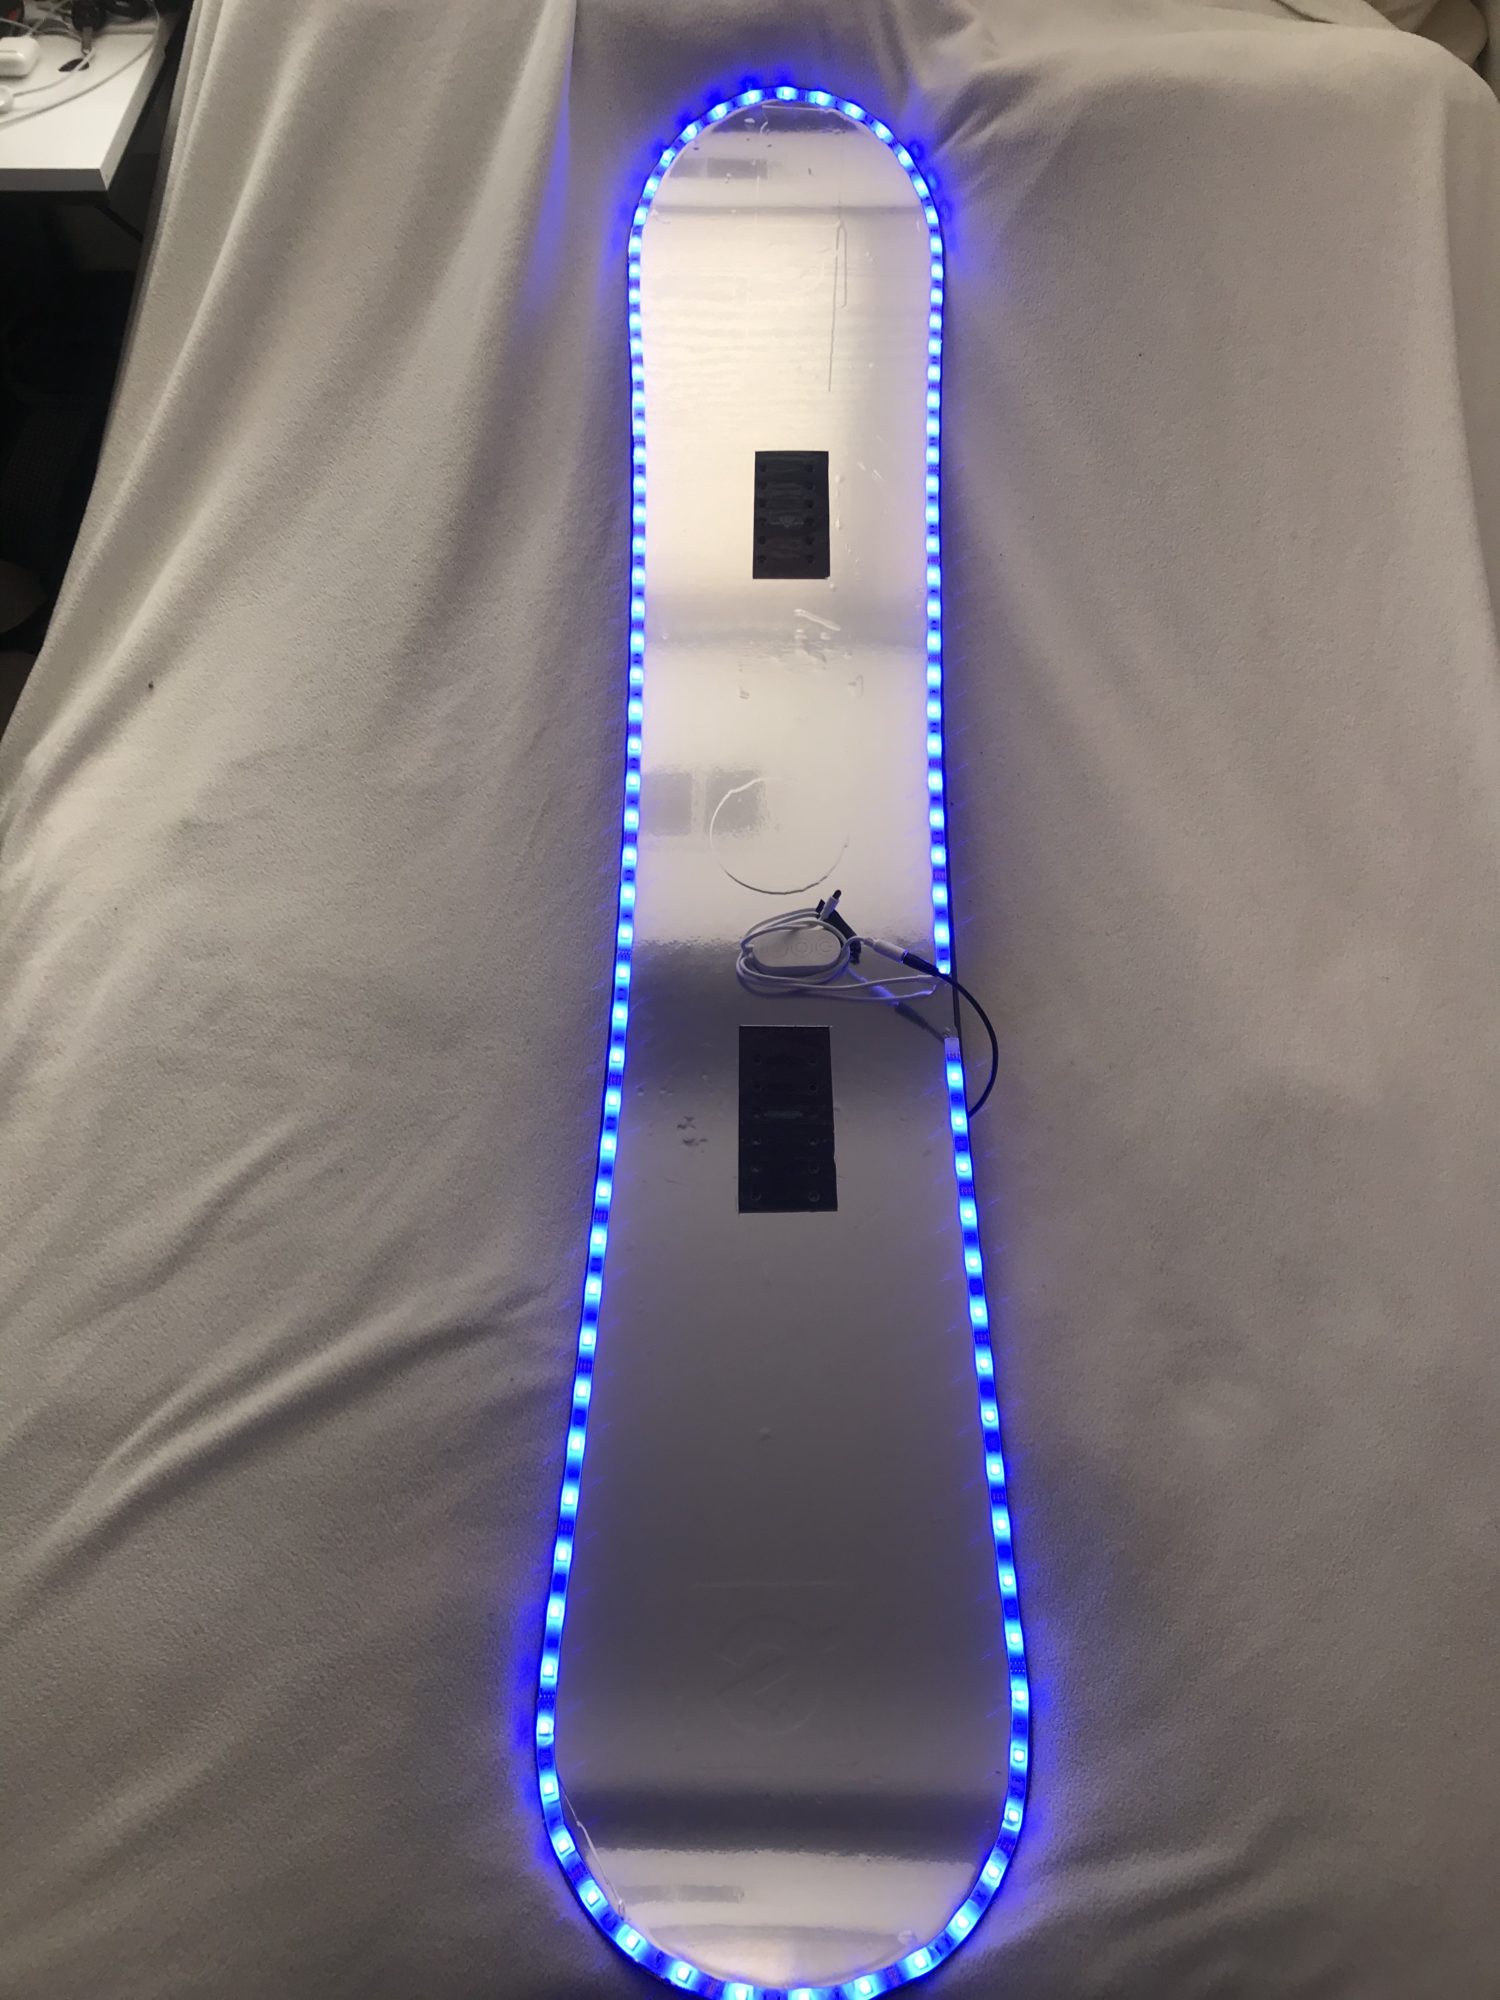
The next step was to wrap the board in the lights, going inch by inch I tightly secured the lights around the edge. Because the motion sensor is not up and running just yet, I utilized the bluetooth feature that came with the original lights.


After cutting the lights to the desired length, I had to create the box that would end up housing all the wires and eventually the motion sensor. However, this too was suppose to be made out of acrylic and laser cut then lined with rubber. And due to the delays on these orders, this will not be possible until into the summer. So for now, I used cardboard to fashion a similar thing. Also in this stage I attached the lights to the portable, rechargeable 12V battery- this battery life was tested after attaching everything and I found it to be about 12 hours. This will be lower when the motion sensor feature is attached because that will also require some power.

Finally, my next steps are to actually implement the motion sensor, which should be fairly straightforward once all parts are in, I also need to order and cut the acrylic needed to make the box. But despite the change in circumstances I am very happy with the final product and below is me in all my gear in my room because we can’t leave our homes! I do hope to get it onto the mountains someday to test it at night.
Here is my presentation given in class:

2 Comments. Leave new
Hey Austin!
I have been following your process since the beginning as well and have been so excited to see the final product. I am so impressed with your design and motivation for this project, and the quality of your snowboard definitely shows the time you put into this project! Did you have any trouble with the vinyl when you put the bindings back onto the snowboard? I think you did a great job in being innovative and illustrated a new level of quality to the “glow in the dark” aesthetic. Great job!
Hi Austin,
I have been following you project since the beginning and i have to say i’m really impressed with the quality of the work you did! I wish I could see you shredding down the slopes, but alas the season was cut short. How do you think this board would have performed on the slopes? Do you have any concerns about going off jumps with something like this? Will you eventually take this out or will it be a cool wall piece?