
Timeline
As an overview, my project (COVID Apparel) involved developing interactive apparel that encourages social distancing during the COVID-19. The project timeline went largely as expected. The only noticeable changes were larger shipping times for electrical parts.
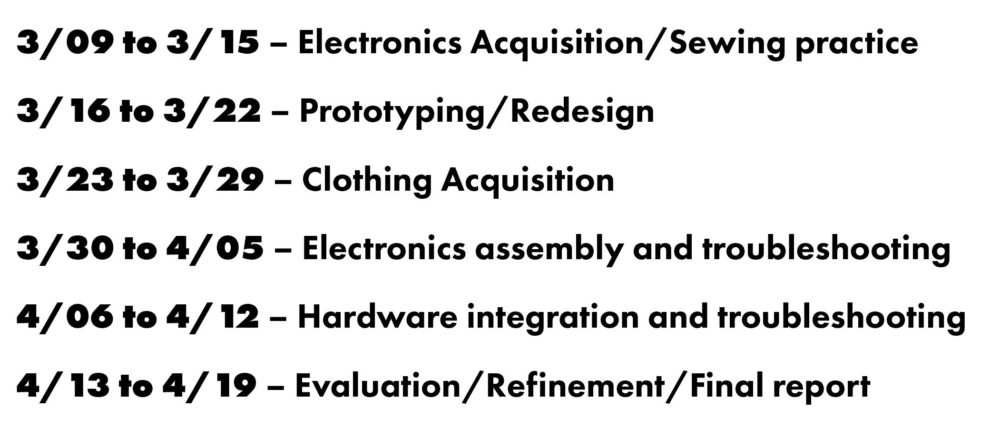
The week of the Design Review will (3/09 – 3/15) was designated for ordering prototyping materials and practicing my sewing skills, which was new to me. These ordered materials included LED breakout boards, microcontrollers, and capacitors. The week of the second part of the design review was for prototyping. This ensured I could get the LEDs to work and create an effective capacitive touch sensor. Spring break was spent ordering clothing and fabric to use in the final artifact. The week after spring break was designated for electronics assembly. This included soldering and programming. I have also allotted time for potential barriers. The week after that was for sewing (attaching electronics to clothing). The final week was spent validating the performance of the artifact and writing the final report.
Fabrication
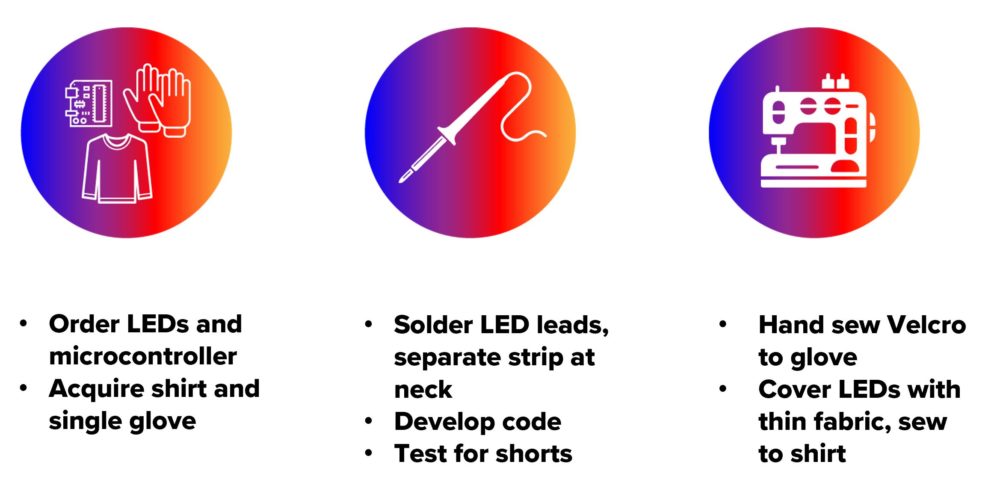
Once all PCBs/breakout boards and clothing were acquired the first step was soldering. The LED strip was separated at the neck of the shirt, requiring soldering of wires on both sides to allow for continuous lighting. After soldering the addressable LEDs and capacitive touch sensors, the electronics were tested for shorts with a multimeter. Next, the capacitive touch sensor was added with the use of Arduino and serial communication to determine an appropriate threshold value experimentally. The LED strip was then wrapped in a thin fabric. That then fabric was then sewn onto the shirt. While not in operation, this allowed the lights to not be noticeable.
Video
Moving Forward
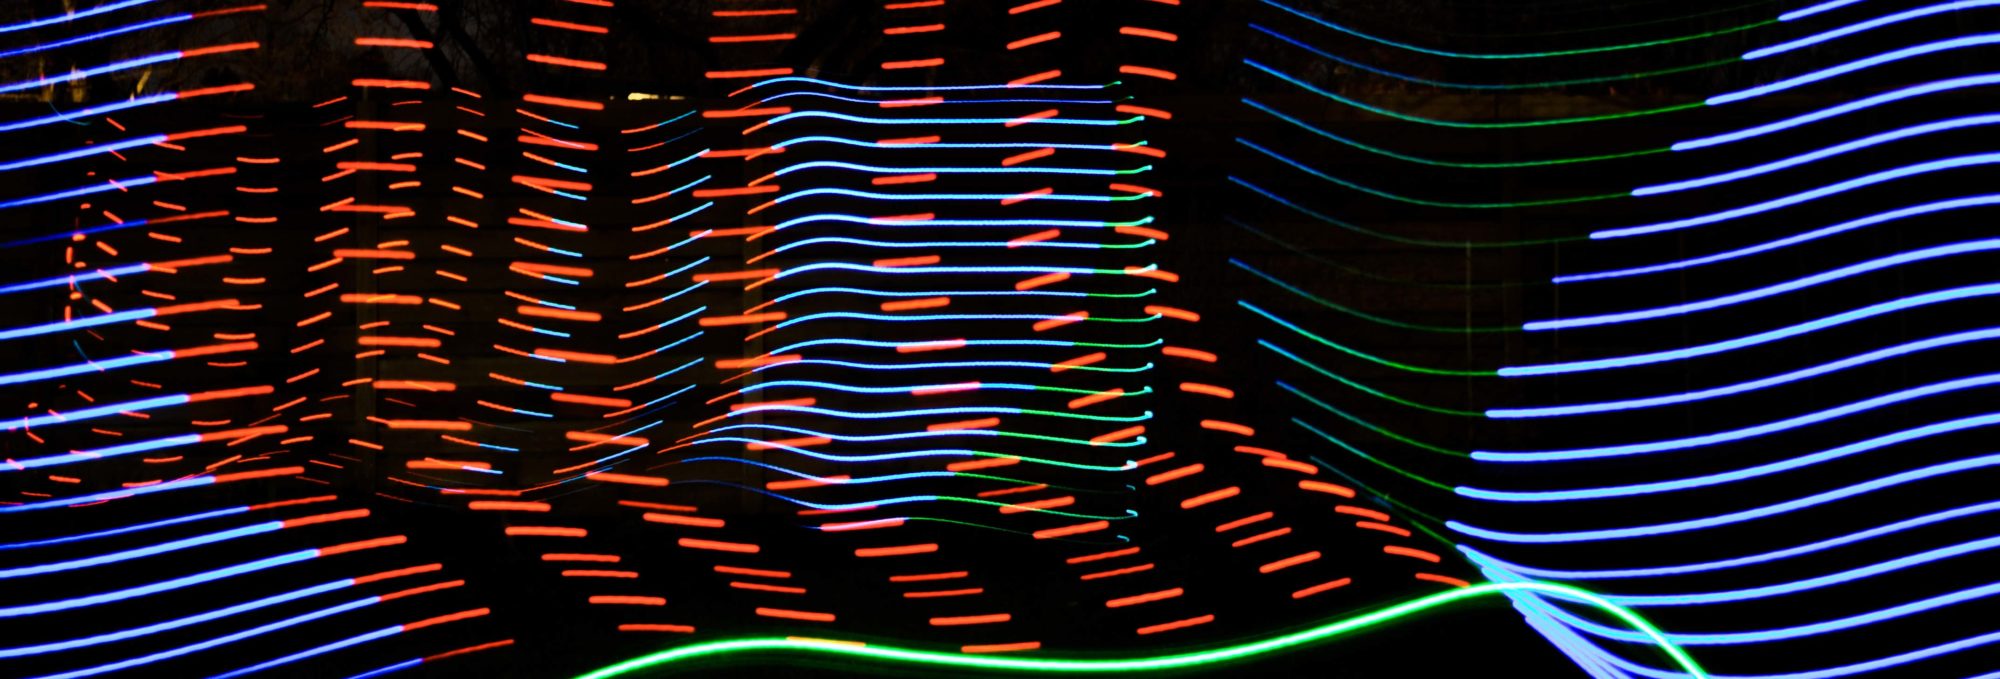
This is an idea a would most definitely like to further develop. I believe there are a lot of ways to improve this project and make the system more usable. I think the base design could also have various applications, which I would like to explore further. I would also like to explore the long exposure photography discussed in my previous post more. Looking back, I can’t think of anything specific I would change. I did pivot my idea fairly late to better address the COVID-19 pandemic but I think this avenue proved more interesting than my initial project idea.
1 Comment. Leave new
Hello Jackson! I think you made a really interesting project! I like how you modified your project to cope with the current situation and how it helps with social distancing. I think you did a great job with your coding and I know this is not an easy task, so well done! If I may ask, isn’t the circuit on the gloves a little bit inconvenient for whoever wears it? Do you intend to optimize it and integrate your code on a smaller and more convenient circuit for the user? In addition, where are you currently on this project? It is hard to tell since you did not post an image of the final product? I saw your video, but is that a prototype or your final product? Good luck on exploring this project more and getting to a product that, hopefully, you can sell someday!