

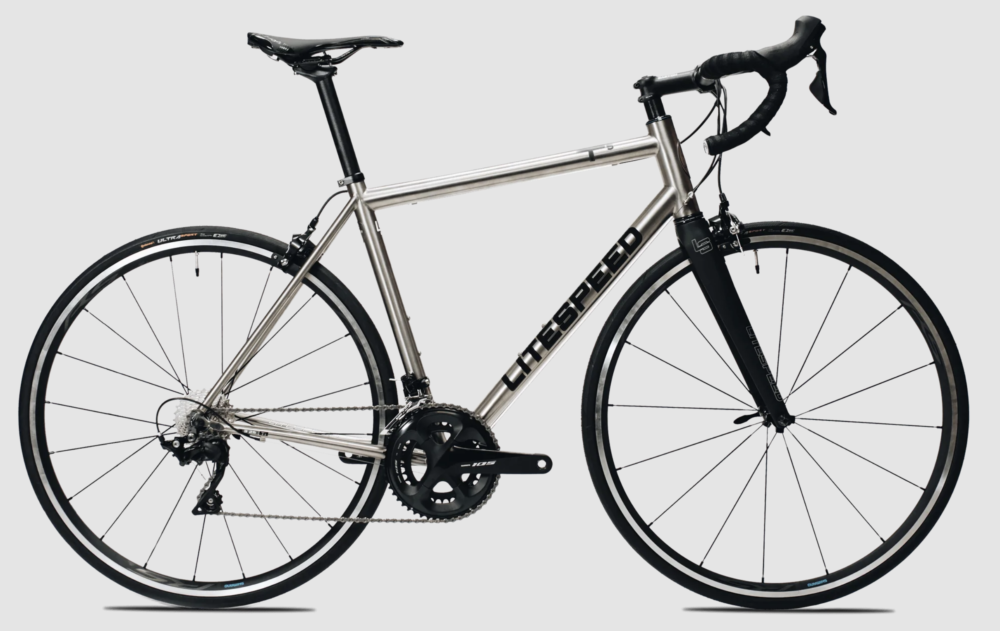
Project Vision
My vision was to design and build a light and functional bike fender to keep mud and water off my back. I derived specifications for the design to give me some constraints to work under. These were broken into two categories; form and function. The form specifications include matching the style of my bike, and capturing a minimalist aesthetic. Minimalism refers to a design in which nothing extra is added that doesn’t add function to the design. I chose this aesthetic as I wanted a clean and simple look because my bike frame is sleek and has no large graphic designs. The function specifications include building a light, sturdy design that is big enough to keep mud and water off my back. The fender should also be rigid enough to keep from rattling or rubbing on my back tire.
Inspiration
I drew inspiration from some existing simple, flat-pattern designs. These fenders are made from flat plastic material with fold lines that zip tie to the back of the bike seat post. These designs are very simple which match the minimalist aesthetic I’m going for.

Designing the Fender
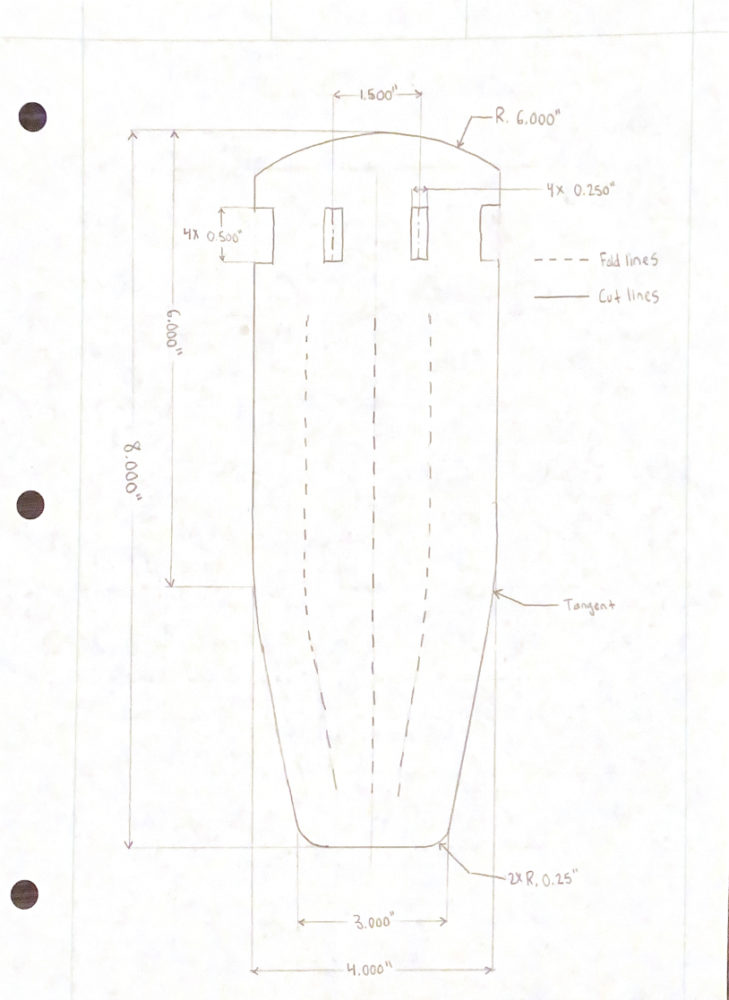
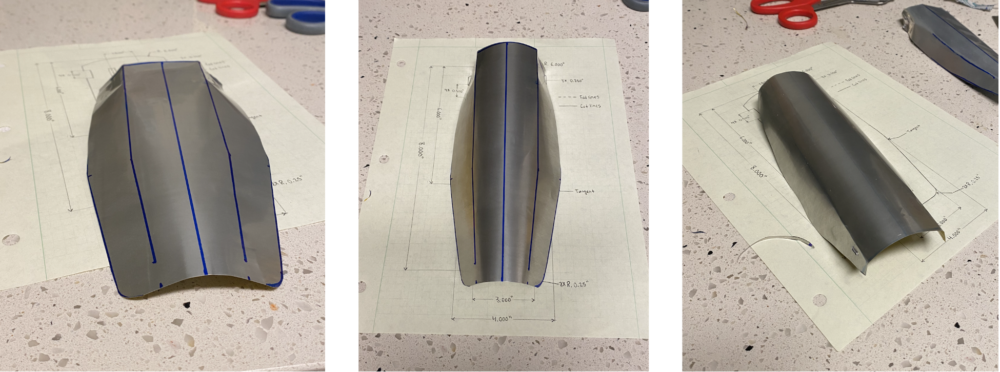
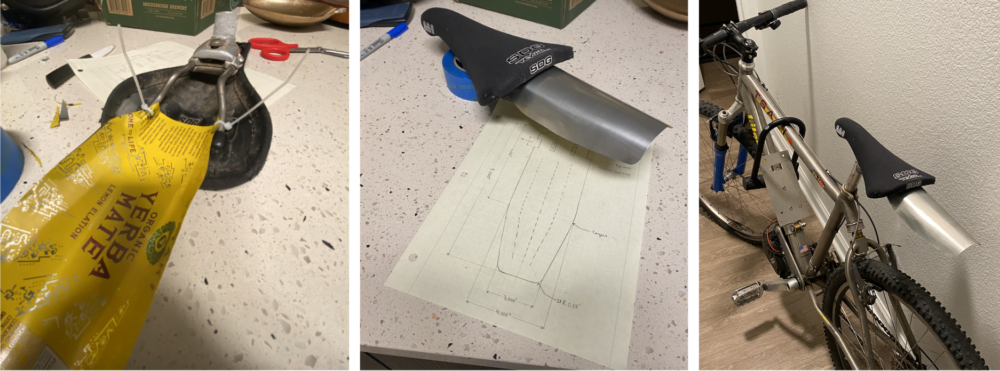
I began designing the fender on paper with flat patterns. Each design improved on particular features until I was happy with how it looked and how well it matched the minimalist aesthetic. Another thing I focused on was how it was going to attach to the bike seat. I knew I was going to zip tie it but wasn’t sure on the exact geometry. I decided to make this part of the design once I could test fit it to the bike seat.
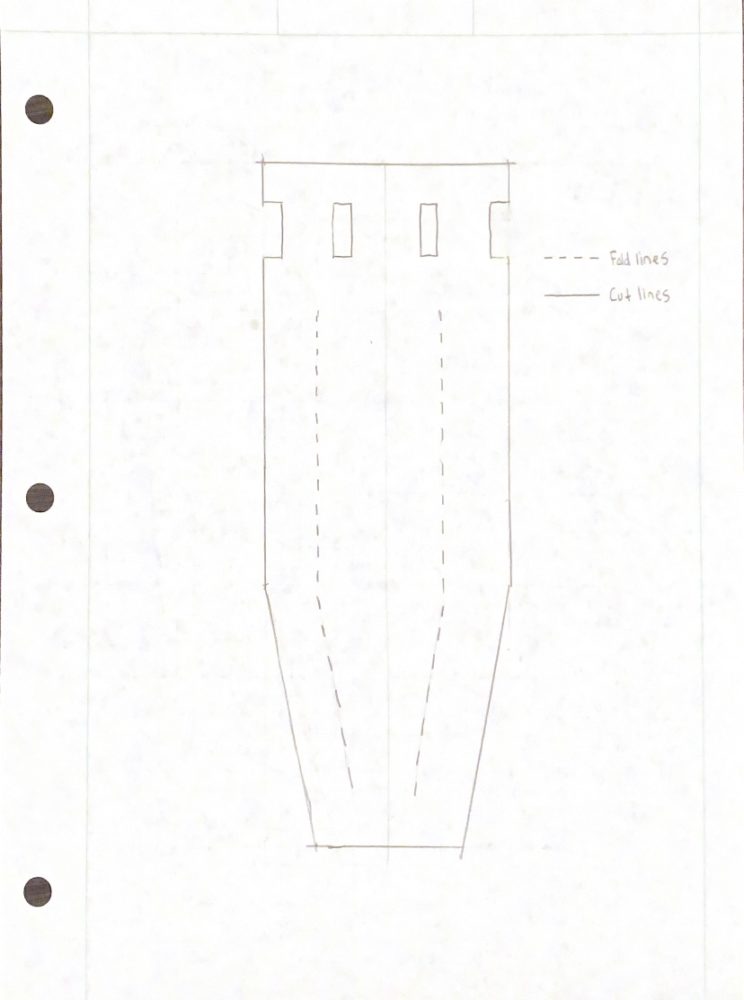
![]()
Fender Fabrication
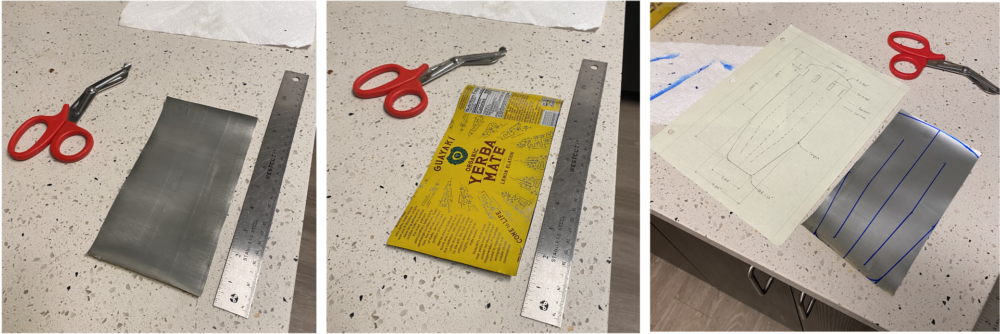
I started the construction by cutting open a can until I had a flat aluminum sheet to work with. From there, I drew the pattern I designed onto the sheet. I then cut the shape out and began to bend the aluminum. This was by far the longest process as it was difficult to keep the aluminum from creasing. Once I had the shape I liked, I began fitting it to the back of the bike seat. After had the geometry matched to the seat, I zip tied it in place.
Final Product
Evaluating Initial Goals
Overall, I think I completed the goals I set for myself. The fender is extremely light, less than 15 grams, and is a very clean and simple design. The fender is very sturdy and doesn’t rattle or rub when riding. The aesthetic is defiantly minimalist and matches my bike very well.
Presentation Video
References
[1] https://litespeed.com/products/ultimate-disc[2] https://www.rei.com/product/125078/portland-design-works-mud-shovel-65-rear-fender
[3] https://www.walmart.com/ip/Htovila-Mountain-Bike-MTB-Bicycle-Front-Rear-Mudguard/693048046
[4] https://us.muc-off.com/products/rear-ride-guard-bolt
2 Comments. Leave new
Hi Reed,
I enjoyed watching your progress on this project through your posts and photos above. The choice of material was great and definitely upholds the idea of an upcycle project. The minimalist aesthetic holds true, but the fender remains a functionable addition to your bike that will be essential for the upcoming spring. I also like how it matches the metallic look of the bike. Like Chris, I am curious to know if it does the job well, let us know when you can!
Hey Reed,
I think this was a great idea and execution on your part. Using only one can’s worth of material was a really creative spin for the project. Your presentation in class was really good too, I was just wondering how it held up on it’s real world test. Hope your back stays dry!