

I chose a headphone stand for my upcycle project as a way to improve my carpentry skills and to create a functional piece of art for my workspace.
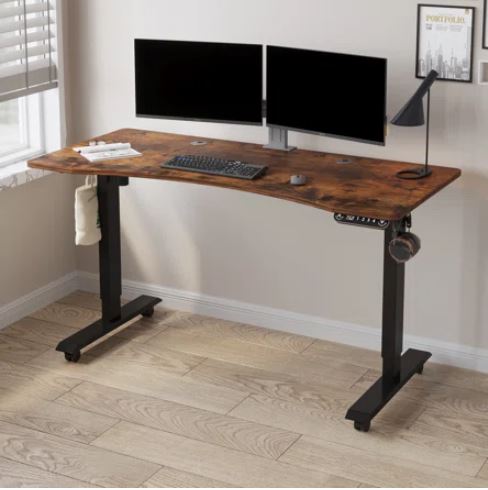
Source: https://www.wayfair.com/17-Stories–Daiah-Ergonomic-Curved-Height-Adjustable-Standing-Desk
I decided to choose minimalism as my inspiration, which led me to make my design fit into my workspace functionally and discretely. Also because of my aesthetic inspiration I chose a relatively simple design composed of a base and a “tree” to hang the headphones on. The base is made of a piece of scrap wood from the Idea Forge Makerspace, and the “tree” is made of scrapped wooden dowels also sourced from the Idea Forge.
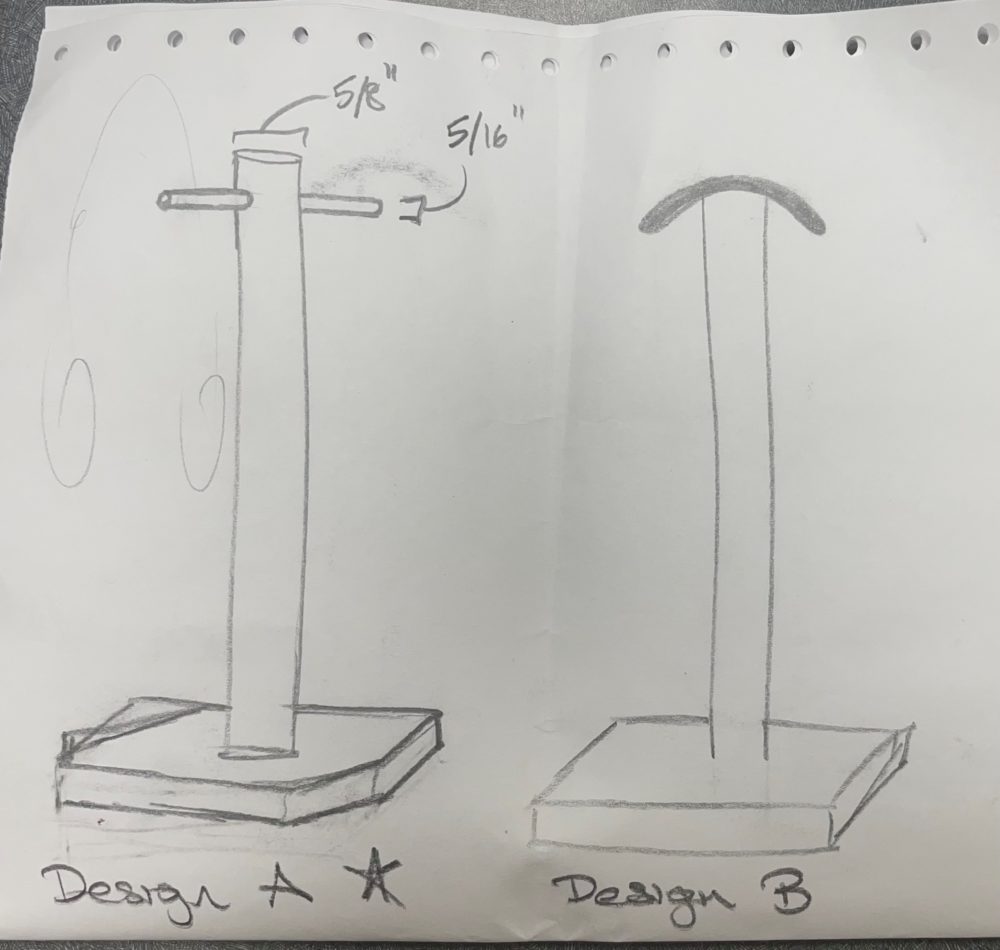
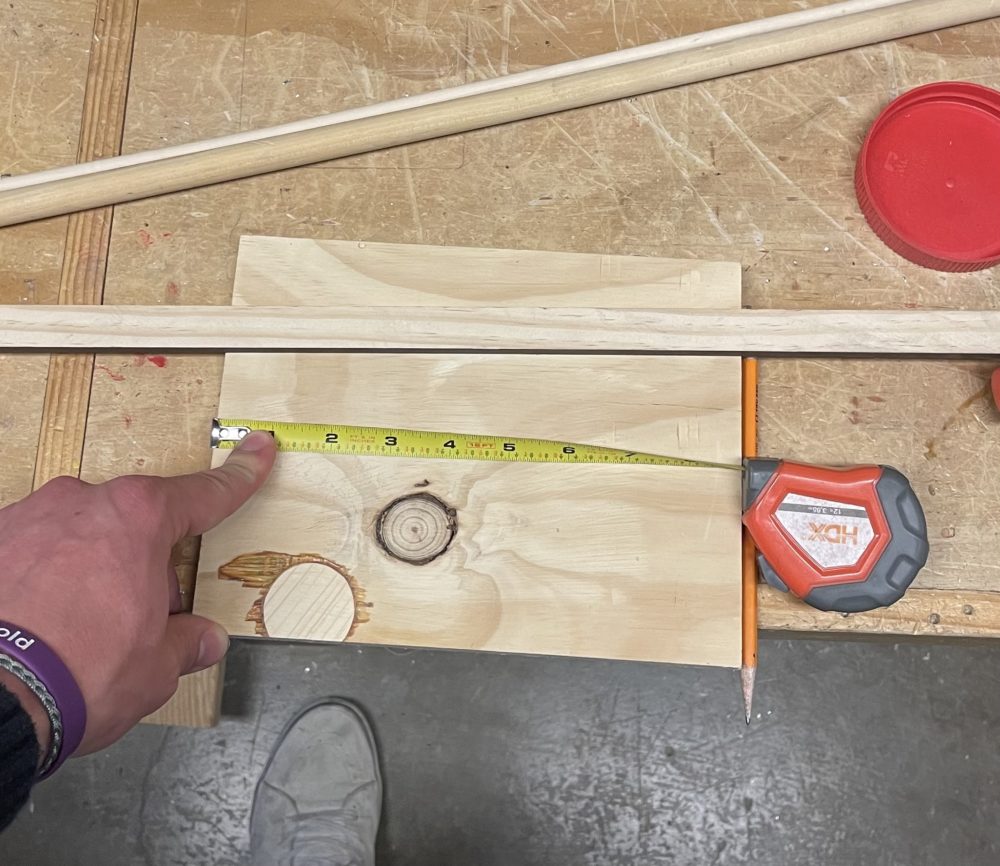
The final dimensions of the headphone stand are 9” x 6” maximum outer dimensions for the base, with triangular cuts on two corners for a more custom fit, and 10” tall with the tree attached. The project involved measuring, cutting, and sanding the wooden base and dowels, assembling the base and dowels with wood glue, and painting the final assembly. The main tools used in this project were the cut-off saw, drill press, clamps, sandpaper, wood glue, and a rubber mallet.
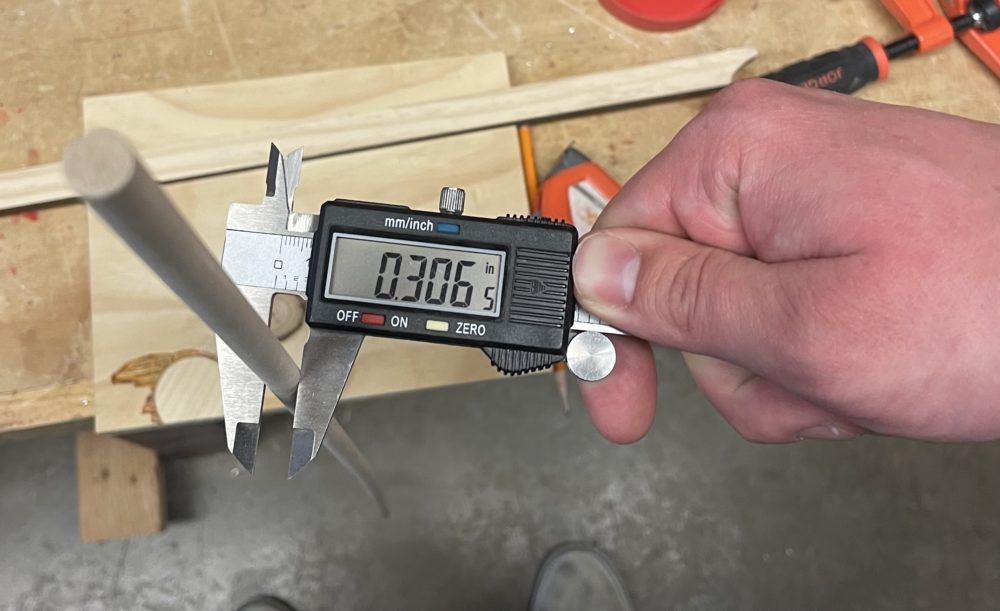
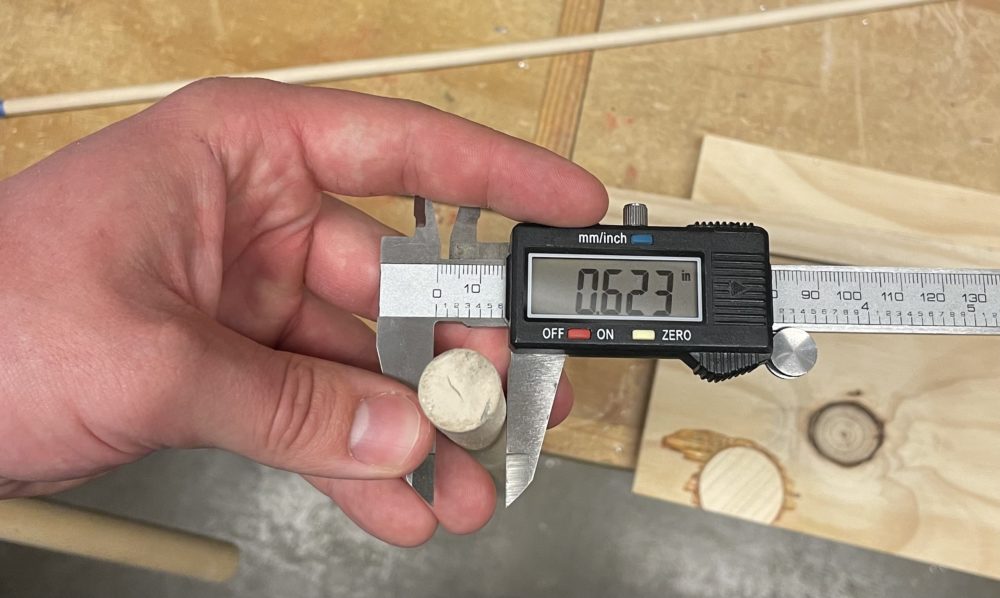
I started the project by sourcing the wood and cutting it to the correct dimensions, then adding some angled cuts to make a more custom fit for my workspace. I measured the dowels using calipers to figure out what size drill bits I needed to use for the dowel assembly. I then sanded the wood on a belt sander to ensure a smooth surface for connections and painting. I then assembled the base and dowels using wood glue and clamps, being sure to wipe up the excess wood glue that rose from the wood fittings.
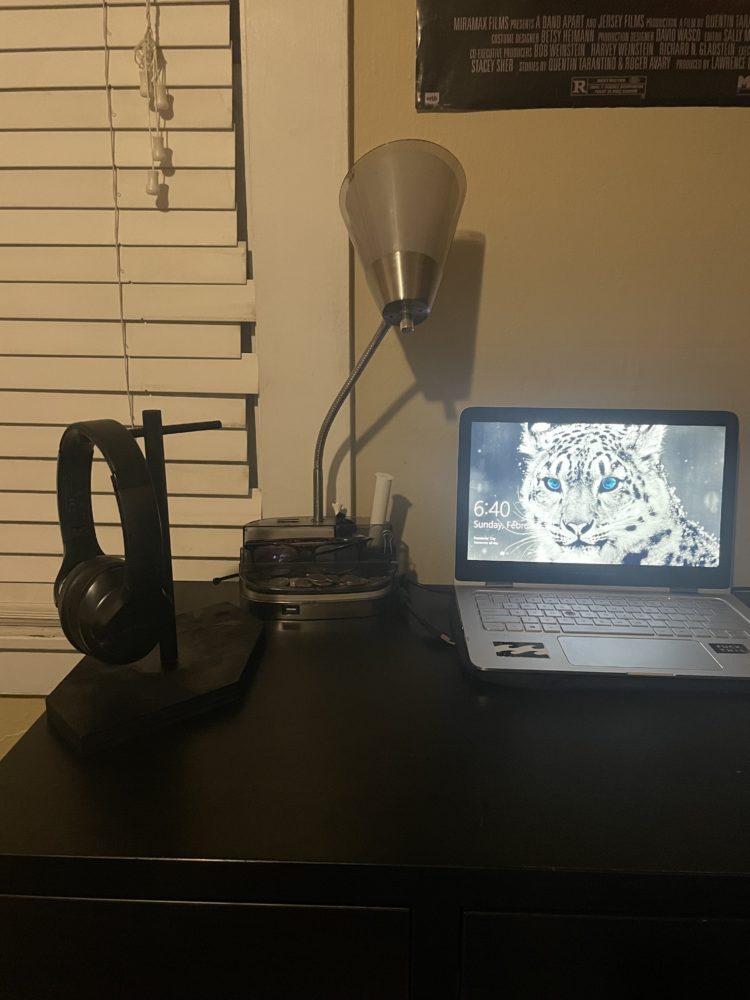
Next, I sanded the entire assembly again, this time with sandpaper, to remove any excess glue to ensure a smooth surface for painting. Once construction was complete, I took the stand outside and set up a tarp in my driveway so that I could spray-paint the assembly. Spray painting it black allowed the woodgrain to show through and match the style my desk that it currently sits on.
Some challenges I faced in this project were making the angled cuts on the base, drilling through the large dowel, and spray painting. The chop saw doesn’t have a wide enough range of motion to cut the angles I needed, so I had to first make a jig to offset the wooden base enough to meet my desired angle. Another challenge was drilling the hole in the larger dowel to fit the smaller dowel through. I needed the hole to be exactly the right size, and in the right position on the dowel. To achieve this, I made another jig to use with the drill press to ensure that I drilled my holes as planned. The last challenge I encountered was spray painting all sides of the assembly evenly and with a full coat. To navigate this issue, I hung the assembly from a chair with some string for the initial coat, then touched up the areas that were blocked by string after.

Overall, the construction of my headphone stand has been an enjoyable and educational experience. The project has allowed me to improve my carpentry skills, and familiarize myself further with the Makerspace. My final design came out pretty much exactly as I would’ve liked, it is out of the way, minimal, and most importantly highly functional. If I were to redo this project, I would cut down the thickness of the base by about half and add chamfers to all the edges, creating a more smooth-fitting appearance.
2 Comments. Leave new
I like the joinery of the top crosspost. What was your painting process?
I love how your headphone stand looks on your desk with your headphones attached. I love how the final stand is very clean and minimalistic, but also makes your desk have a cleaner appearance because your headphones have a designated location. Is there anything you have considered putting on the other side of the T-shape since your headphones only sit on one side?