
The artifact I will be producing is a Ferris wheel that has become overrun by nature. This goes back to the very first aesthetic I explored! Depictions of this aesthetic include imagery of nature flourishing despite man-made obstacles – how humanity has abandoned, neglected, or mistreated a space that was once vital to everyday life. This style was popularized by multiple forms of media, ranging from photographs, paintings, films, shows, and video games. As concern for climate change and other environmental impacts grew, it was not uncommon for movies and novels in the early 2000s to depict apocalyptic events in succession to a man-made catalyst, and how these disasters would affect humanity.
Originally, I thought of making a ferris wheel that includes photos of my childhood, with the very broad aesthetic of “nostalgia”. The wheel was going to be decked out in a carnivalesque theme, complete with bright colors and jewels lining the spokes. One of the last blog posts, which had us depicting our project in two very different aesthetics, is what made me pivot to the current aesthetic.
Another pivot I made is that the photos are not included in the project. I did this because it seemed a little tacky, and I didn’t want to take away from the true effort of this project, which is the Ferris wheel itself. I still like how the aesthetic I chose at the beginning of this course has stuck with me through the semester, and I am excited to finish out with an artifact I feel proud of.
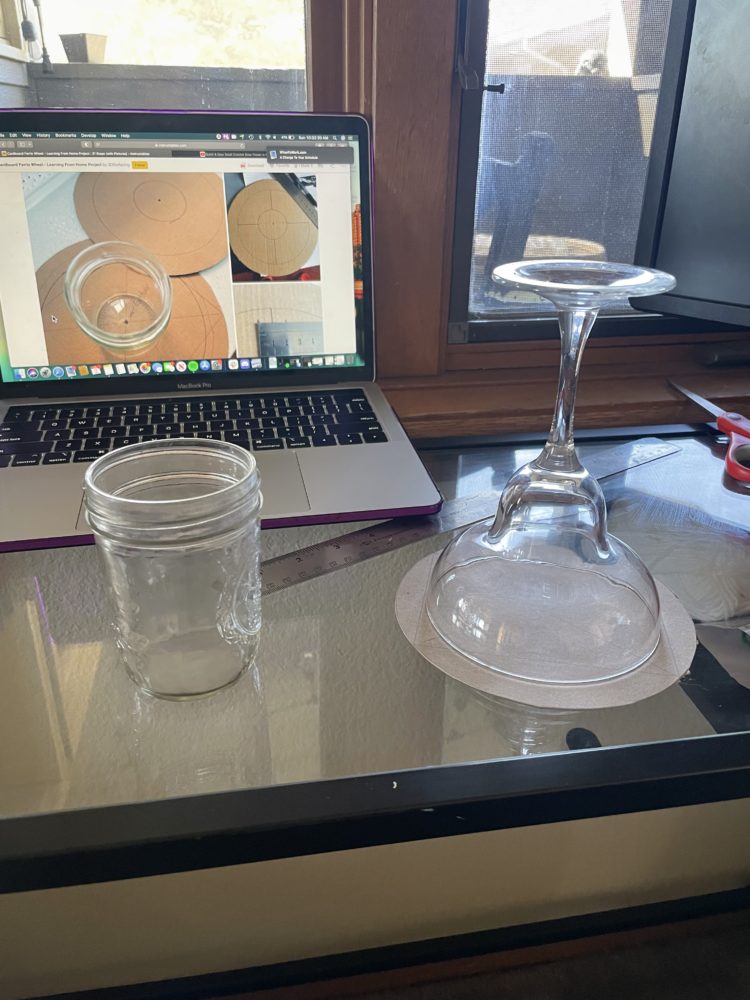
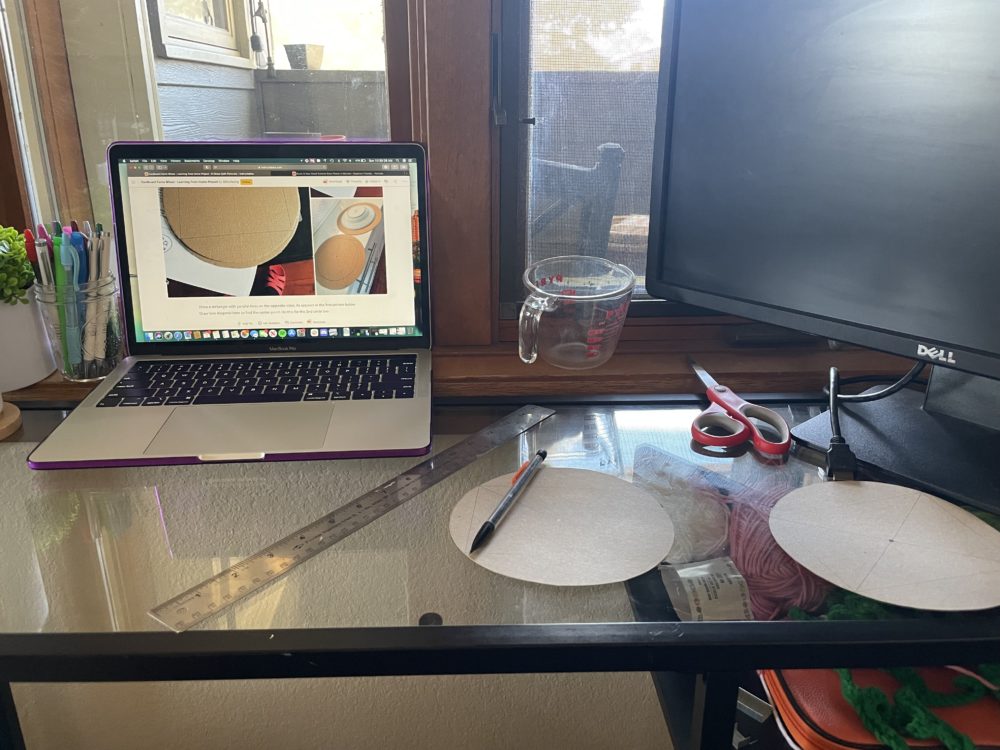
The process started by collecting spare cardboard around my house – which wasn’t that hard to do. Overall, I used a cereal, granola bar, and pizza box to complete this structure. I found a great tutorial for making a cardboard Ferris wheel – I used my own dimensions and judgement to create a structure of my own size.: Cardboard Ferris Wheel – Learning From Home ProjectInstructableshttps://www.instructables.com › Craft › Cardboard
There was a LOT of measuring, marking, and remeasuring before I even began cutting. I wanted to make sure this structure looked as neat as possible, as I know how easy it is for cardboard projects to look robust.
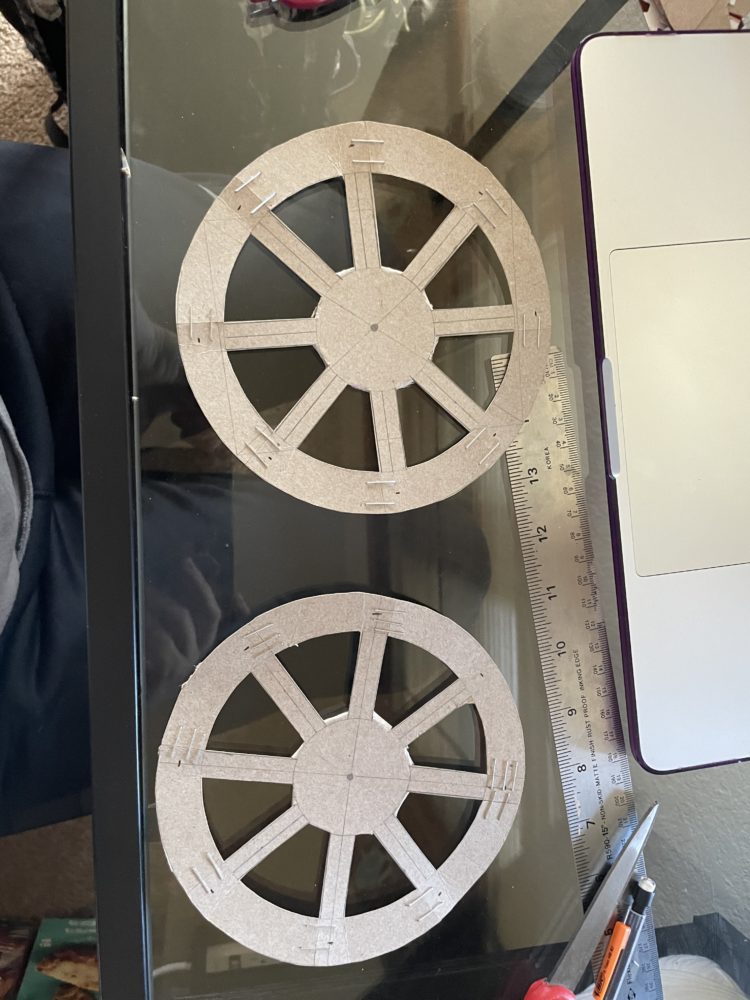
Once everything was cut to the size of my liking, I used a small stapler to assemble what I could. I wish there was an easier way, but I did what had to be done.
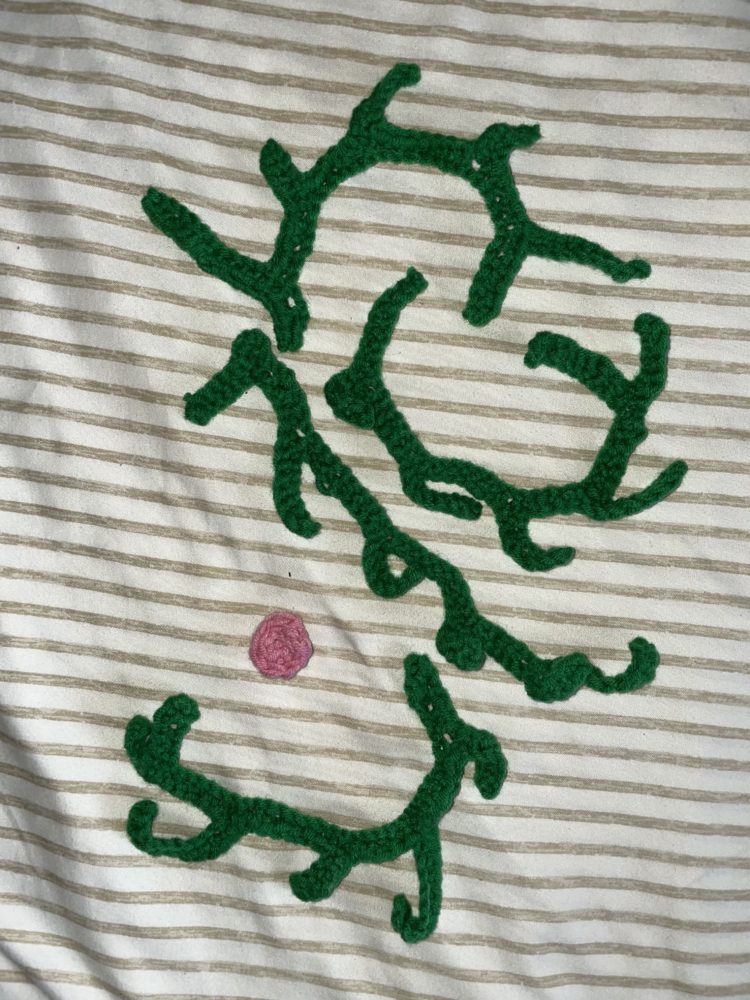
Before assembling the Ferris wheel portion, I began to crochet my plants. Since I am a beginner, I had to use a lot of tutorials. Here are the main ones:
https://www.youtube.com/watch?v=O6knp2UuDJo
https://www.youtube.com/watch?v=CRTkc4McWig&t=255s
https://www.youtube.com/watch?v=QdMwJyatGMI&t=188s
https://www.youtube.com/watch?v=Y8YIUxa9ZnI
Some complications I ran into, and what I did to solve them:
- Attaching the plants to the structure took more trial and error than I thought
I started by trying to sew the plants into the structure, but since the cardboard I used was so flimsy, it would just indent and bend whenever I applied a point force to it. I then thought about just using the skewers as modes of attachment, but there were only so many skewers, and they turned out to be not as stable as a thought. My final solution was to use a small stapler to just brute force my plants on there. It worked surprisingly well! You can barely see the staples, and the plants feel stable.
- Safely getting the skewers through the cardboard
As I mentioned before, the cardboard I used was a Trader Joes cereal box, so it wasn’t the most sturdy material. I wanted a way to stick my skewers through without deforming the cardboard in a significant way. I opted to first make a small hole with scissors, and then use the pointy end of the skewers to push all the way through.
During my final presentation, I was given a lot of feedback to incorporate. A suggestion was made to make my project out of wire, in order to get the finer details down. I think that was a great idea, and hopefully I can try this project again with those materials!