
The realism aesthetic is one of the most fascinating aesthetics to me. For this project I decided to start with an aesthetic and then try and decide what I can make to match. I was drawn to a realism aesthetic after seeing the level of skill required to create something that looks real such as a painting of a fish or sculpture of a person. As I was looking at some examples of realism aesthetic pieces, I looked over at my shelf and saw my hot wheels sitting plainly on my shelf. That’s where my idea popped into my head of making a diorama for my diecast cars. When I was younger, I used to make model cars all the time, but I’ve never made a spot to place them. After doing some more research on dioramas, I found a couple posts on how they’re made. Using basic materials such as glue, balsa wood, cotton balls, and gravel, you can create a diorama quite easily. An example can be shown below.
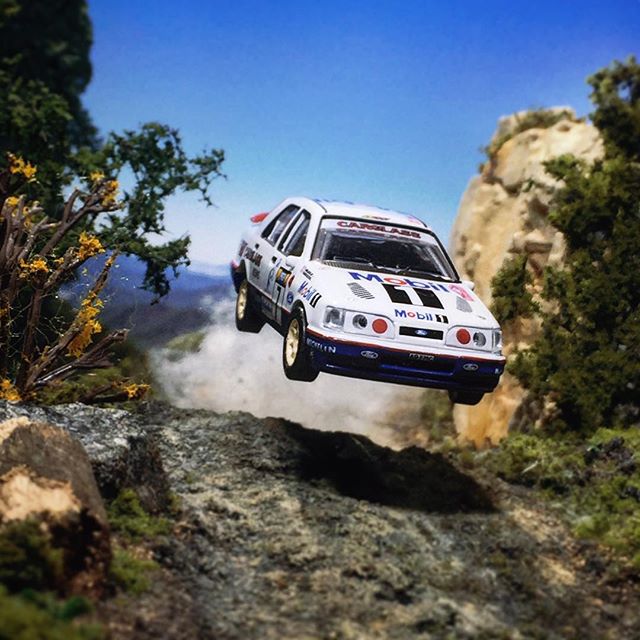
Believe it or not, this is a 1:64 scale model depicting a rally car jumping a crest. From the finest details of the decals on the car to the dust trailing the car as it’s jump, you can really tell the level of craftmanship in a piece like this. As much as I’d like to say my skills are up to the task, they simply are not. However, I’d like to give it my best shot.
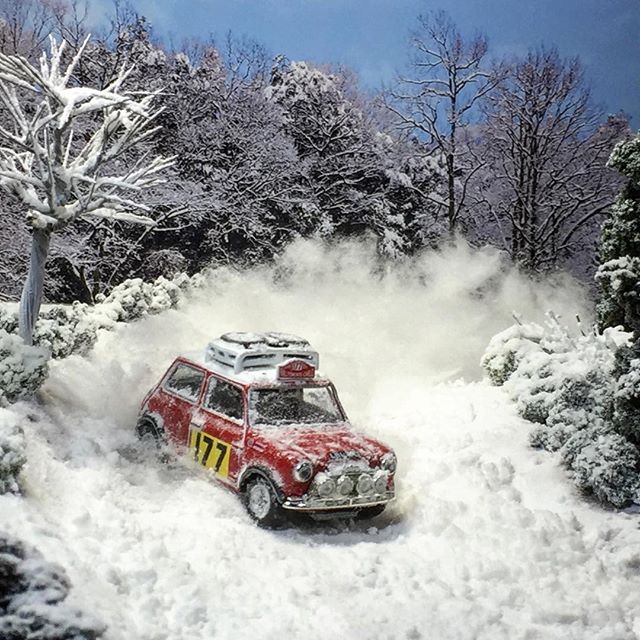
There are multiple ways to go about creating a realist diorama. Here’s an example of a mini cooper sliding through snow. The artist uses a mixture of baking powder and shampoo to create this fake snow with cotton balls as the smoke effect. I think the snow could be cool but a little too messy for my liking. I think with this project, a lot of trial and error will be involved in order to get the realism effect I’m looking for. 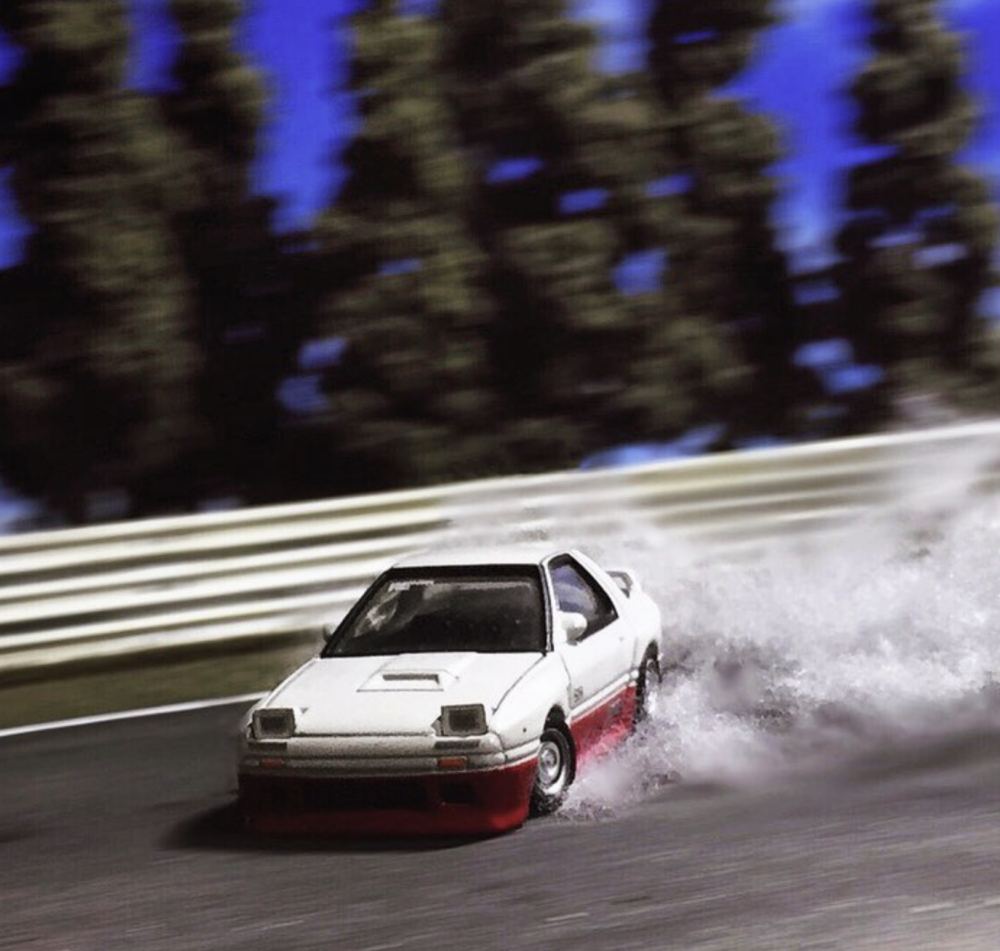
The example above is an example that I will going for. Using glue and sand found from outside my home, I can let the sand set in the glue and paint over it to create the road surface. Then using straws or other materials, I can create a guard rail or a curb. Then I can use a mixture of cotton balls or sponge and paint them to create the foliage depicting grass or a bush. I do want to make this diorama small enough to be a desk ornament, so I am hoping to make it roughly 6 inches long and 3 inches wide. Another Idea I have is to make a small car park with a planter in the middle to accommodate more of my models. For now, let’s just hope it turns out the way I hope.
References
First Photo: Alex (No last name found) , Jan 13th 2016, How to make a 1:64 scale Diorama Shelf How To Make a 1:64 Scale Diorama | Hotwheels Diecast Cars (mycustomhotwheels.com)
Second Photo: Alex (No last name found) , Jan 13th 2016, How to make a 1:64 scale Diorama Shelf How To Make a 1:64 Scale Diorama | Hotwheels Diecast Cars (mycustomhotwheels.com)
Third Photo: Takuji (No last name found), Sep 21st 2019, Instagram, Takuji (@takupon0816) • Instagram photos and videos
2 Comments. Leave new
Hi Luke, this sounds really cool. I agree with you that making a snow theme might be a bit messy and difficult to manage. What kind of model car are you going to use in your diorama?
Luke, I think this is a really cool idea. I always love seeing toy/miniature photography, and I think it’s really kind of a genius approach to the upcycling assignment – it’s definitely going to stand out. It’s good to see the amount of thought you’ve given to how you’re going to build your diorama, both what materials you’re going to use and what techniques you’ll use to transform them. I’d like to know if you’ve given any thought to how you’re going to photograph your diorama; in the examples you’ve given, the way the camera is used is a big part of the sense of scale and motion you get from the miniatures. I’m excited to see what you build!