
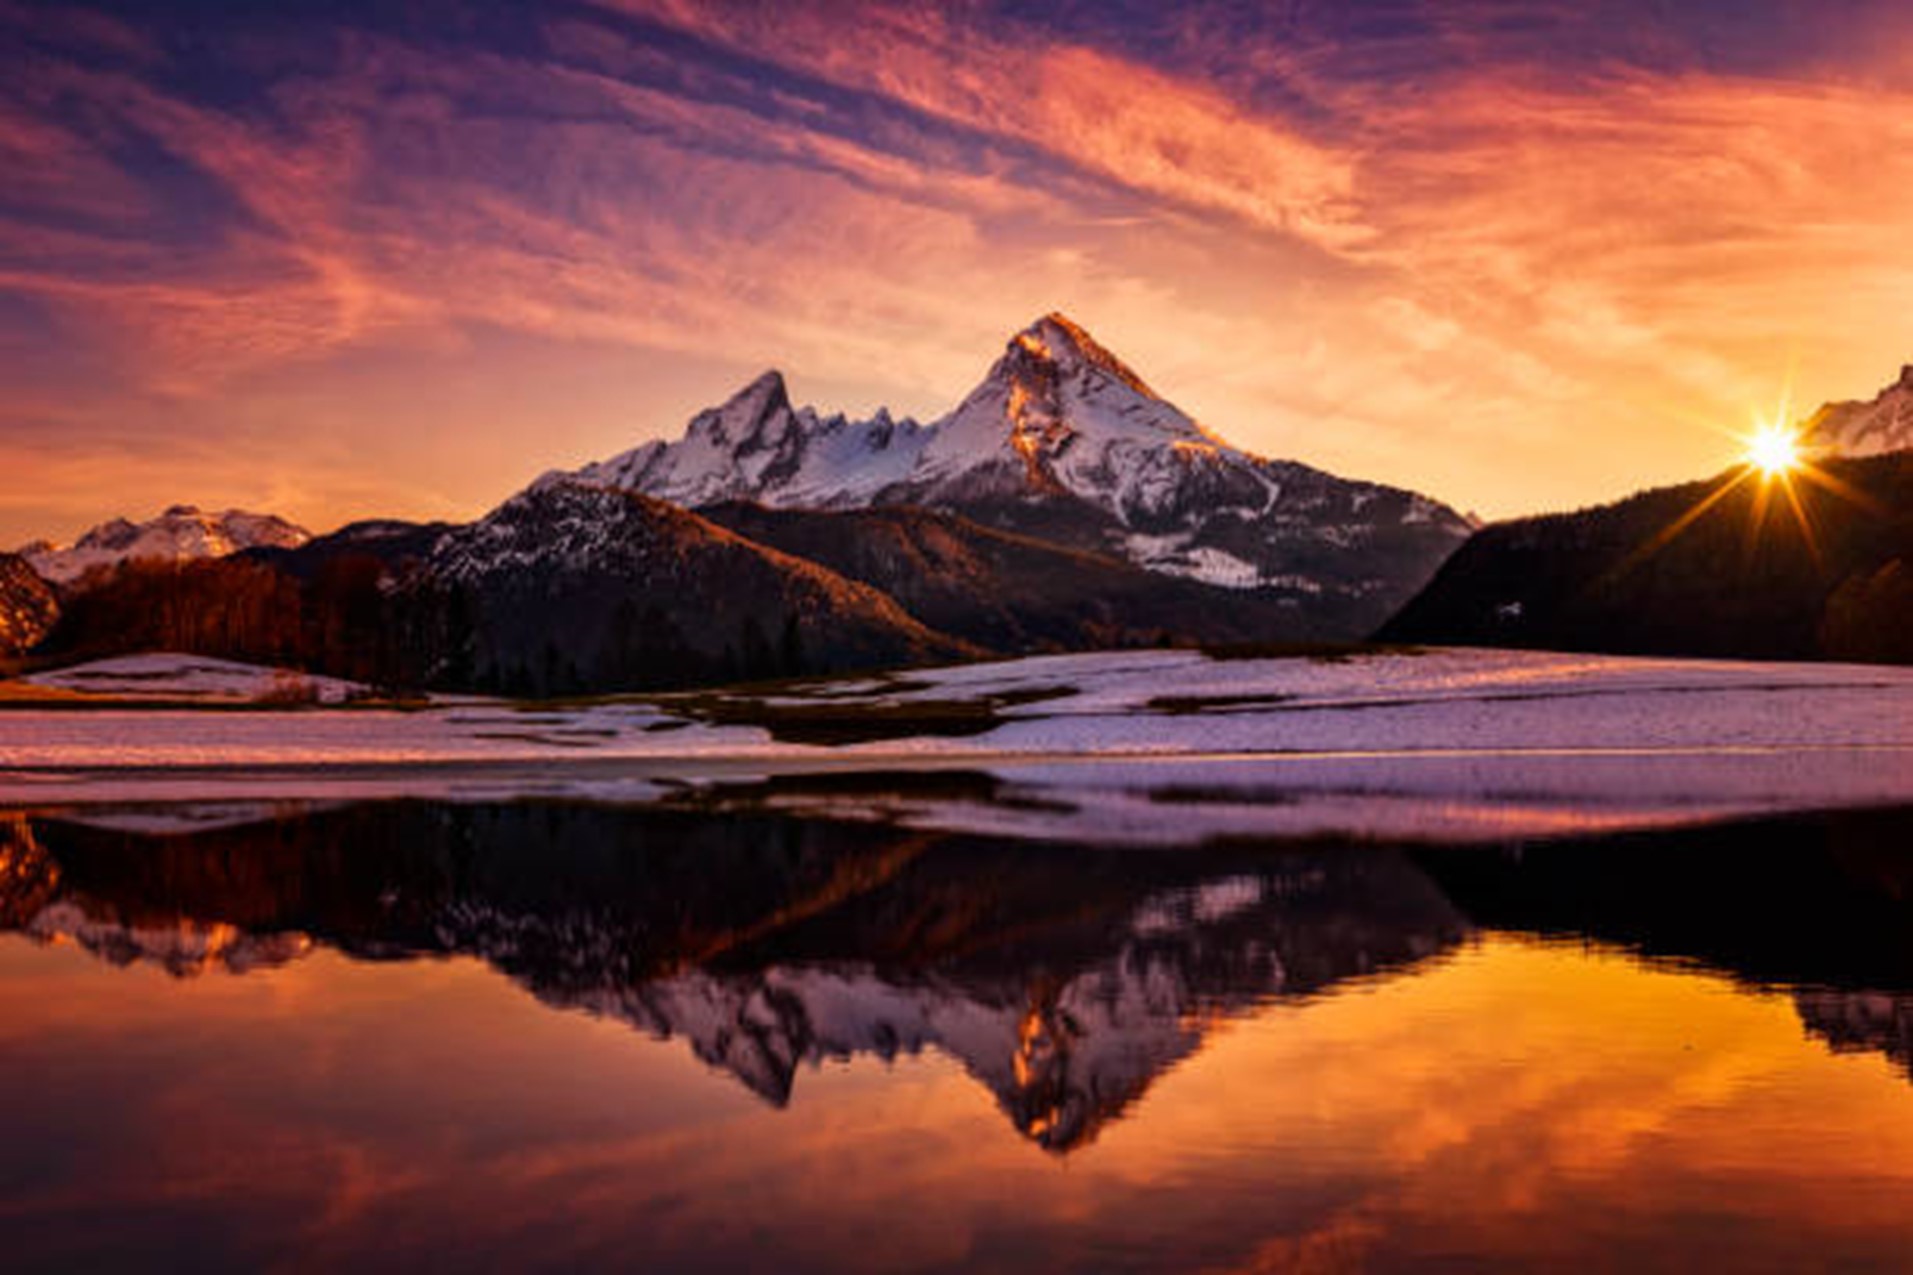
For my final project I have decided to take the dramatic landscape of the flat iron mountain range as inspiration to create a piece of wall art that will dynamically change to match the outside light that a photoresistor will be detecting. I have chosen this as my final project due to the fact that it involves multiple layers of my engineering skills into a singular piece that I will be able to enjoy for years to come. To accomplish this project I have decided to use four critical components that are to make up my finalized design. First is an acrylic laser cut piece that will resemble that of the flat iron mountain range, second is a strip of individually addressable LED lights, third is an Arduino which will handle the coding necessary to accomplish the dynamic aspect of my project, and finally a photo resistor that will detect the amount of light outside to send vital information to my Arduino that controls the light setting that creates a backdrop to my flat iron mountain range.
As forementioned the materials that will be required include:
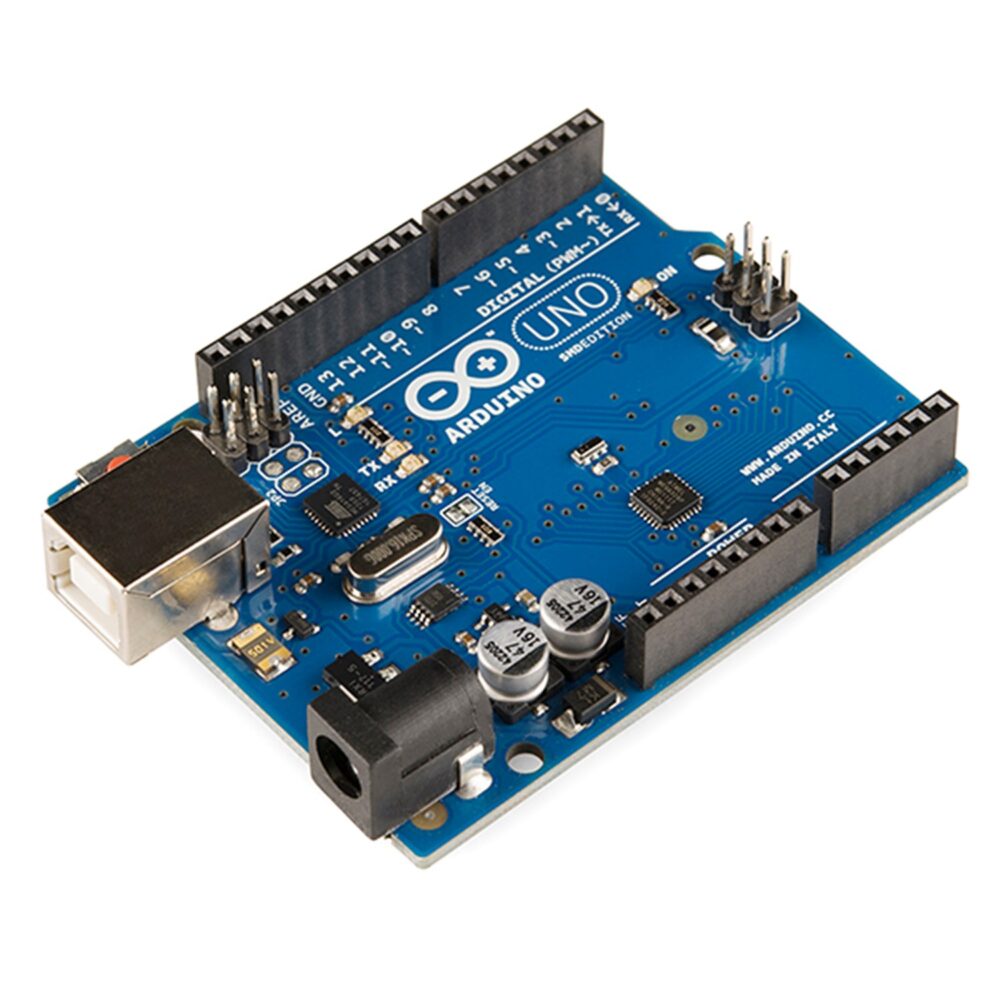
- Arudino (1)
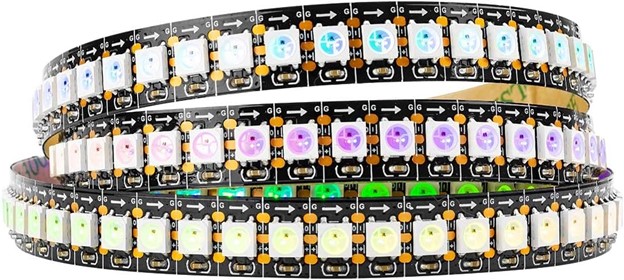
 Individually addressable LEDs (2)
 Acrylic
- Low voltage wiring
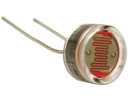
- Photo resistor (3)
 Matte black paint
- 3D printed parts for hanging this piece on my wall
Build Process:
In order to construct this project I plan to use a multi stage procedure that will ensure that all of my sub element assemblies are accomplished prior to moving onto the finalized design. To begin, I plan on creating a .DXM file which resembles that of the flat iron mountains, this file will then be transferred over to the laser cutting facilities over at the CU ITLL. Next, I plan to 3D print wall mounts that will be affixed to the back of this laser cut acrylic piece in order to create enough physical separation from my wall so that the LED lights I intend to use have enough space to create the amount of lighting for the backsplash that will be required. Following the mounting and shaping of my project, I plan to take the individually addressable LEDs and affix them to the backside of my cut out flat iron mountain range using the double sided tape that comes with the LED lights I have chosen to purchase.
Once this major aspect of my project is complete, I intend to dive into the technical and dynamic portion of my project through incorporation of my Arduino and accompanying photo resistor. The overall goal here is to have the brain, (Arduino) detect the ambient light from the outside through a photoresistor to create a color scheme behind my laser cut flat irons in order to match the color tones of the particular time of day present. With the utilization of individually addressable LEDS along side the Arduino code, I will be able to pick different color schemes that will resemble that of the time of day detected by the photoresistor. Through the combination of natural colors along with the dynamic aspect of change, I seek to create a “so to say” visual clock that will tell me what relative time of day is present.
Moving onto the coding side of this project I have seen a few examples of python code that will be required to make my end goal possible. Luckily, I have reached out to some of my computer science engineering friends that have agreed to help me through this process. I believe that finding the correct color temperature and mixtures of color will be a trial and error process, but it should be fun nonetheless.

The above image presented by istockphoto.com (4) represents the color tones that I seek to achieve when my project detects a light reading that matches that of the evening time during the day. The cool part about individually addressable LEDs is the fact that (as the name states) you can program within your code what each diodes color will be. As there is no templates available for an exact match, I look forward to manipulating these individual LEDs in order to create the best possible templates required to match the time of day that will be detected by my photoresistor.
Once the coding and physical assembly has been completed, I will then need to make sure that the appropriate wiring and fit and finish is met. To accomplish this, there are a few key components that need to be accounted for: first is the fit and placement of the transformer needed to power the LED lights, next is the physical mounting that will be needed to hang this on my wall, the wiring that is to connect not only the transformer to the lights, but also to wiring needed to have the photoresistor sit in my windowsill while also being connected to the Arduino.
Timeline:
In order to accomplish my goal for this project, I understand that I must adhere to a specific set of deadlines that I have set out for myself given the time remaining in this semester. As such, I have listed below my intended deadlines that will lead me to the finalized completion of this project
Materials: March 13th – March 22nd
Build and Systems Integration: March 22nd – April 7th
Verification and Validation: April 7th – End of Semester
Design Alternatives:
In order to plan for all eventualities, I have come up with alternative designs that will accomplish the overall goal that I seek to achieve with my minimalist outdoor aesthetic. The first would be that of an automatic squirrel feeder. By using the same photo resistor ideology, I could create an squirrel feeding bar that would automatically dispense squirrel feed given the amount of sunlight that it is detecting. Likewise, I have also banked the idea of creating a minimalist heated outdoor two-plank African chair. I chose this alternative as it still incorporates the outdoor feel as well as the engineering complexity that is required to incorporate a heating system to the seat and back portions. Although I seek to remain attached to my final project, I feel as if these alternatives provide me with a solid fall back if needed.
Verification and Validation:
With any engineering system, one needs to perform a set of test that will verify if a given system performs up to the initial requirements that have been set out by the customer. Although the customer in this case may be myself, I still plan to perform this process to ensure that my project meets all intended landmarks which I have set forth. To begin, I plan to ensure that the laser cutting of my acrylic sheet meets the precision necessary to replicate that of the .DXM file I have created. Without a proper laser cut, my flat iron mountains could turn out looking like a sloppy hillside. Accordingly, I plan to perform multiple test, of which, ensure to functionality of my Arduino and photo resistor. Without a properly functioning brain for my project I will fail to make the dynamic element that has been requested of our class.
Along with the testing and verification of my physical and electronic components of my project, I seek to incorporate an aspect of human factors testing when it comes to the color pallets I intend to us for the various times of day. Likewise, with the various pallets of color, also comes the need to see weather or not the transitions look natural from one stage to another. This may take some time, but in the end, if the transitional phases between different parts of the day is “choppy” that will take away from the overall aesthetic of my project. Finally, I plan to do life cycle testing with the photo resistor that I intend to use as the key sensor in my project. Yes they are cheap to purchase, but I will need photo resistor that is robust in nature and will not let me down over years of continuous use.
Conclusion:
In summary I have a lot of details to this project which I need to come together. Regardless, I believe I have the engineering prowess to make my vision come to life and the resources to help me along the way. The biggest challenge I see in the near future would be coding my Arduino to replicate the landscape I intend to mirror, but as an engineer this is just another speed bump that needs to be driven over in order to create something worthy. Accordingly, I have had trouble with using spray paint on acrylic and would be open to suggestions as to how I could create a better layer of matte black paint on my acrylic mountains. I look forward to the challenges that this final project has presented me with and am open to any suggestions you all may have which may improve upon my final projects completion.
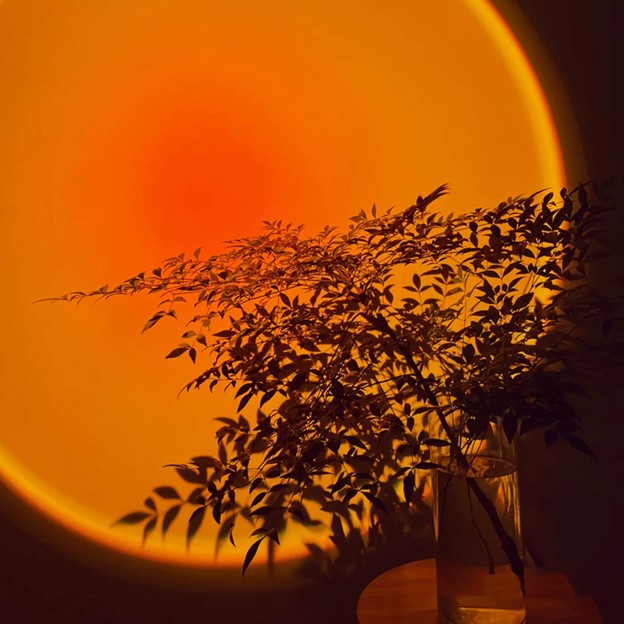
Above is the image of a scene presented by Tsrarey (5) which presents another example of the type of color pallet that I will try to achieve through my final project.
Works Citations
(1) NA, W. (2024, March 10). Arduino. https://en.wikipedia.org/wiki/Arduino
(2) Lighting, B. (2023). Amazon.com: BTF-Lighting WS2812B IC RGB 5050smd pure gold individual … BTF-LIGHTING WS2812B IC RGB 5050SMD Pure Gold Individual Addressable LED Strip High Quality 3.28FT 144LED 144LED/m Flexible Full Color IP30 DC5V For DIY Chasing Color Project(No Adapter or Controller). https://www.amazon.com/BTF-LIGHTING-WS2812B1M144LB30-BTF-LIGHTING-WS2812B-IC-RGB-5050SMD-Pure-Gold-Individual-Addressable-LED-Strip-High-Quality-3-28FT-144LED-144LED-m-Flexible-Full-Color-IP30-DC5V-For-DIY-Chasing-Color-Project-No-Adapter-or-Controller/dp/B01CDTEJR0
(4) Rogertrentham, na, Biletskiy_Evgeniy, na, DieterMeyrl, na, Alecsander, I., AlexSava, na, Mumemories, na, leonid_tit, na, KenCanning, na, Lopurice, na, Gehringj, na, SanderStock, na, Borchee, na, Nastco, na, Jamesvancouver, na, vovik_mar, na, Drepicter, na, Ngamsom, T., Mimadeo, na, miroslav_1, na, … Wilpunt, na. (2024). Istock. iStock. https://www.istockphoto.com/photos/mountain-sunset
(5) na, A. (2024). Amazon.com: Tsrarey Sunset Lamp Projector, 180 degree rotation … Sunset Lamp Projector, 180 Degree Rotation Sunset Projection Light Led Night Light Floor Lamp with USB Port,Sunset Lamps for Photography Party Bedroom Decor,Christmas Gifts for Women. https://www.amazon.com/Sunset-Projection-Lamp-Rotation-Projector/dp/B0925LXDSG