
I have made a lot of progress on my Brutalist lamp project this week. After ordering and receiving all of my parts from McMaster-Carr, I went to home depot to get everything I needed to pour my concrete form. I bought some plywood and a 1×4 for the structure of the form, and then concrete itself. I used quickrete topping mix, which comes pre mixed with sand as an aggregate. This will give the final product a smooth finish. I also bought concrete form release to allow the wood to separate from the concrete after it cures. Here are some images of the form:
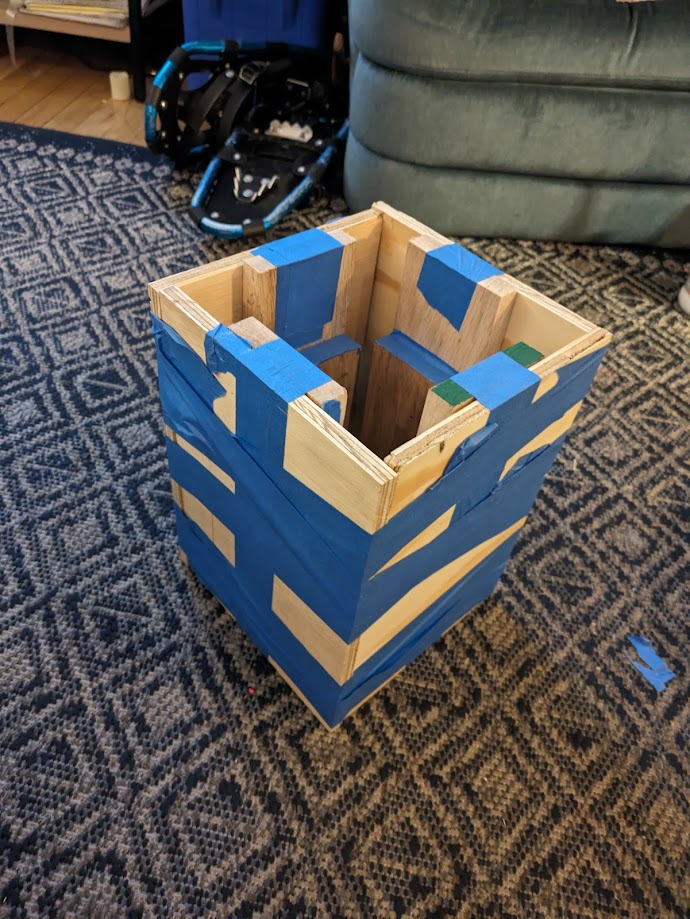
To build the form, I measured and cut the wood using my roomate’s circular saw (thanks Rachel!). I then taped everything together with painters tape, which actually worked very well. I was originally going to use screws, but this was too much work for something that doesn’t need to support any weight other than the concrete. I used pieces of the 1×4 to create an interesting shape so that the concrete isn’t just a square block. These should leave indents in the surface of the concrete that add to the item’s brutalist aesthetic.
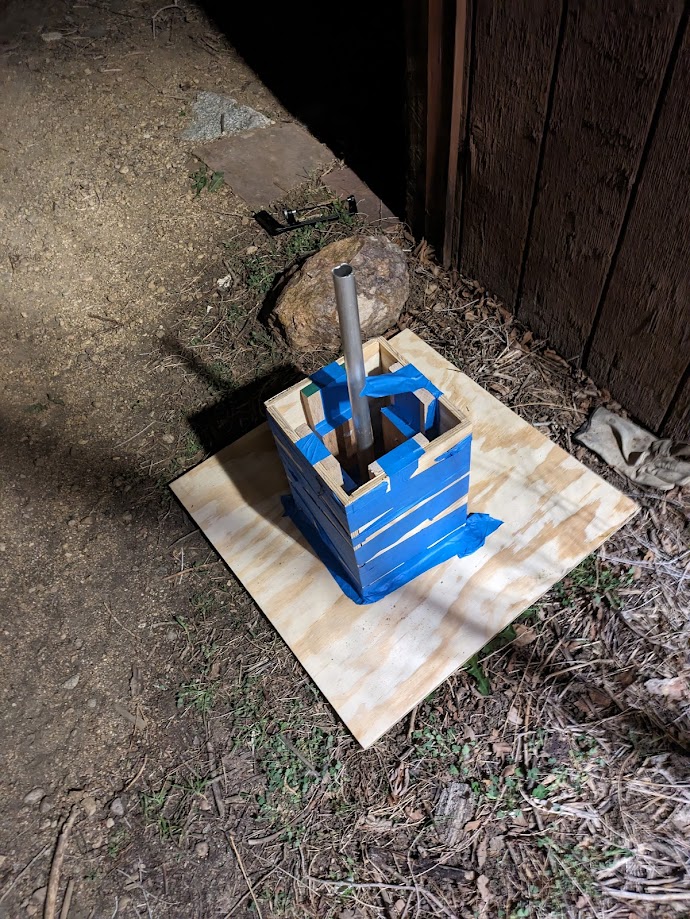
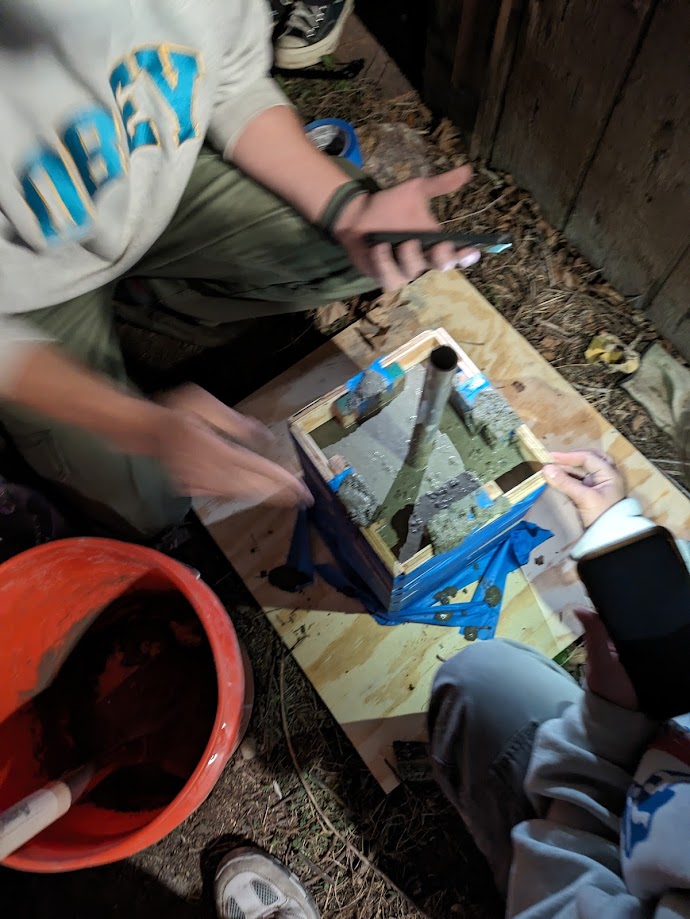
Next, I prepared the form by putting the aluminum tubing into position and spraying everything with form release. When the form was ready, I got a few of my classmates together to help me with the pour. We used masks and gloves for safety, and mixed the concrete in a home depot bucket. We added just enough water to get all of the concrete wet, and then used a shovel to fill the form with concrete. We ended up using about half of the 60 pound bag, meaning that this lamp is going to be a little bit over 30 pounds! This matches my weight prediction, and I decided not to use styrofoam as an infill because I wasn’t too worried about the weight and I was worried it would be bad for the surface finish if any styrofoam sticks out.
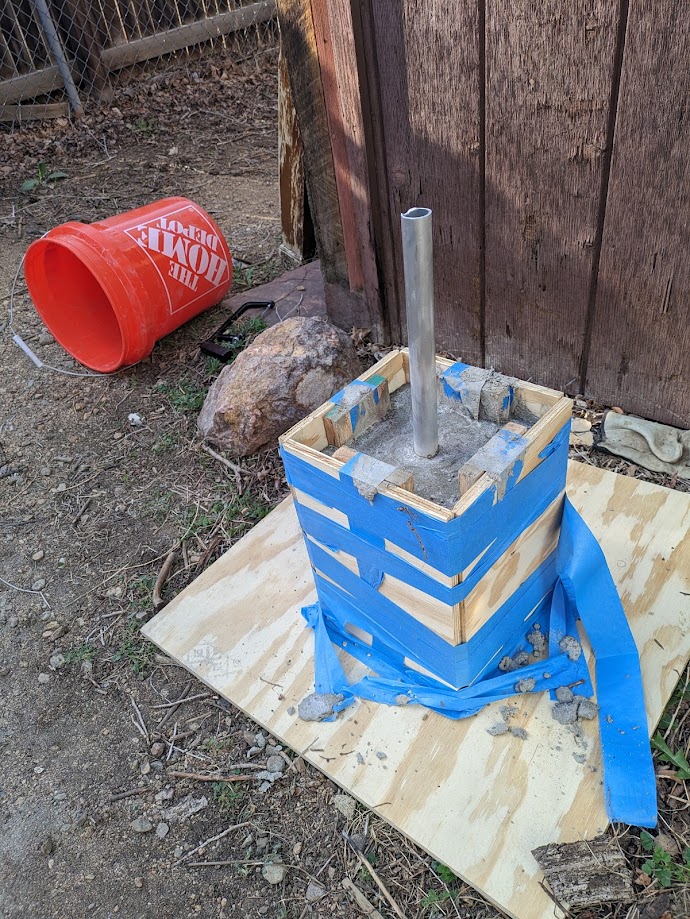
The concrete is currently curing, and the hardest part of the project is done! All I have to do now is wire my lightbulb, make a lampshade (I am thinking of using a metal bowl for this) and assemble my tube joints. I am glad I was able to get this much work done on schedule, and the pour seems to have gone really well. I am excited to see how my more intricate shape turns out. I designed it so that there are handles in the concrete itself so that it is easier to lift.
5 Comments. Leave new
[…] Brutalist Lamp Progress […]
This is looking so cool so far! I’m very impressed with your method for holding the cement too. If you use a metal bowl for the lampshade portion of this, would it be a solid bowl or a bowl with some holes poked in it? In any case I can’t wait to see the final product!
I ended up using a plastic cup from Target which worked very well instead of a metal bowl.
Hi Alex, looks like you’ve made a lot of progress on your project. Just taping the wood together for the mold was a good idea and probably saved time in the pouring process. Have you tried taking it out of the mold yet? Good luck on the rest of your project.
Taking it out of the mold was very difficult but it came out very cool!