
As stated in previous posts my project for this class is an Alexander Calder inspired mobile with roots in the abstract kinetic sculpture aesthetic. I want my design to have the appearance of weightlessness with a transition from a starting vertical ornament to a horizontal final beam.
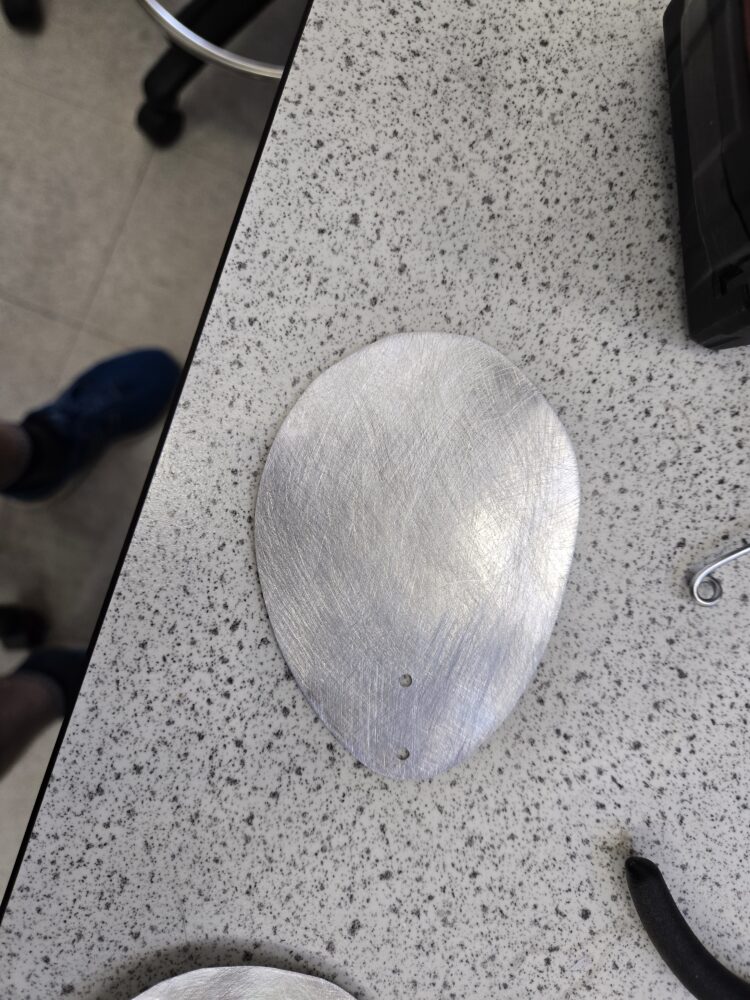
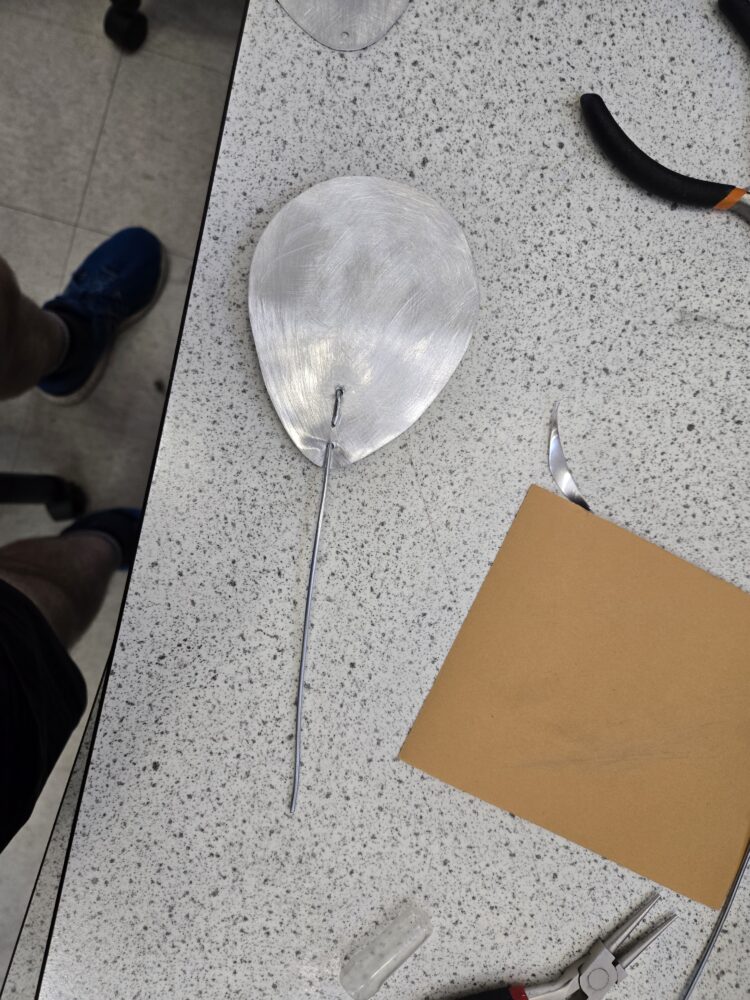
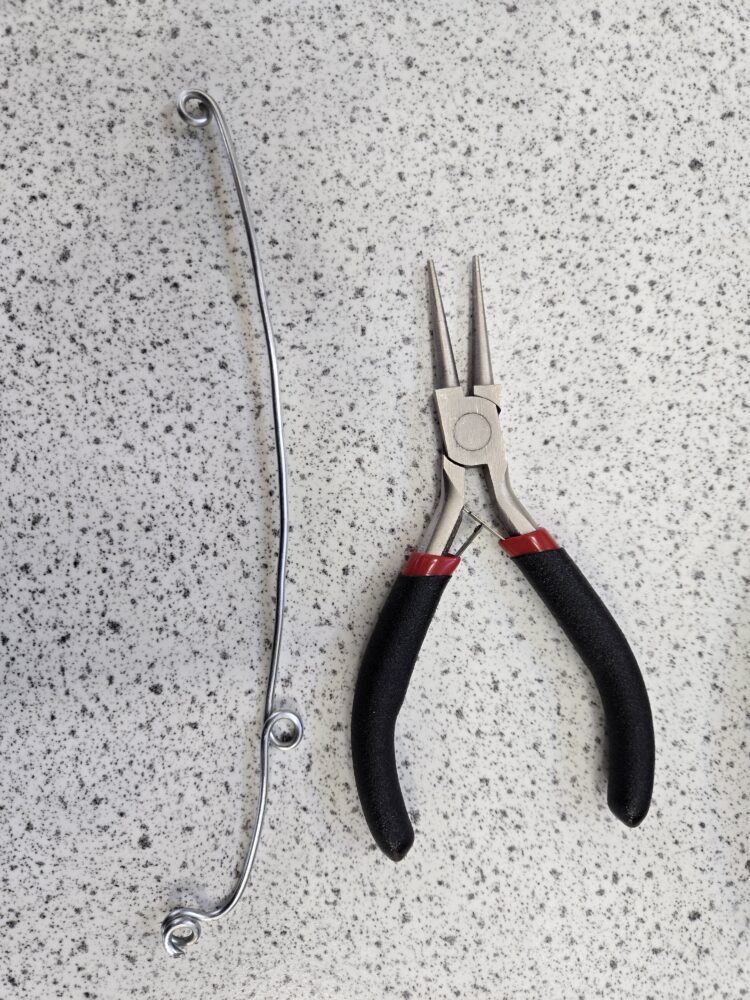
In the weeks since my design preview I’ve nearly completed my project. I started with sanding down the individual ornaments for the mobile to both remove rough edges and prepare for the eventual sanding of my project. This process was somewhat time consuming and potentially hazardous as it really got aluminum dust everywhere. I made sure to be wearing a mask when I was sanding just to ensure that I didn’t accidentally damage my lungs somehow. I stated that one of the major constraints for my project would be that getting the balances right to get the angles I was looking for. I found that it was surprisingly easy. As long as you work from the bottom up the ornaments can be added first, followed by sliding the fulcrum along the arm until the appropriate angle is hit. At this location I would then add a small loop in the metal where fishing line can be attached. As I worked I realized that the scale of my mobile (though a few feet in length) wasn’t nearly large enough for the metal taken up in the loop making process to be negligible, and as a result the angles I aimed for were very hard to hit. I got the initial angles I hoped for but as the model expanded so did the overall design I ended on.
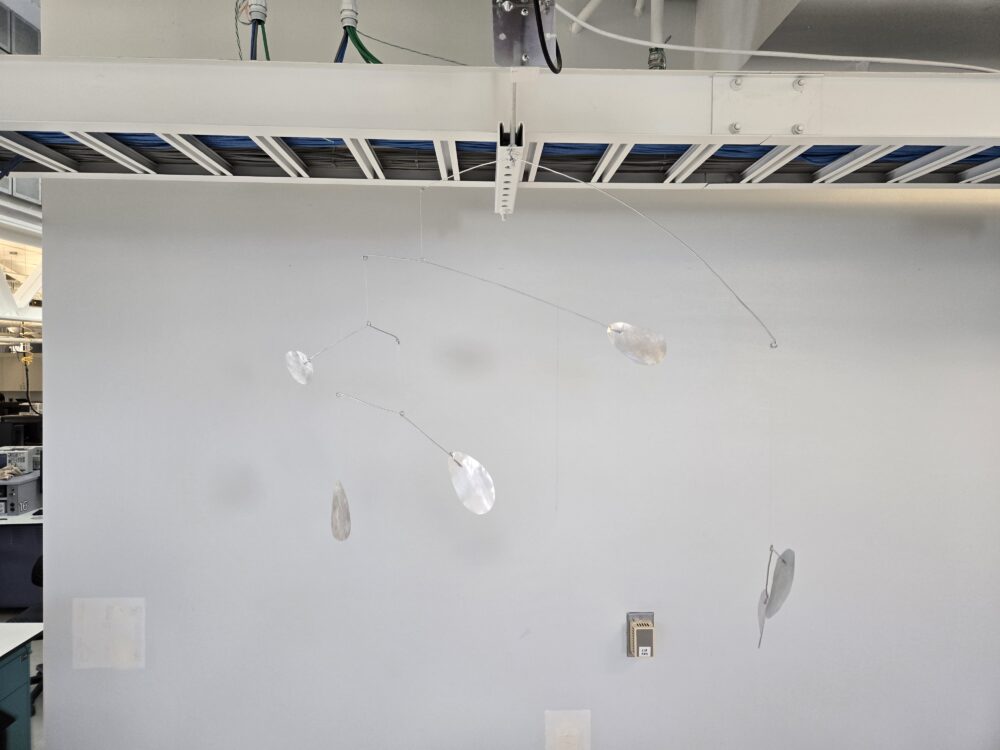
I ended up not following through with the Fibonacci sequence based design that I initially was aiming for. Though the broad strokes were the same I moved that final of the six ornaments to the be on it’s own angled moment arm that acted as the counter weight for the rest of the mobile structure.
The last step of the process will be spray painting the design to the deep red / maroon that I envisioned for my design. I think this will really bring the overall design together. Right now the parts are hard to see against a white ceiling, and the metal reveals the individual flaws of bending and cutting. I’m going to start with a layer of primer and then add a layer of red paint and finish the design off with a layer of matte coating. I believe that this will result in a cleanly finished final design that has good
I’ve attached images of the construction process below:
2 Comments. Leave new
Great job Trent, it really seems like you’ve put a lot of time and effort into this project already! I’m excited to see what the painted final product will look like.
Thanks Dylan!