Top 5 Specifications and Constraints: Minimalist Interchangable Photo Collage
By: Michael Gray
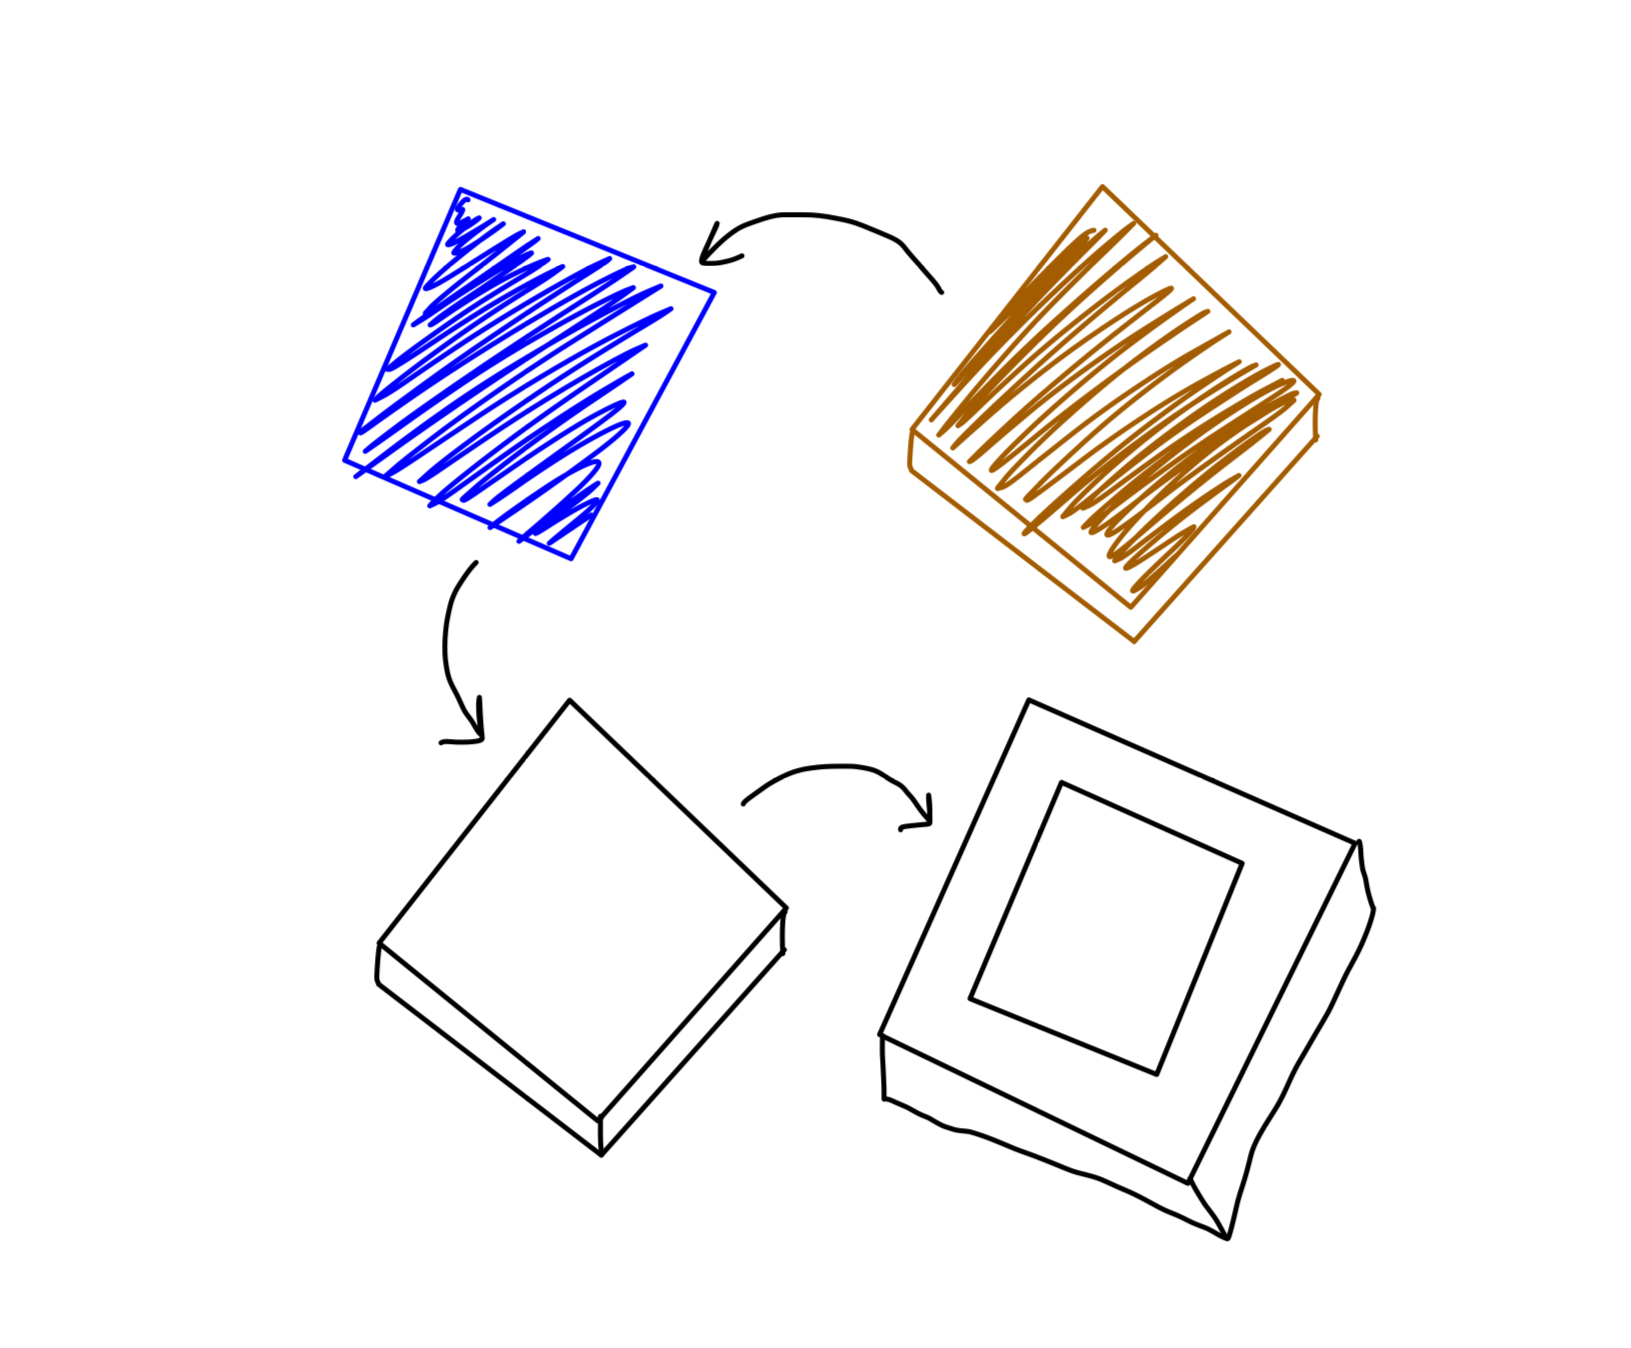
A sketch of one mini-frame subassembly
Introduction
In this post, I will be discussing the top 5 specifications and constraints that I have identified regarding my final project: The Minimalist Interchangable Photo Collage. As this is the third post about my final project, please see post 7: Main Project Aesthetics and post 8: Design Preview Report for context.
Top 5 Constraints
(1) Attaching Various Materials
As I plan to use magnets, PLA plastic, acrylic, and cardboard to manufacture parts for my project, one constraint I have identified is attaching these various materials together. I currently plan to use super glue, as the glue I have bought (seen below) [1] is rated for all of the materials previously identified. However, using glue effectively can still be challenging.

(2) Time
As I have spent more time designing my project and breaking down how I want to manufacture each part, it has occurred to me that while excluding magnets, I will be assembling 52 parts. This includes eleven each of the following: mini frame, acrylic, photo, cardboard backing, as well as eight parts to create the backing which mini-frames will be mounted to. One of my largest constraints will be time due to the amount of time that designing, manufacturing, and assembling this project will take.
(3) 3D Printer Errors
I will be 3D printing the mini-frames for my project. I have a fair bit of experiencing with 3D printing, and something that I quickly learned as I became familiar with the process is the fact that 3D printing is a relatively new technology, where a lot of things can, and usually do, go wrong. From errors during the printing process, to errors in the surface finish of the parts, it can be difficult to print a part exactly how you want it, let alone eleven. This factors into the time constraint as well. Hopefully, since the fillament I will be using from the ITLL is free, I plan to iterate my parts early on, and I will be using high-quality 3D printers (Prusa Mk 4’s, seen below) [2], I will be able to overcome this obstacle.

(4) Focus on Functionality
As a mechanical engineer, my focus, before this class, while designing parts, has always (and almost exclusively) been on functionality. I have learned about the importance of aesthetics throughout the semester, and I recognize that the aesthetics of this project are more important than the functionality, however, I can easily see myself sacrificing aesthetics for functionality later on in the project if I am not careful to remember the specifications that both professor Hertzberg and I set.
(5) Tolerancing and Fitting Parts Together
Speaking of functionality, I forsee that tolerancing (designing parts that fit into each other with different dimensions) all of my parts will be one of the biggest challenges I will face. From fitting magnets into the mini-frames to attaching the different compoents of the backing, there are many toleranced pieces in this project, and because of the number of parts I am dealing with, any error in any of those fits could set my project back weeks. Fortunately, I have experience in tolerancing parts together, and again, as I have already started the design and prototyping phase of this project, I believe that I can successfully tolerance and manufacture every part on time.
Top 5 Specifications
(1) Minimalist Aesthetic
In order for this project to be successful, I must successfully portray the minimalist aesthetic. I plan to put this aesthetic on display using the color white, square shapes, and lack of detail. However, this could actually prove to be a challenging task, as without details to draw viewers into certain aspects of the piece, my parts will all be examined for imprefections. I am especially concerned regarding the white, 3D printed mini-frames, as white 3D printed parts can come out with imprefections that make them look dirty and unfinished (examples below) [3].

(2) Picture Frames Do Their Job
I am creating an art piece that incorperates picture frames, so for it to be successful, the picture frames must hold photos well and work as traditional picture frames do. This includes the frame itself holding the rest of the parts, and those parts (the acrylic, photo, and cardboard) fitting together well.
(3) Ease of Mounting
This specification relates to the previous, but specifically is about the mounting of the piece to a wall. This project is meant to eventually be hung on a wall, and if it cannot do that, then it is not able to perform its functionality.
(4) Moving/Interactive Features
One of the few specifications given to the class by professor Hertzberg regarding this project is that the piece must have some sort of interactive or moving component to it. I plan to execute this by making the mini-frames magentically attachable to the backing, allowing them to be swapped out by anyone at any time. If for some reason this interactive component is not realized in the final product of my project, then it will not be a success.
(5) I Am Proud of It
The best way to determine wether a project is successful, is wether the person who it was designed for is happy with it. In this case, I will be the one enjoying this piece in my home, and if I am happy with the outcome, and proud of the work that I put into it, this project will be a success.
Refrences:
- https://www.amazon.com/gp/product/B0916KZ598/ref=ppx_yo_dt_b_search_asin_title?ie=UTF8&th=1
- https://www.prusa3d.com/product/original-prusa-mk4-enclosure-bundle-8/
- https://forum.bambulab.com/t/is-that-a-problem-micro-z-banding/3957


1 Comment. Leave new
Michael, I appreciated that you including tolerance in your challenges. This was, knowing the fit of things you can further pin down your projects specifications. Super cool technical idea! Cant wait to see it at expo!