
How did it turn out?
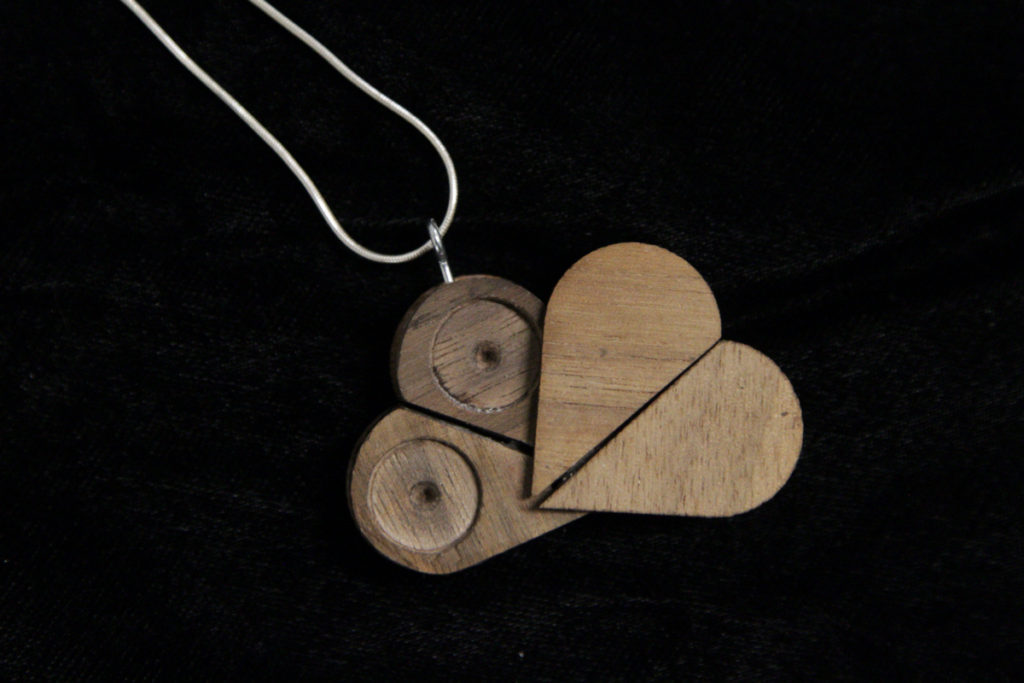
Well, I finished the project as you can see from the featured image. However, I am not very satisfied with the end result. I was hoping for a very clean and professional feel while still working with wood. However, with a project this small, that feeling is a matter of thousandths (thousandth of an inch). This is simply not possible with wood and the methods that I had at my disposal. It might be possible with a CNC mill but I didn’t have access to one. I feel like with wood, this is as good as I could have hoped to do. It does work but I maybe could spend a few more hours shortening the half-pin hinges but I am not sure if this would really help the overall fit of the doors. In addition to the fit, I attempted to do a brass inlay. However, the method that I used failed completely and did not look good at all.
The Next Steps
In the search for a better feeling locket, I turned to 3-D printing. This has resulted in a much better product that spins much easier and is much more tightly toleranced. Also with this method, I was able to change the inner, twisting hinge to a nut and shoulder bolt. This type of hinge cannot slip out like the ink cartage and shortened nail can. However, I am still not satisfied with the material, I have heard that the verowhite plastic is very brittle and have broken the doors off once already. I am making some new plans to 3-D print the parts in metal or to machine all of the parts out of brass. I may try to still do some sort of inlay in the doors but with both of these new methods, I am not sure if that would be a change of metal or something else entirely.
The Costs: Time and Money
Time. The biggest cost of this project was time by far. I had to spend many hours on this project, mainly sanding and doing very fine work with exacto-knives. Overall, I was not over budget by very much, only $5. This is my final budget breakdown:
- Walnut – 1/16″ = $4.75
- Walnut – 1/4″ = $4.75
- Jewelry Chain = $30.00
- Random Hardware and Shipping = $10.00
- Exacto-Knives and super glue = $10.00
- Dremel = $0.00 (Birthday present from my parents!)
Total (Expected) cost = $58.50 ($53.50)
Lessons Learned
My biggest lesson that I learned from this project was not to tolerance wood tightly. There are some things that you can get away with if you can sand and hide the, but if you cannot hide the joints, you are going to be spending a lot of time sanding and whittling away wood if you want to get an exact tolerance, if you can get it at all. The other thing that I learned through this project is grain orientation matters. If you have a piece that is narrow (even if you don’t,) put put the grain along the narrowest portion of the part. This will greatly increase the strength of the part.
1 Comment. Leave new
I ran into the same problem with wood tolerances! I machined a perfectly square box, and then it dried out more and warped. doh!
That said, your project still looks really cool! If you want to clear coat it, I have most of a can of clear polyurethane spray left over from my project- you’re welcome to use the rest of it!