
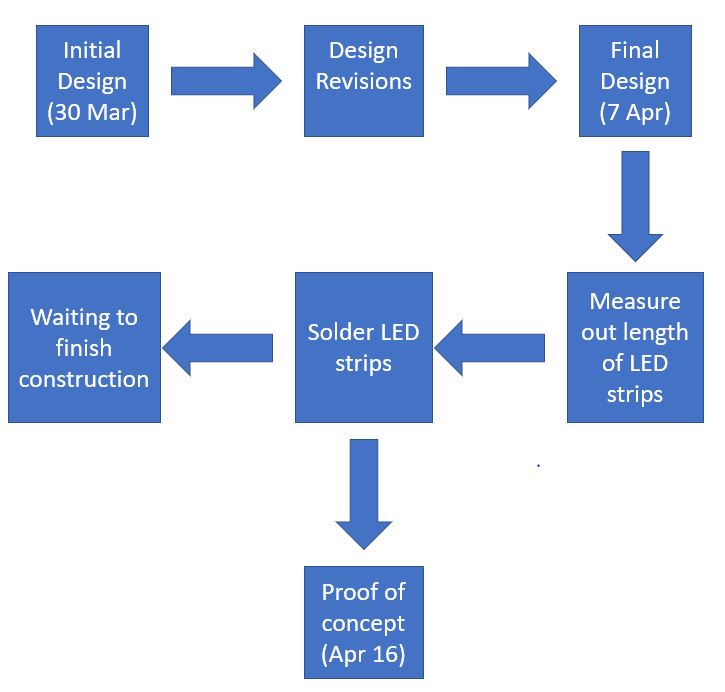
For my final project I designed an LED “neon” sign. This sign represents my love of aircraft, and incorporates symbols from my future flight training. A simple timeline of my project can be found below:
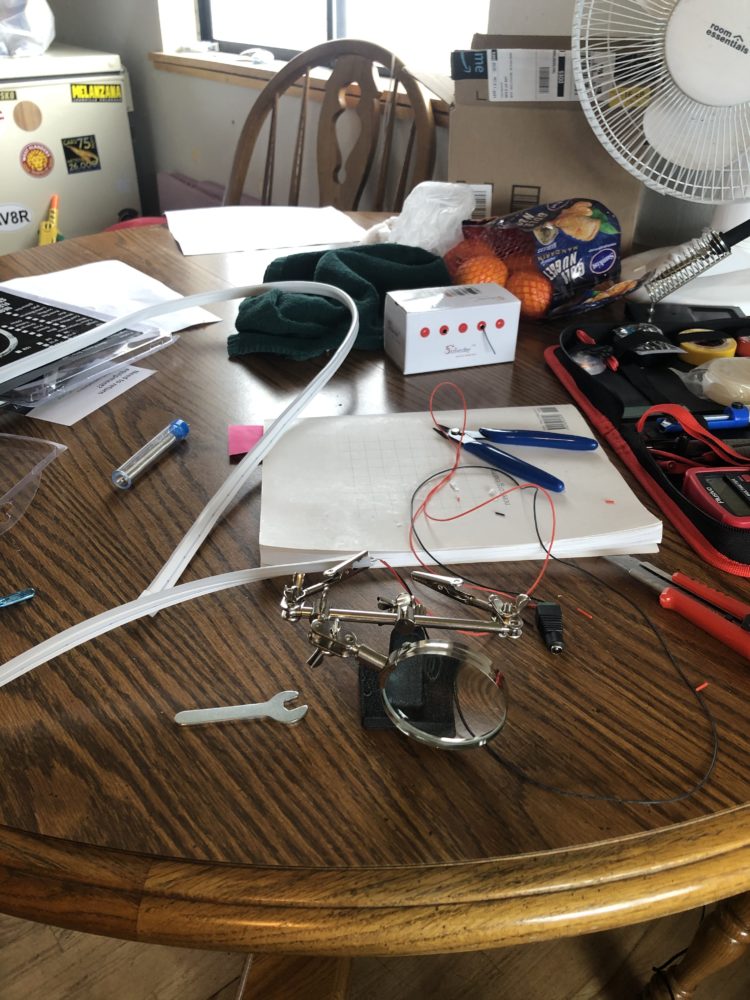
After Completing my initial design I began ordering my supplies. A majority of my materials came from Amazon, to include the LED strips, a soldering kit, wire and a power supply. I also had to purchase a set of helping hands from Harbor Freight tools to hold the wires I was soldering. The last item I needed, the clear acrylic backing, was purchased from Home Depot.
During the time it took to ship my items (approximately a week), I revised my design to it’s current state. Once the design was finalized, It was time to begin fabrication.
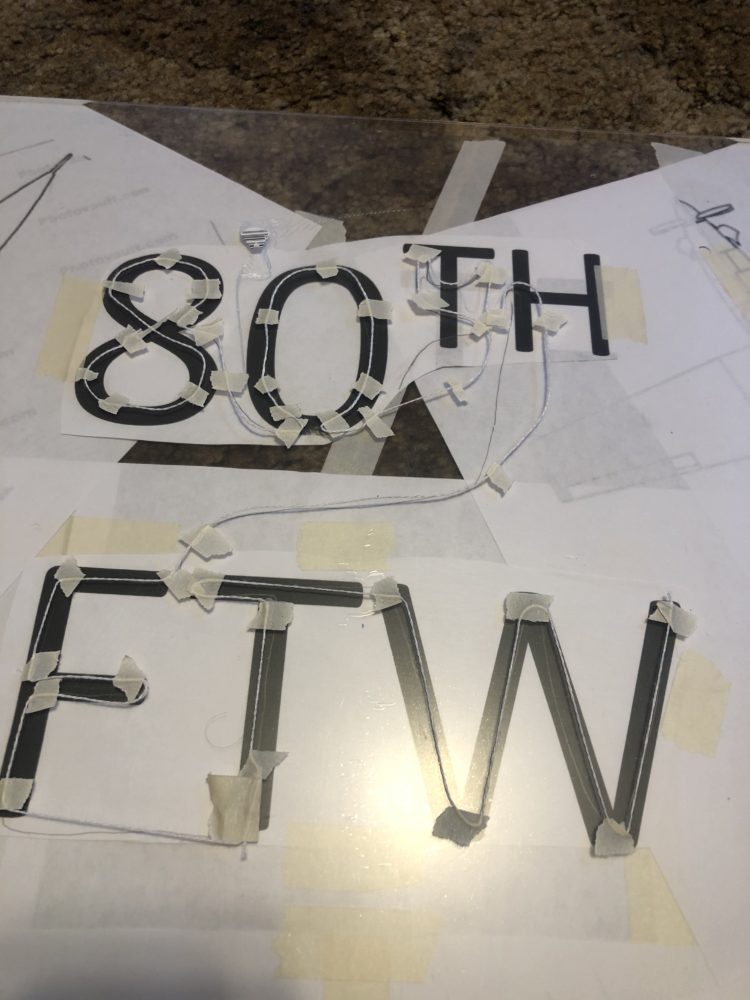
The first step in my fabrication process was to measure the length of LED strip that each element would require. I accomplished this task by taping down a string along the path the LED strip would be glued to. This allowed me to then un-tape the string and measure the exact length necessary using a simple tape measure.
Next I had to cut and solder the LED strips. After some research, I determined that the LED strips had pre-defined cut areas. This meant that I needed to cut my strips at while inch increments (i.e. 25″ instead of 24.5″). After Cutting the strips to length, I cut away the silicon casing at the tip to expose the copper leads of the LED strip. Once this was accomplished, I simply soldered my positive and negative wires.
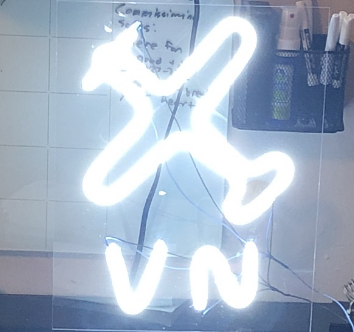
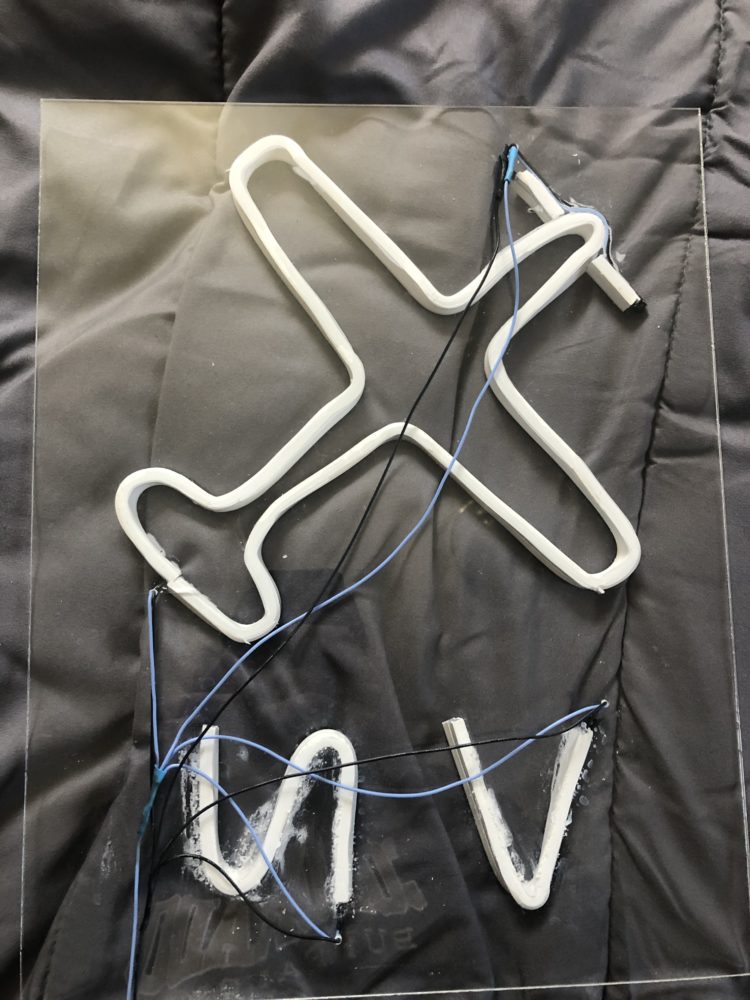
After the strips were cut and soldered, the next step was to glue the LED strips to the acrylic backing. I attempted to use hot glue for this, but found that it was not strong enough to keep the strips secure. This required me to use superglue instead, which proved to work. I have not been able to finish this on my main project yet, but I have successfully created a proof of concept as a gift for a friend which can be seen below.
The last thing I had to do was connect all the wires together so that the lights could be powered off of the power supply. This meant soldering the positive and negative leads from each segment into a single consolidated wire. This proved to be straightforward, and can be seen below.
Moving forward I plan to finish my project. I have all of the knowledge and materials to do so, I am just brainstorming a safe way to mitigate the fumes from the super glue since I will be using such a large amount.
Final Report Presentation link:
https://drive.google.com/file/d/1zwWAa14FmpNCJAkjQp4dfgae8EPz4aSV/view?usp=sharing
1 Comment. Leave new
I’m so impressed by your final product! I always wondered if it was possible to make my own neon sign! The lines look very nice and clean. What was your biggest challenge with this project? Was it difficult to cut the LED strips to discrete lengths and make it work aesthetically?