
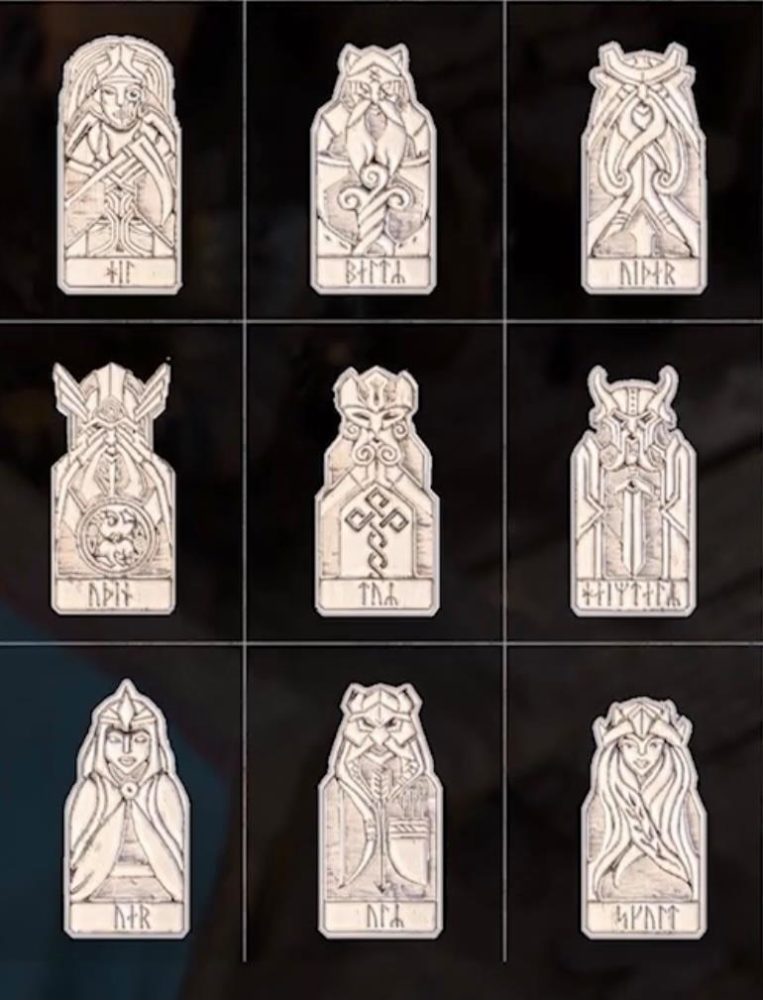
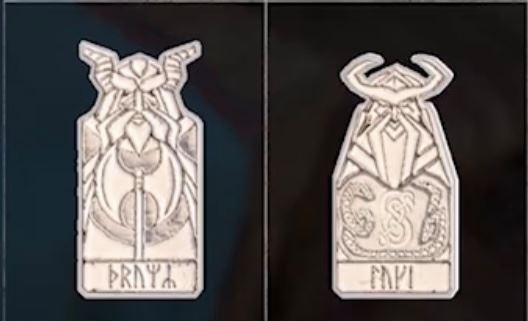
For my Upcycling Project I decided to go with the Viking Aesthetic. I described the origins of this aesthetic and the types included within it in my last post. For the project, I decided to make my own version of Orlog, the game featured within the videogame Assassins Creed Valhalla. The game’s components include 12 wooden dice, 30 tiles, 30 glass beads, 2 die casting bowls, 40 Norse god figurines, and a leather mat.

I began looking for materials online using Free & For Sale marketplaces on Facebook, Craigslist, and OfferUp. I found materials here such as scrap wood and individual tiles. I then went to upcycling stores and inexpensive places like Art Parts in North Boulder and the Dollar Store in South Boulder. In these stores I was able to find small glass beads such as the ones that go in flowerpots, I also found little chest boxes that I thought could be a nice addition to the game set. Art parts also had the perfect leather piece to be used as a mat for the game. The only material I still need to find is a metal sheet made of copper, brass, or bronze. This metal sheet would be used when I laser cut and engrave the Norse god figurines.
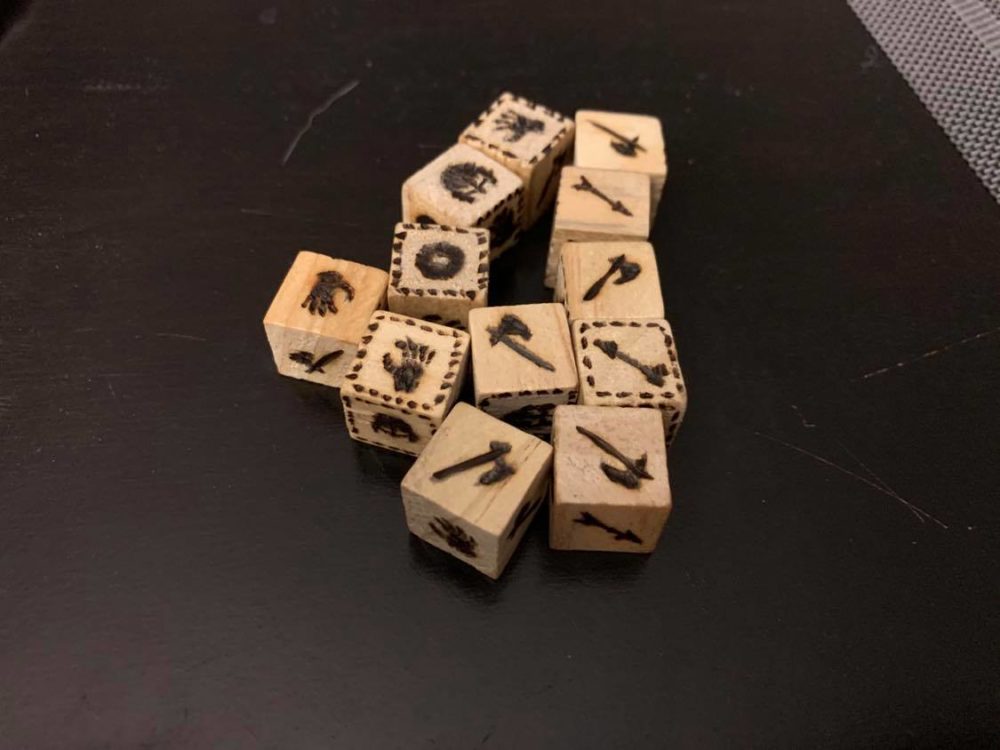
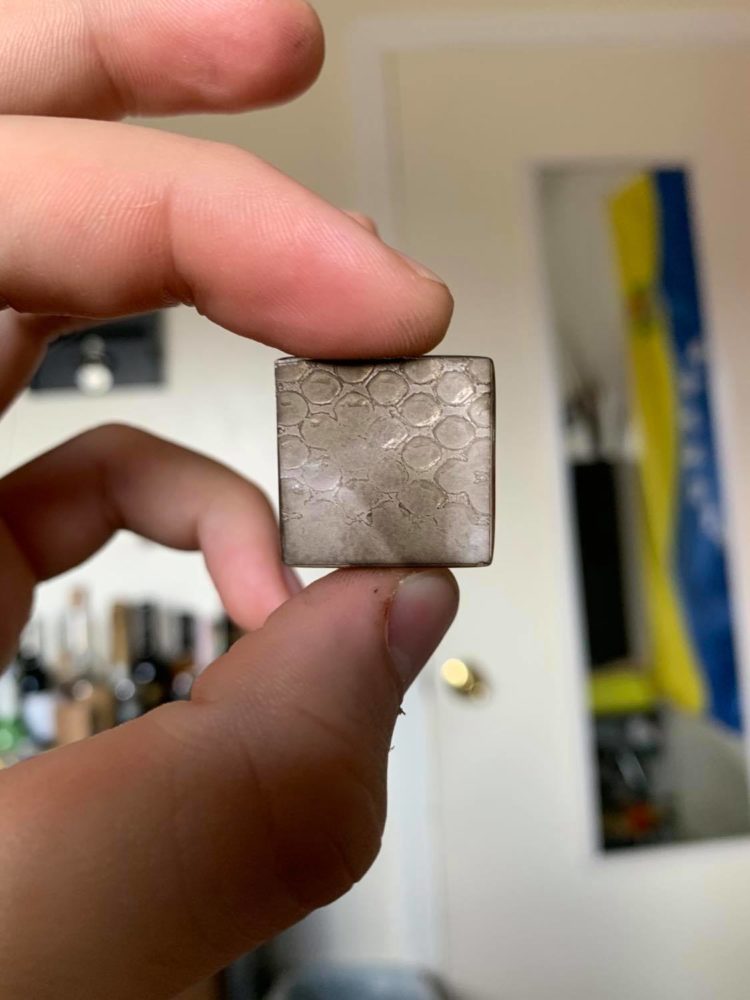
I began the build process by cutting the scrap wood into dice and then heat engraving the dice with their respective figures on each side. Then I heat engraved runes onto the chest box, the runes on the top say “Orlog” in the direct translation from alphabetical symbols to elder futhark. The sides of the box have the runes “Wunjo” that resembles joy, and “Pertho” which is related to games. I then drew a knot pattern across the box and used a Dremel with an engraving tip to carve the pattern into the box. I used individual glass tiles as the power tiles for the game, I burned the bottom with a lighter and used a gold marker to draw a knot.
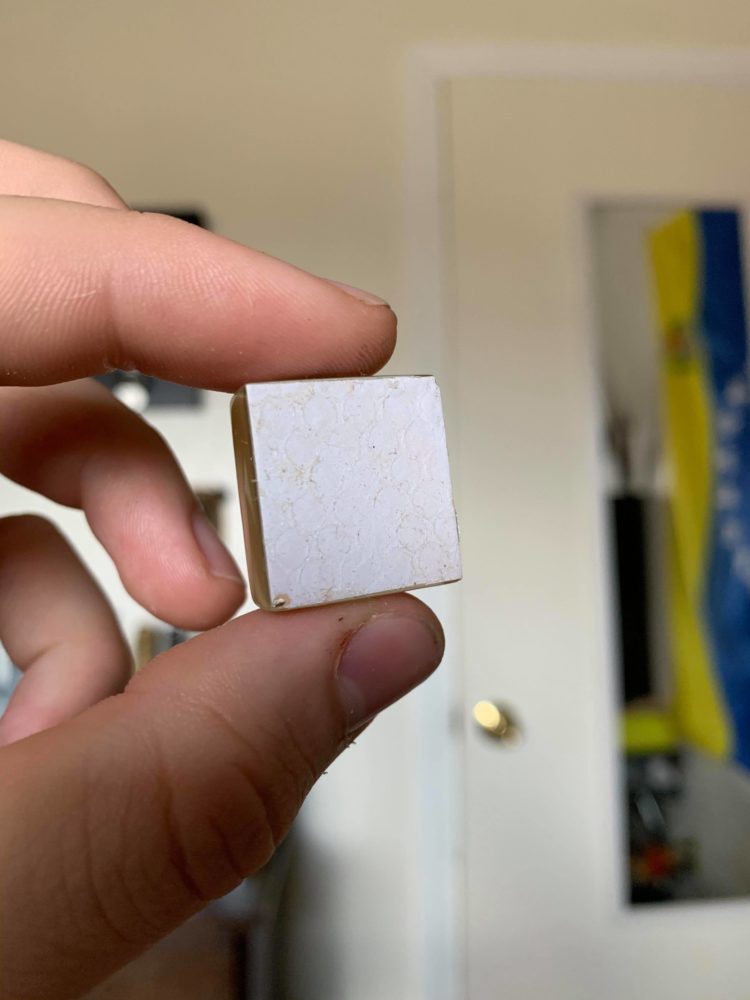
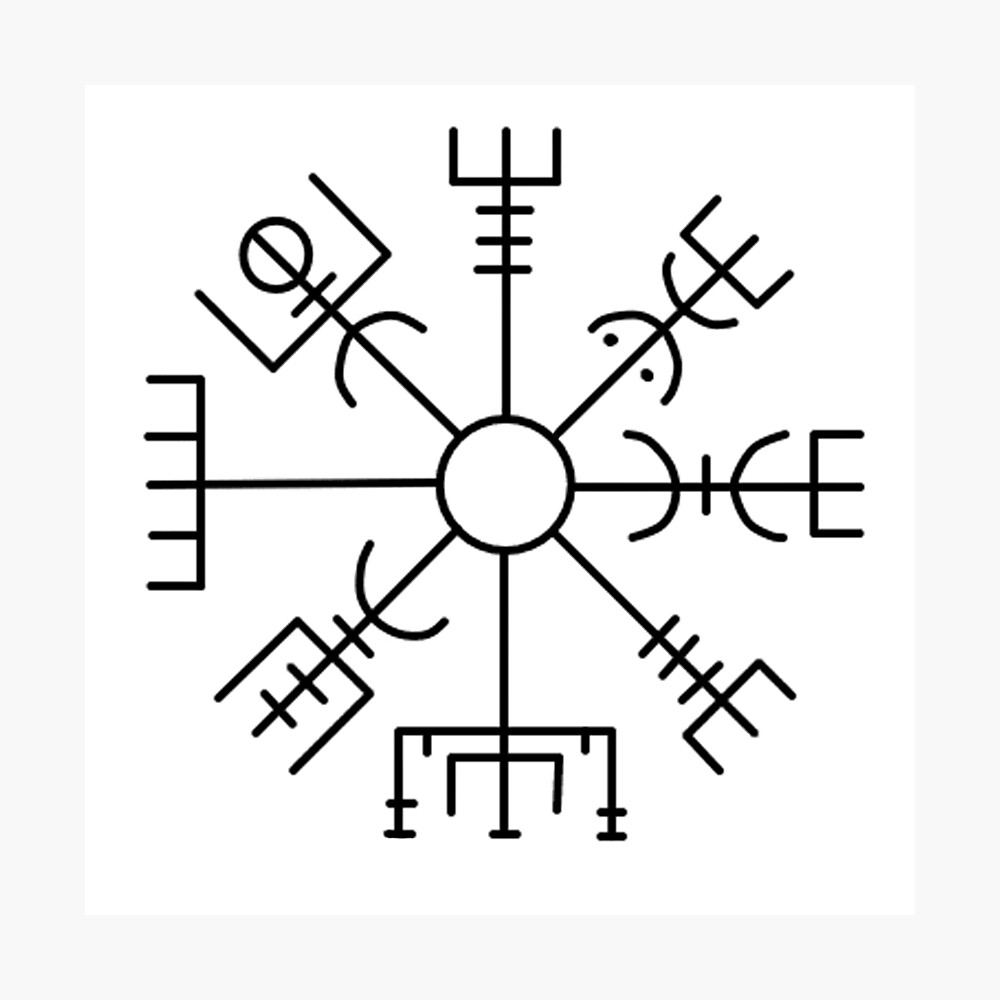
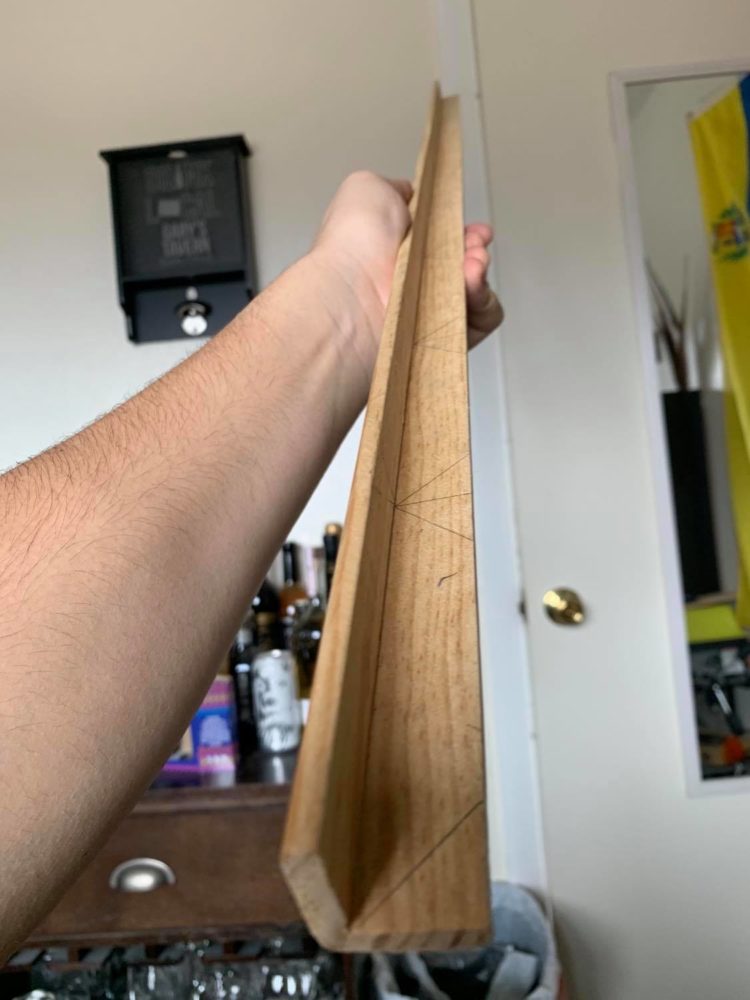
Finally, I cut a canvas stand leg into several segments with a 45° angle to encapsulate the square tiles. As per the Viking Aesthetic, just a tile in between wood didn’t seem decorated enough, even though the original game of Orlog features an undecorated wooden bowl. Therefore, I engraved a Vegvisir rune into the ceramic tile and then glued it into the wooden frame.
For my next tasks, I plan to replace the flowerpot glass beads with frosted sea glass. I will smash some bottles and pour the shards in a tumbler with coarse grit and water to simulate ocean waves. This process will take up to five days and may not turn out as expected, so I’ll keep the flowerpot beads as a backup plan. Additionally, the metal figurines will pose a challenge since access to the ITLL laser cutter is limited. I will contact Mo Woods at the ITLL and third-party manufacturers. If you have any other suggestions on things to add, please let me know in the comments.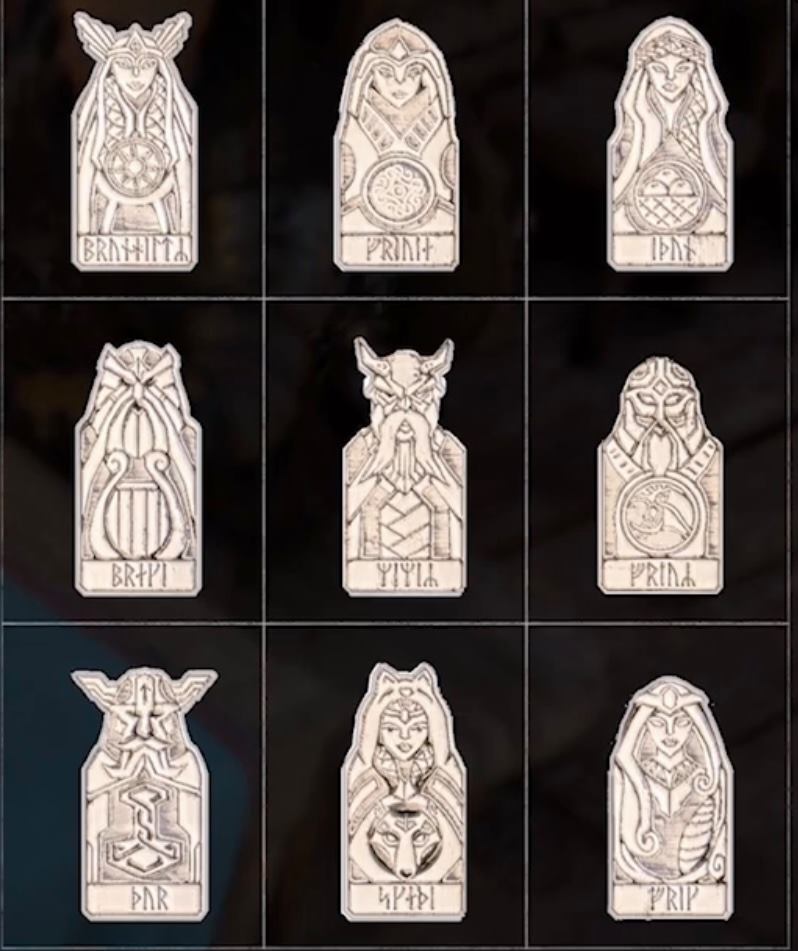
Sources:
https://www.games.ch/geek-news/news/assassins-creed-valhalla-jQgd/
2 Comments. Leave new
Gary,
This looks like it’s coming together really well. I am impressed at the level of detail that you are putting into the project. As an alternative for the figurines, I would probably suggest something similar to what Zack said, where you use a kind of stencil to get the images you want. You might even be able to take a Dremel to the figurines depending on the material and the size (it might be a bit too time-consuming, though). Also, out of curiosity, how would you rate Assassin’s Creed Valhalla?
This is a really cool project, I like how you are making your own version of an old game. Your craftsmanship on the dice is amazing, they came out great. Also, your idea for repurposing old glass to make your own game piece replicas sounds really neat and I hope it works out because I would love to see the final product. I am wondering if you are going to try to find glass that is flat like the pieces pictured at the top or if you plan on using old bottles with a more curved profile? As for the figurines, maybe if you are unable to find a way to make them my engraving on the laser cutter, you could cut out stencils and use spray paint to give the models depth. Great job overall on your progress!