
Aesthetics and Inspirations:
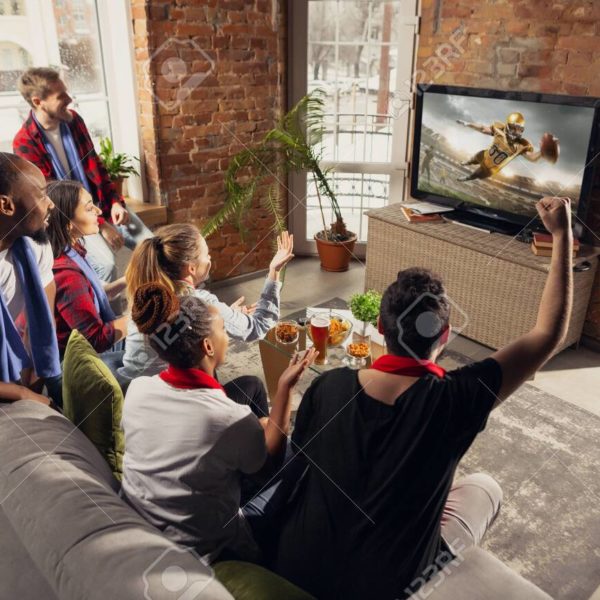
For my project, I decided on making a t-shirt quilt out of my sister’s Iowa State University t-shirts. This falls into two aesthetics that I have explored in the past. The first being the aesthetic I used for my Upcycle Project: Old School Athletics. The second is my personal aesthetic: comfy coze. Since the shirts are 4 to 8 years old and are worn, they’ve got that old school university feel. Plus the Iowa State school colors are red and yellow, which is a pretty classic color combination. As we saw in the LinkedIn Learning video “The Red Effect”, the color red can present as a fear factor when worn on sports uniforms, so it makes sense for a large university to use this color. I imagine this quilt accompanying a couch surrounded by cyclone fans cheering on the basketball team during march madness. The aesthetic has a lot of school pride, which is also depicted in the images below.

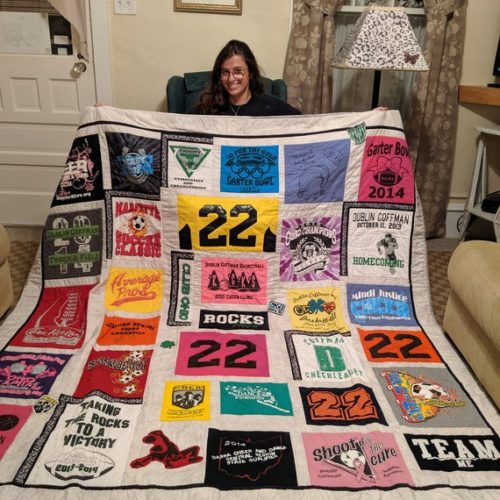
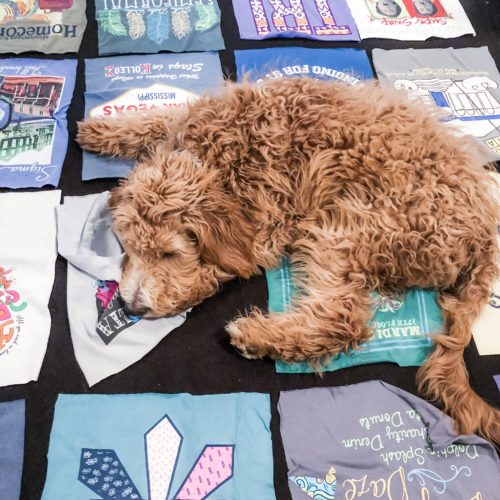
The second aesthetic, comfy coze, is also fitting for this project. As I discussed in my Personal Aesthetic Post, the comfy coze aesthetic is characterized by lots of blankets, pillows, books, a comfy bed or chair and soft lighting, while an individual could be wearing sweats and a beanie. A t-shirt quilt fits within this aesthetic as it provides a comfy blanket to cozy up with whilst on a bed, reading a book, on the couch, watching tv, or cheering on your favorite sports team!
Supplies to be Purchased:
- Interfacing
- Batting
- Backside/filler fabric
- Thread
- Needles
Supplies Owned:
- T-shirts
- Sewing Machine
- Iron and Ironing Board
- Measuring Tape
- Scissors
- Pins
Process:
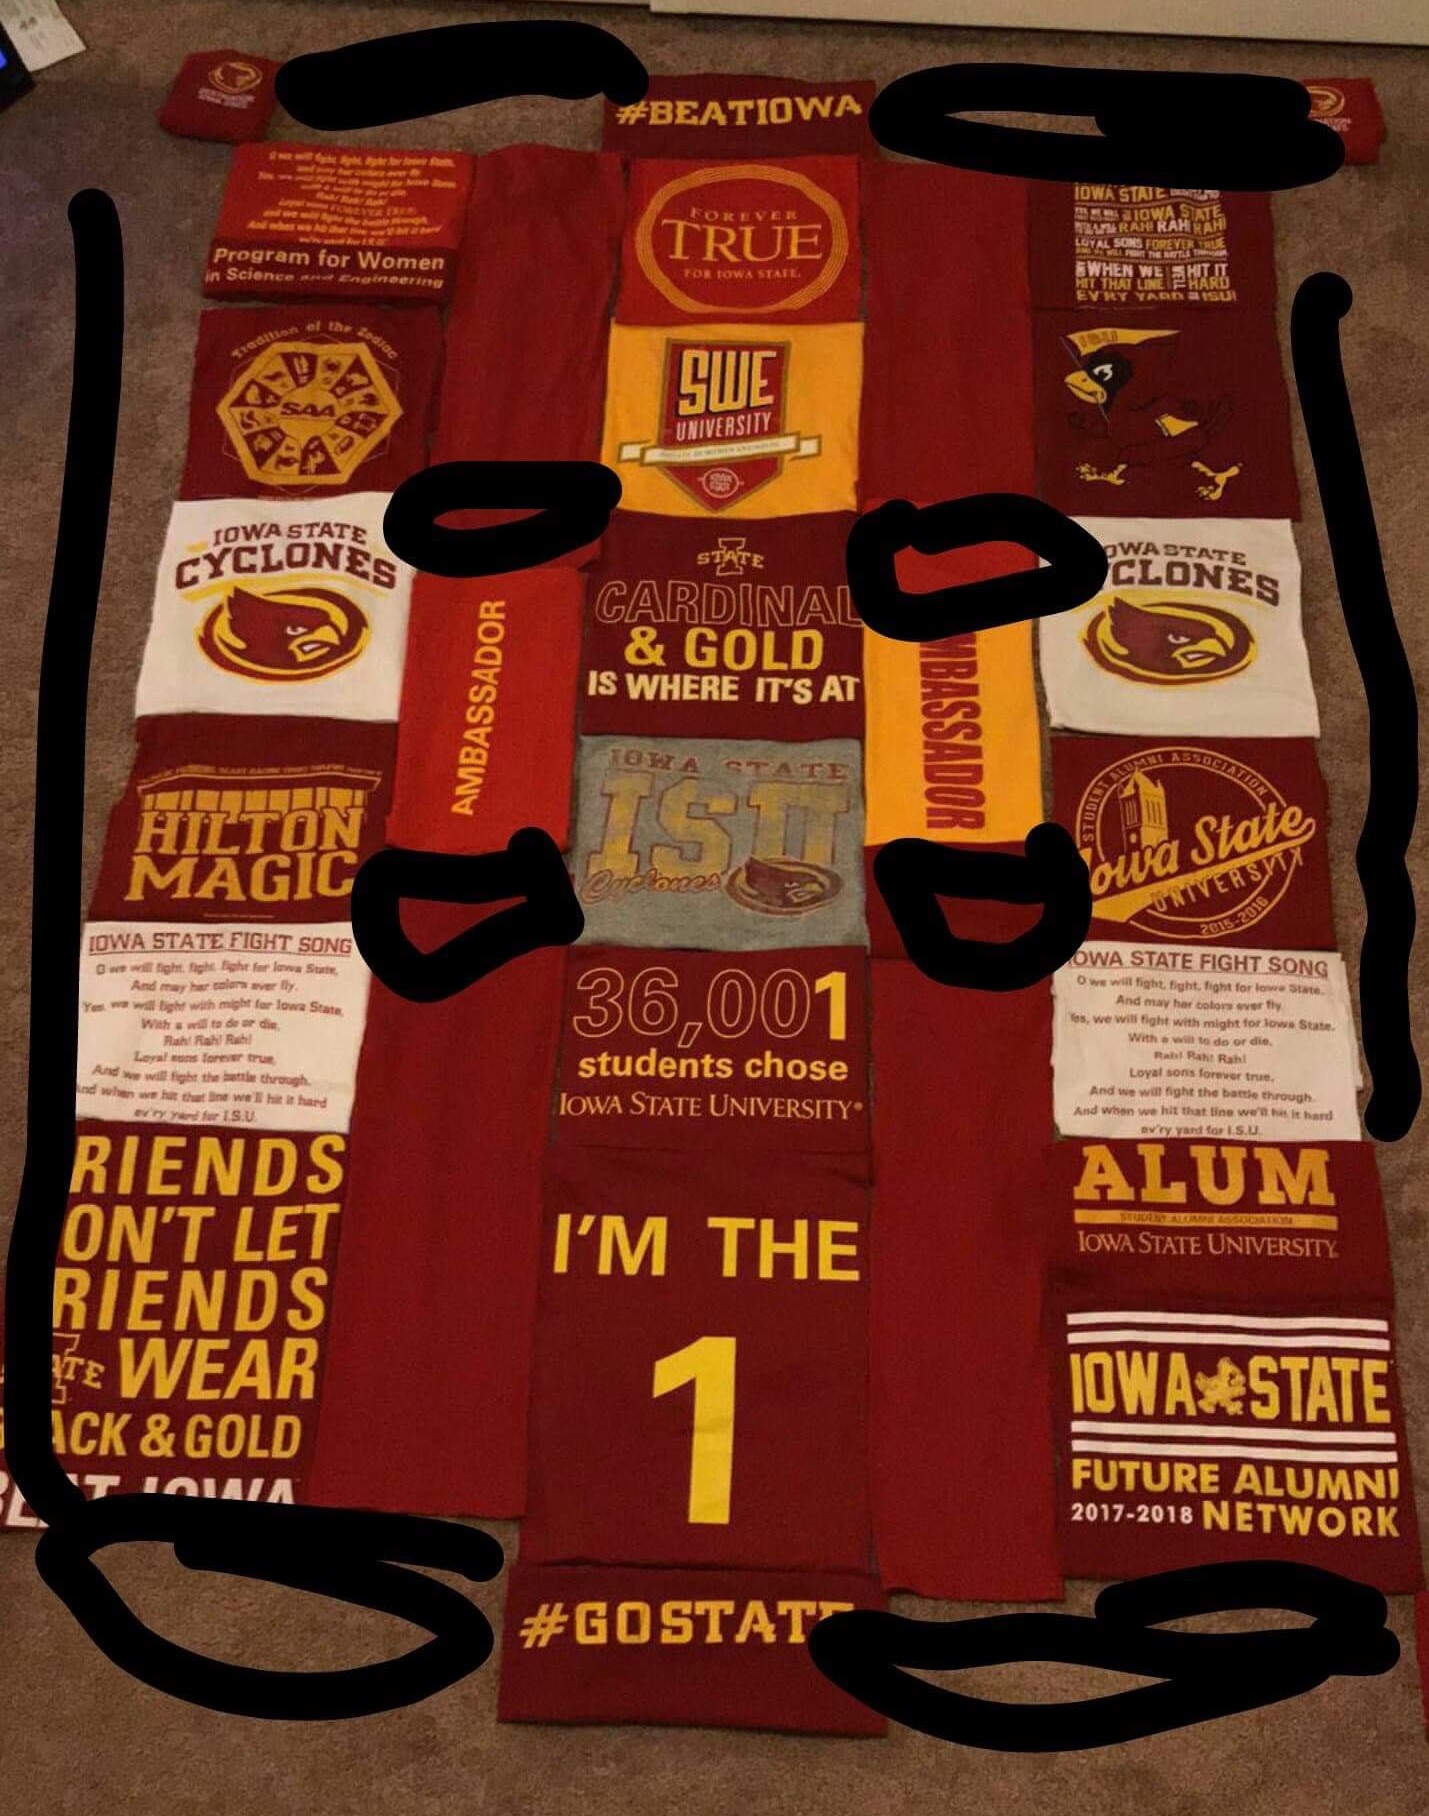
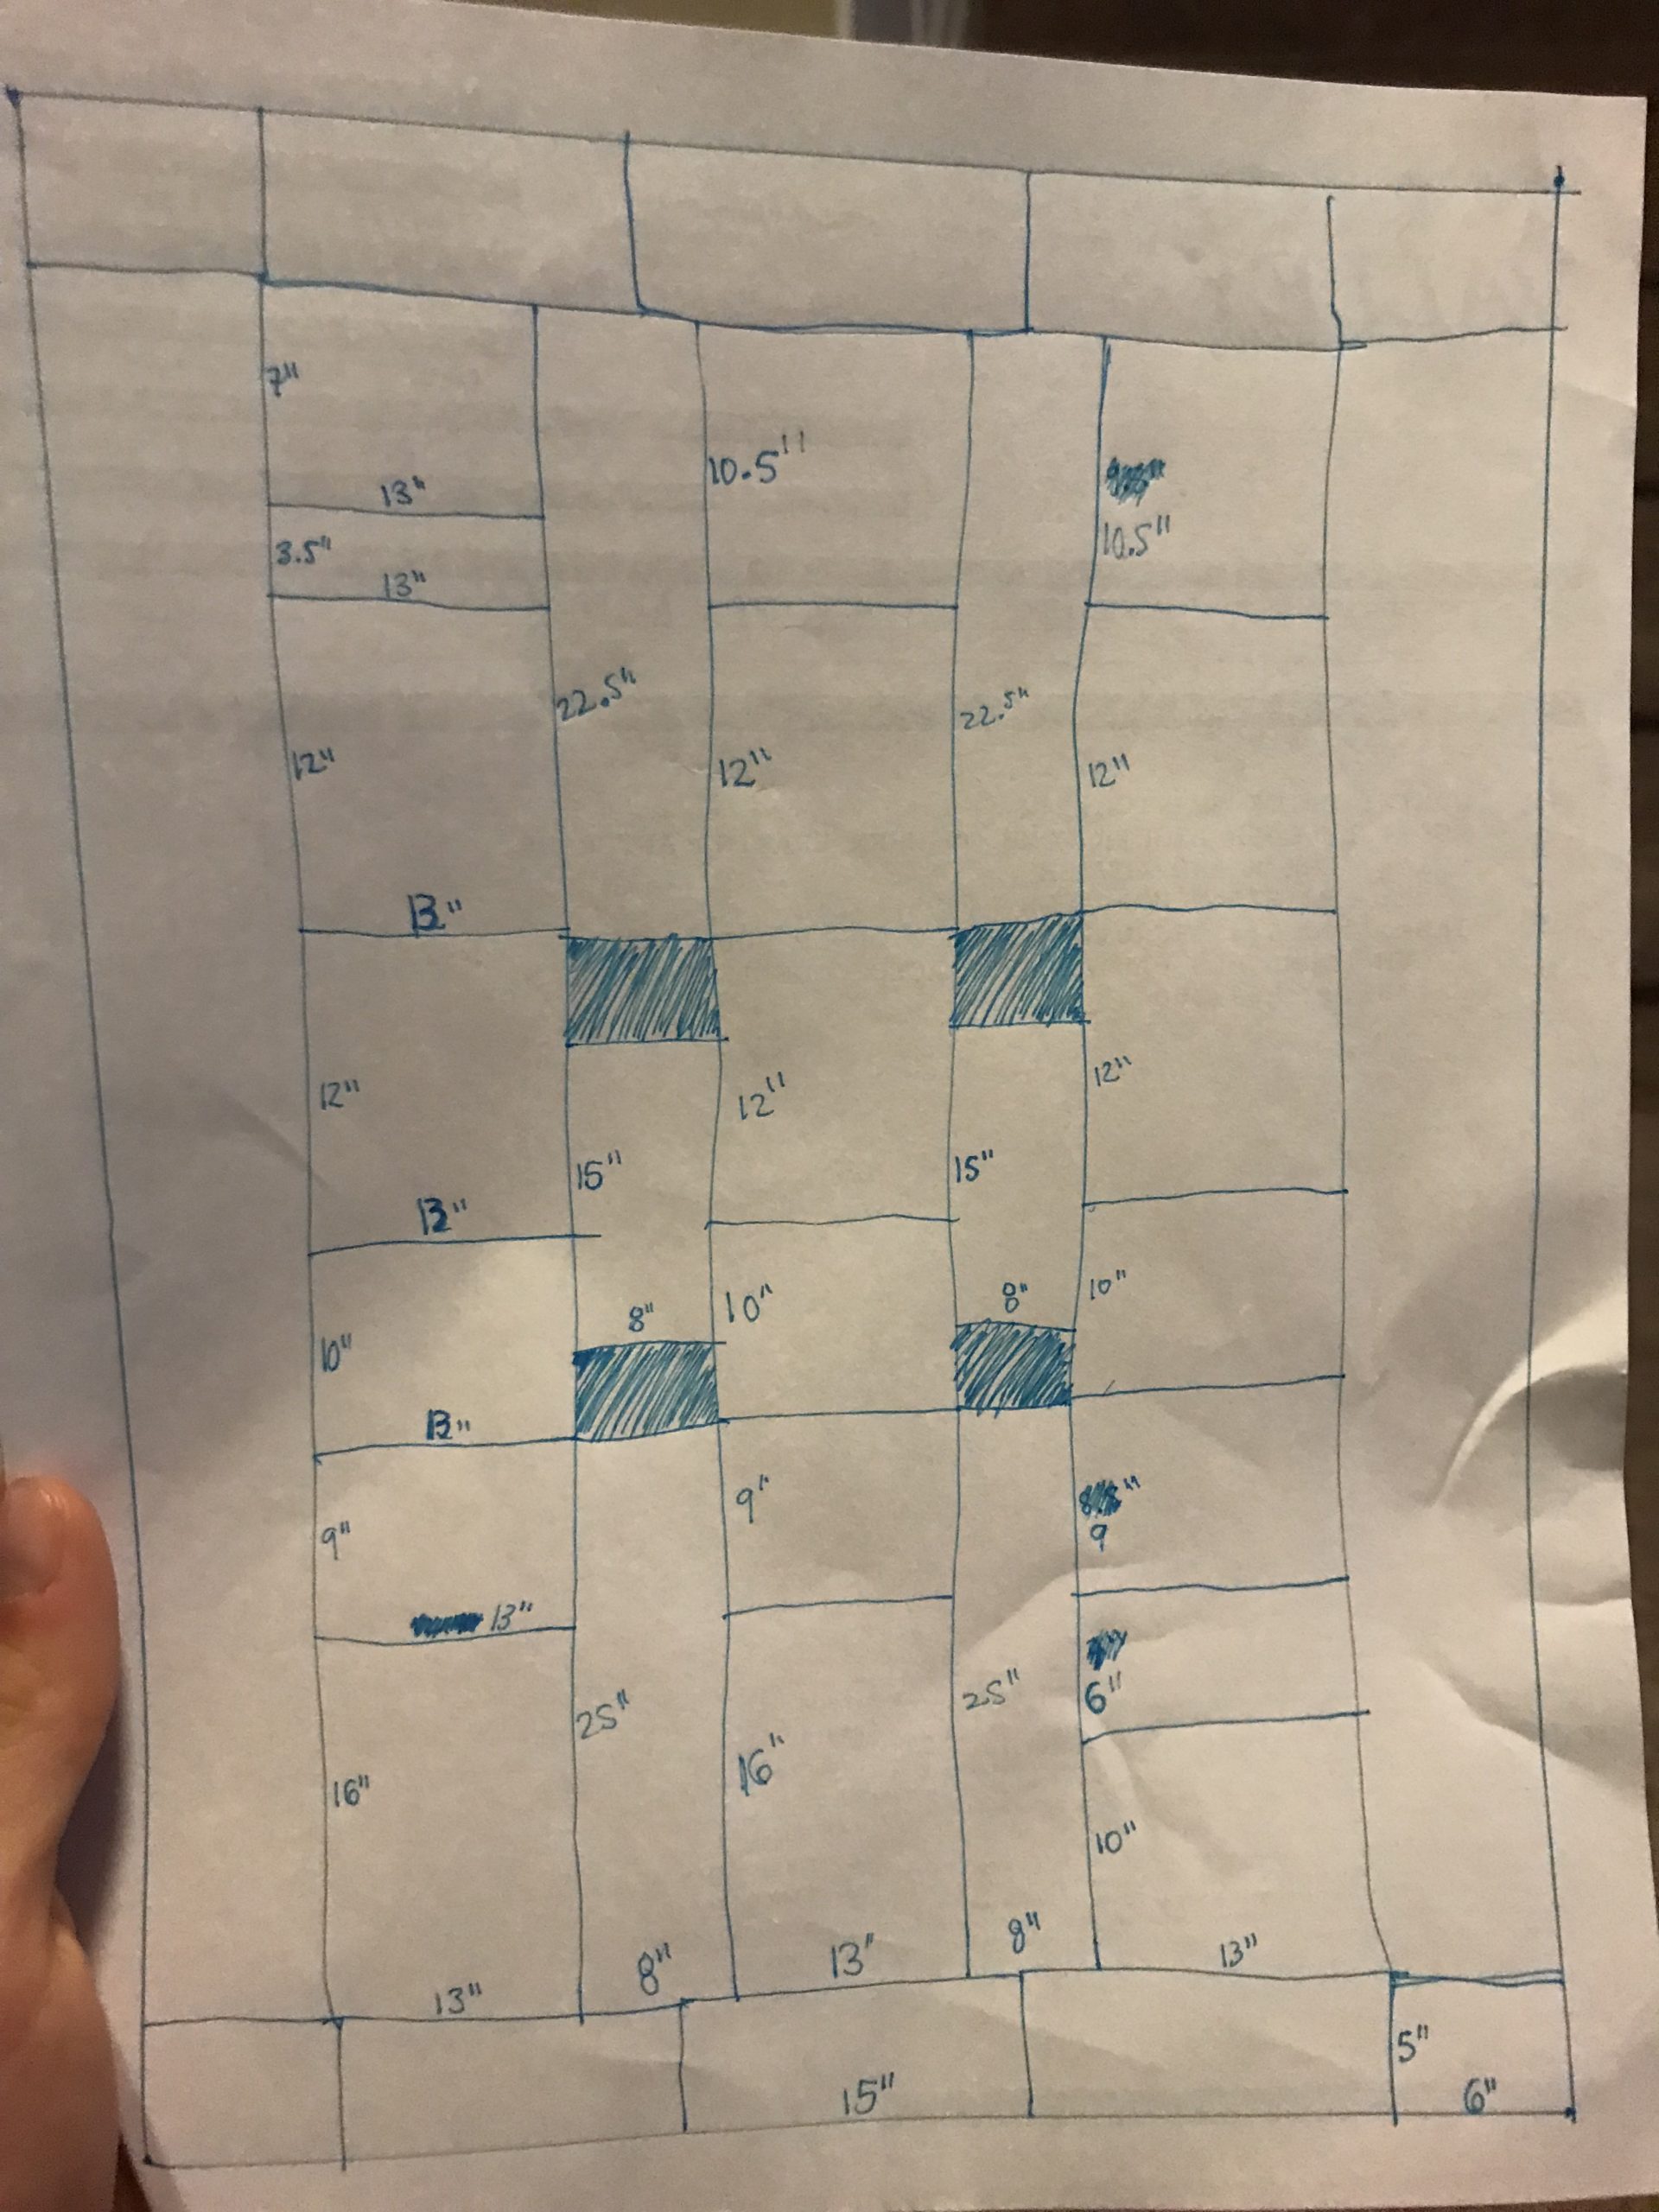
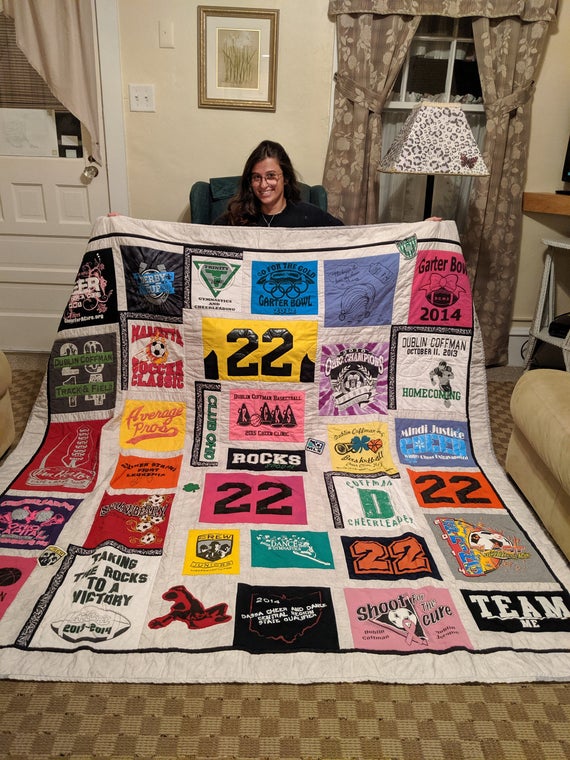
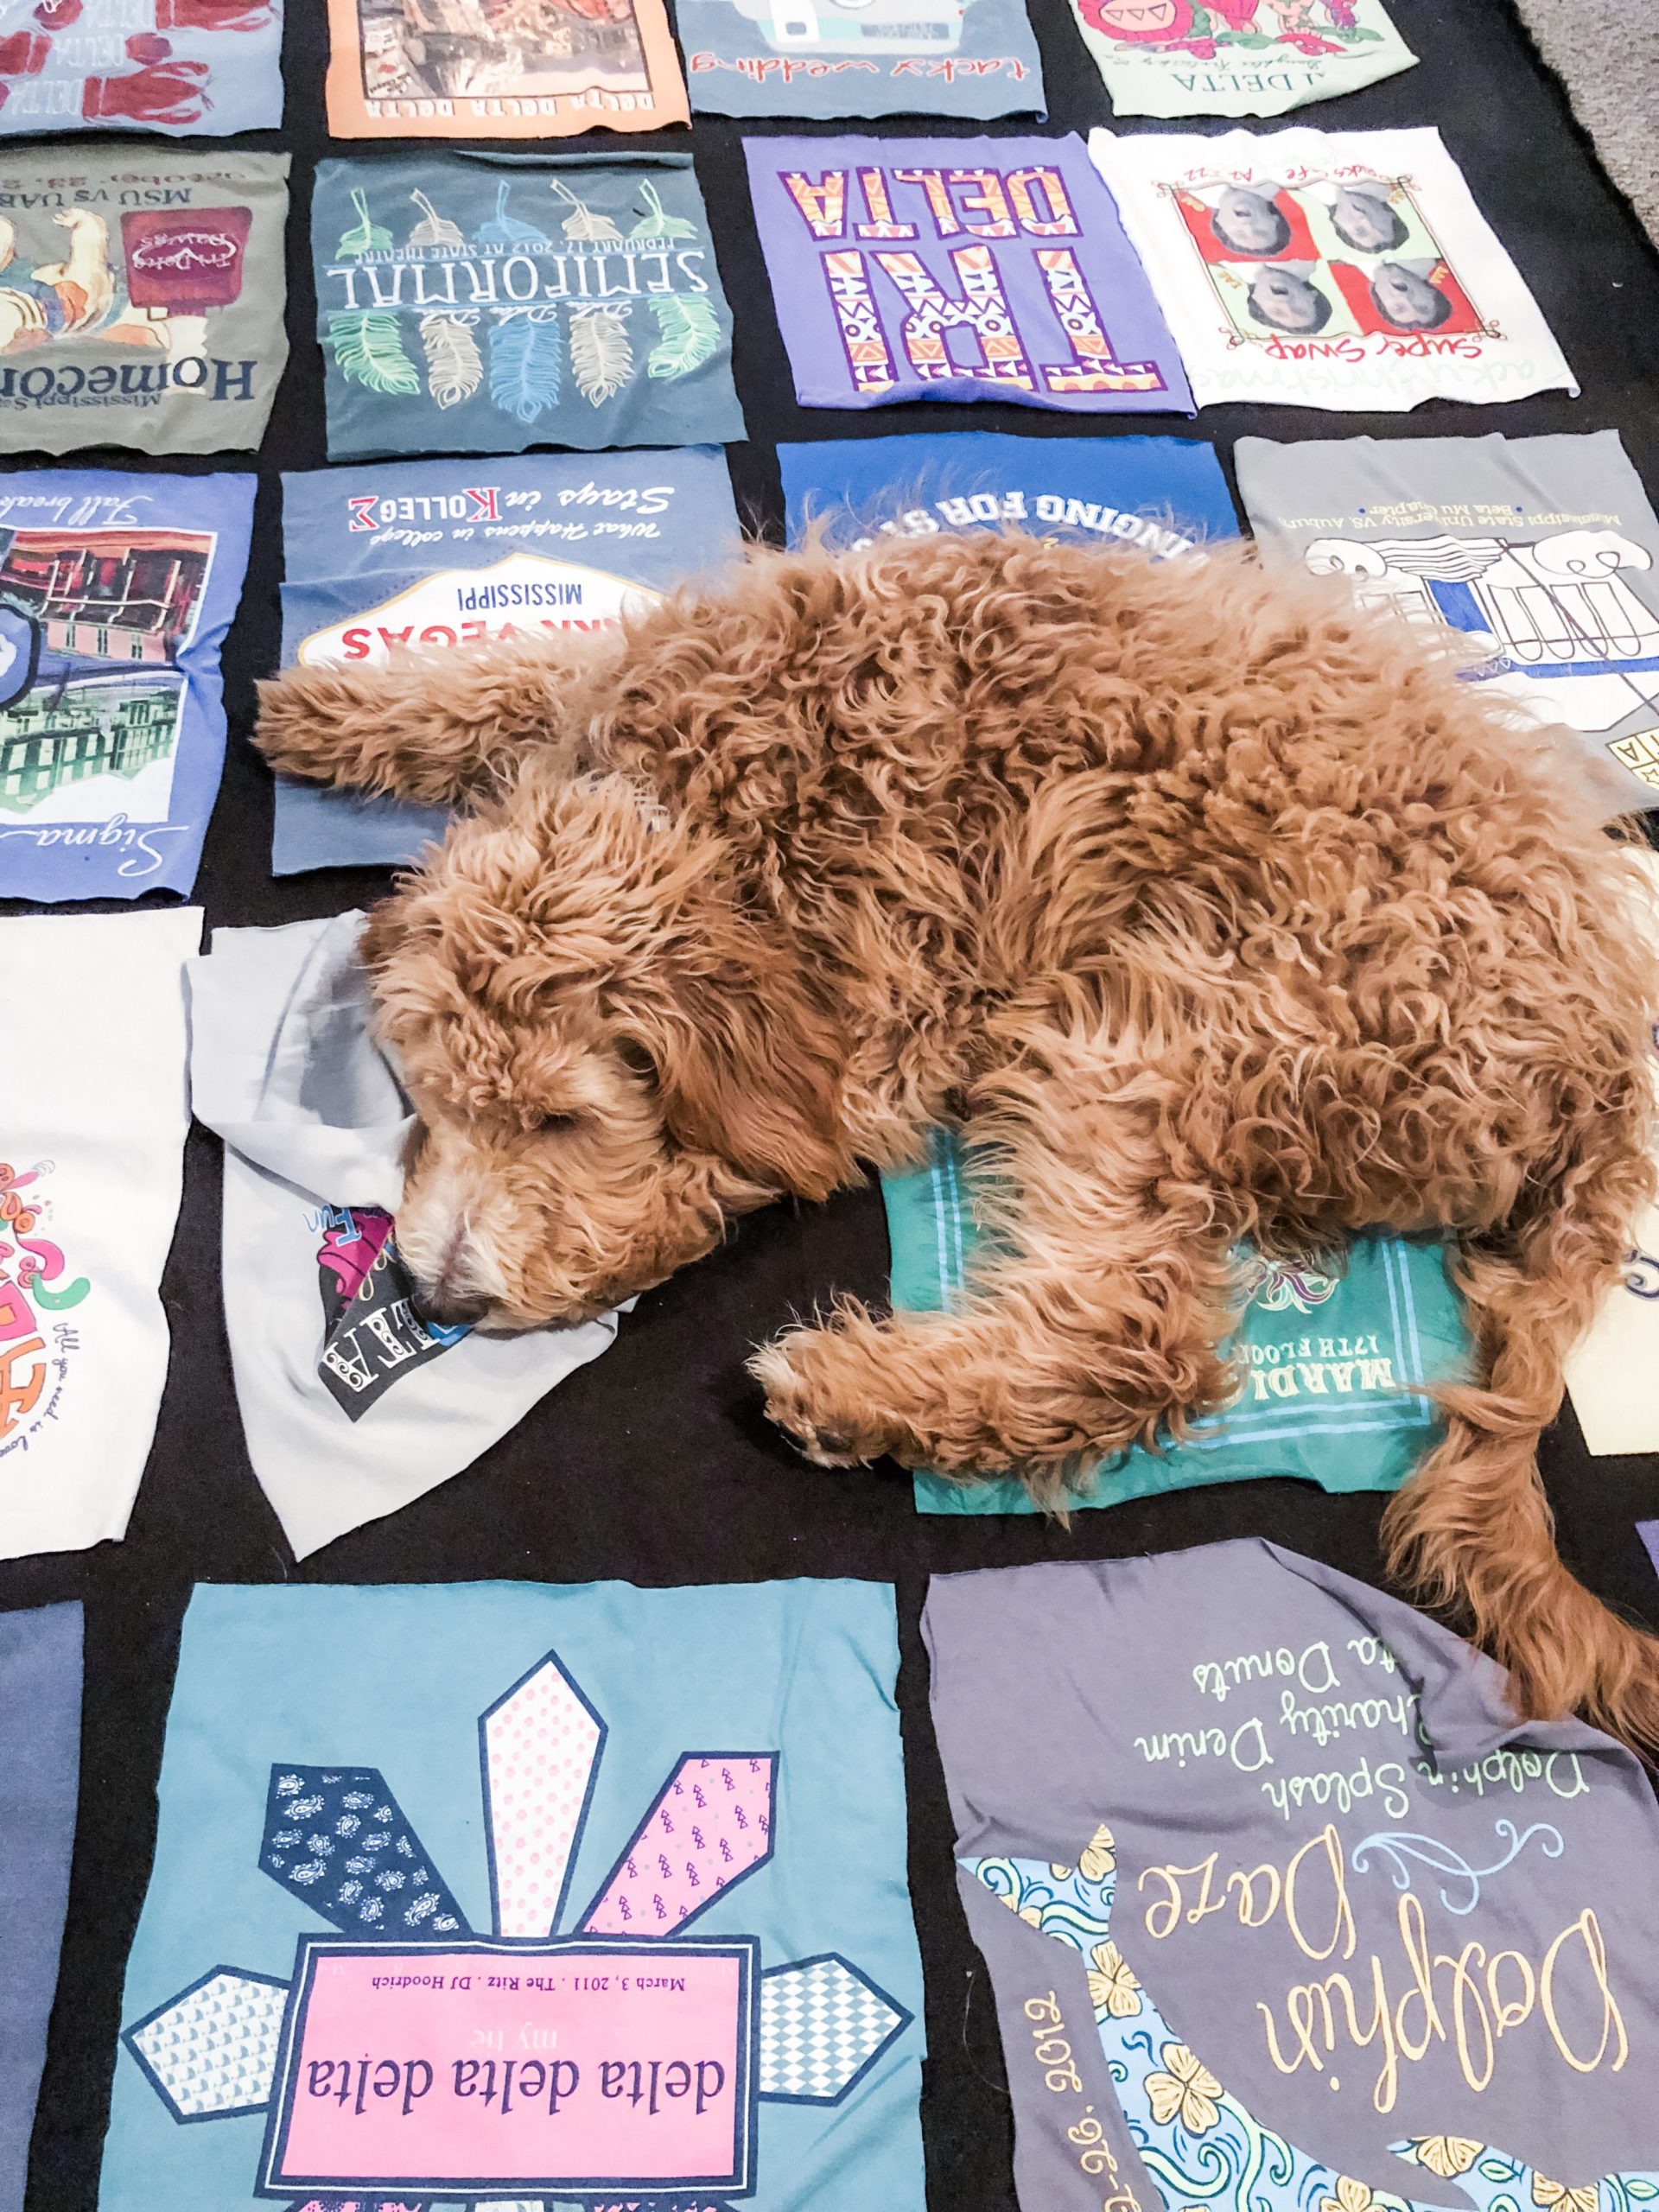
The first step in creating a t-shirt quilt is deciding the pattern of your T-shirts, what size each one will need to be and an overall size for the blanket as a whole. Based on the t-shirts provided by my sister, I have chosen the following design shown below. The black circles represent blank space that will need to be filled with other fabric. Overall, I am going for something that is balanced in both design and color, with a general symmetrical feel.
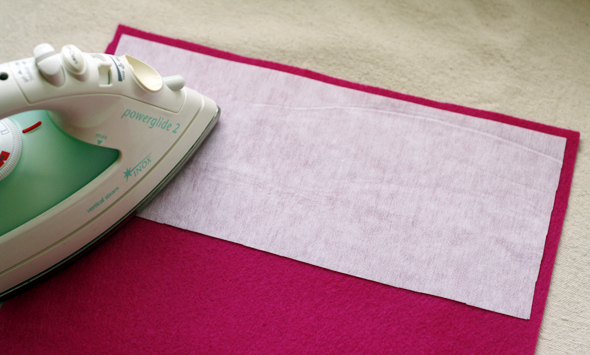
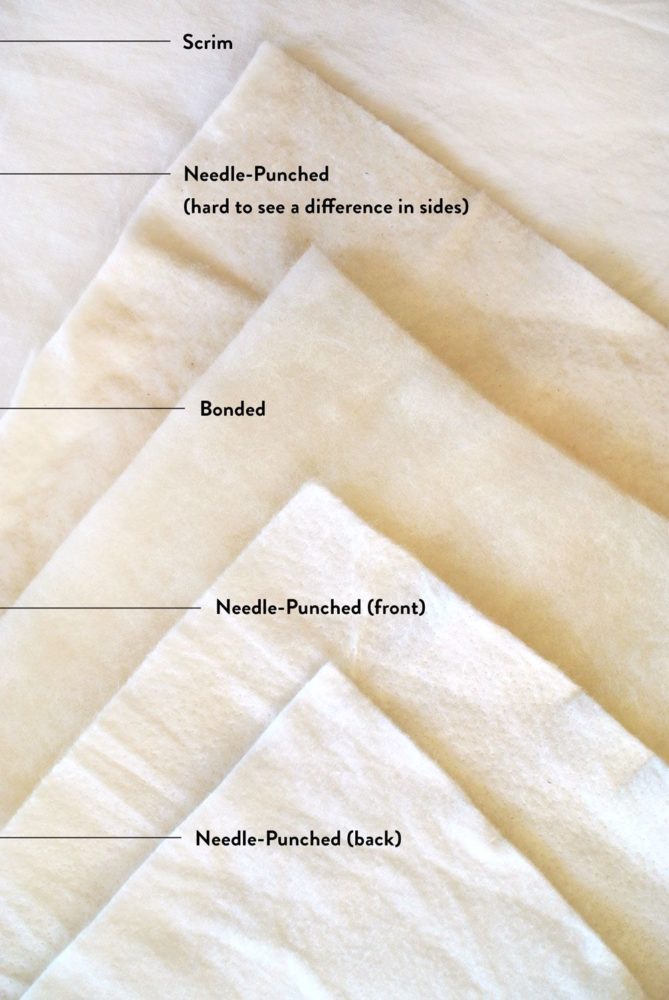
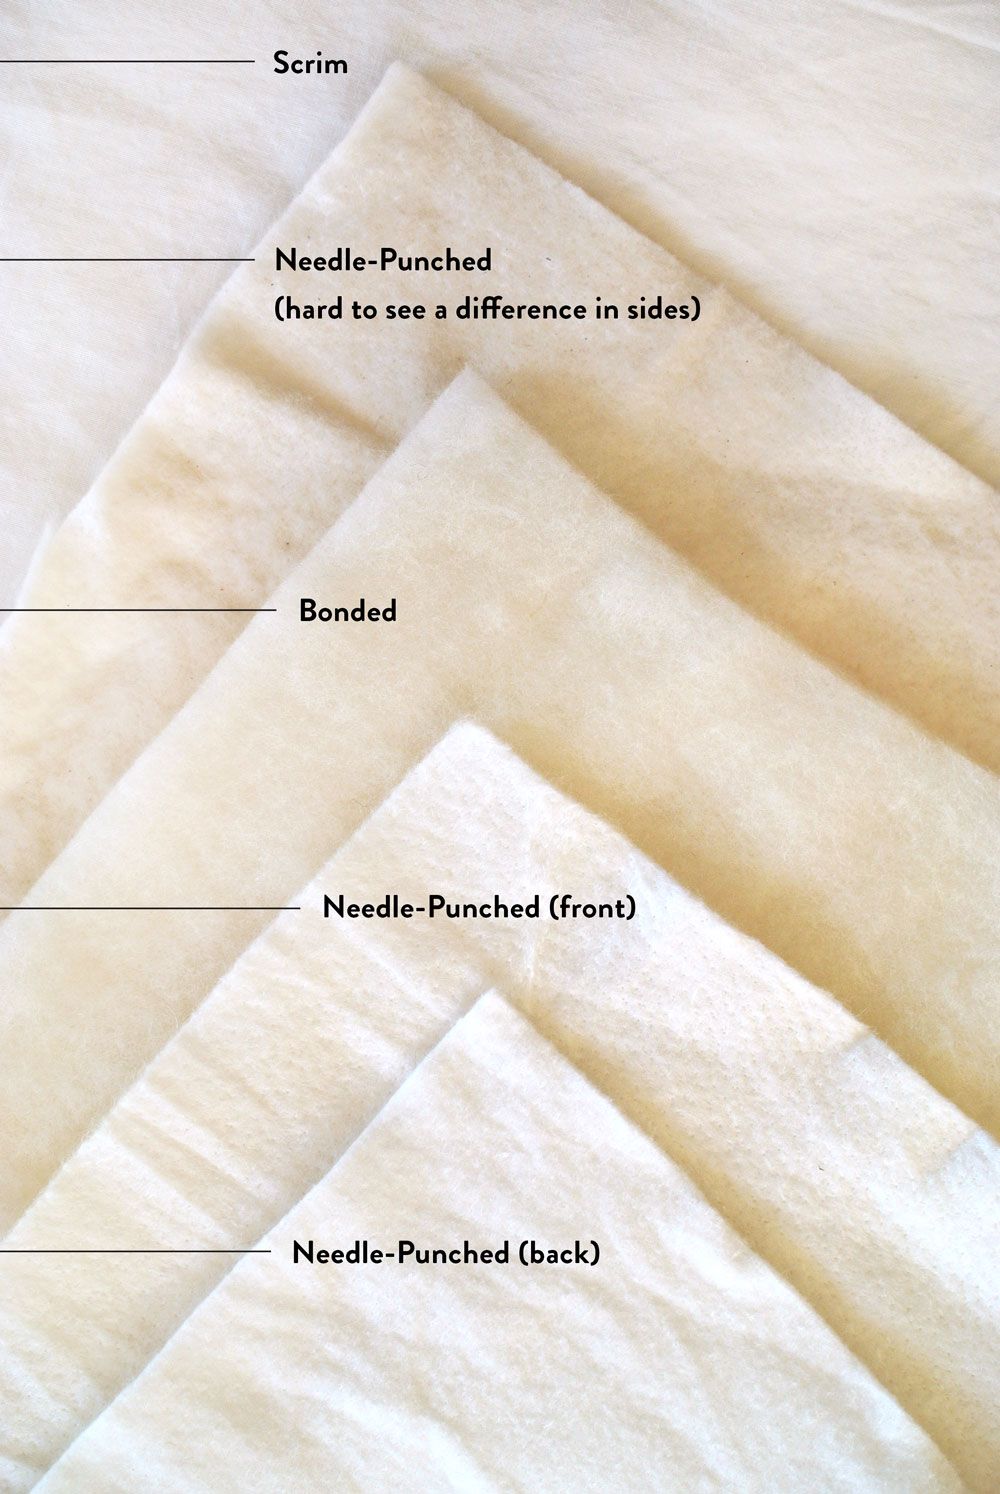
The next step is to cut all of the t-shirts to size (leaving a 1/2″ border) and iron on what is called “Interfacing”. Interfacing is a thin fabric with one side coated in heat activated adhesive. This will be ironed on to the backsides of each shirt panel to give them all a similar thickness and stiffness and make the fabric tougher so that tears are less likely. Once all the panels are complete, they all will be sewn together to create the front side of the quilt with the t-shirt pattern previously laid out. After this step, the fabric bought for the back side of the quilt needs to be sewn to the front side with the t-shirts. A material called “batting” is placed in between the two layers to add thickness to the quilt. Interfacing and batting are pictured below. Sewing the layers together is the final step of making the quilt. Some additional stitches may be required in the center of the quilt (as opposed to just the edge) in order to hold all three layers in place the best.
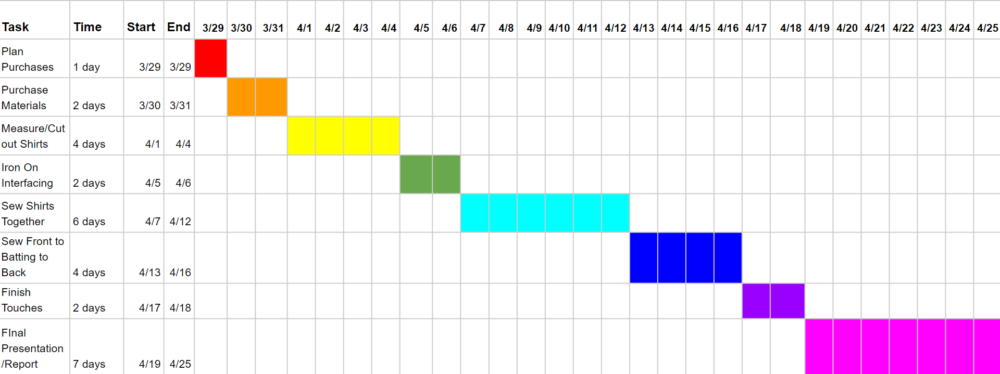
Timeline:
Presentation Video:
Sources:
2 Comments. Leave new
I Like how you reuse old T-shirts. I usually use them for cleaning, but this is a much better use of them.
Hey Valerie!
I love this project, and I can’t wait to see it done in full. I think that you did a great job laying everything out for the plan of the final blanket! The pattern and the symmetry looks great, and the T-Shirts go really well together the way you have them done. I was curious to what fabric your sister preferred for the back of it, and I can’t wait to see what she decides on. Great work, I’m looking forward to the finished product!