
Part 1: What
Aesthetics/Inspirations:
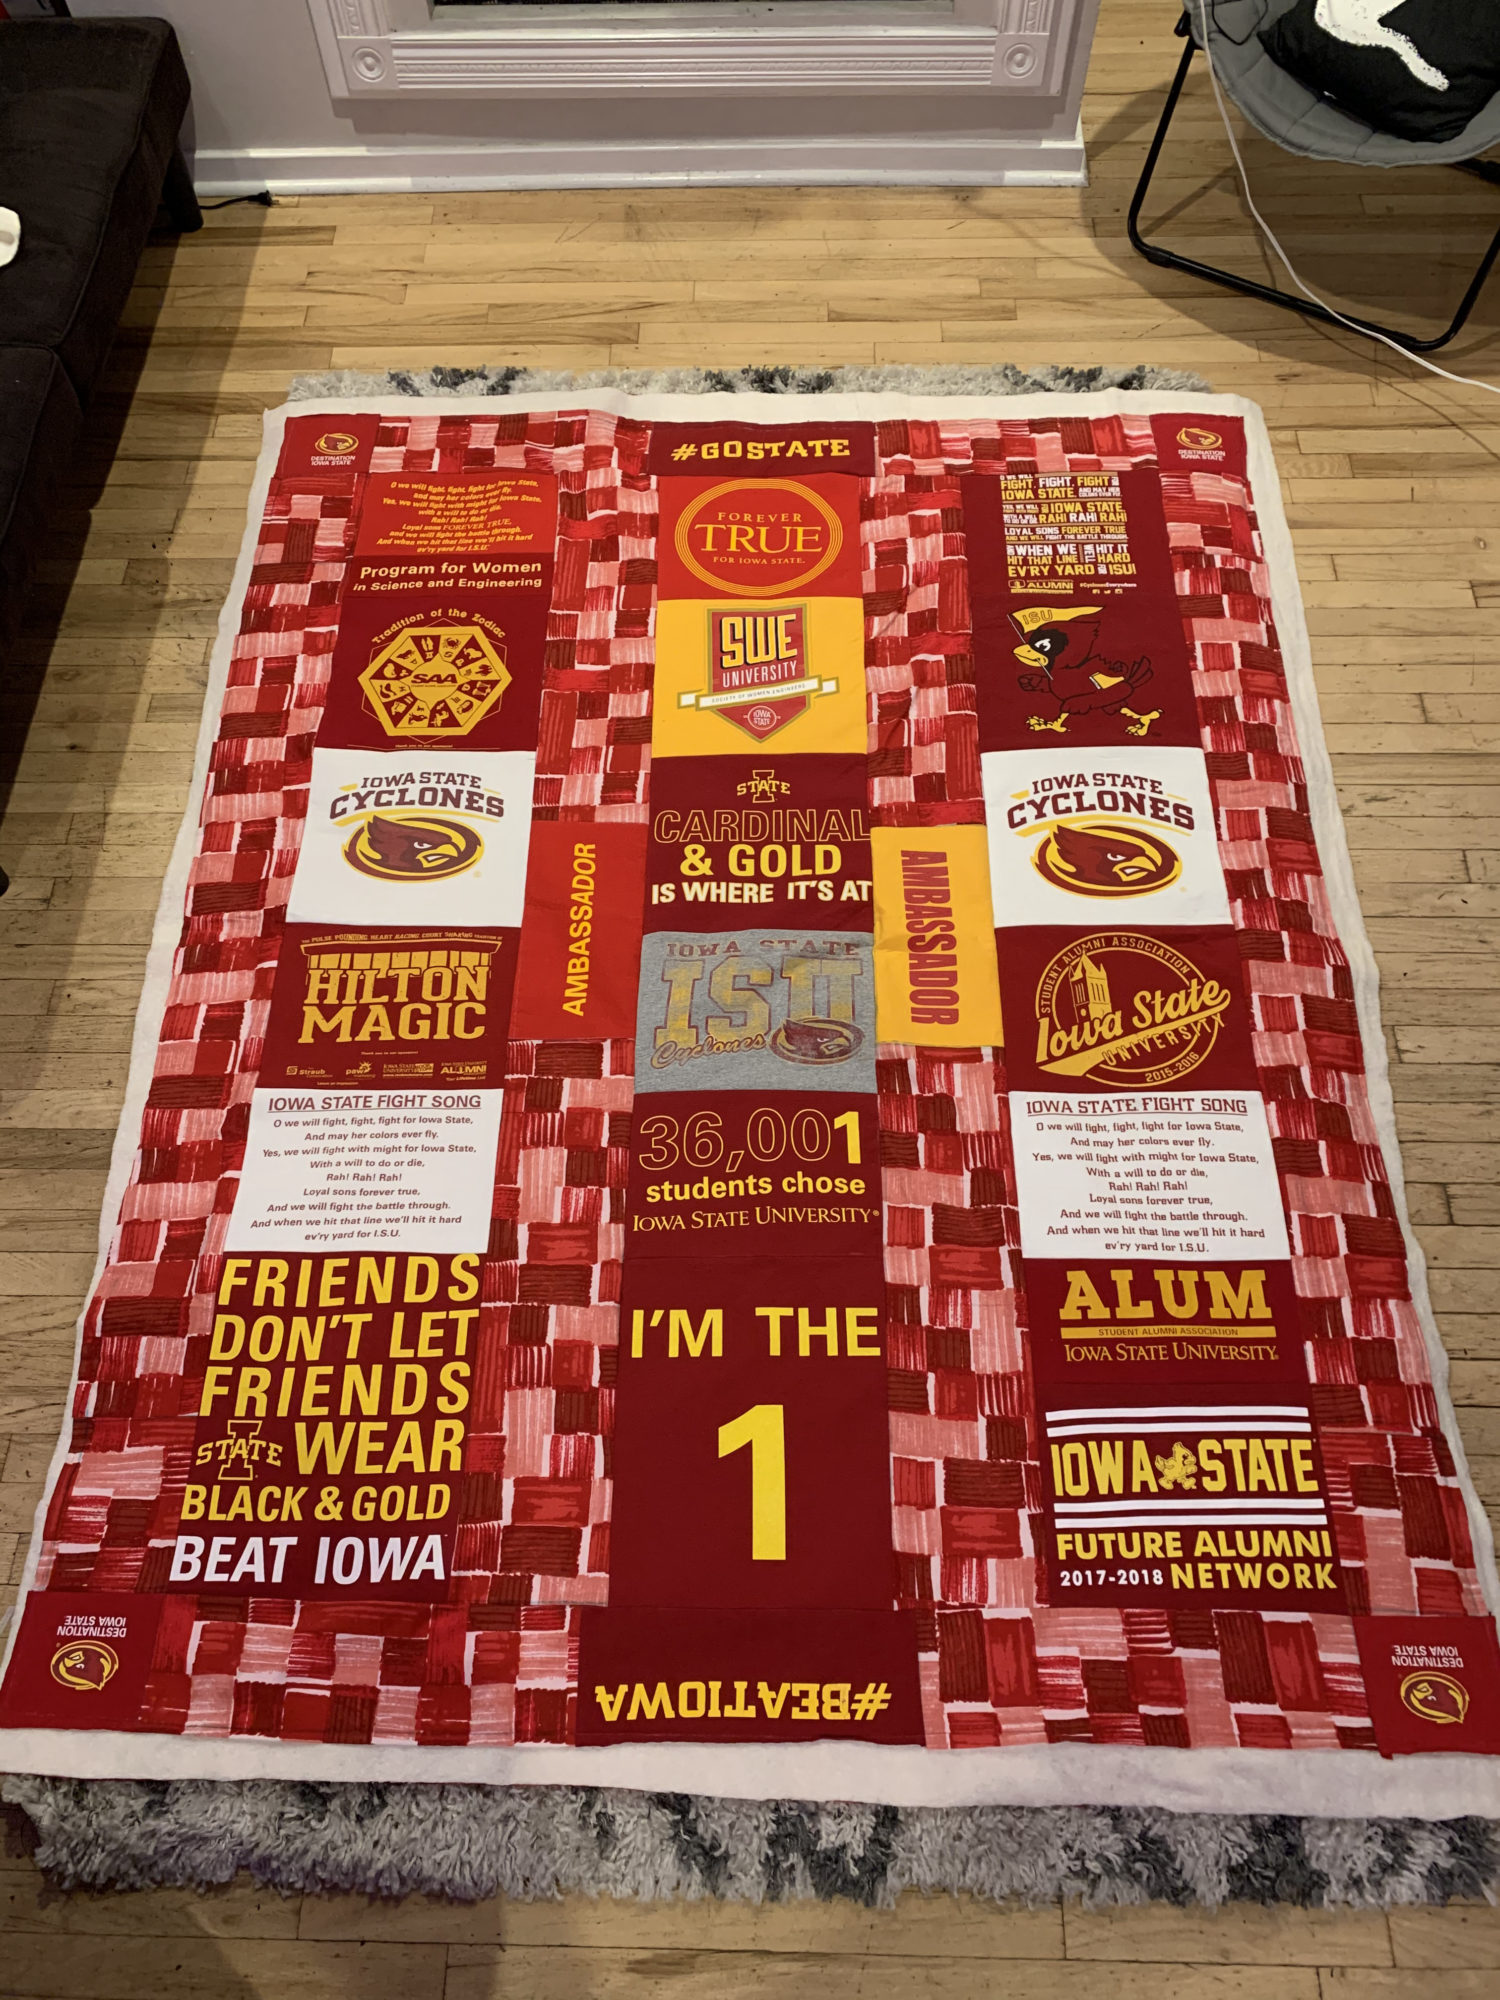
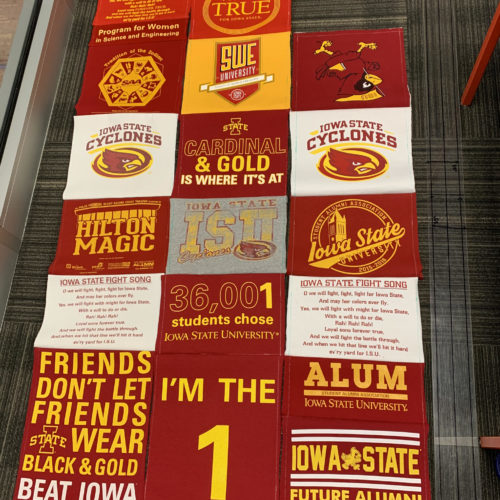
For my project, I decided on making a t-shirt quilt out of my sister’s Iowa State University t-shirts. This falls into two aesthetics that I have explored in the past. The first being the aesthetic I used for my Upcycle Project: Old School Athletics. The second is my personal aesthetic: comfy coze. Since the shirts are 4 to 8 years old and are worn, they’ve got that old school university feel. Plus the Iowa State school colors are red and yellow, which is a pretty classic color combination. As we saw in the LinkedIn Learning video “The Red Effect”, the color red can present as a fear factor when worn on sports uniforms, so it makes sense for a large university to use this color. I imagine this quilt accompanying a couch surrounded by cyclone fans cheering on the basketball team during march madness. The aesthetic has a lot of school pride, which is also depicted in the images below.

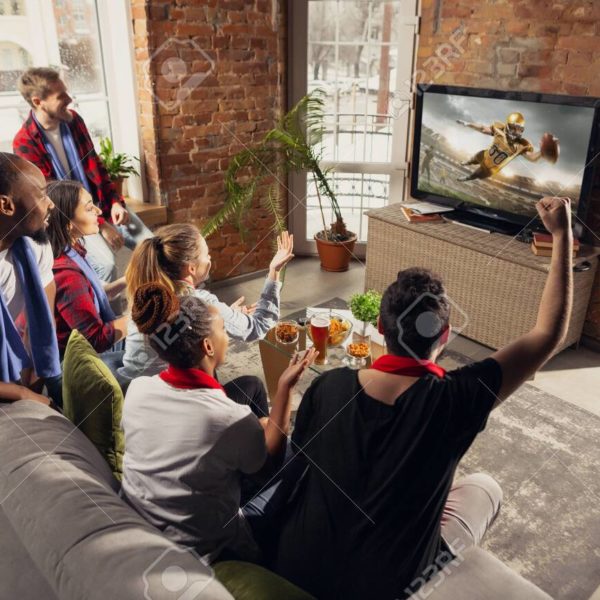
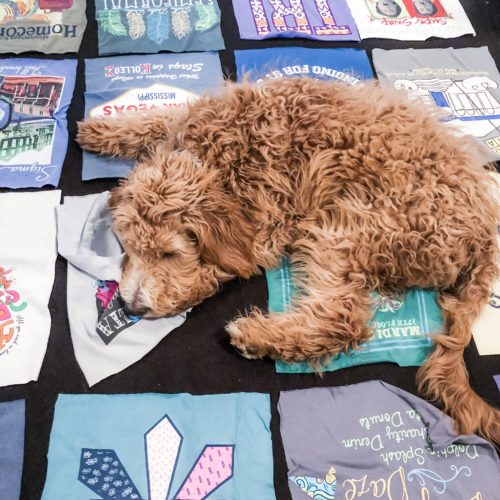
The second aesthetic, comfy coze, is also fitting for this project. As I discussed in my Personal Aesthetic Post, the comfy coze aesthetic is characterized by lots of blankets, pillows, books, a comfy bed or chair and soft lighting, while an individual could be wearing sweats and a beanie. A t-shirt quilt fits within this aesthetic as it provides a comfy blanket to cozy up with whilst on a bed, reading a book, on the couch, watching tv, or cheering on your favorite sports team!
Vision/Design Plans:
My vision for this project is to meet the following specifications:
- Comfortable/Meet Comfy Coze Aesthetic
- A blanket should be comfortable. It should be soft with a good amount of weight that anyone who finds themselves under it would find immediate comfort and relaxation. My comfy coze aesthetic, as described in my personal aesthetic post, includes articles such as blankets to help provide this aesthetic.
- Meet Old School Athletics Aesthetic
- Because this is a quilt made of t-shirts from a specific university, it should meet my old school athletics aesthetic. With red and yellow being the most dominate colors in this quilt and also being very prevalent in many universities sports uniforms and other paraphernalia, I should be able to meet this aesthetic just by virtue of the fact that I am using these t-shirts.
- No Holes or Loose Stitches
- In general, I want this to be a high quality quilt. It shouldn’t have any holes, loose stitches or bunched fabric. I want it to look professionally made and be of the highest quality of quilts.
- Geometrically Accurate and Symmetrical
- Since I do not have the fanciest of tools for the purposes of measuring, cutting and sewing the t-shirts together, it is going to be difficult to get accurate shapes and sizes for each panel of this quilt. This plays into the final quality of the quilt which should have nearly perfect rectangles for each shirt panel. It should also have an overall symmetry to it, as I have planned with the layout for the front.
- Proper Size Overall
- This Quilt should be about 5.5′ x 6.5′ in size overall. This is a perfect size for a larger throw blanket that will cover someone completely when laying down or lounging on the couch. Size is important as it affects the overall comfort and usability of the blanket.
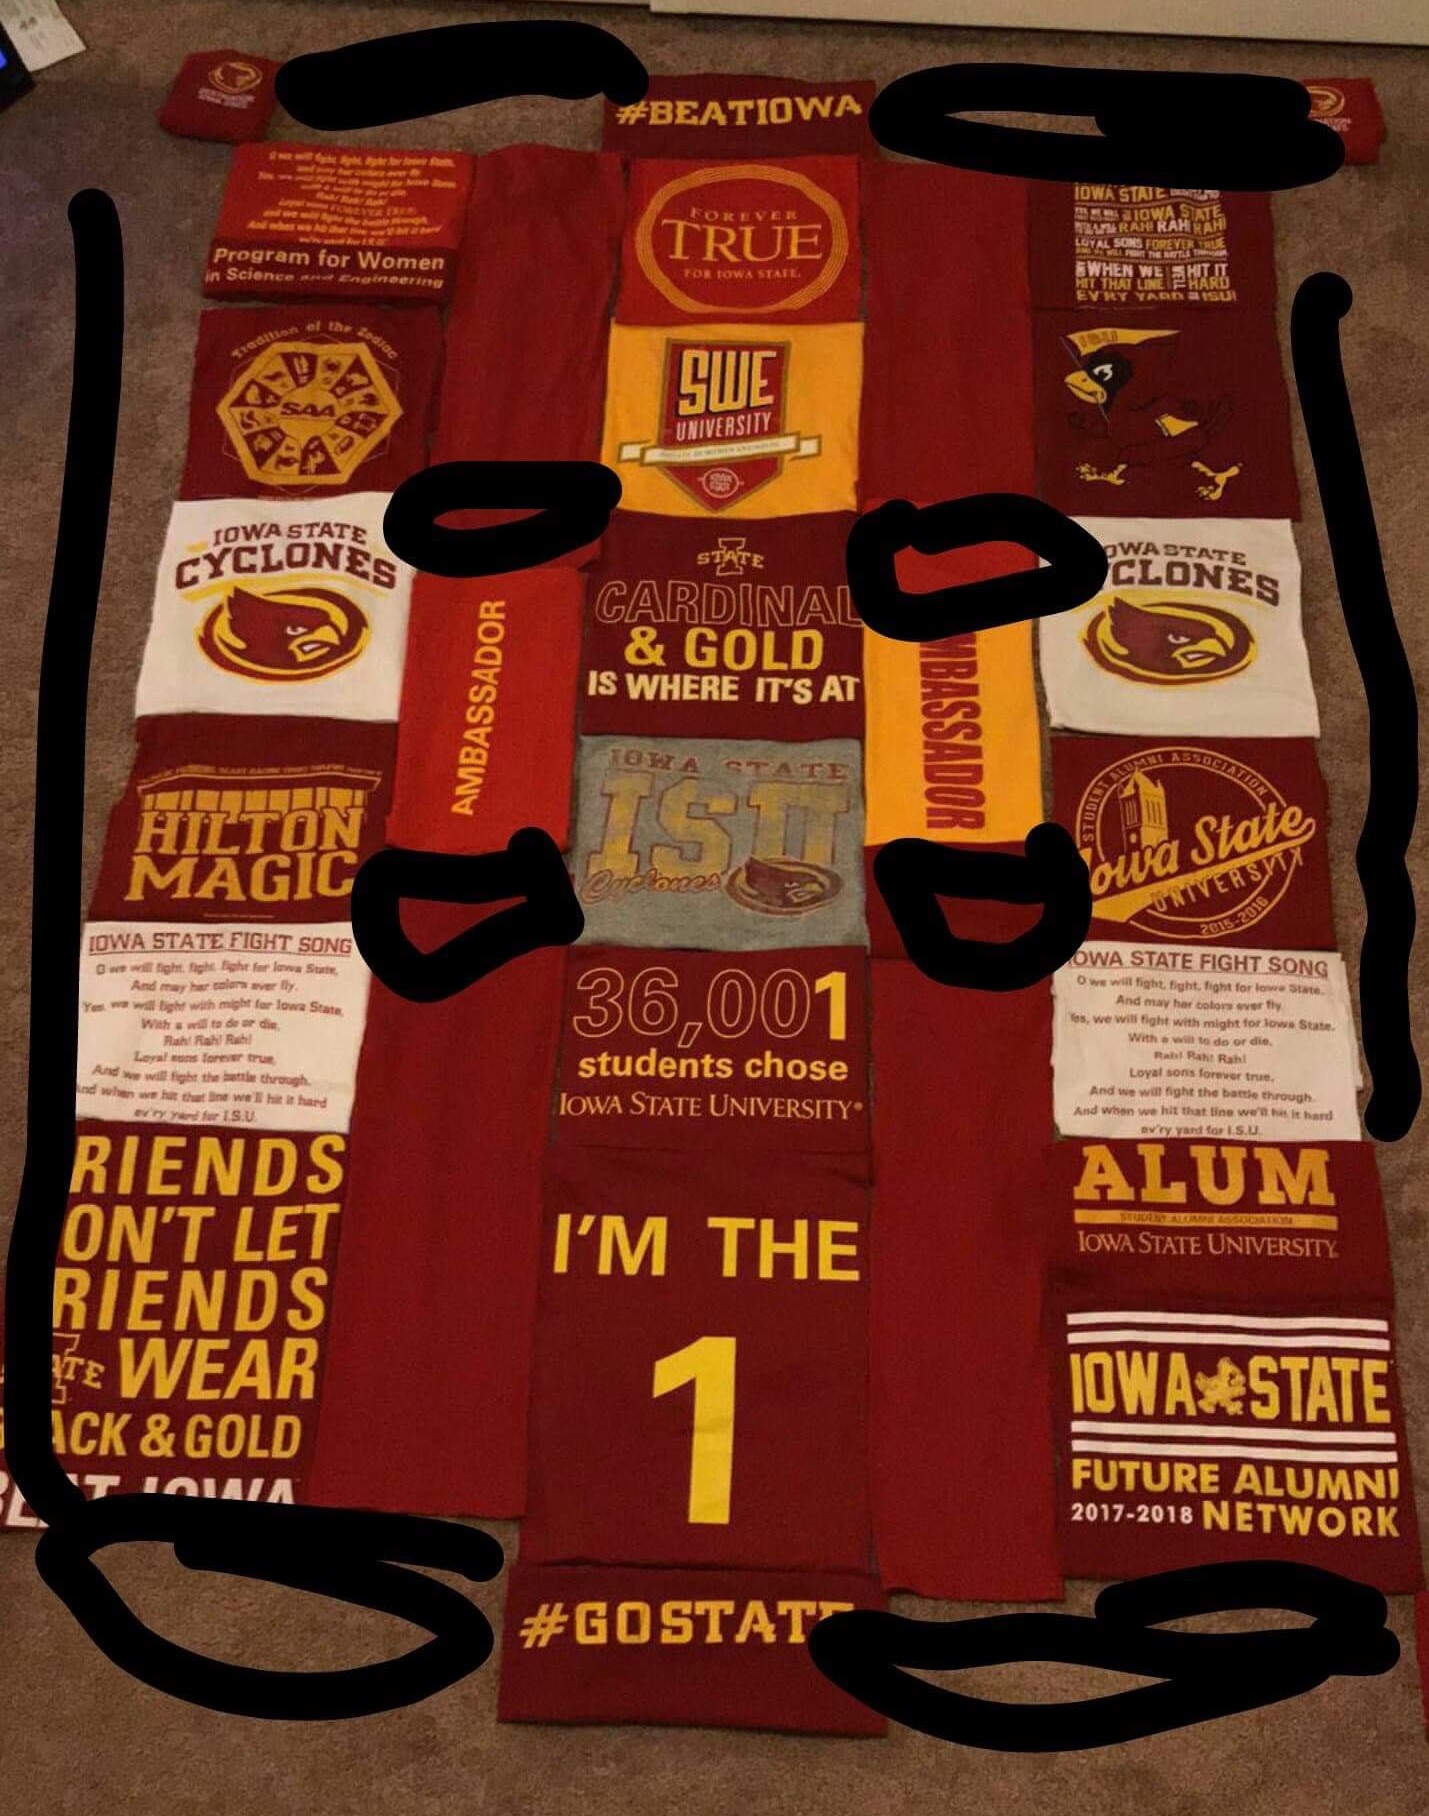
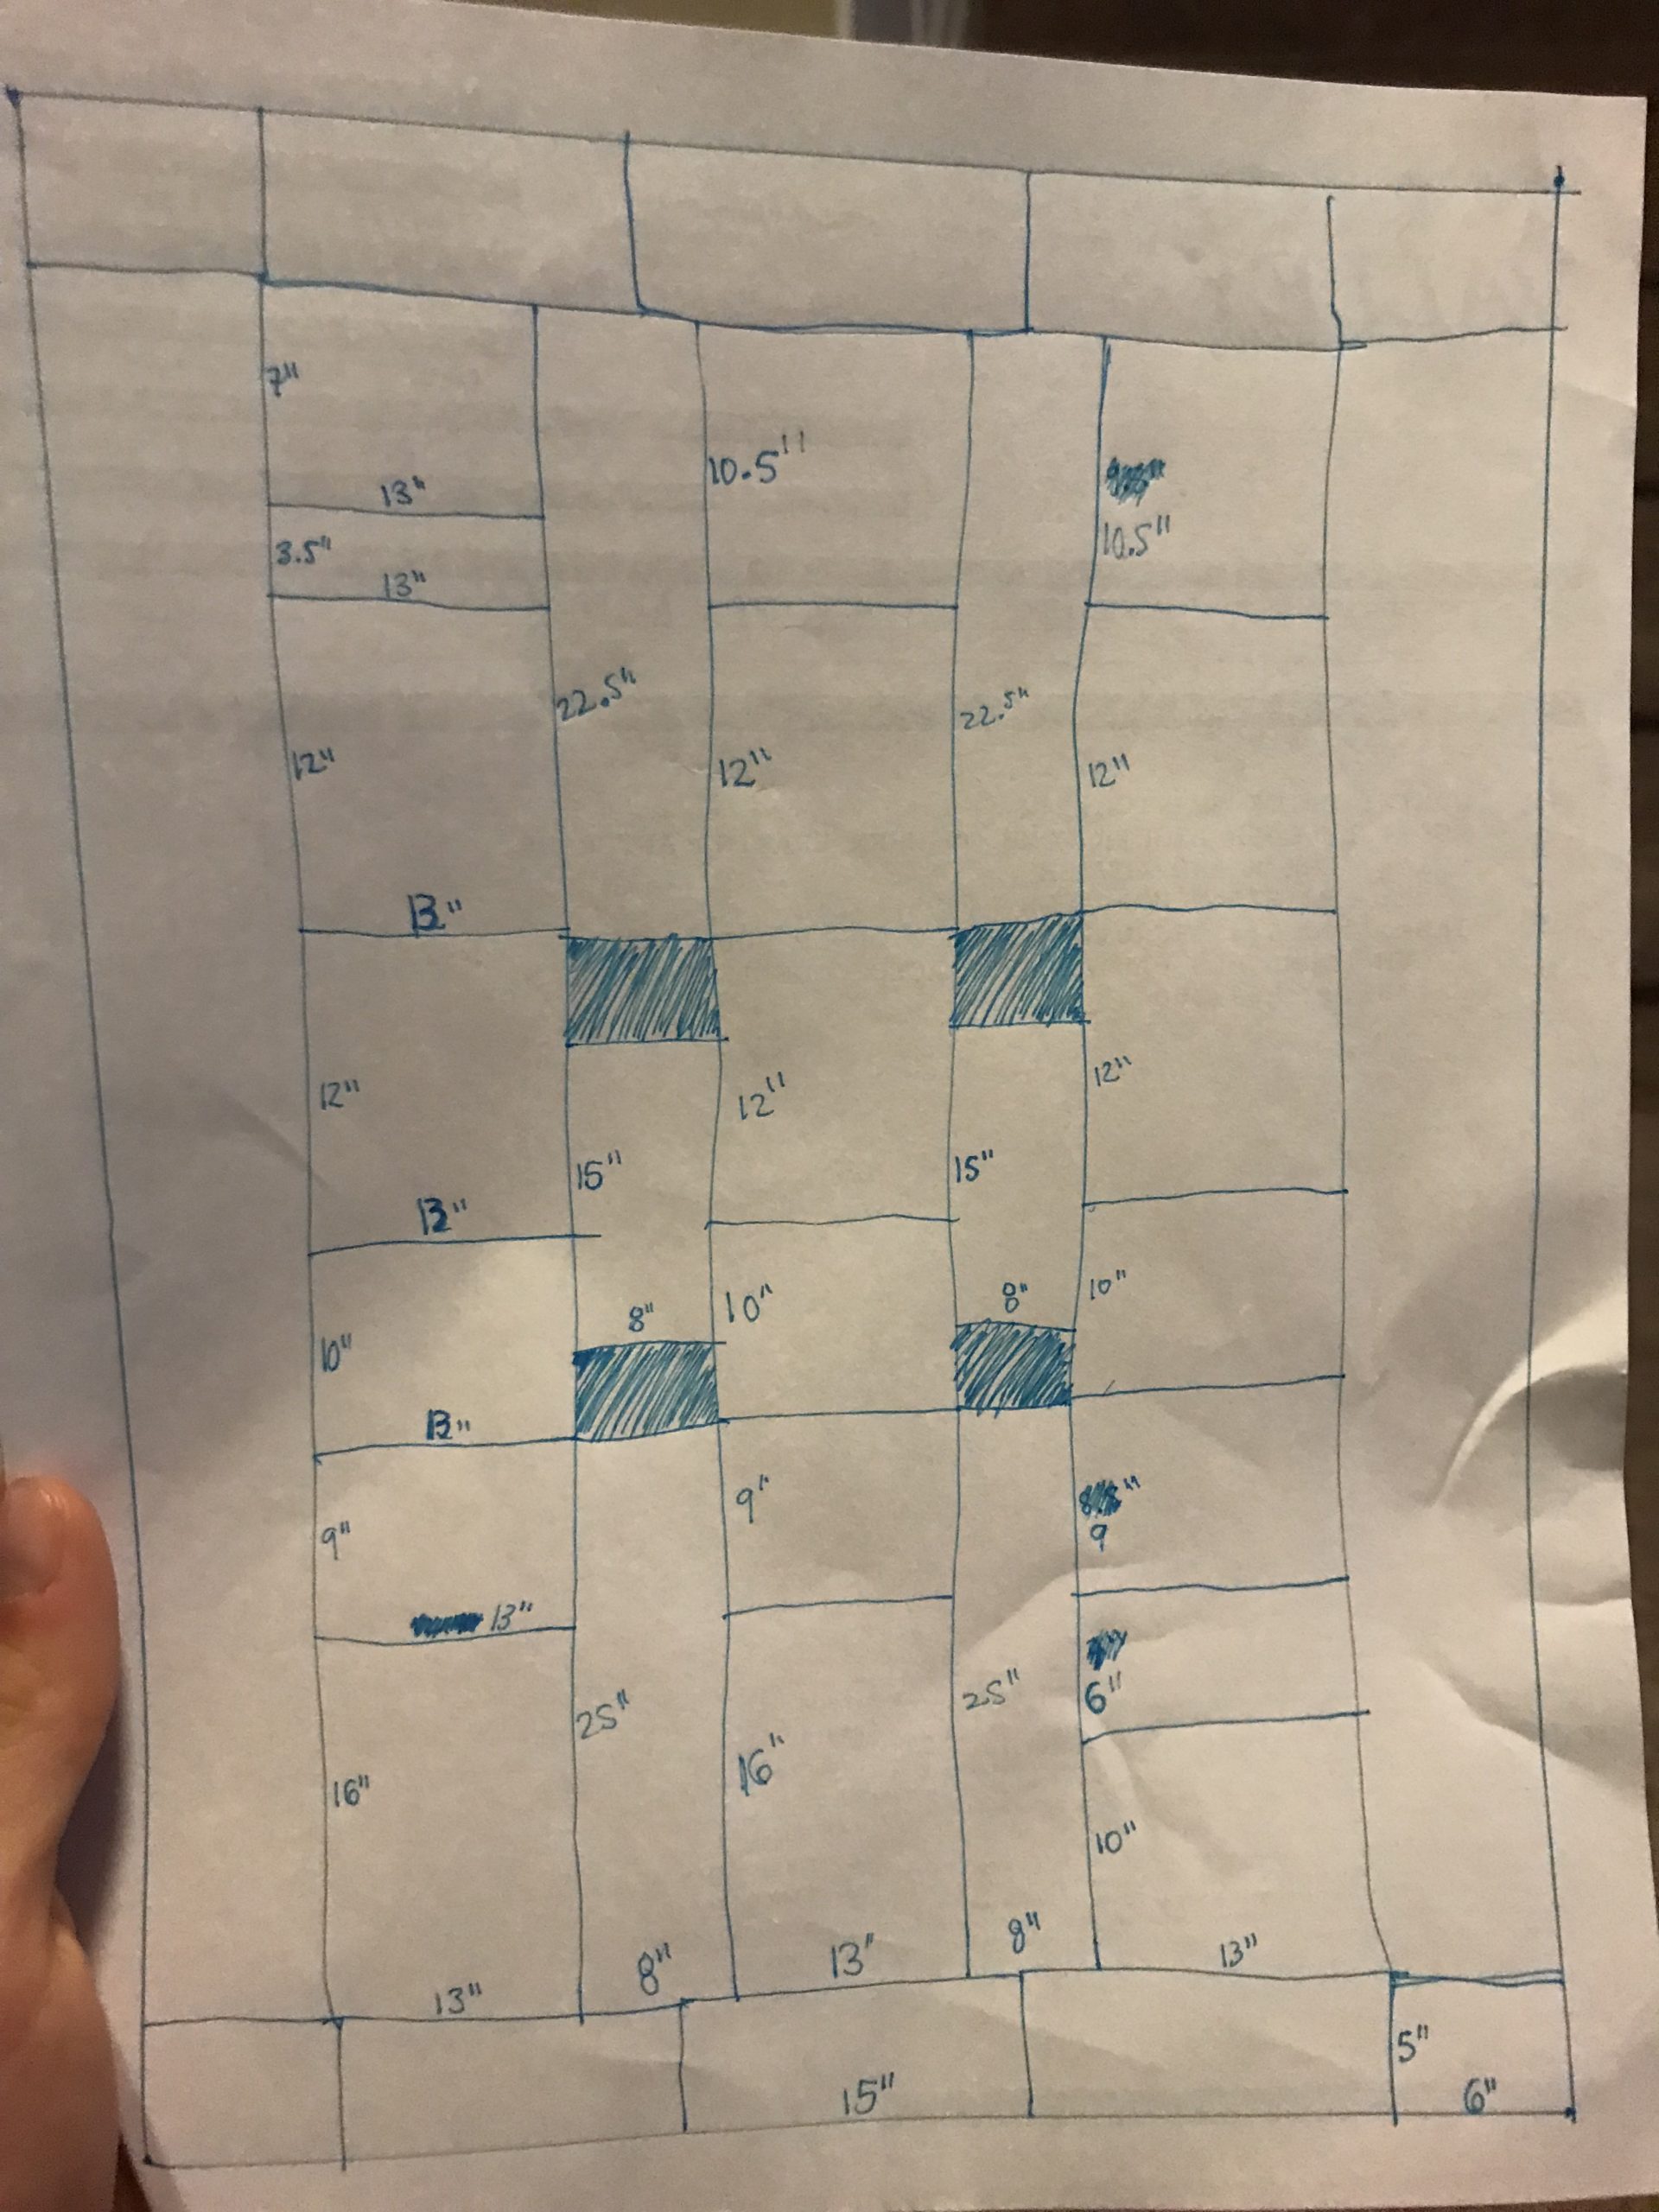
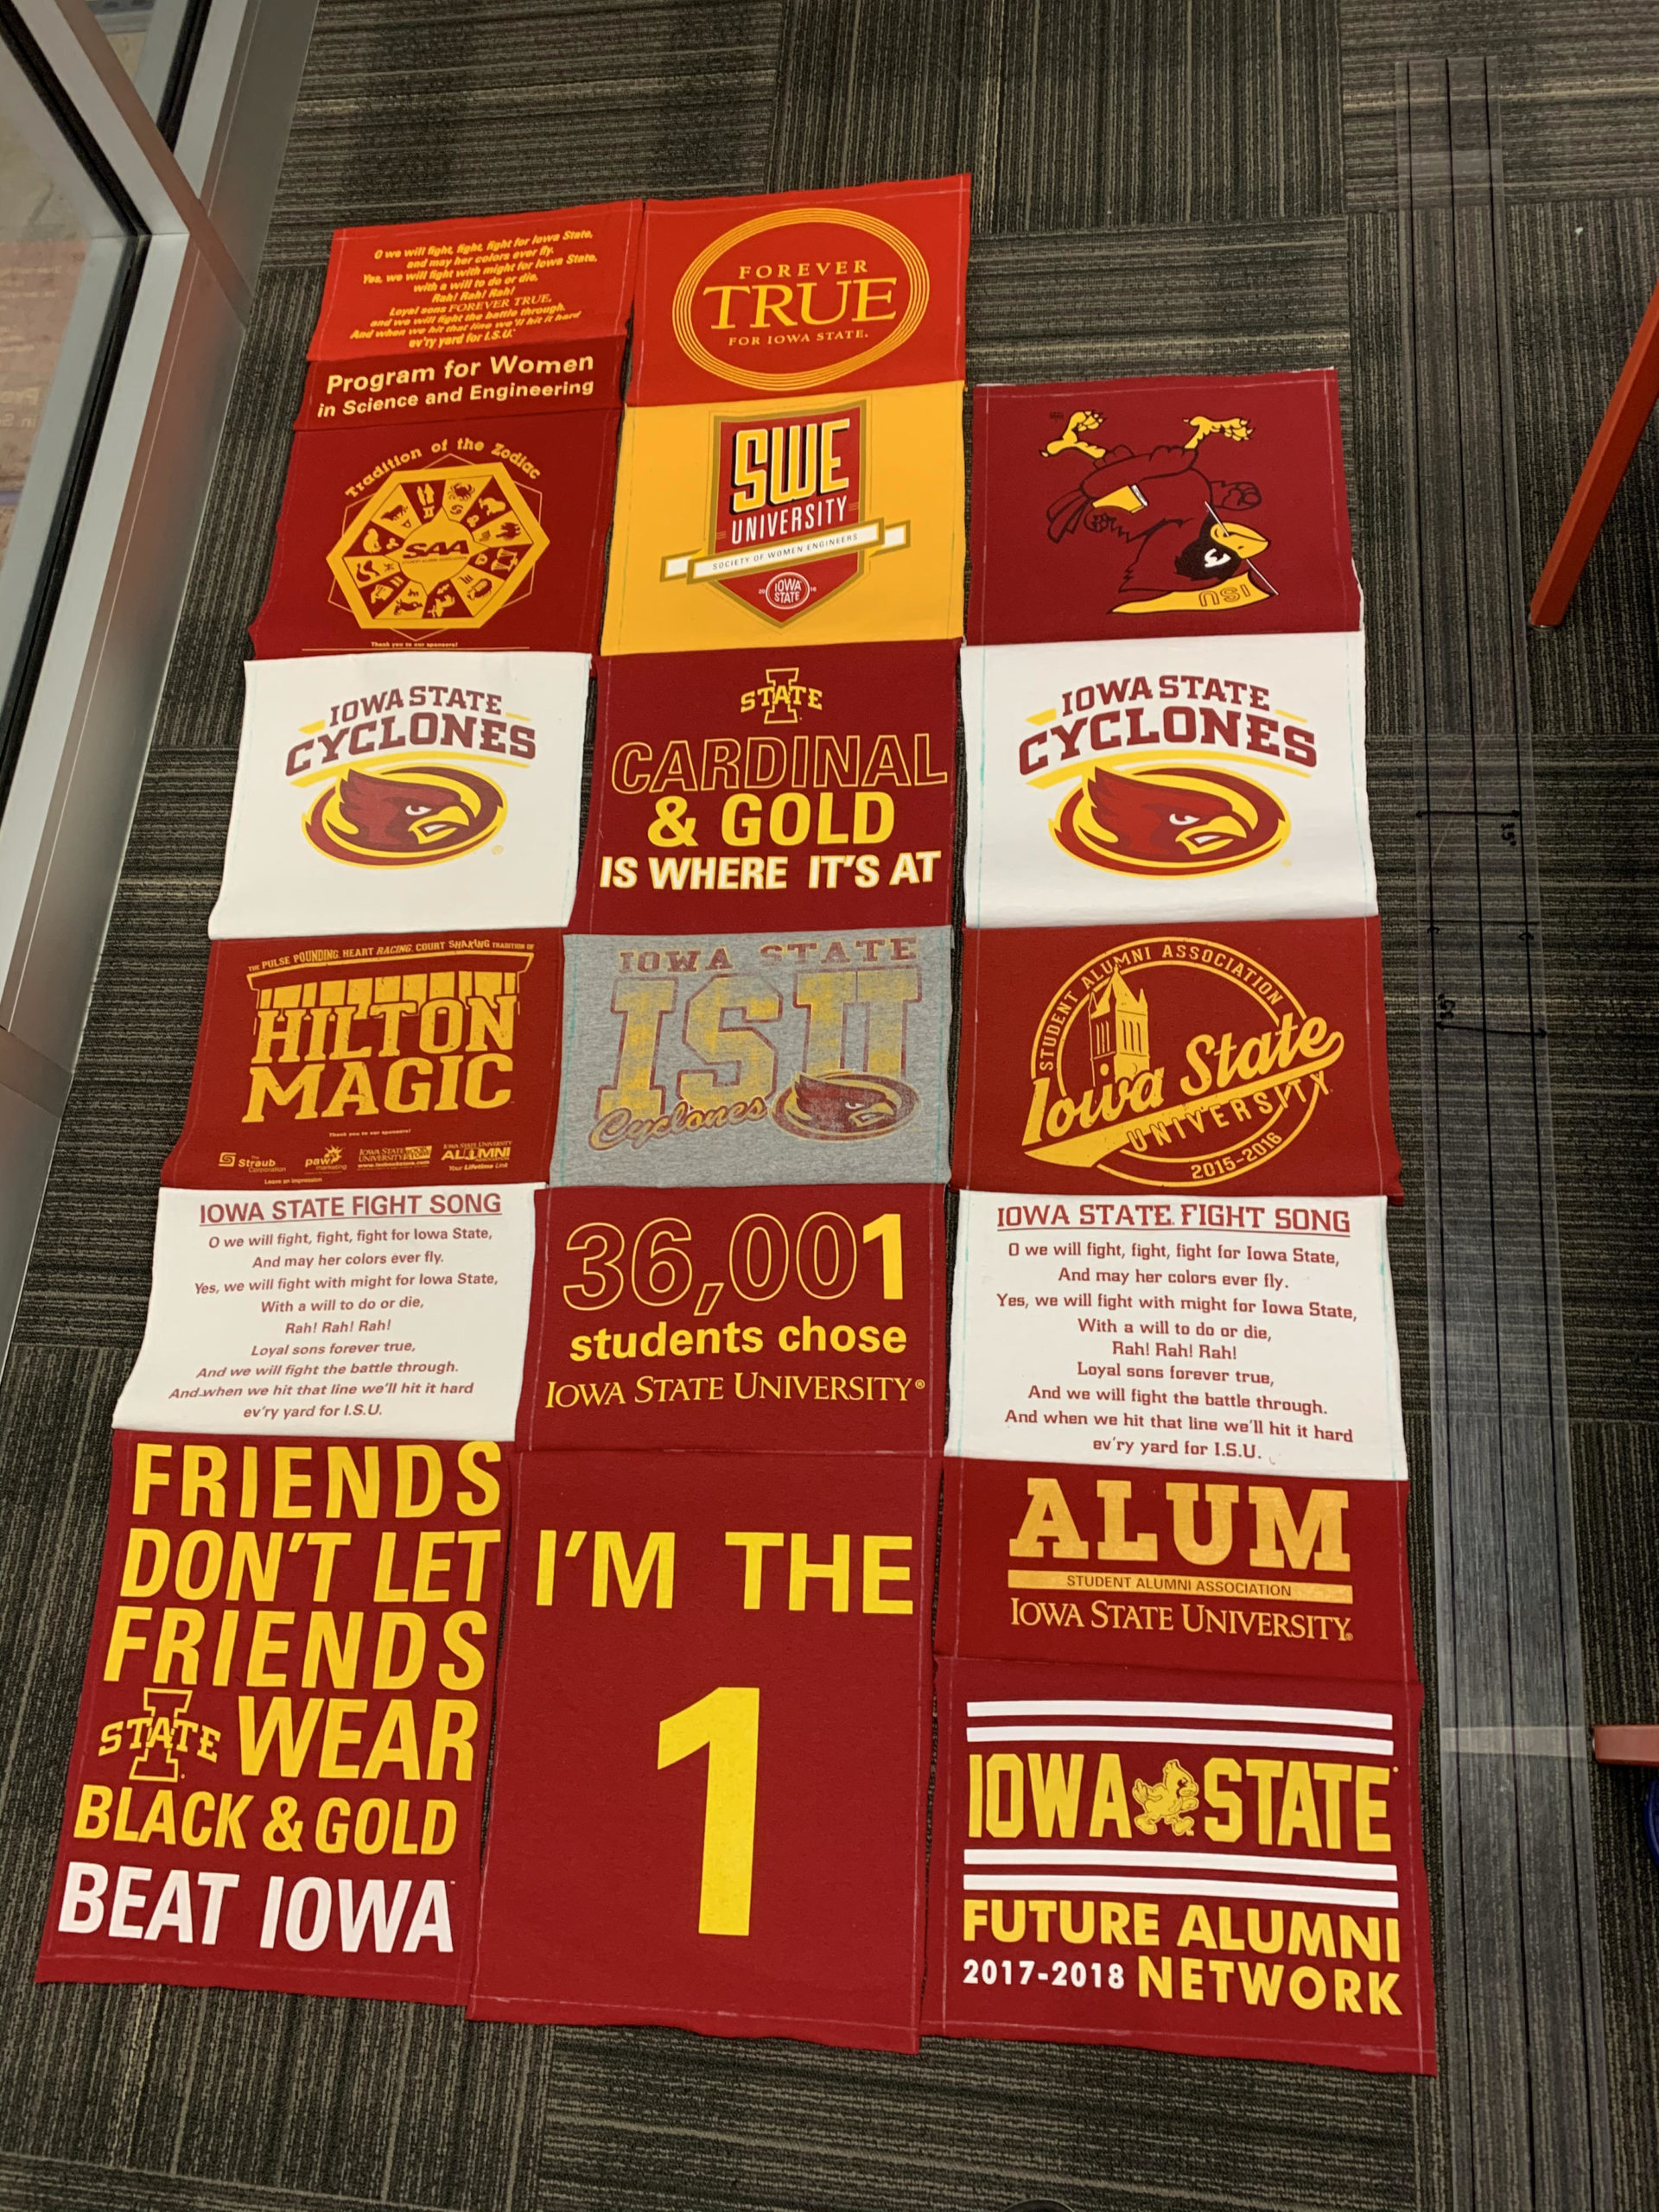
I began planning this project back in the summer of 2018, when my sister graduated from college. Below is the t-shirt layout I created at that time and the dimensions of each panel on the front side that I used for the initial planning on the project.
Part 2: How
Timeline:
The actual timeline of the completion of major tasks for the project.

Materials:
Supplies to be Purchased:
- Interfacing
- Batting
- Backside/filler fabric
- Thread
- Needles
Supplies Owned:
- T-shirts
- Sewing Machine
- Iron and Ironing Board
- Measuring Tape
- Scissors
- Pins
Process:
1) Determine Pattern/Layout
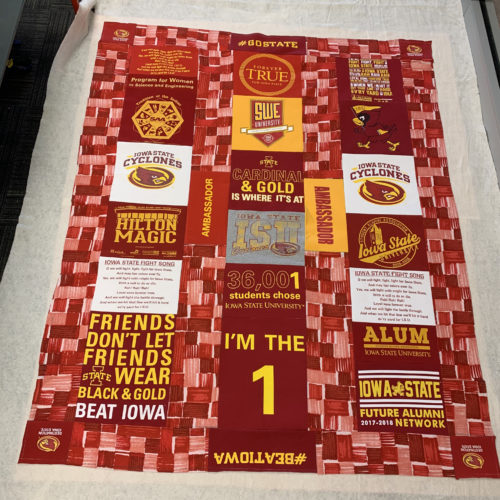
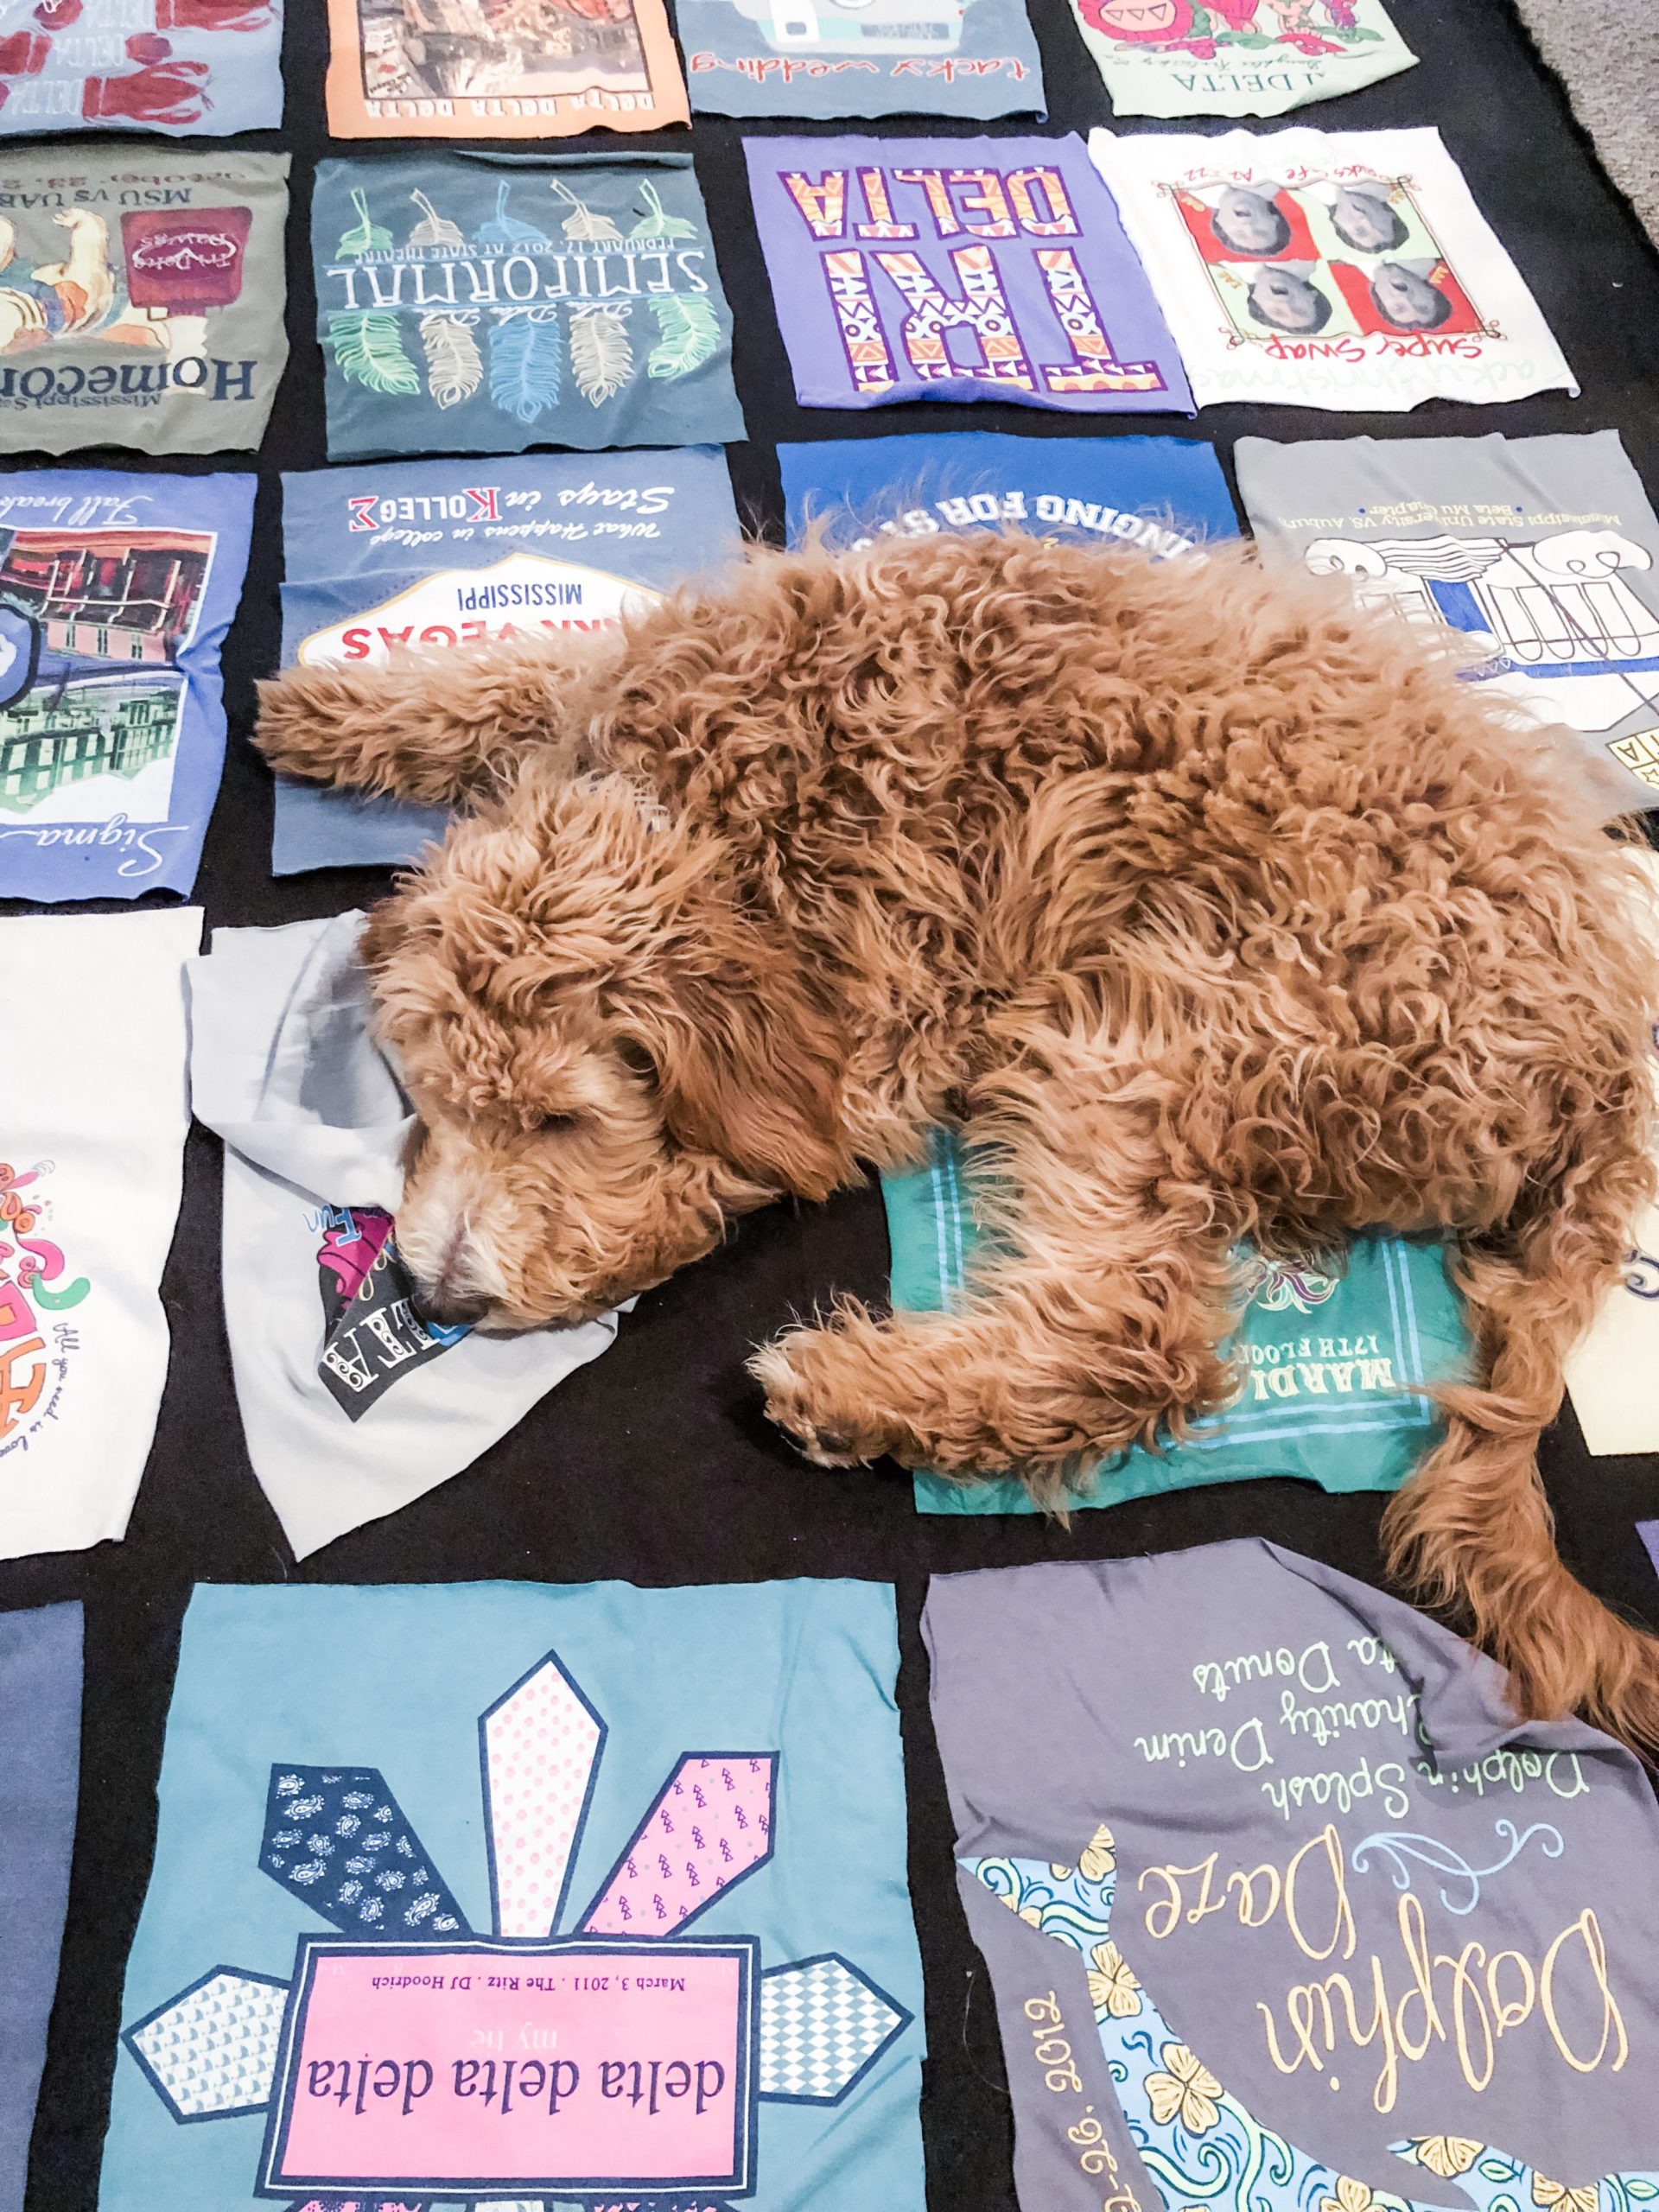
I showed this in the Vision/Design Plans. This where I decided what t-shirts I want to go where on the front side of the quilt. I was aiming for symmetry and even color balance.
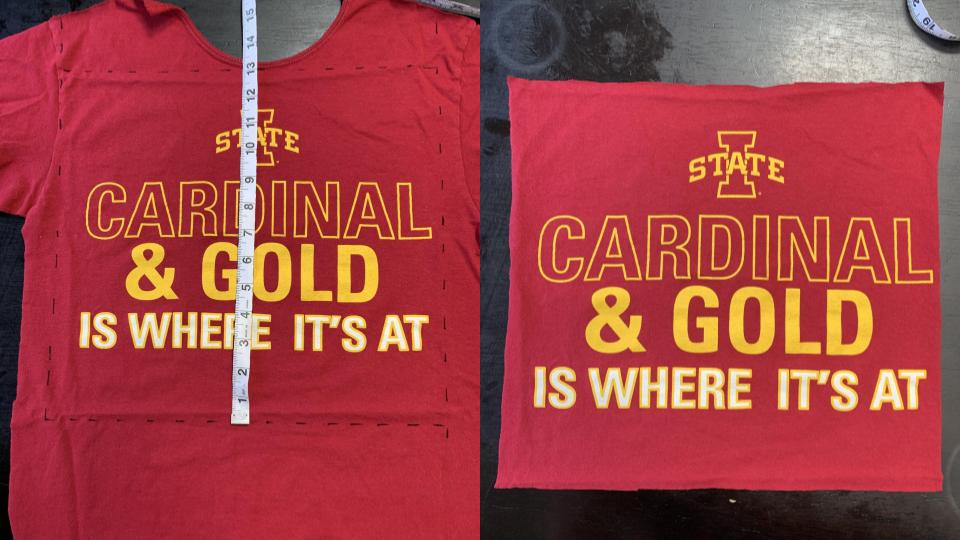
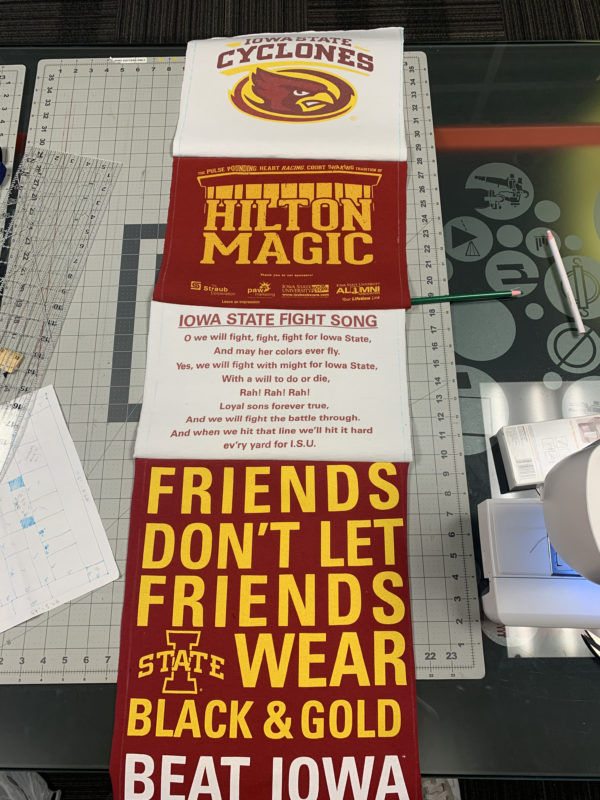
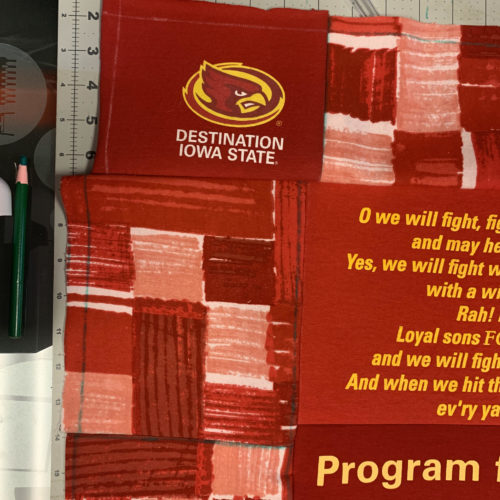
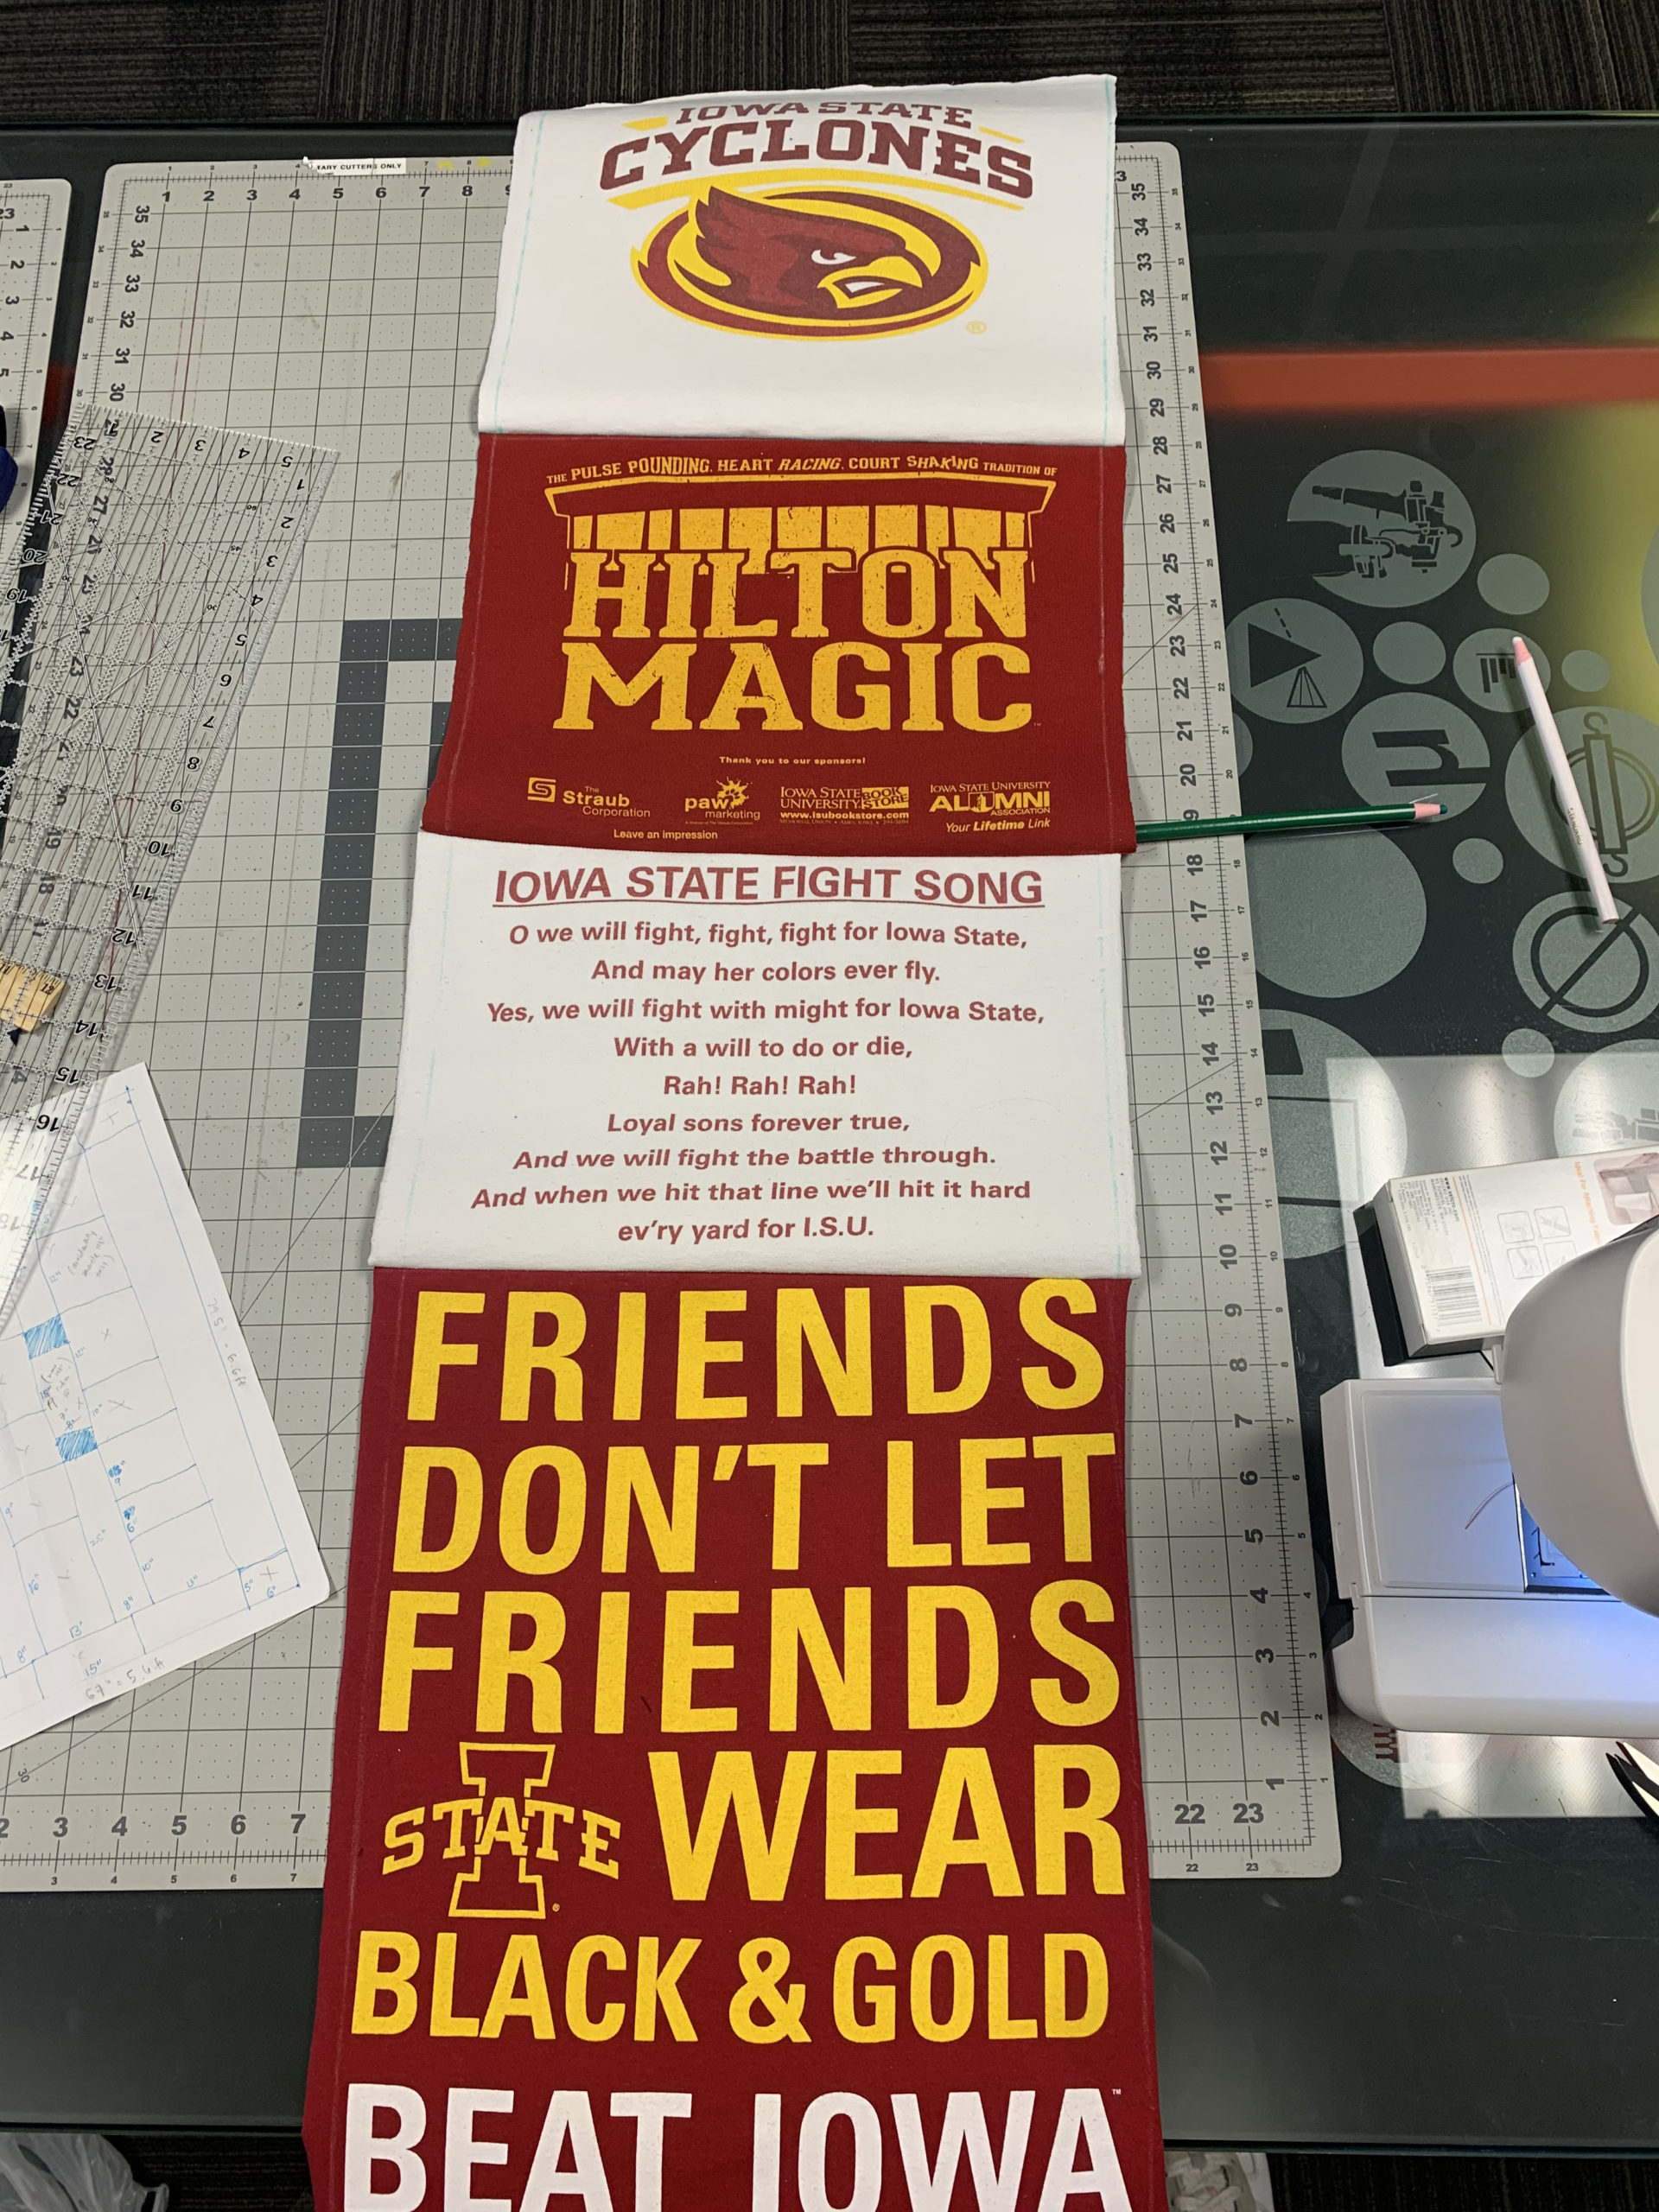
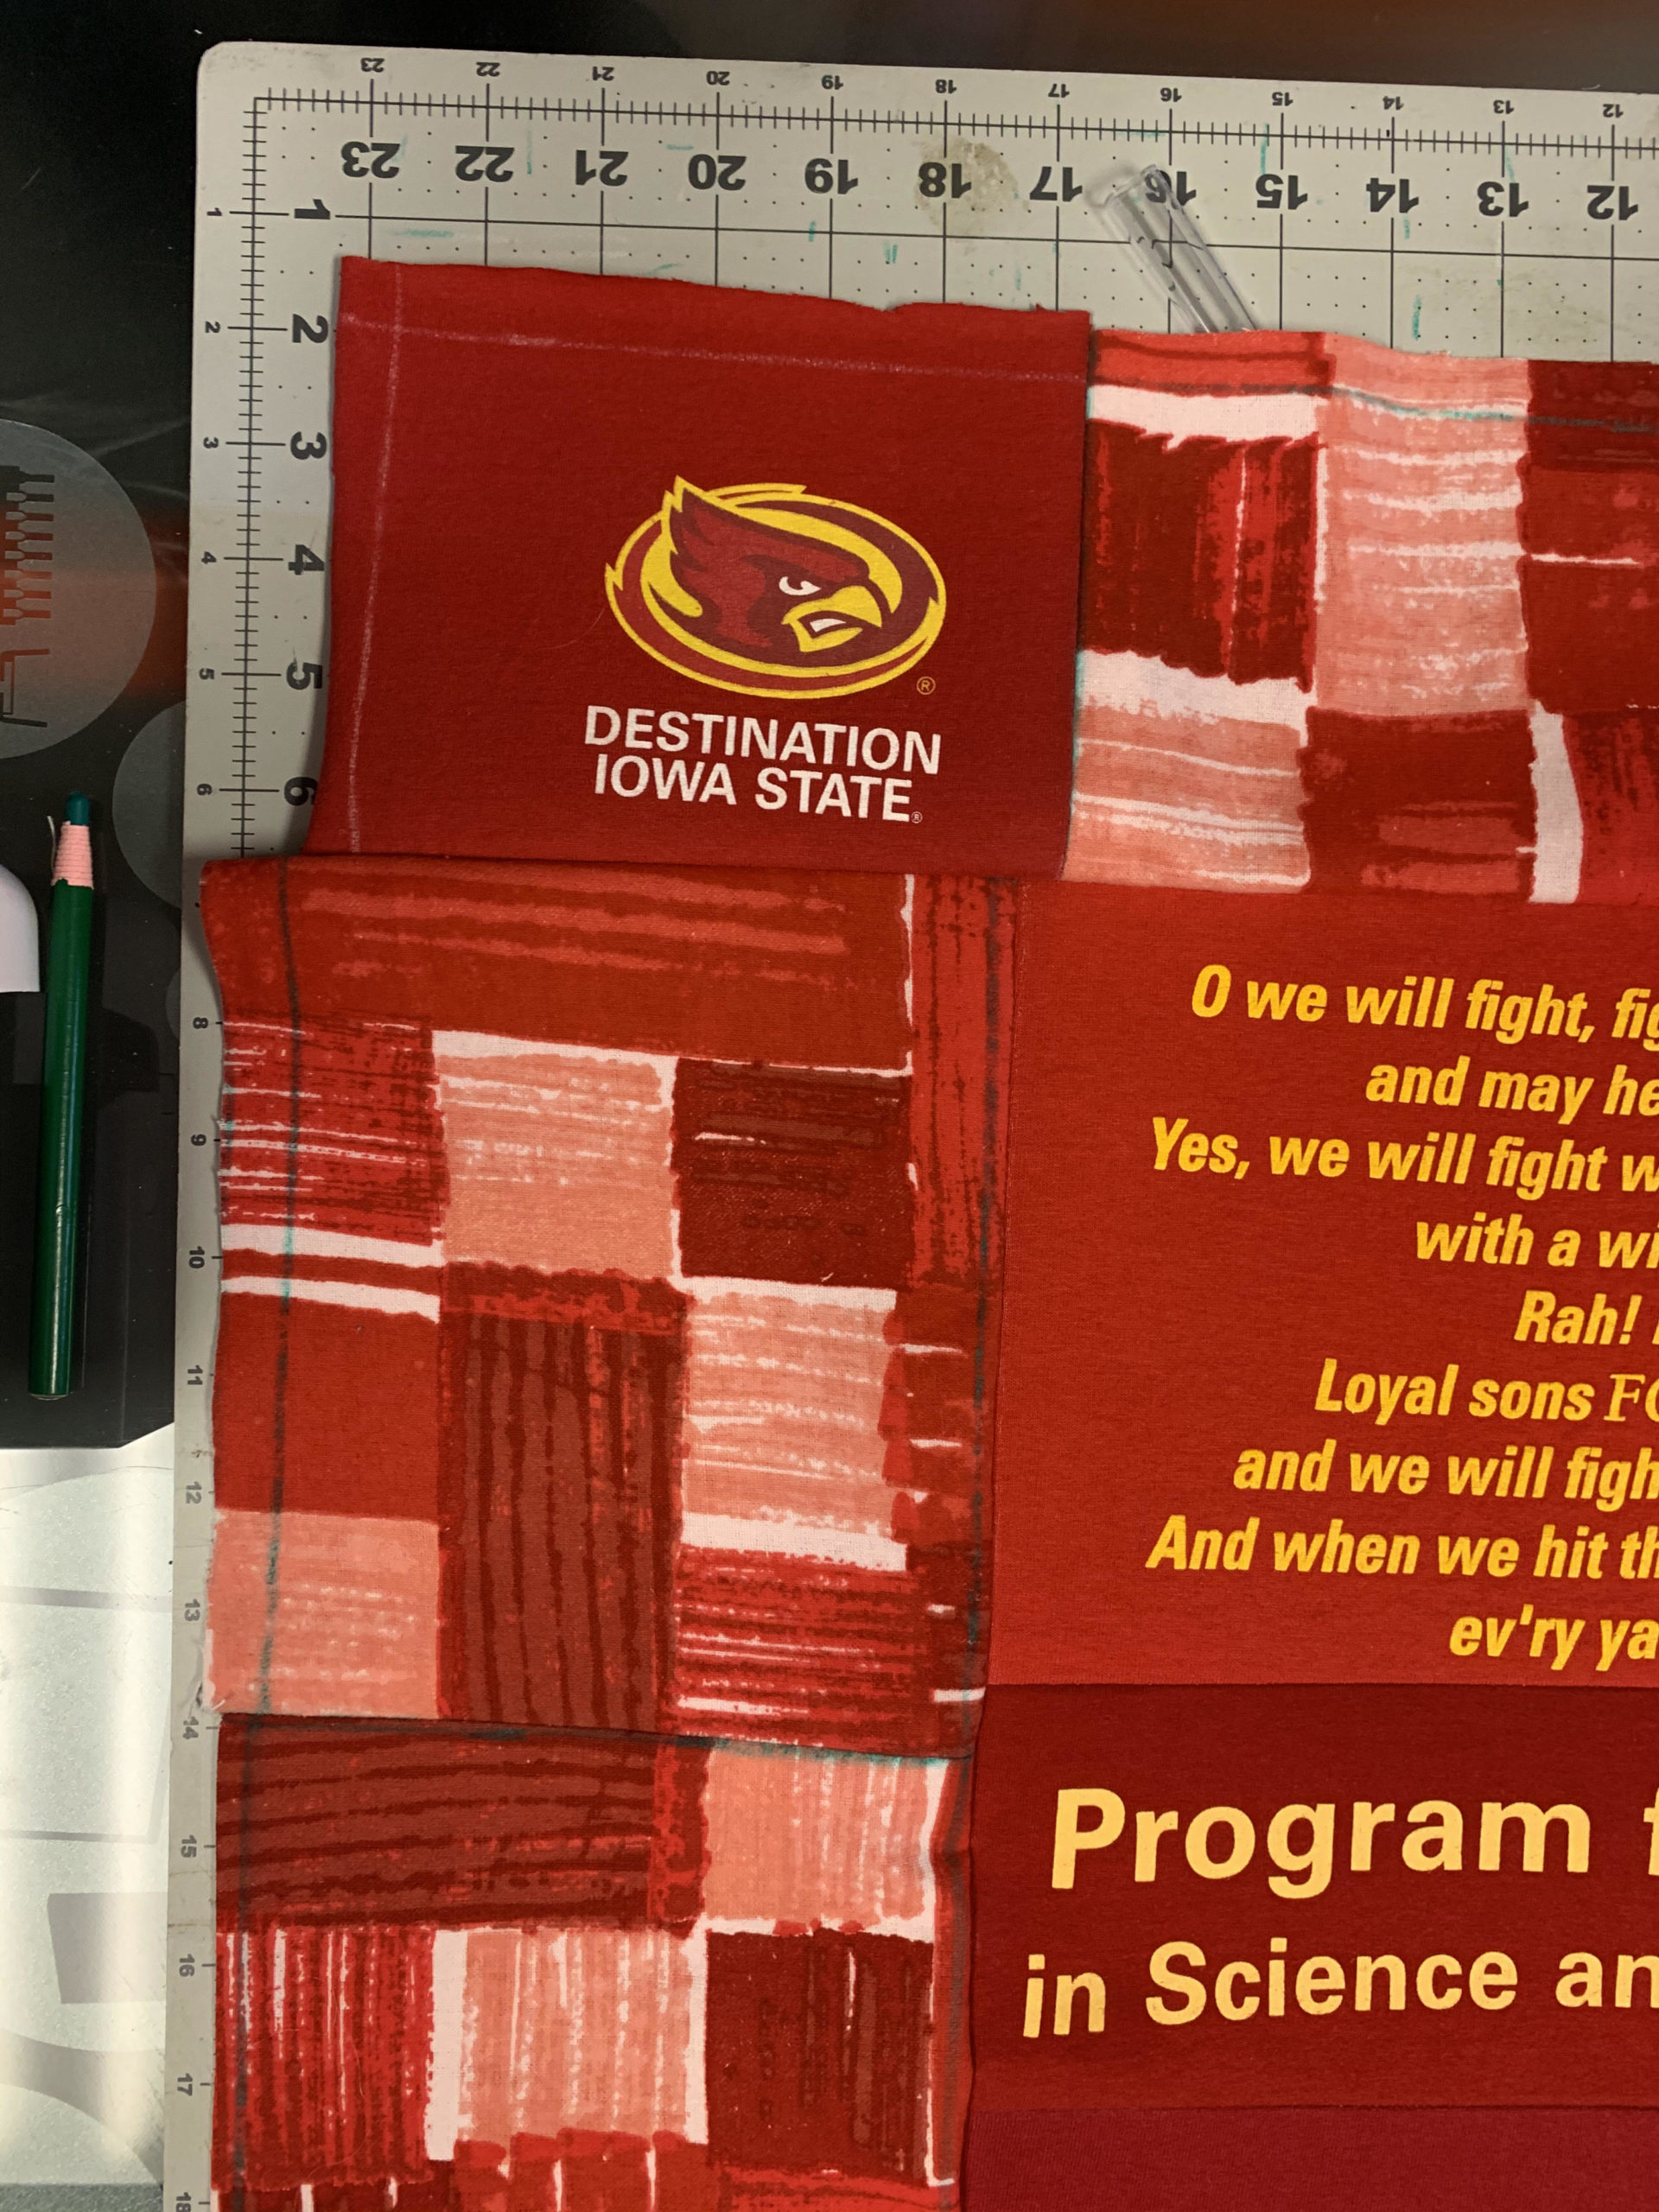
2) Cut Shirts to Size, Leave 1/2″ Border
Using a fabric tape measure and a sharpie, I drew a border around the design of the t-shirt that I wanted on the panel to a size one inch greater (along both dimensions) than original dimensions on my planning document. I then cut these out with scissors
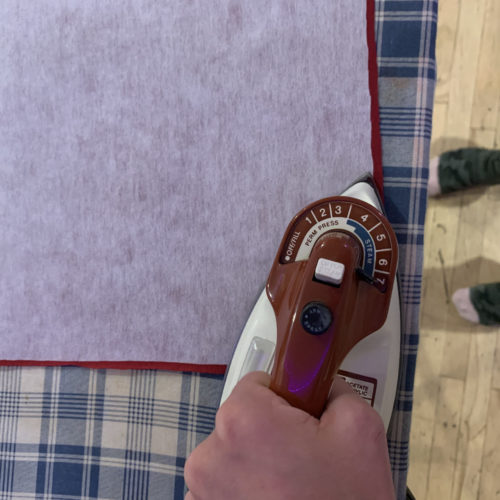
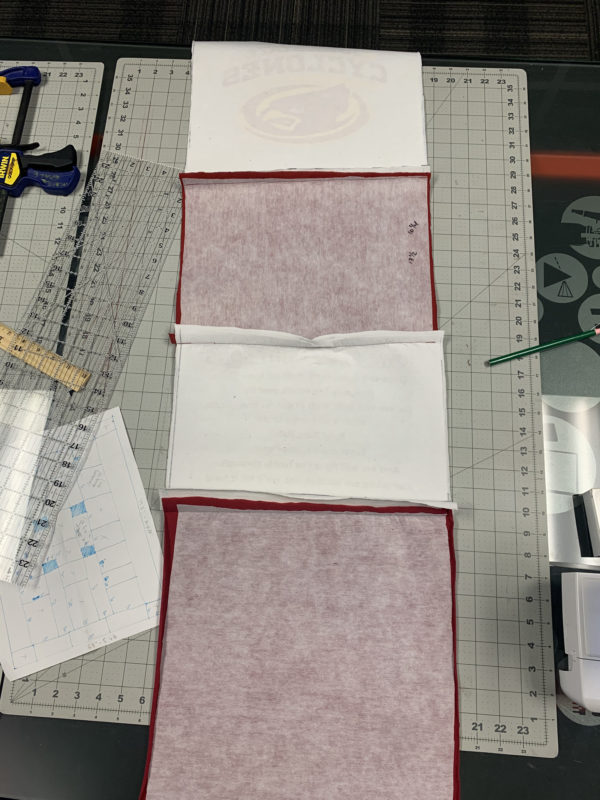
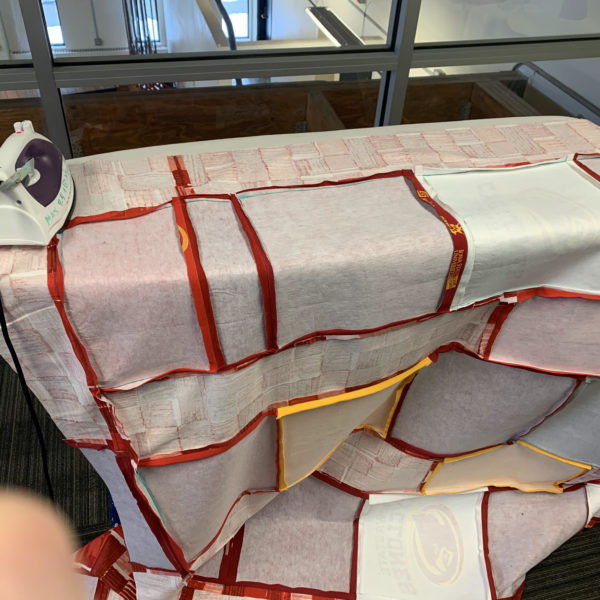
3) Iron Interfacing on Back Side of Shirts
Interfacing is a thin fabric with one side coated in heat activated adhesive. This was ironed on to the backsides of each shirt panel to give them all a similar thickness and stiffness and make the fabric tougher so that tears are less likely. This also removes the stretchiness of a standard t-shirt, which makes it easier to sew and manipulate.
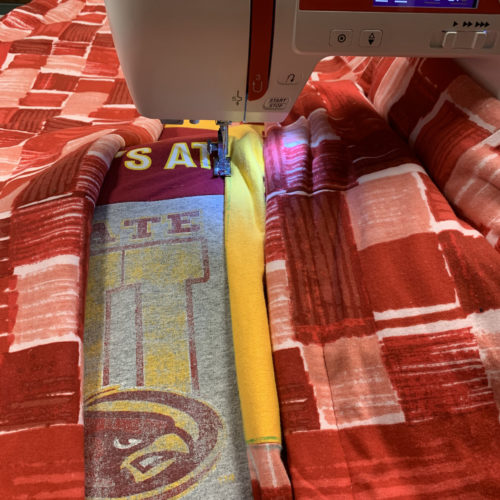
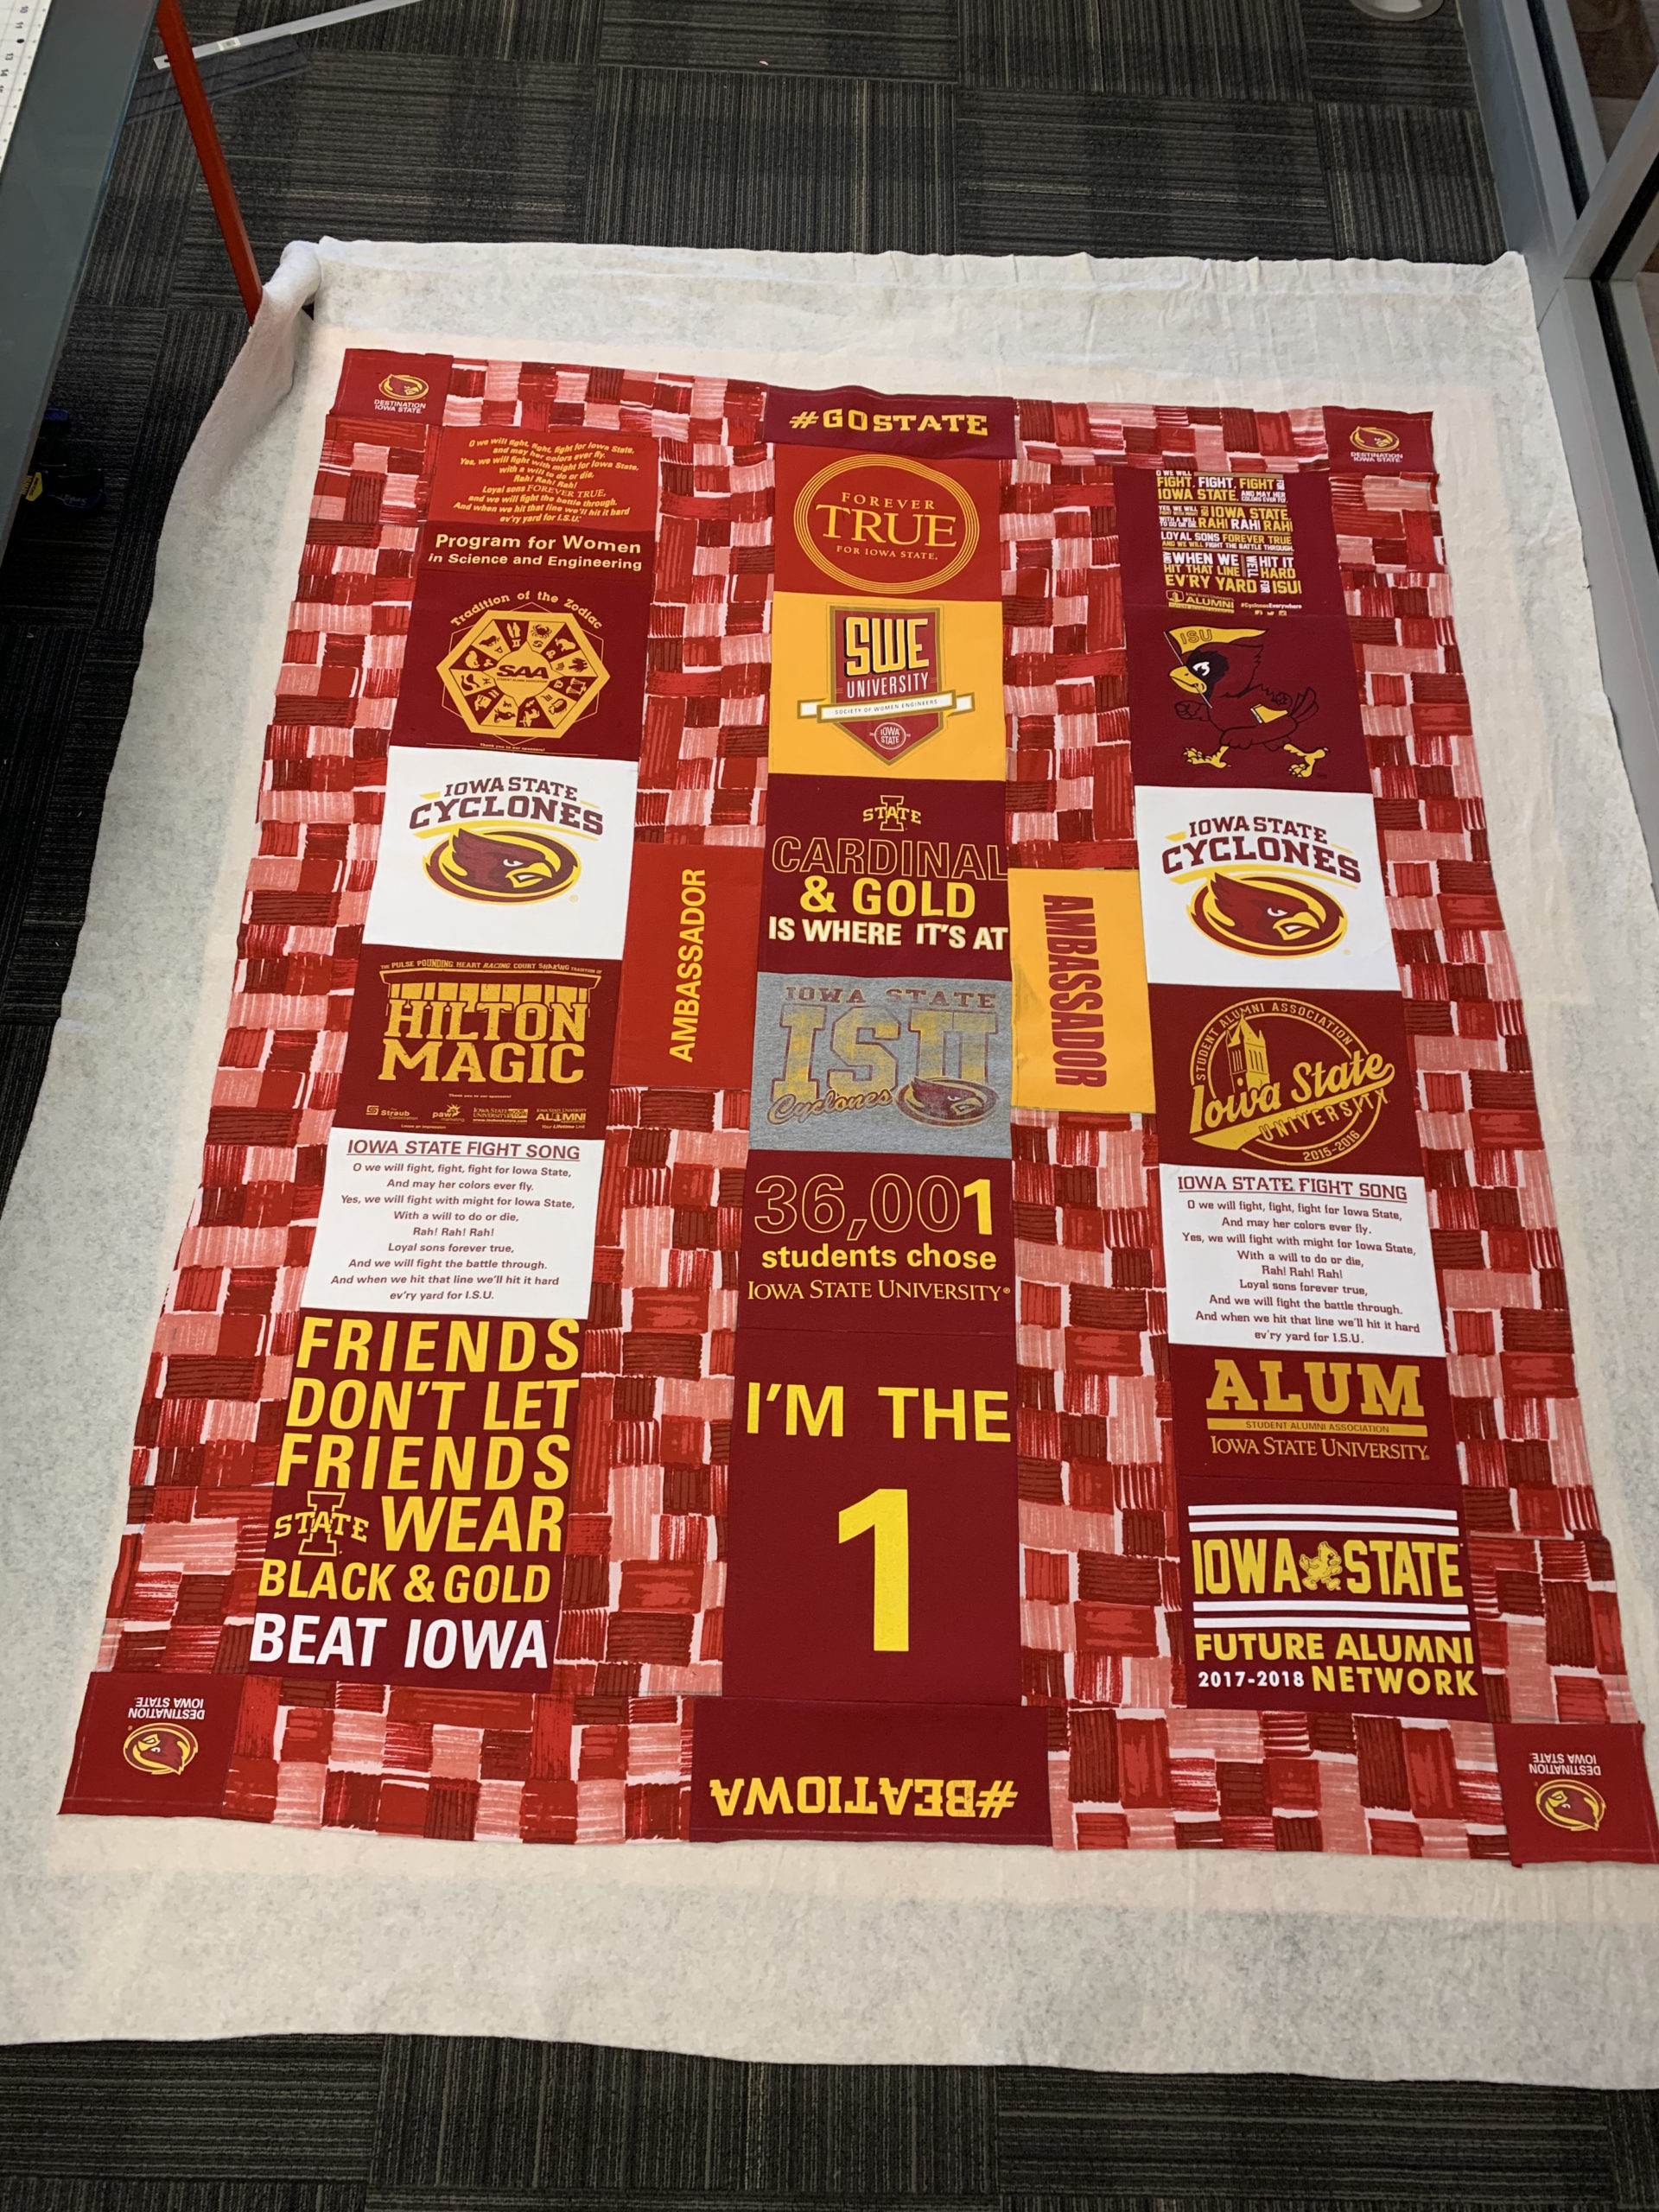
4) Sew Front Panels Together in Wanted Pattern
The next step is to sew all the front panels of fabric and t-shirt together. This is done by laying the front sides together and sewing along the edge that you want to be connected. Leave 1/2″ for seam allowance.
I also ironed down all seams to make sewing full panels together easier.
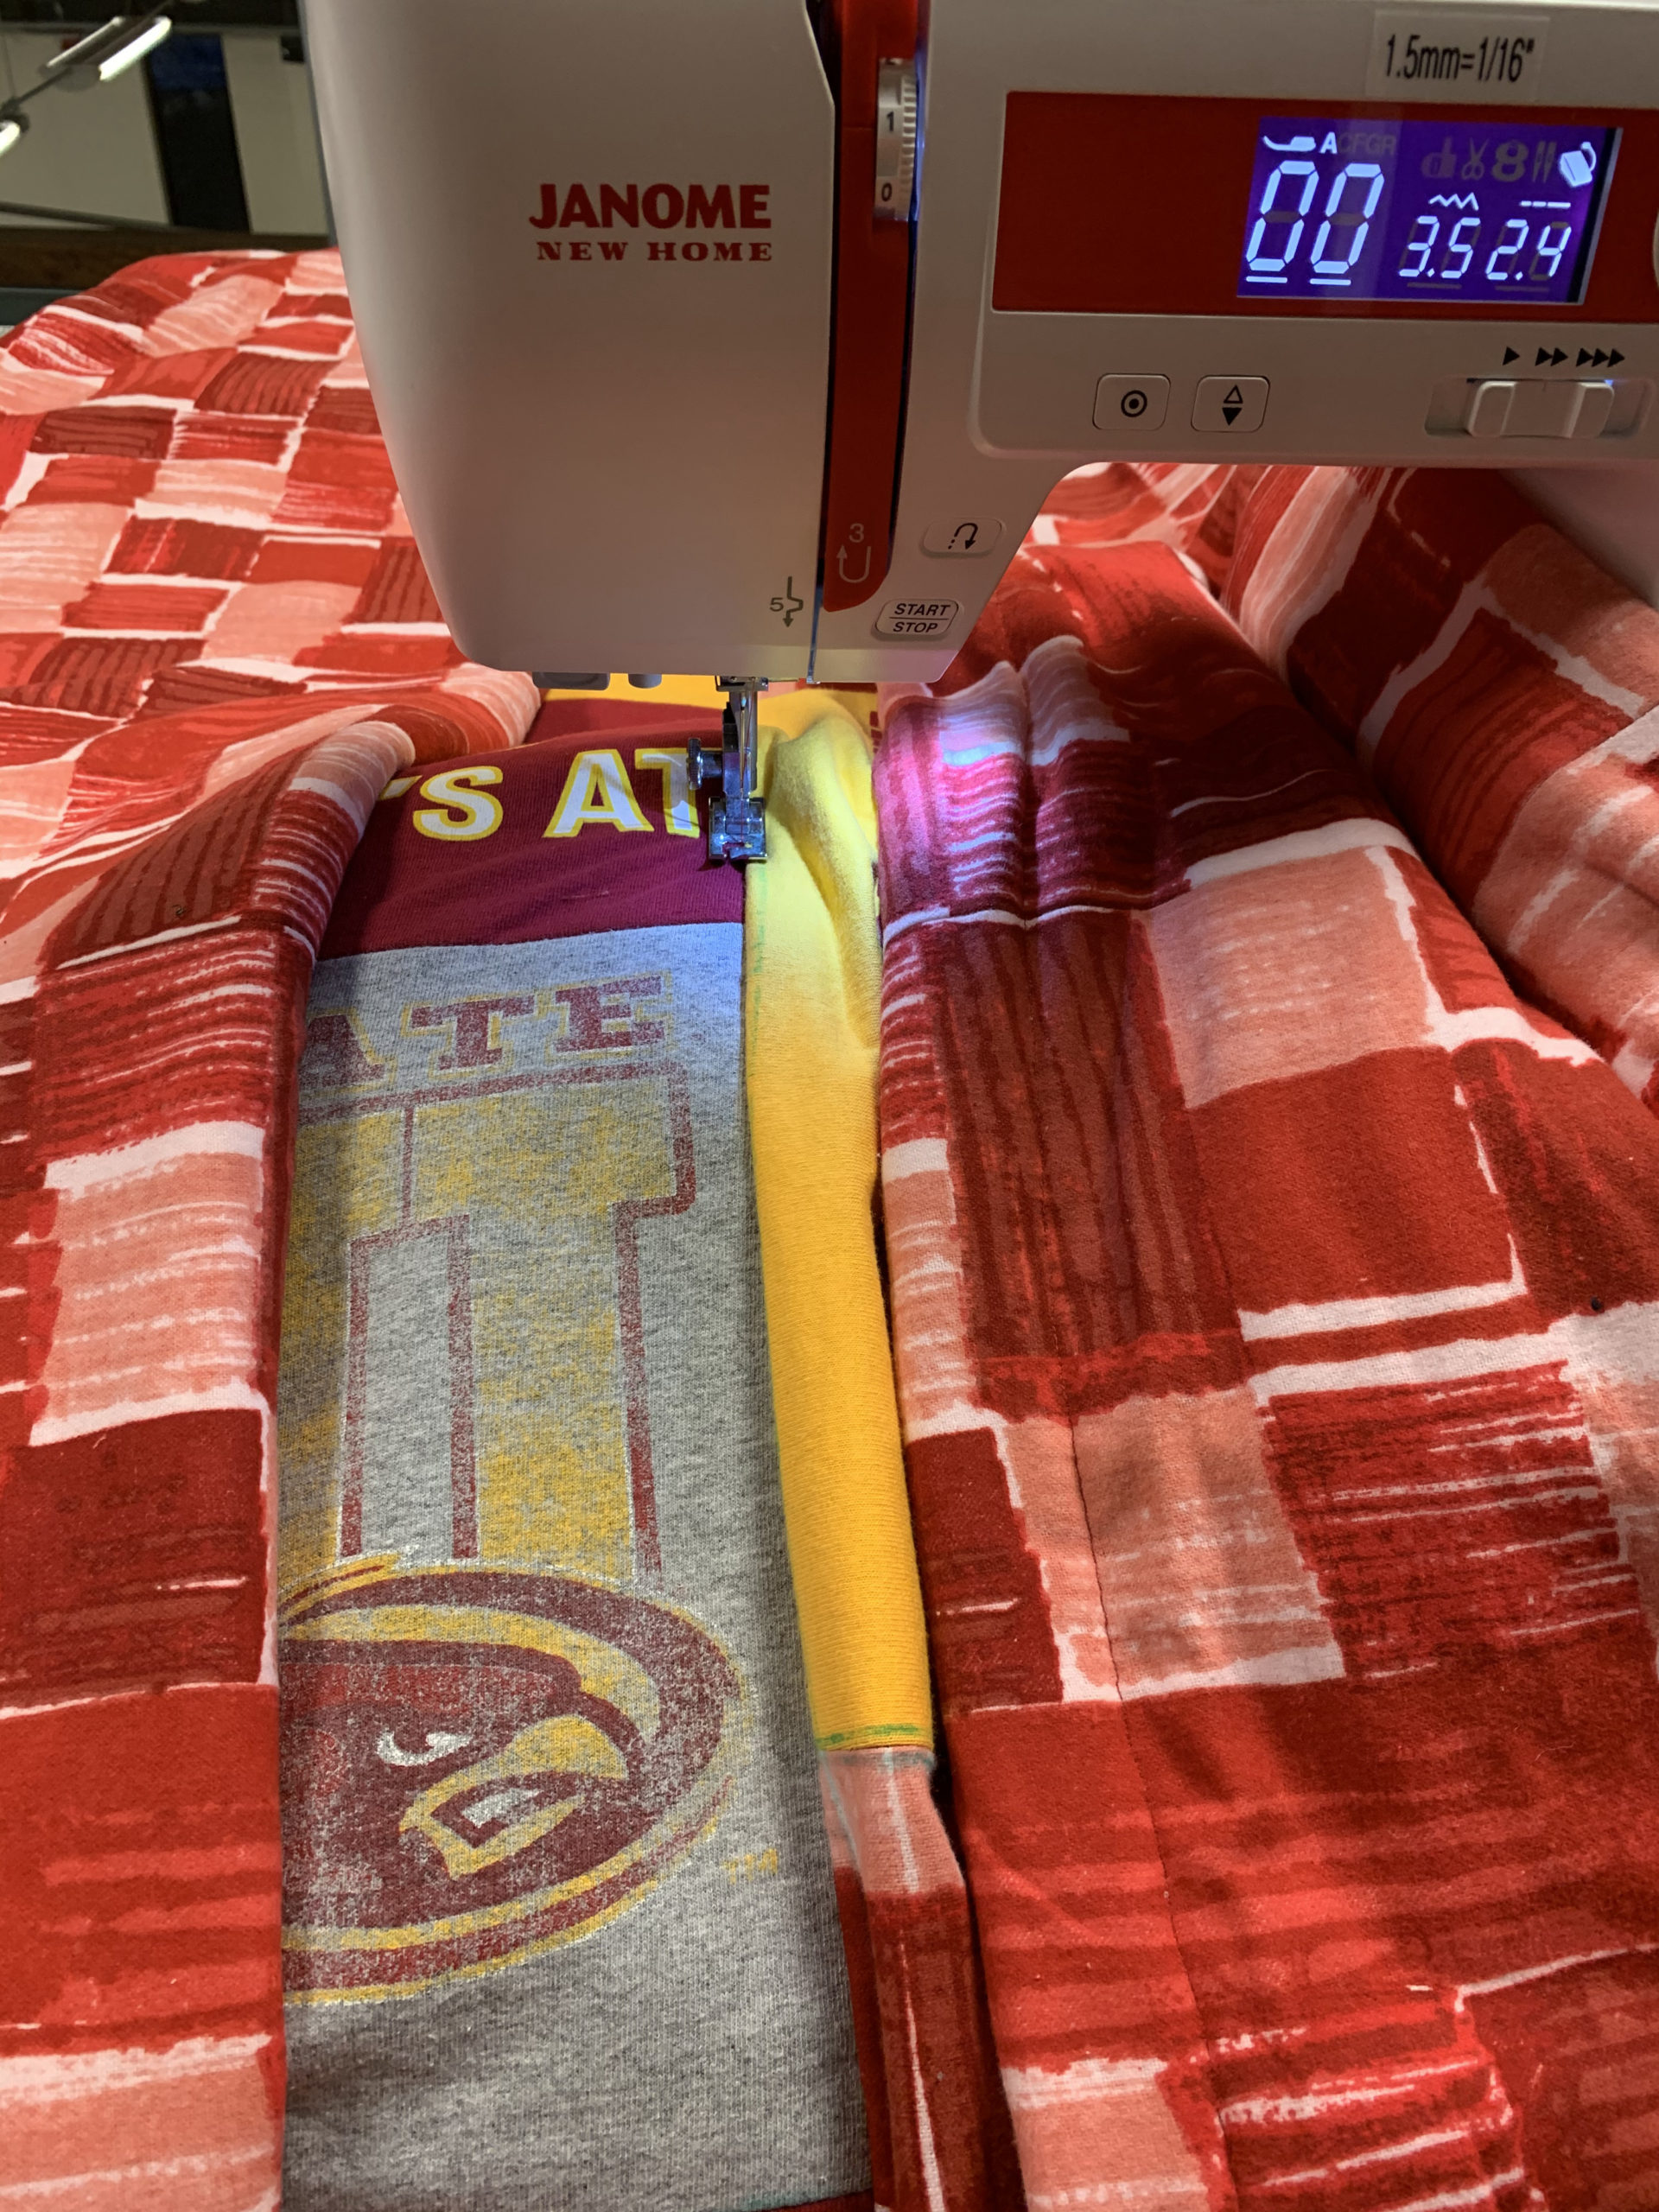
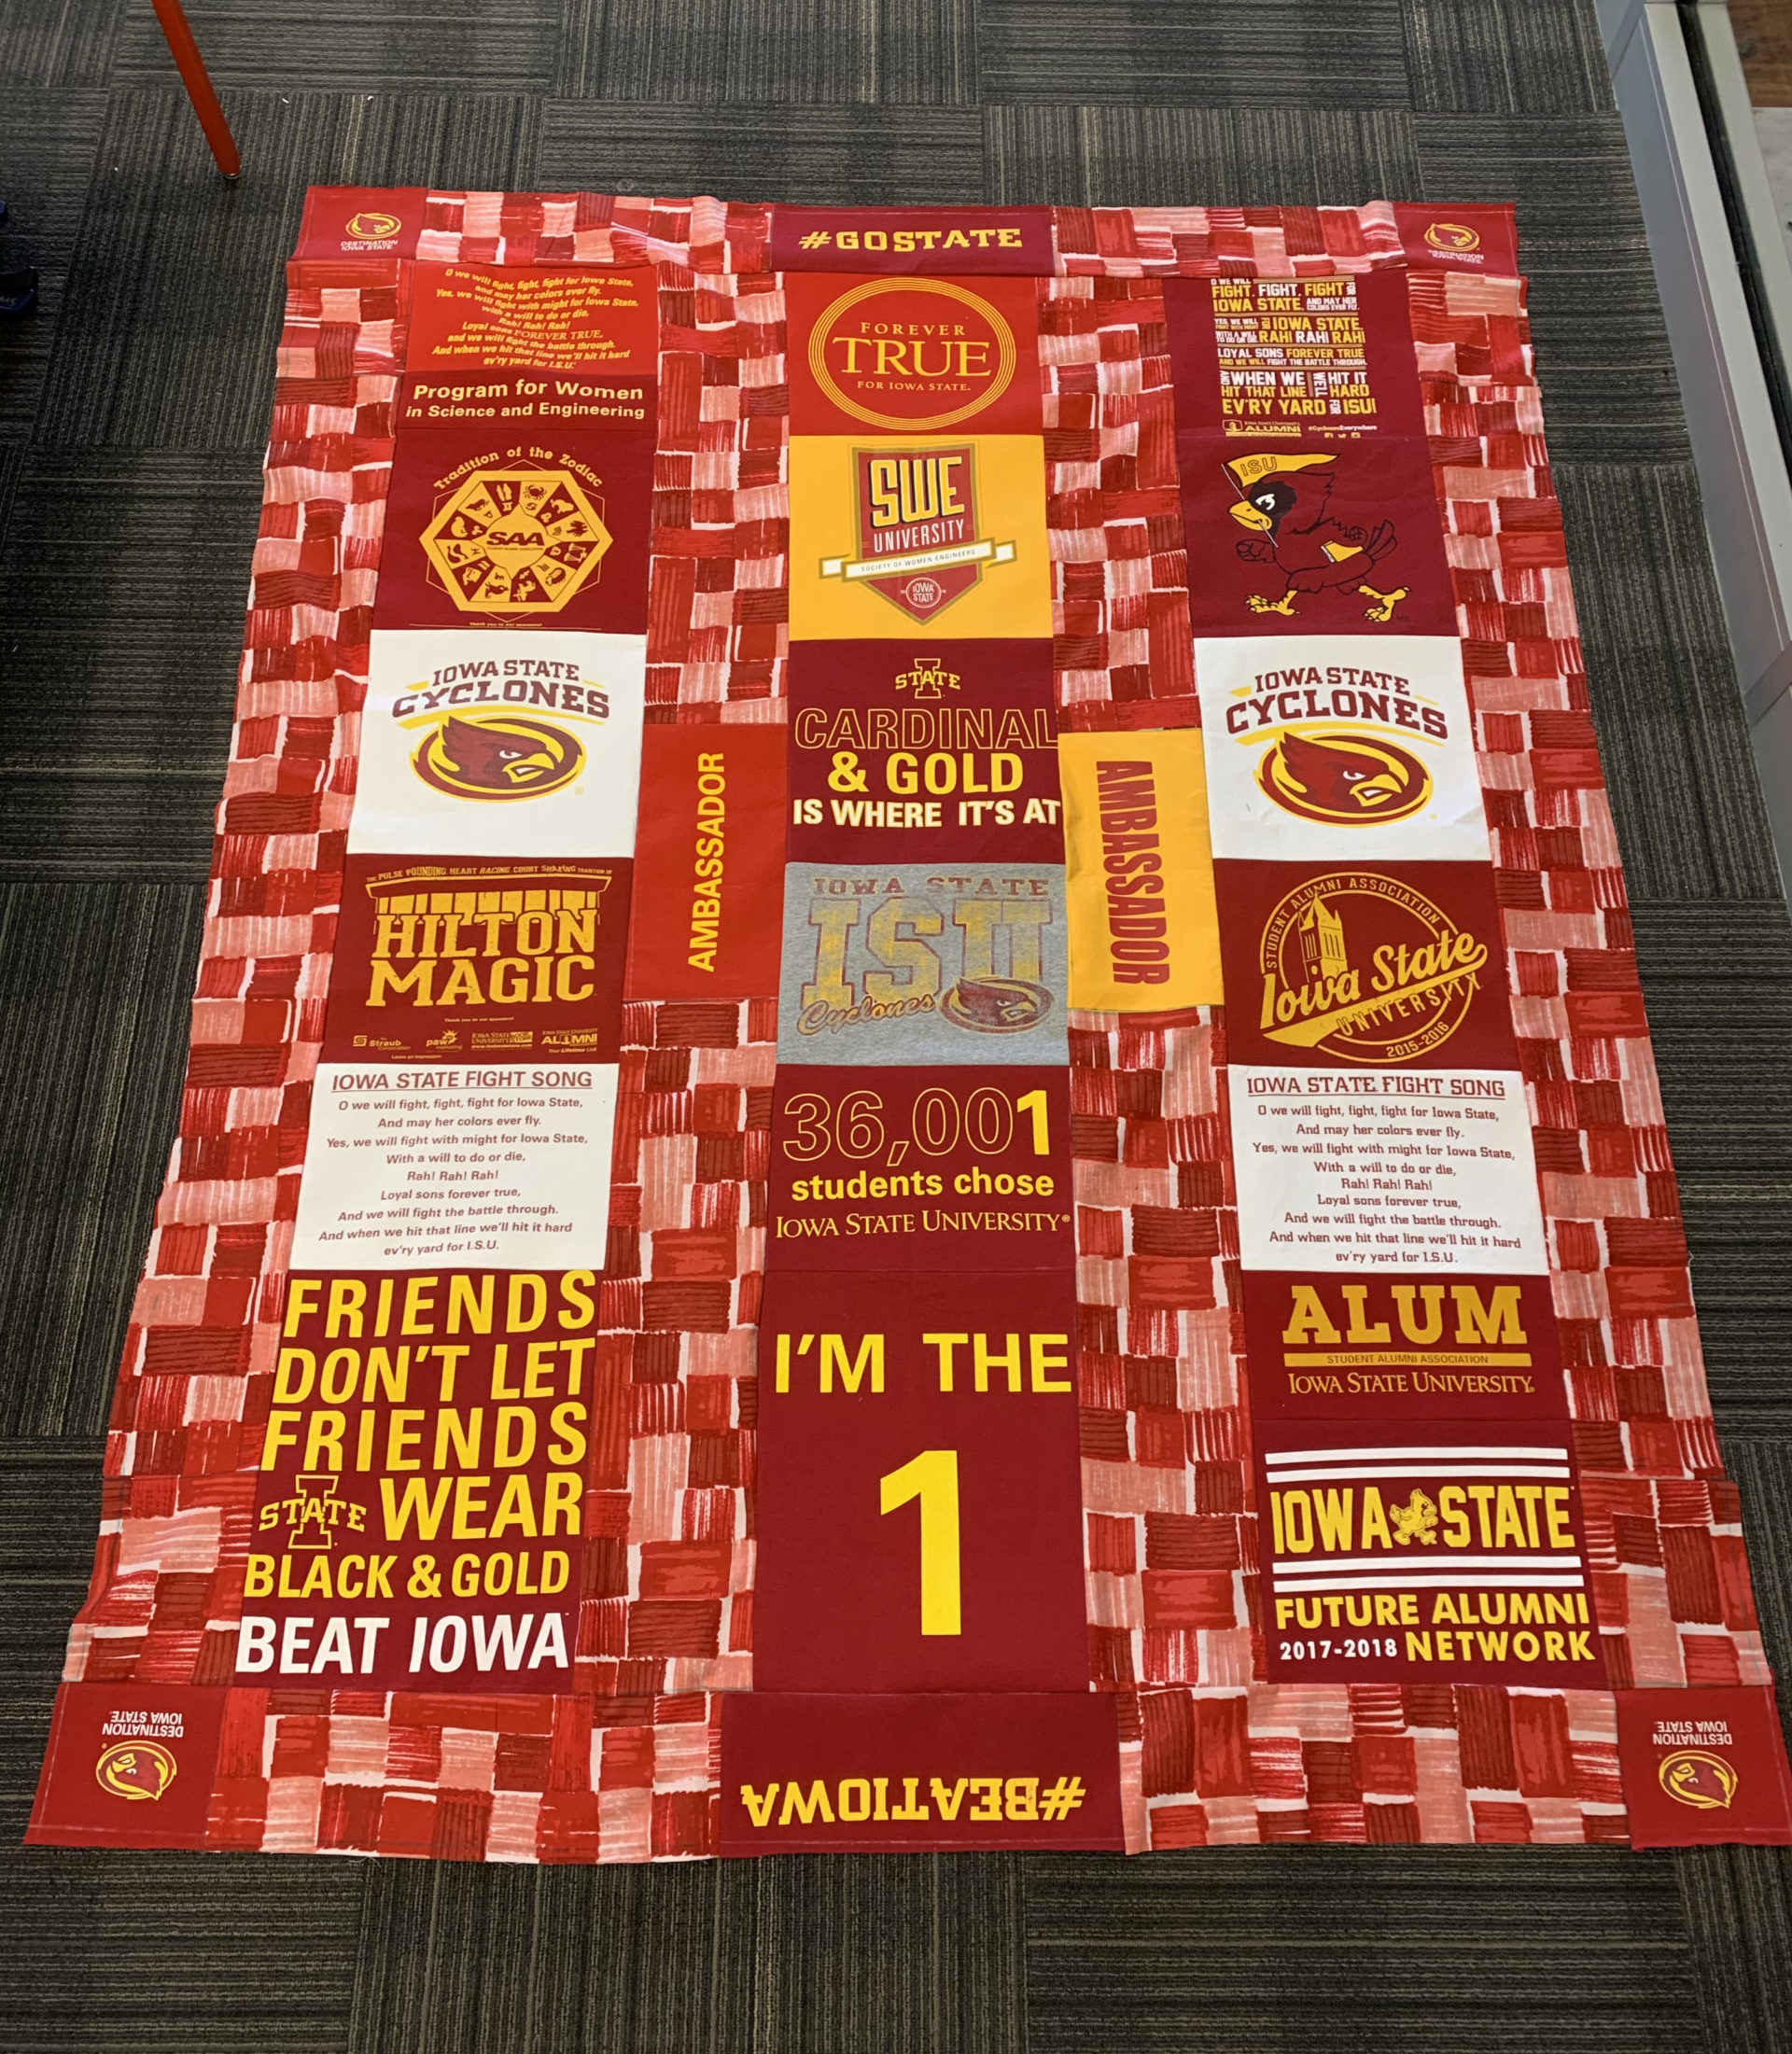
5) Sew Front Side to Back Side, with Batting In Between
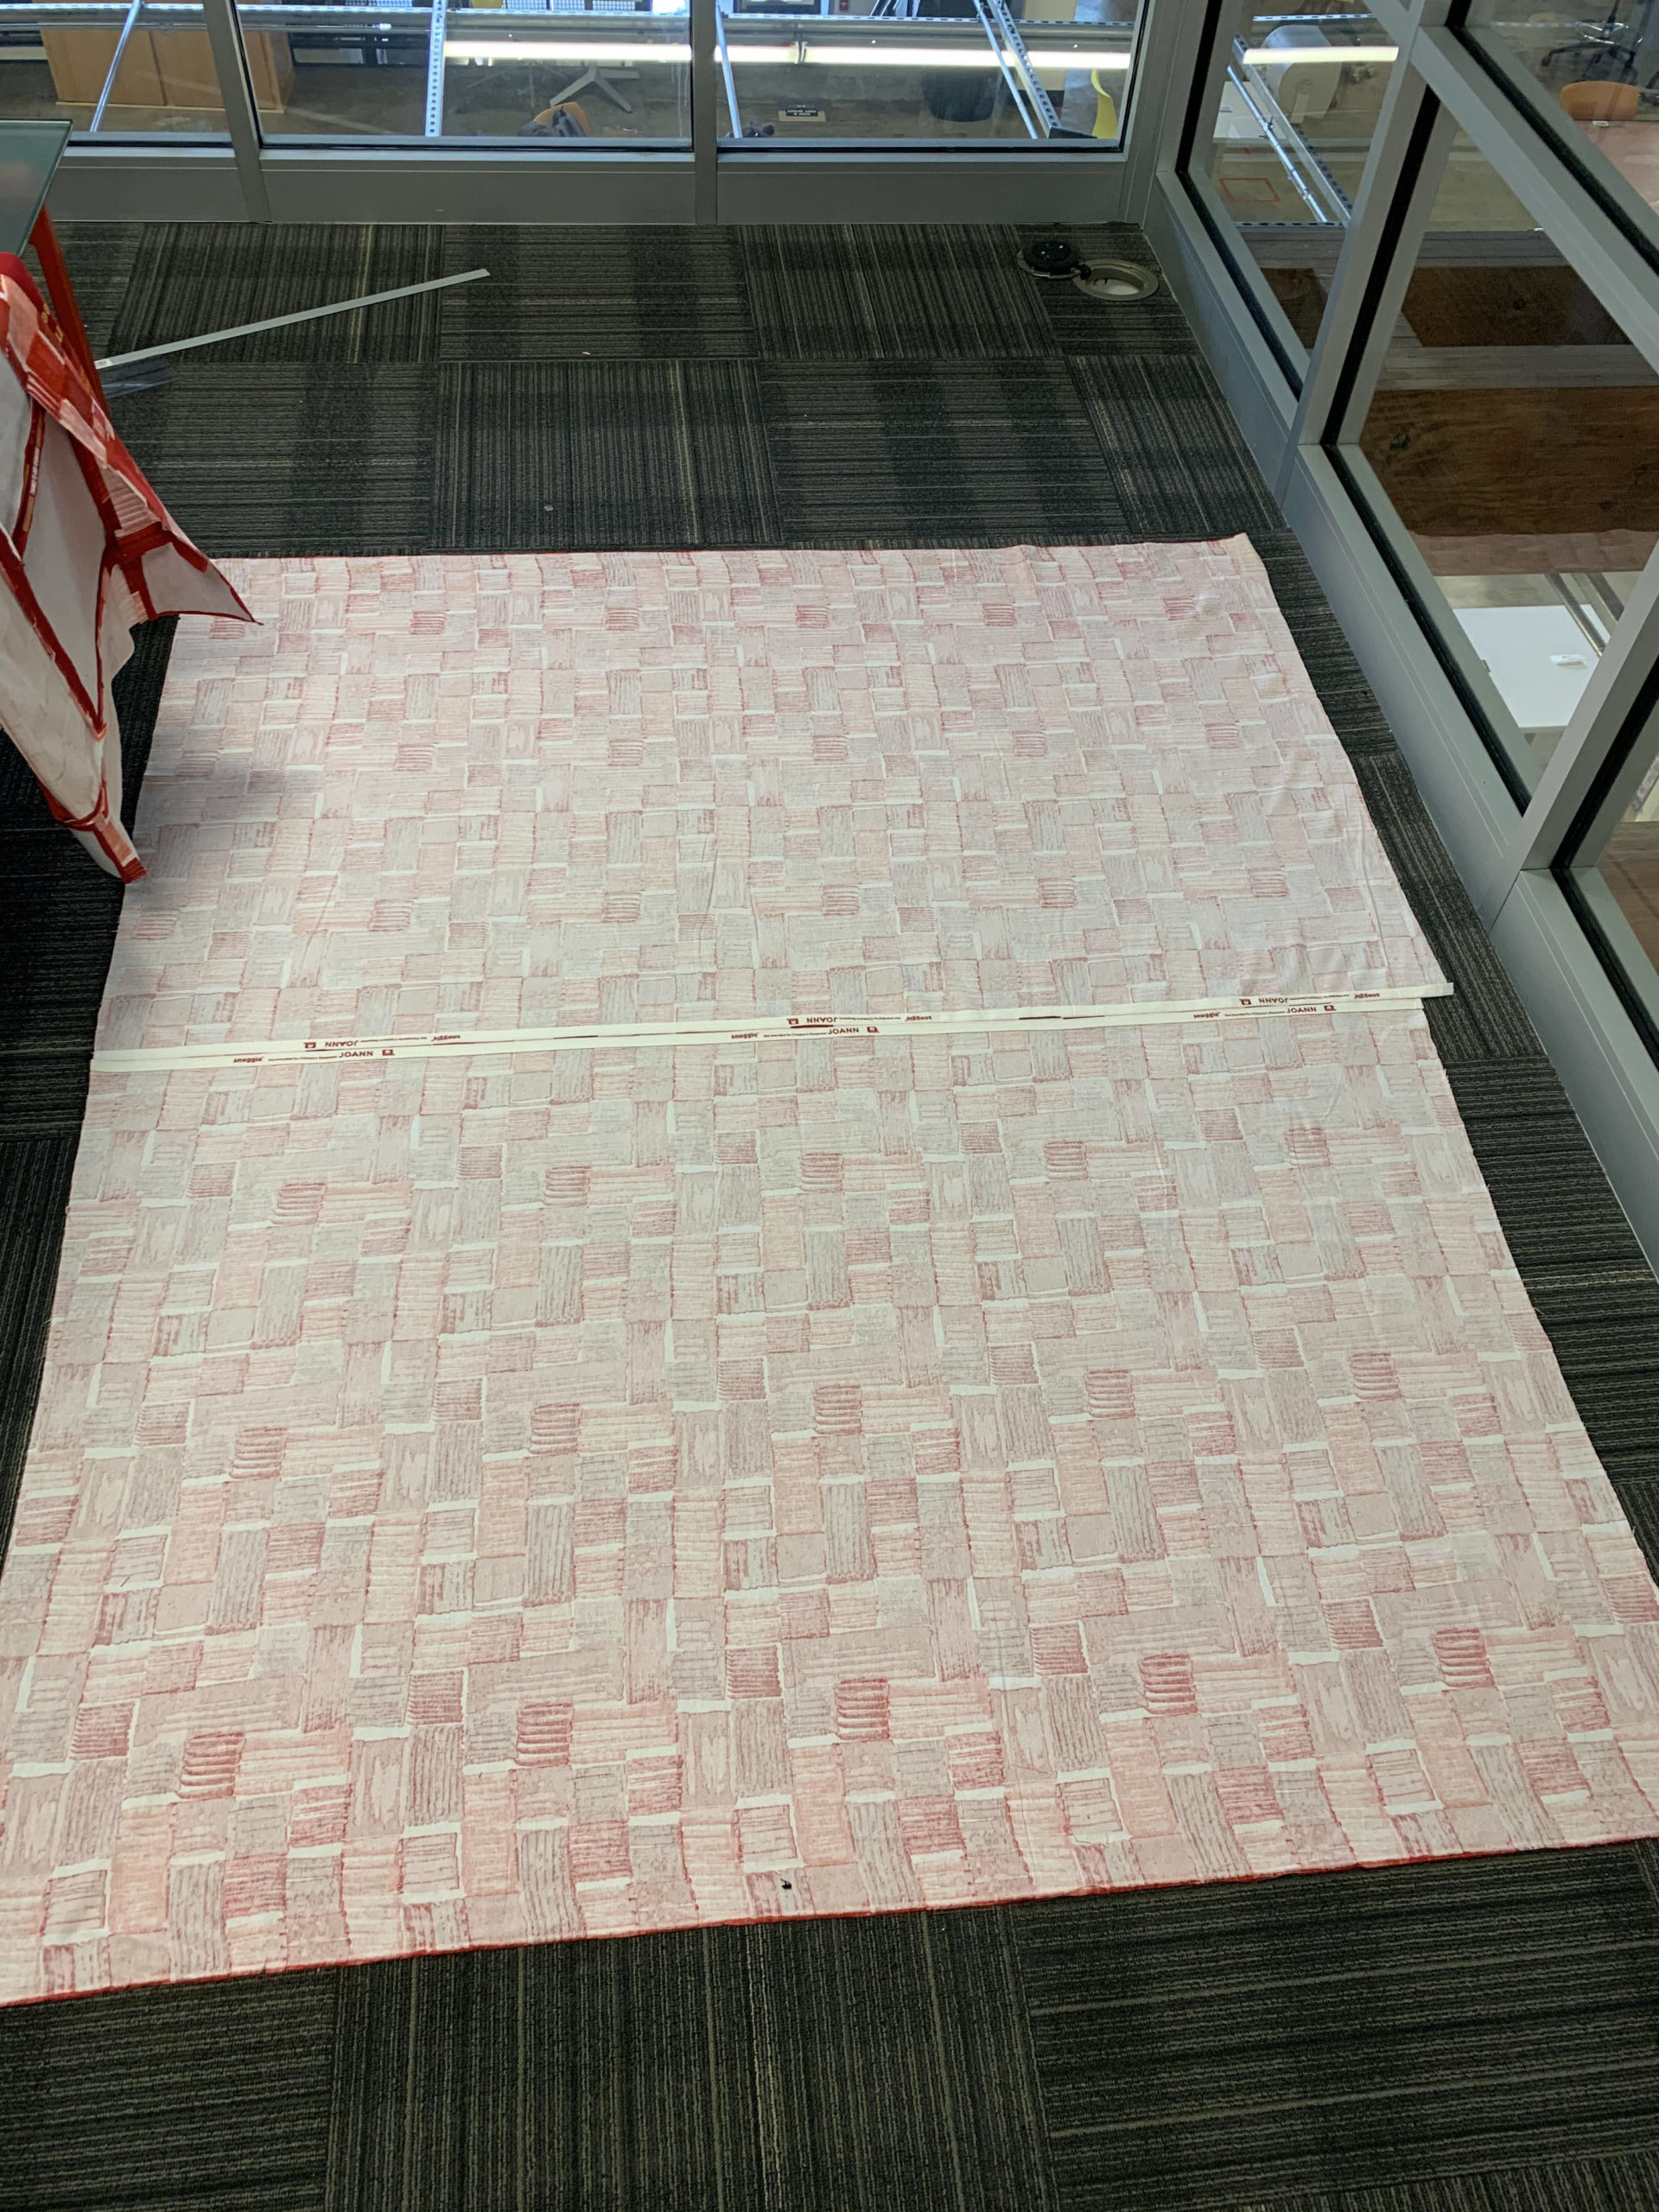
First, I cut two large panels (because the stock size the fabric is sold in wasn’t large enough for one piece) of my back side fabric and sewed them together to the size of the front side, leaving about a 2″ border. I then laid this on the ground face down and placed my batting on top. Batting is a fluffy cotton fabric that adds weight/ thickness to the overall quilt. Lastly I placed my top side face up. I then placed several pins (like 50) all over the three layers so that they would stay in place. I sewed around the edge and along several seams in the midle of the quilt to make sure all three layers wouldn’t shift at all. I then cut the excess batting and back-side fabric and sewed the edges over to create the final border.

Mistakes Along the Way:
The first mistake was an easy fix. I ripped the old stitch, flipped the shirt around and resewed the seam. The second mistake took a bit more time. Originally, I had accidentally made the top edge 2″ too long on the pattern fabric portions, so I ripped the stitch, cut off an inch on both parts and resewed them back together. When I sewed he top strip to the rest of the front side, however, it ended up being too short. So I ripped the stitch part way down to where the panel started to become off and stretch the top stitch while scrunching up the other side to get the top strip to fall into place. This ended with some unfortunate bunching on the fabric but overall looks way better with the panels being in line. The final mistake was one I chose to keep as I was reaching my wits end with this project and it was going to be a far bigger hassle to change it, than the headache of keeping it.

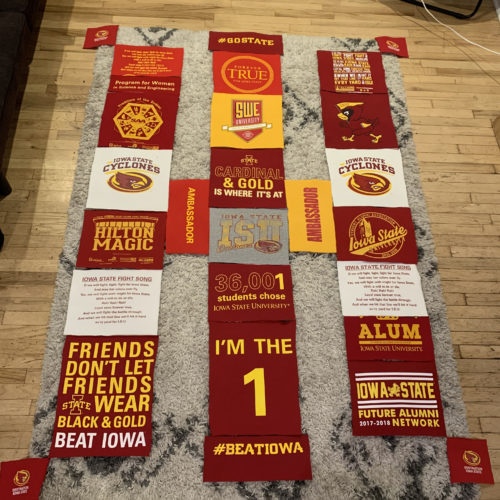
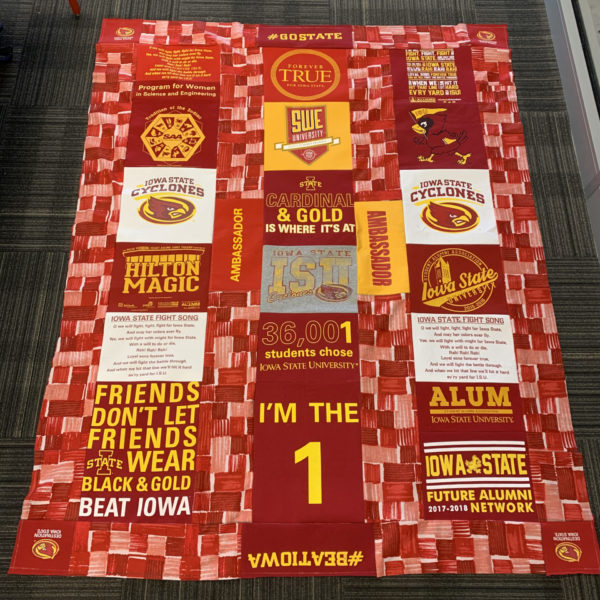
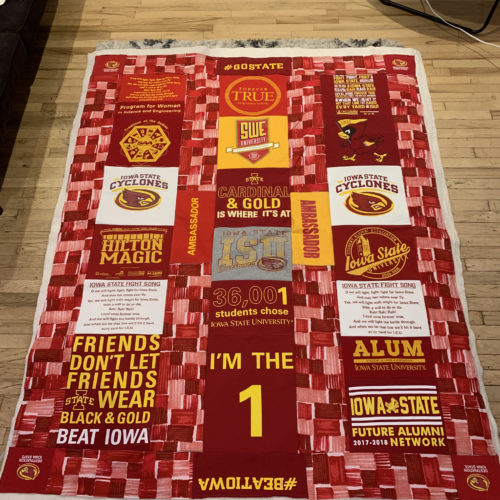
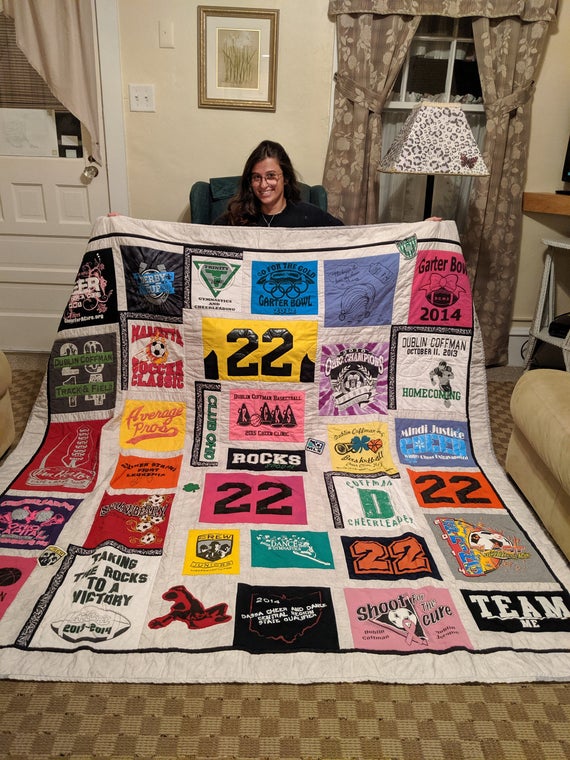
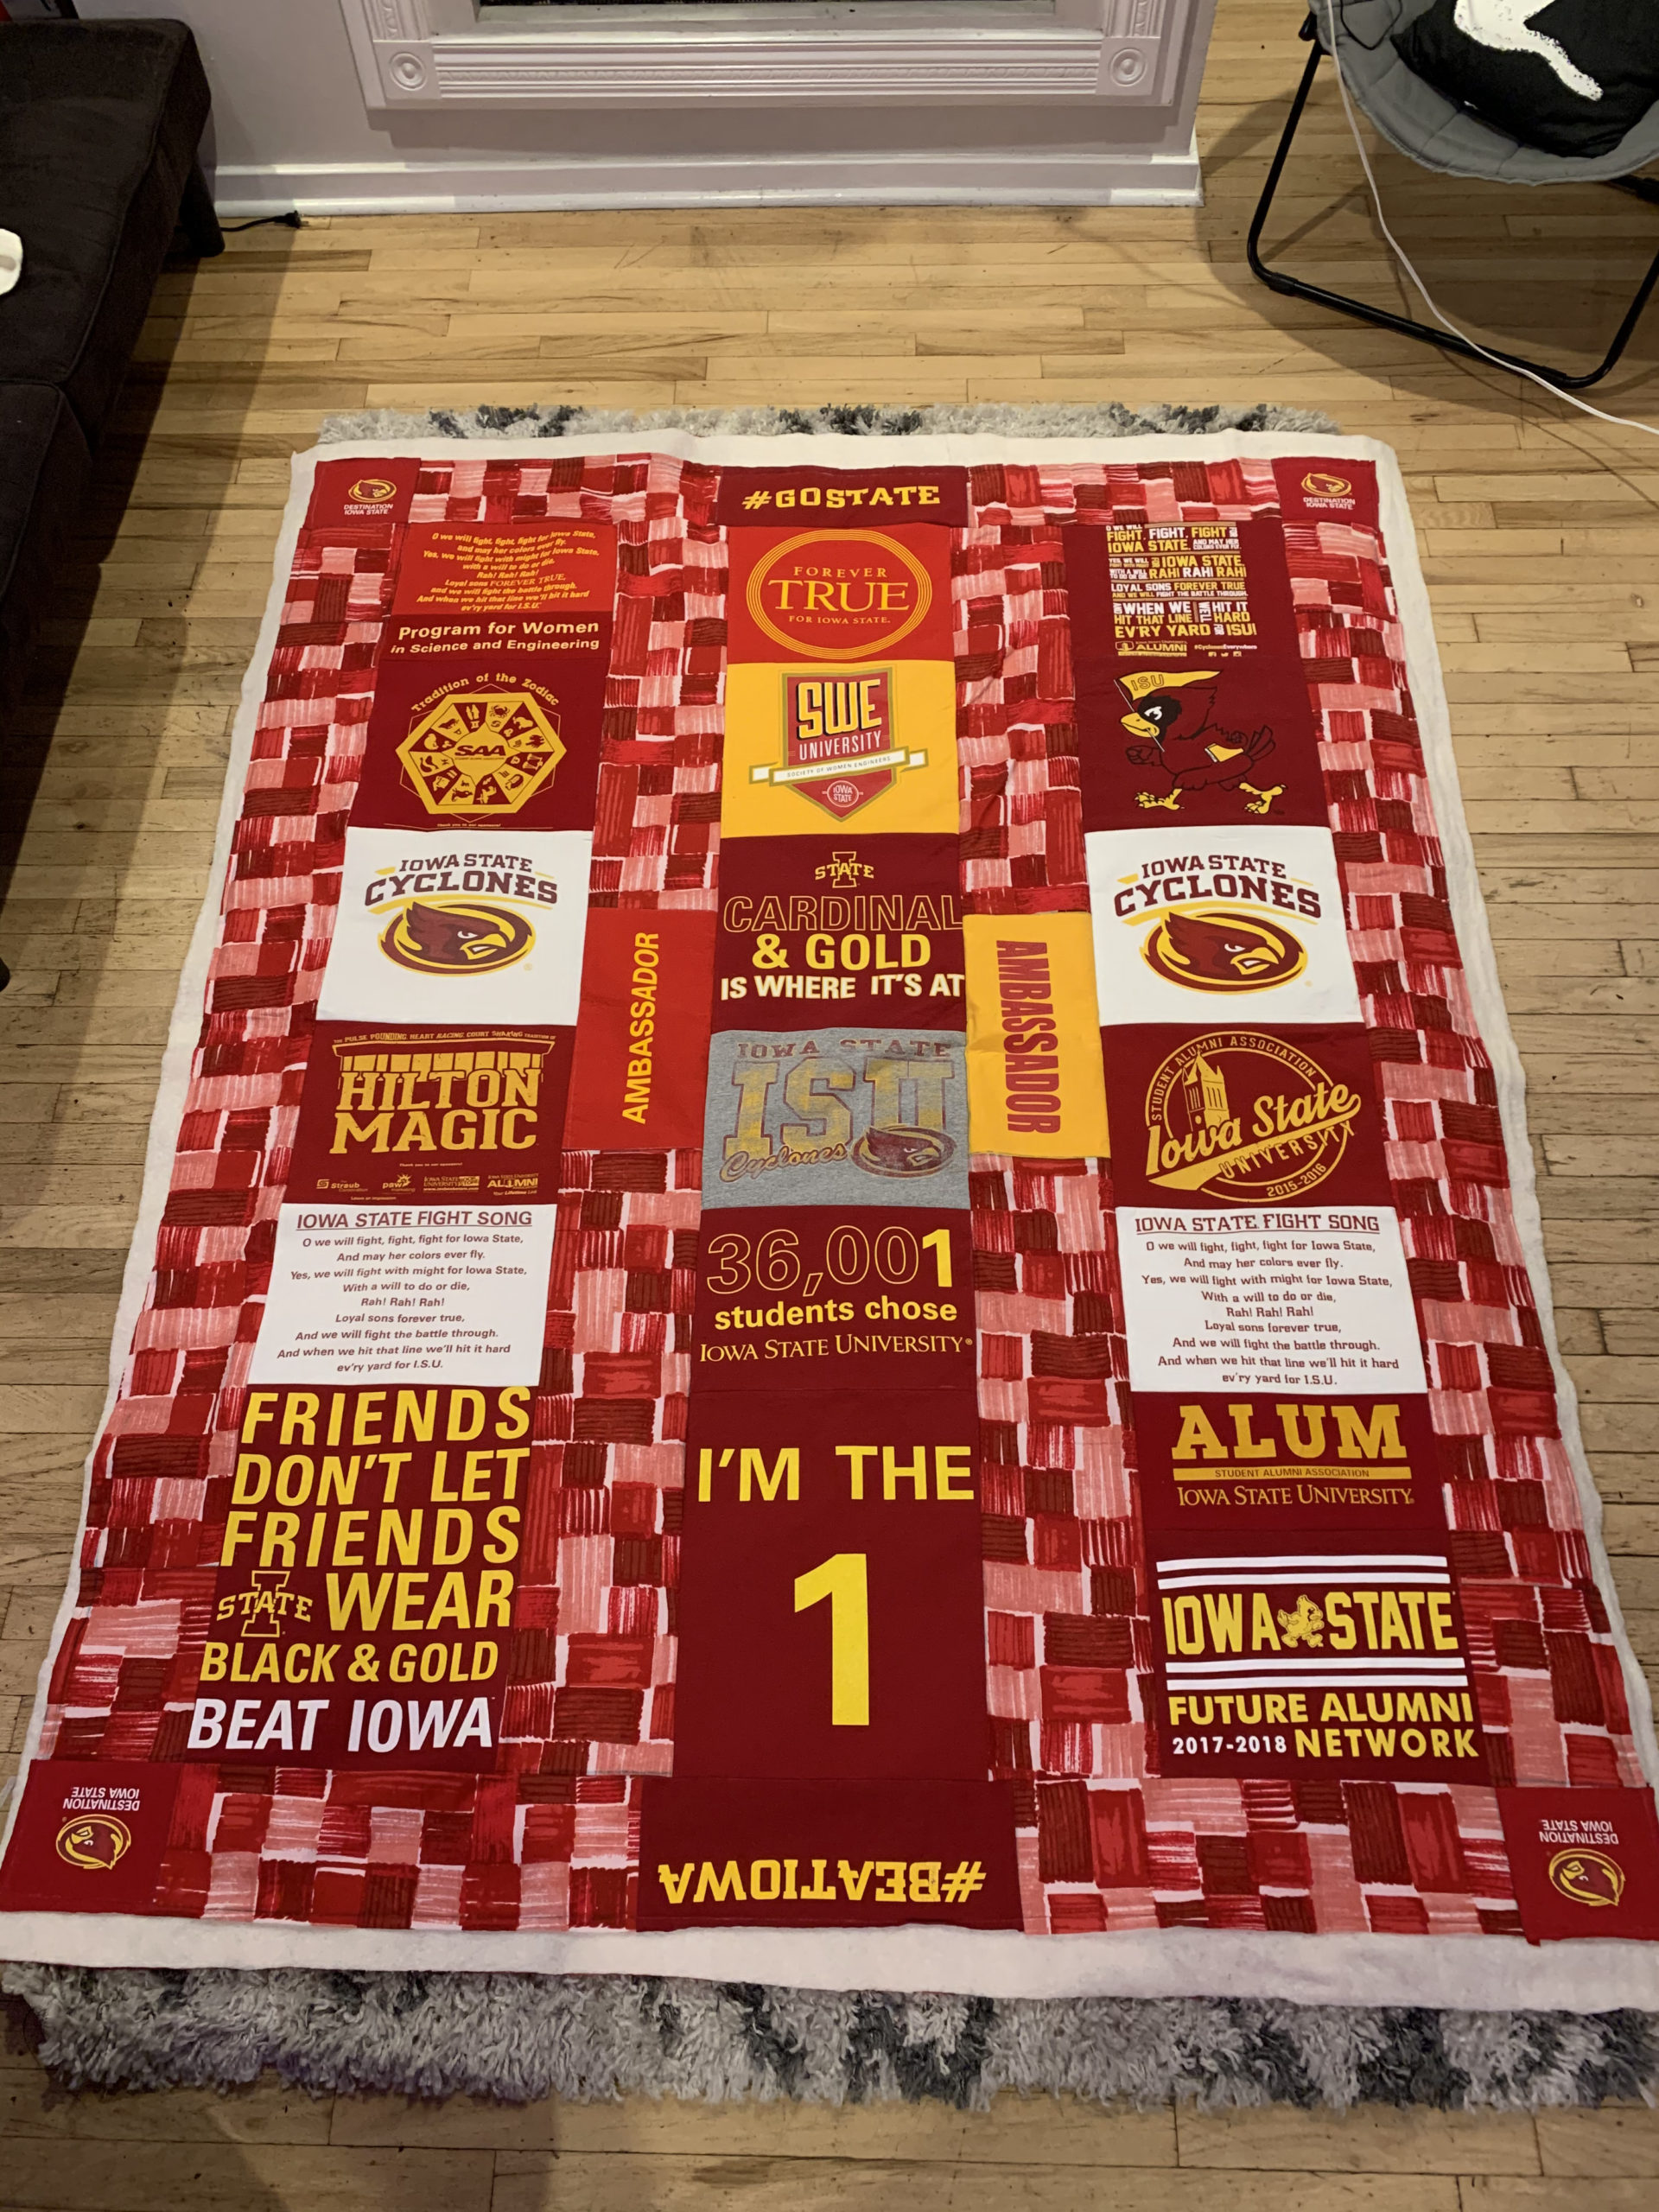
Final Product:
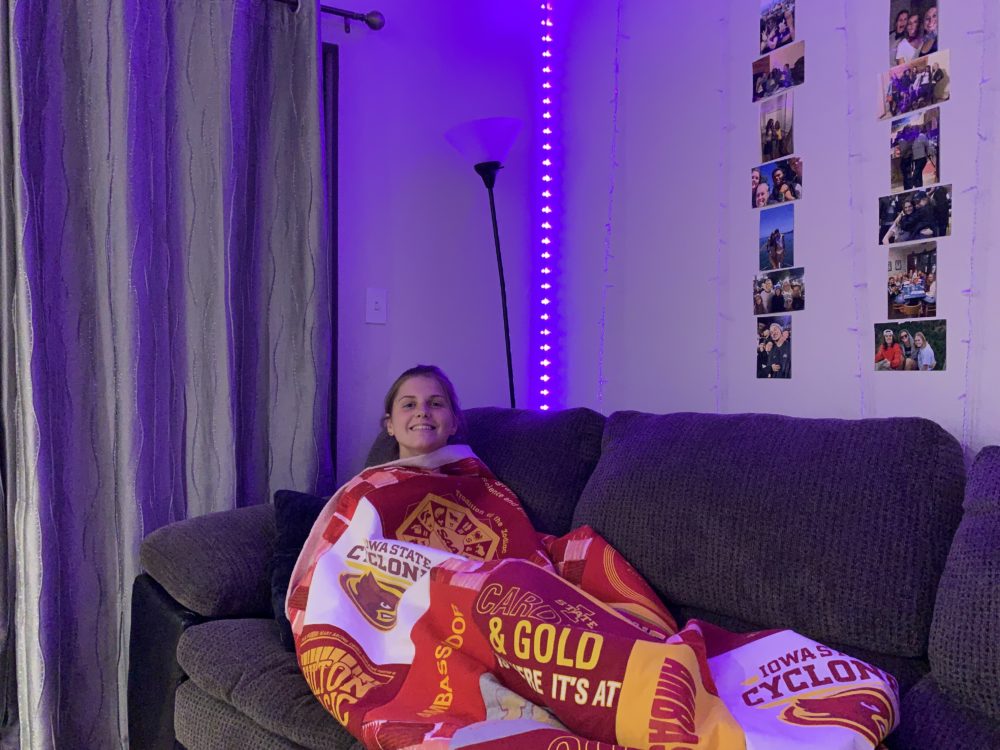
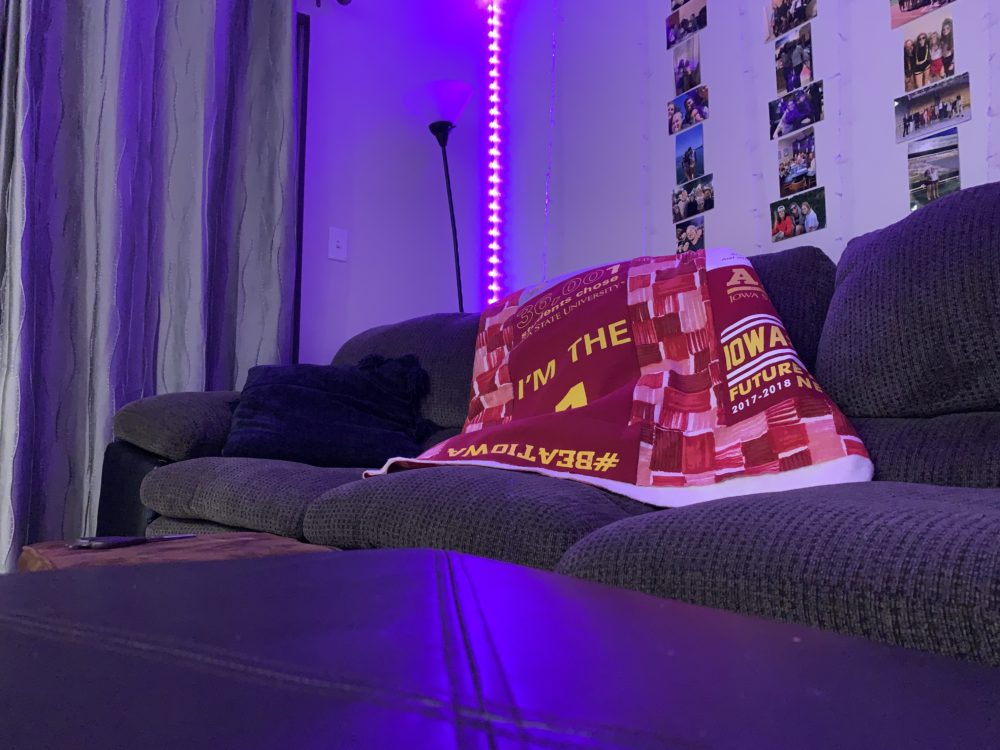
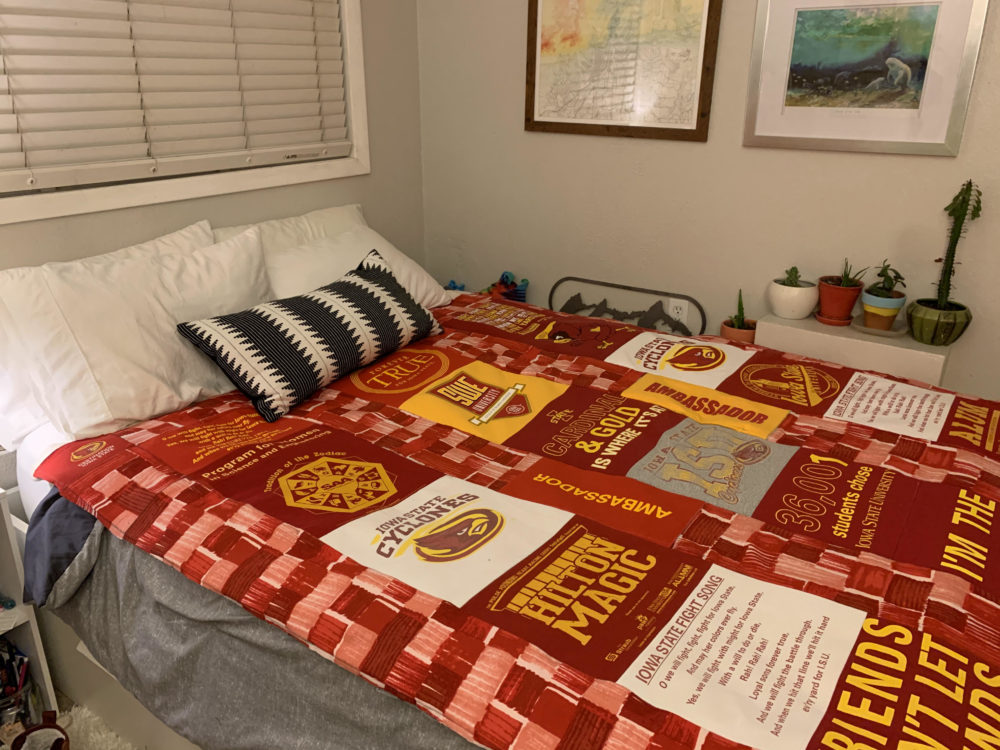
So comfy. So cozy. The perfect size. So soft.
Conclusion:
Ultimately, this project turned out really well and I’m very proud of all the effort I put into it! It was a pain staking process and not one I’d likely do again, but I’m glad I was able to complete it successfully. I am very excited to gift this to my sister and have her feel the coziest of vibes when using it.
Final Presentation Video:
Sources:
2 Comments. Leave new
Hey Valerie!
Again, great layout of t-shirts, the pattern looks super cool. I also love that you let your sister choose all the secondary fabrics. Great work, I know what a pain it is to sew super large things with a sewing machine (bunching up the excess) and I think you did an awesome job! This looks phenomenal!
Hi Valerie,
I love your project overall. The cuts and stitches seem perfect and seamless in the pictures. This is not only a creative but also a useful product. The best part about this project is that the filler fabric is not dominating the main colour scheme given by the T-shirts. Overall, you have done a great job!