

So my project ended up look quite a bit different from what I intended. To catch you up to speed, lemme summarize my plan going into all of this.
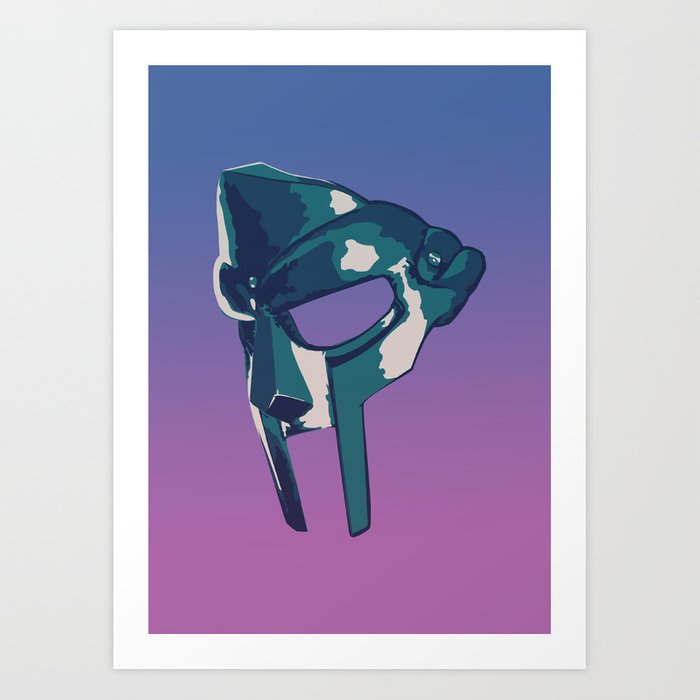
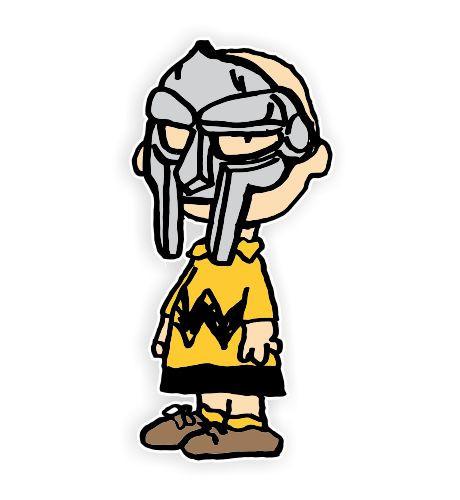
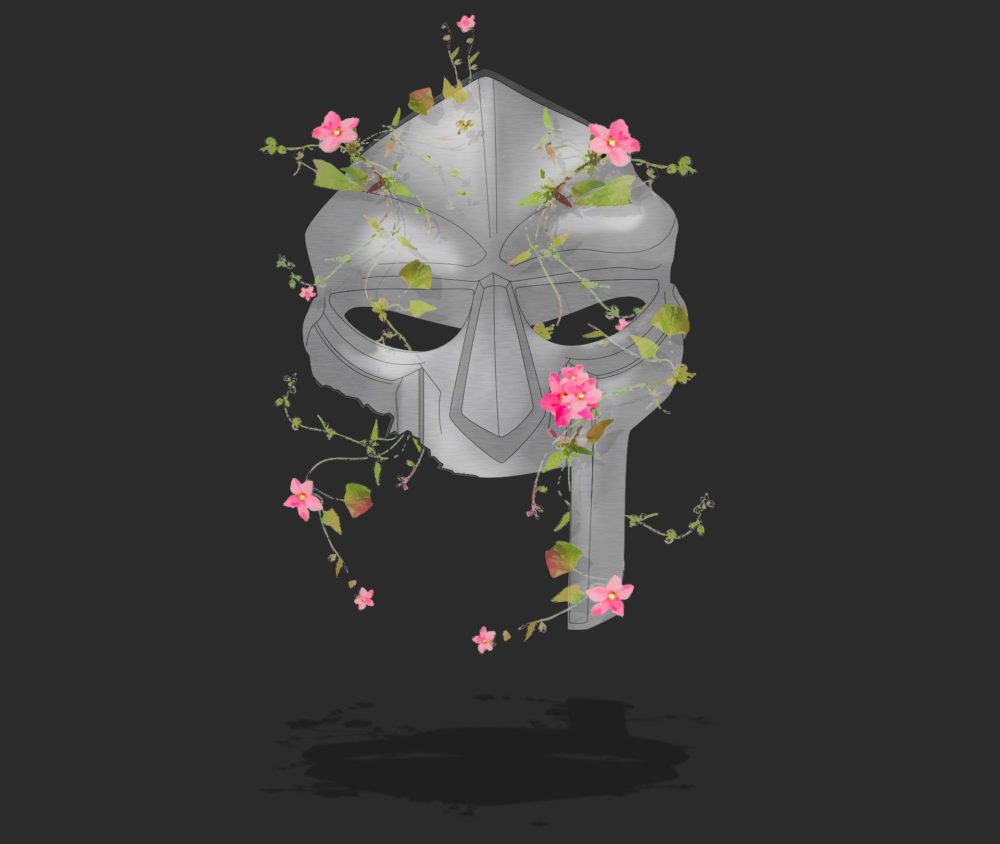
MF Doom passed away in October of 2020. It was a testament to how crazy this past year has been that one of the most influential artists of my upbringing and current life was swept under the carpet for me to nearly forget. I wanted to create a memorial dedicated to him and his music as a thank you and in remembrance for myself. He always wore a mask since he was always trying to portray a ‘mad villian’ character akin to what you would see in a comic book. The mask he wore was a repurposed mask from the movie The Gladiator that was reworked to look more like Dr. Dooms mask from the Fantastic 4. In some ways, the mask became bigger than himself and it was used a lot in pop culture art when few people truly knew the origin of the mask. This is how I got into him, I always thought the design of the mask was really sleak and just all around ‘cool’ looking. I loved that different artists all had different interpretations on the mask and how they used it in their art.
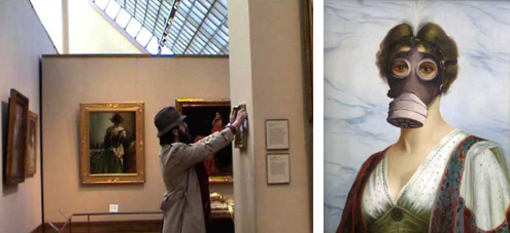
That was the beginning of this project. I wanted to project something of my own onto the mask. I also really enjoy when things are presented in an almost preservative way especially in ironic fashions. The best way I can describe this is putting something in a musesum to looks like it DOESN’T belong in a museum(sorry Indy). I like the aesthetics of museums to start: they are very clean, inviting, and intriguing but sometimes it is fun to turn it on it’s head to make fun of high society. After all, who even really gets to decide what goes in a museum to begin with? I’ve never voted or been involved with getting anything into a museum so clearly I am not trusted with it. I think this feeling stems from the street aritist Banksy, who has put his work(without permission) into high end art galleries multiple times as a way to say ‘F U’ to them for not considering him on the same level as what they think is high art.
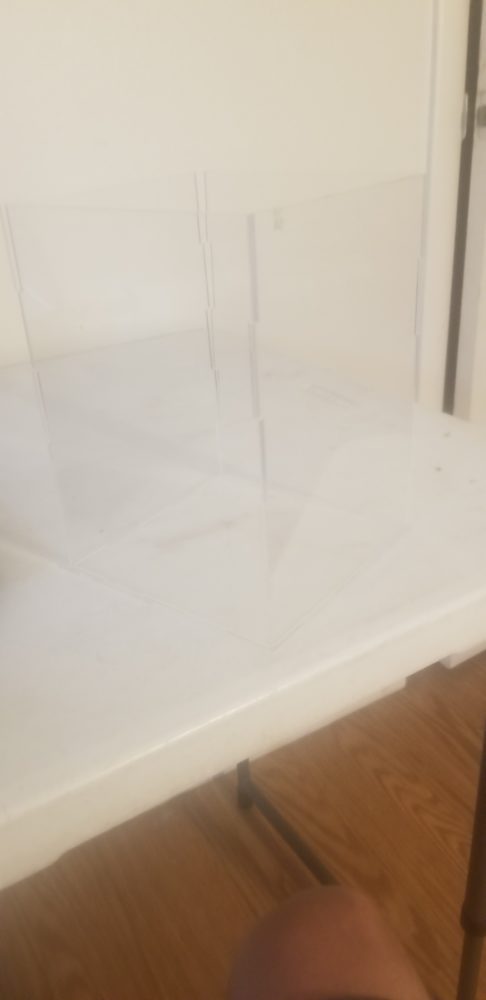
Capturing the aesthetic of a museum is easy enough. There are plethoras of museums for me to copy, so that is exactly what I did. I wanted to show MF Doom’s mask in a way that would be no different from say a WW1 era German helmet or a Roman Centurion Galea. After looking at a lot of these displays they all seemed to share very similar charactertics. Bright clean light, viewable from all angles, encapsulated in a glass case for the rest of eternity. So I got to designing in CAD. I did not have access to really any manufacturing equipment outside of a laser cutter, 3D printer, and some electronic soldering so I was fairly limited on what I could work with. I came to design a very simple display case that you can see below.
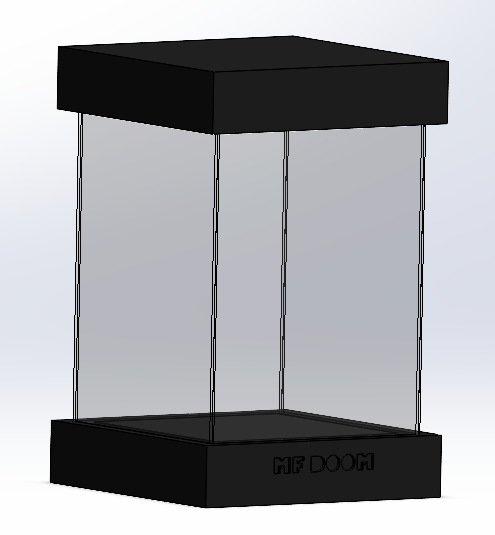
I planned to 3D print the top and bottom as as 7x7x1in square. On the bottom I engraved his name along with the date he died on the back. In the bottom pedestal, there was a platform to lay a strip of LED lights onto to capture that museum lighting and a slot in the back to route the cable out of as to not be too distracting. There were slits on the top and bottom for the acryllic sheets to smoothly fit into. The acryllic were going to be 4 1/8in 6.5x8in sheets that I planned to laser cut out of a larger sheet and glue them together. I also tried to design my own MF Doom mask in Solidworks, but found much better free use ones online that I gnabbed and resized for the purposes of this project.
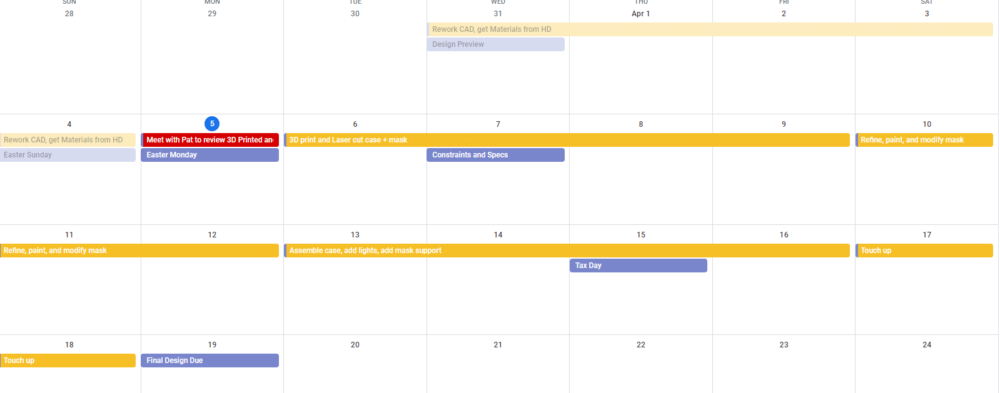
I felt pretty confident going into my fabrication phase and layed out a schedule for myself to follow leading up to the final weeks of class.
Fabrication Phase
So as you can see on my schedule, I scheduled to meet with Pat at the Idea Forge just to make sure that 3D printing and laser cutting this would be ideal, possible, and cost effective. Sadly after walking away from that meeting, I realized it was ideal and possible but it was absolutely not cost effective. The top and bottom bases were going to have A LOT of supports simply based off of the way I designed them and how large boxes are 3D printed to begin. There was really no winning in this scenario. If I hollowed them out to reduce the amount of fillament I needed, that would not change much since similar amounts of fillament would be needed for the supports of the now empty areas and the platform on top of the base that would be in the case would be basically impossible or warp easily during printing. To pile onto that, the curves in the mask and the way it was designed would also call for a lot of supports since the complex geometries would basically require me to pull about as much filament in supports off as was in the mask itself. He conservatively estimated that, for the size I wanted which was not very large to begin with, the 3D printed components would end up costing me aroud $180. It was a shame that I could not solve all of my problems with 3D printing but that is the one thing I don’t like about 3D printing: it makes solving problems too easy. So I got to work to come up with a different solution.
I decided to go to some consignment and thrift stores in boulder to get some inspiration with how to carry this project forward. I knew I could still do on acryllic box, I could easily purchase some white LED lights online, but the problem was now finding an alternative to the base and the mask. At one thrift store, it seemed that they had received some old jewlery store display cases. I found a 7x7x0.5in foam base with a felt cover that that has slits for what looks like a glass case was placed over it to display jewlery. This was perfect for what I needed. The store only charged me 25 cents since they could not fathom what I could ever use a foam block for.
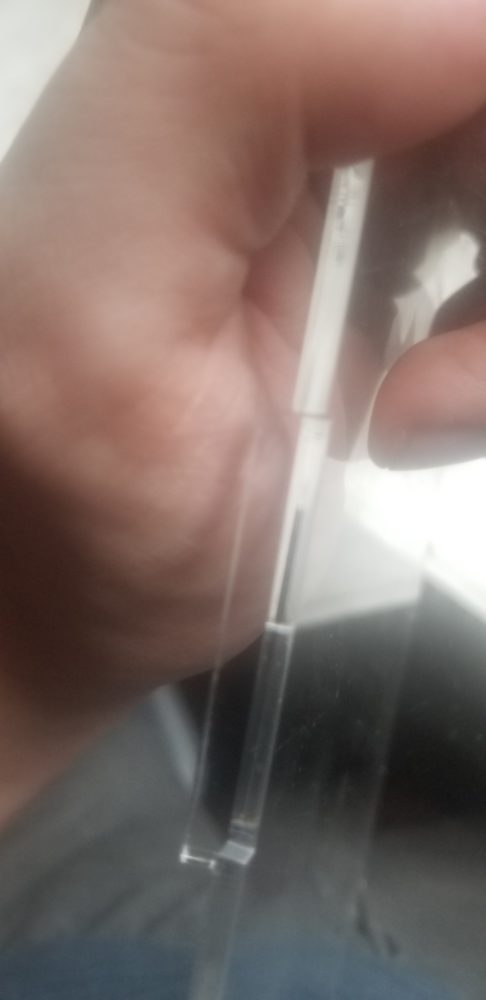
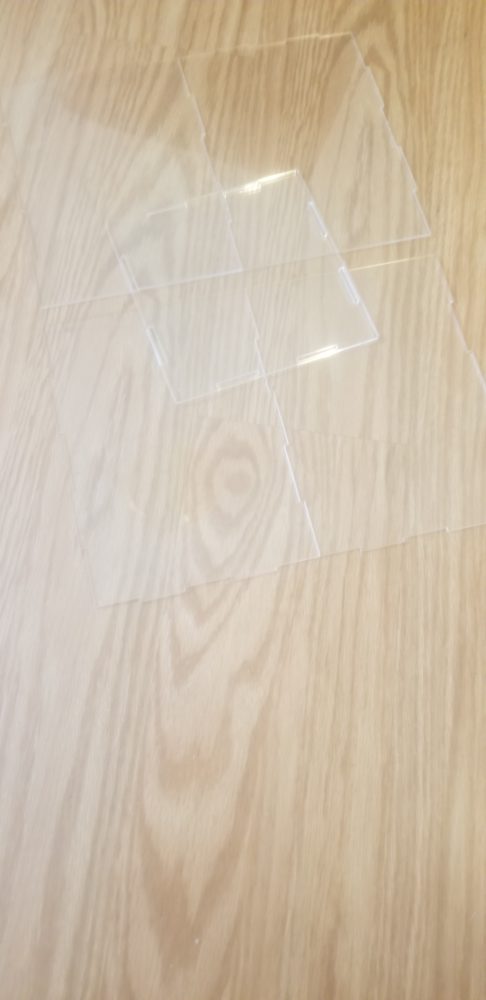
I had some wiggle room with the acryllic width since it was made out of foam so I decided to get a 1/16in sheet of acryllic. After talking to Pat, he also mentioned that I could make these fit together like a jigsaw rather than gluing them together. This became a very important part of my design. If I were to glue them together, it would be permanent and nearly impossible to move. If I made them fit together snuggly like a puzzle, I wouldn’t have the issue of storing it when I try to move in a few months. This actually ended up taking me 2 tries to perfect and get right. The first time I did it, I did not account for the length of the snap pieces which resulted in the pieces ever so slightly not fitting together. You can see the error below.
After tweaking the program slightly, they came out perfectly and assembled the box I needed to fit right into the foam base.
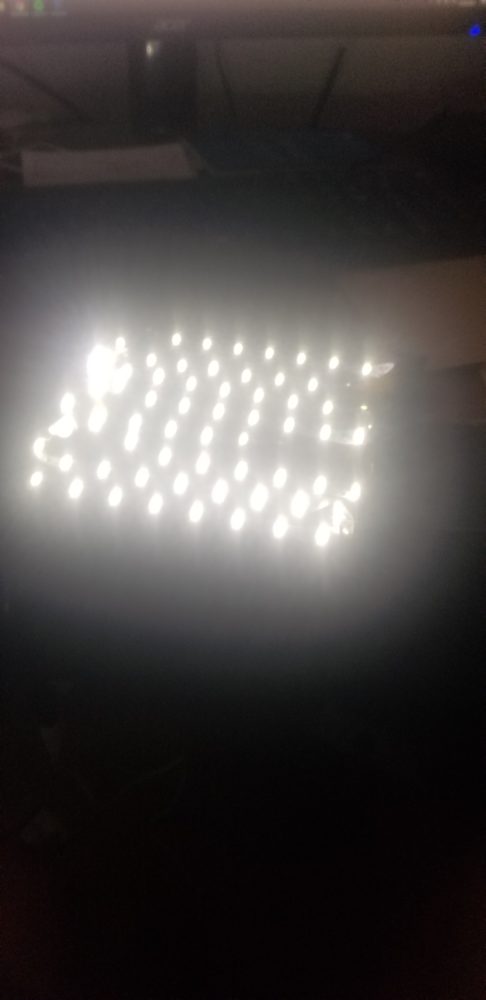
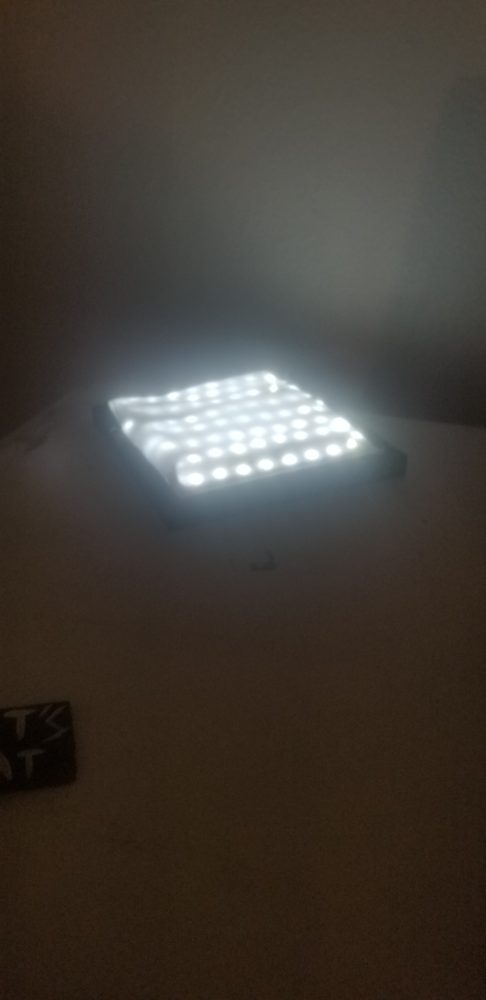
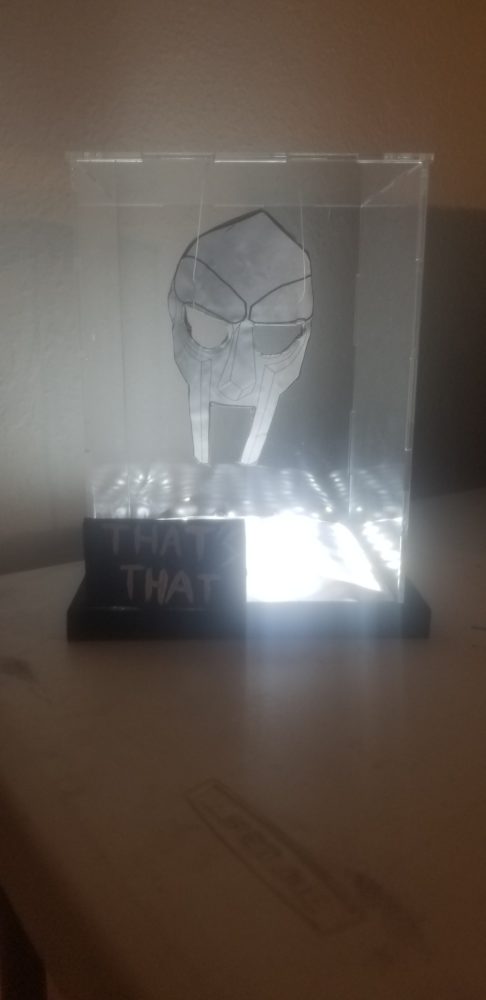
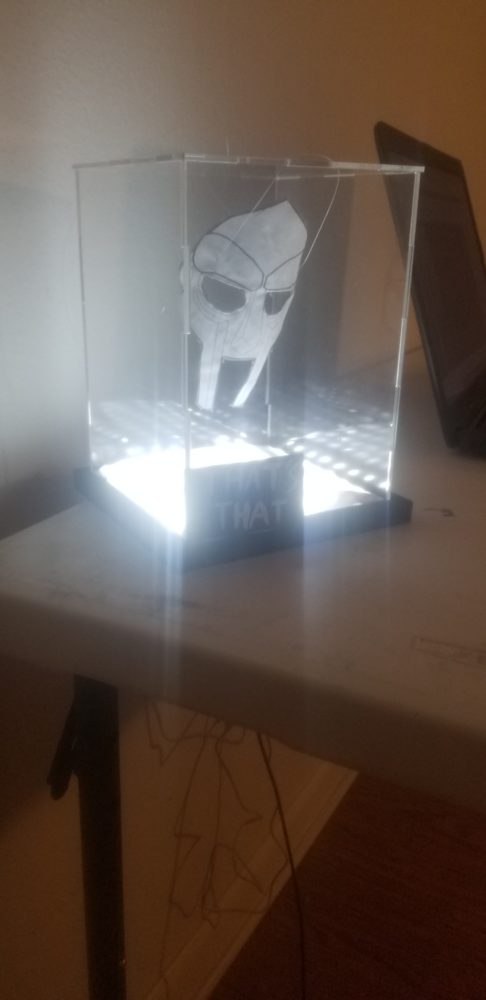
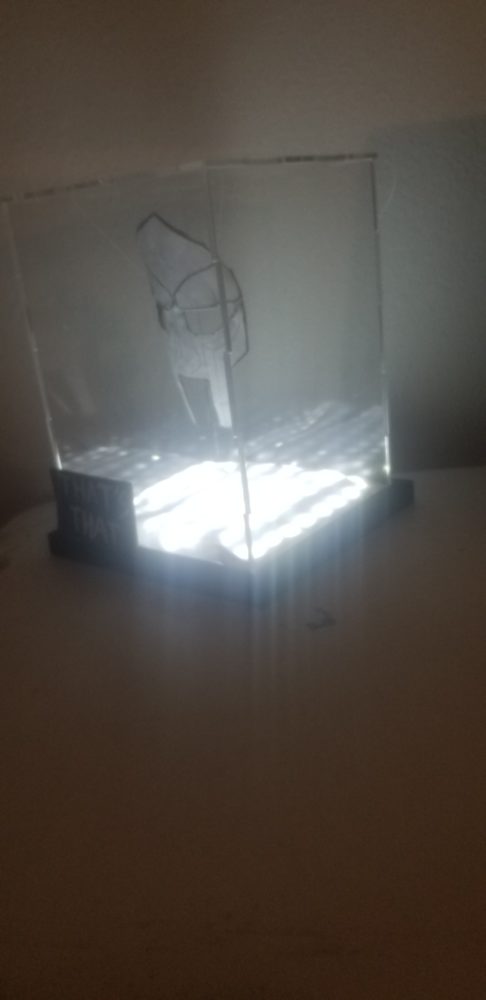
The next part I had to add was the lights, which surprisingly had some challenges in itself. I cut a small square in the corner of the foam to route the cable out of. The issue I ran into with this was simply that the lights were incredibly bright, if you look at how washed out the photo below is, that is taken in a completely lit room so that gives some perspective on how bright these were. I knew I needed to diffuse the light so I looked into frosted glass and simple parchment paper. I could not find the exact piece of glass I needed so I just decided to wrap the lights in parchment paper to subdue the overbearing whiteness of them. The simple solution eneded up being the best on here. It was still bright enough to capture that museum lighting I wanted, but not so bright that you got a headache after looking at it for more than a minute.
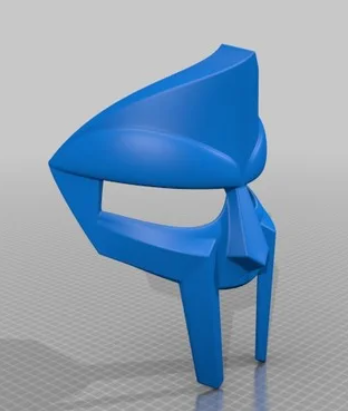
And finally the most troublesome part of my fabrication, the mask. Since the mask was way out of my price range, I looked to simply purchasing one premade online. I found an etsy shop that seemed to 3D print their own MF Doom for only $30. I ordered it at the beginning of April to give myself some time as I know these shops are privately run so turn around times can take awhile. After 2 weeks, I hadn’t heard anything back so I reached out to the seller to at least get a timeline. No response. A week after that, I asked for the shipping label so I could track it. No response. And finally towards the end of April, the shop dissapeared with no way for me to contact them. I considered this to be one of the most important parts of my project so to say I was upset would be an understatement. I looked elsewhere online, but there sadly was not anything else that met the size, price, or timeline I needed.

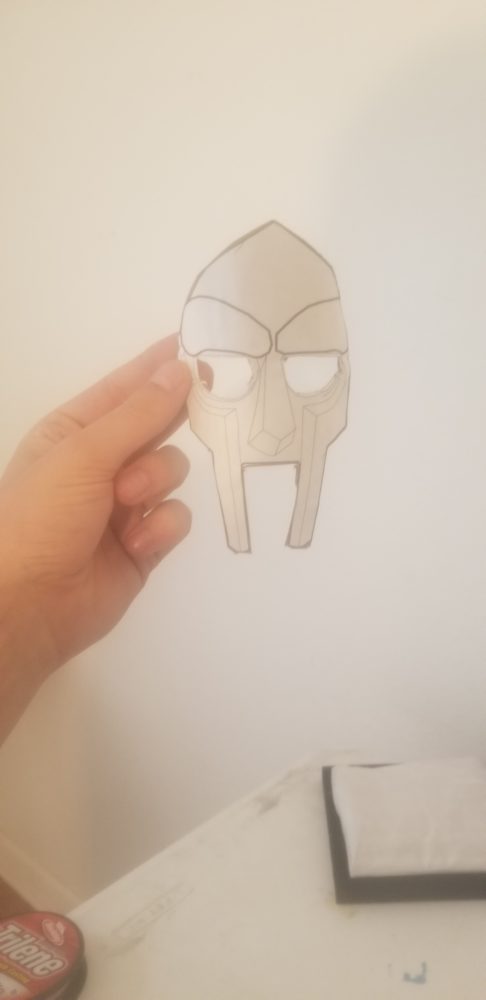
For now, I printed out a drawing of the mask and glued it onto some layered cardboard as a place holder. I am looking into making my own mask out of EVA. I did see this from the beginning, but I was not confident in my free hand working capabilities as I had never really done something like it before. Hopefully it will turn out well enough and I can update this post later, but for now I just have a simple stand in mask.
If you followed along with my other posts, I wanted to add a little extra something in the form of making the mask look like it’s floating. I thought of 2 ways for doing this. The first was magnets, floating sneaker displays are getting common so I thought I could easily replicate that here with the mask. As it turns out, the systems they use to make them float is way more complicated than that and something that 1 company has a full patent on. Next, I thought about copying street artists where they route a steel bar through their clothes and to their base to give the illusion that they are floating. I liked this idea since I could take advantage of one of the straps on the masks and hide a piece of tin within it to work as a support. But after presenting to my group, I realized I had an even simpler solution. Good ol movie magic thin string, or in my case fishing line. As a final touch, I made a little placard that said “that’s that”. This is the title of my favorite song of his and I thought it was a simply fitting phrase to include in this. ideally, I would’ve liked to 3D etch a metal placard and place it onto some wood to give it a more museum work but I think this works just fine for the purposes of the memorial. Through all this, below is what I ended up with.
Although I had to make a lot of changes along the way, I am still happen with the end product. It really taught me how to work with a strict lack of resouces whether that be money or fabrication tools. That is very indicative of the real world, the answer to most of our problems is often “more money, more time” but accepting that you aren’t going to get more of either and learning to work within the provided confines is a really important skill I’ve learned in this class. Also I think I would’ve been cheating myself if I did not learn a lot about aesthetics along the way. I could talk about aesthetics probably much more in depth than I ever would’ve expected in my life before taking this class but I want to focus on the biggest take away I got. One singular element does not cotribute to building your aesthetic, it is the culmination of all the big and little things plus how they work together that creates an aesthetic. I realized this early on in the upcycling project when I painted my object what I thought would capture my aesthetic, but it still felt like it was missing something. I could’ve figure it out until I presented to my group and one person pointed out the simple answer, I just needed to add a little more black paint. I started to get worried with this project that I wasn’t capturing the museum aesthetic once I had completed the display case. Once I added the lights I thought I was getting closer, but still not there. It wasn’t until I put in my object, it was there. This really cemented to me that an aesthetic is not just a color, lighting, or shape, it’s how colors, lights, and shapes work together to compliment and conflict eachother to make something wholy unique.
Thank you professor Hertzberg for a really unique and fun class. I am so happy I waited to take this in my final semester as it felt like the perfect send off for my degree.
Presentation Link:
Image References
- https://www.reddit.com/r/HipHopImages/comments/eq0kwj/digital_mf_doom_mask_artwork_by_me/
- https://society6.com/product/mf-doom-mask_print
- https://decalscity.com/products/the-supervillain-mf-doom-x-charlie-brown-die-cut-vinyl-decal-sticker
- https://www.wired.com/2006/11/banksy-infiltra/
3 Comments. Leave new
Mad respect to the poster of the MF Doom Memorial! The good ones seem to parish so early. Some people such as DOOM (& not just famous people) are needed for the next life for whatever the reason, it was more important than life on earth. Anyway I think the mask is dope!! This project may have not come out the way you planned it but a good thing about time & money, there will be other chances down the road if you choose to revisit this idea. I don’t mean that it needs to be changed, please don’t get it twisted, I only meant that, I clearly see how much thought & time was put into this & that there will be time for you to finish what you envisioned. Nothing has to be changed though! The MF DOOM Memorial with his mask encased in glass the way you did, f****** dope!
May MF DOOM R.I.P.
out!!!
Hey Ben.
I think the enclosure you made for your project looks really good and it looks finished. I think the effects it brings out on whatever object would be placed in it will look exquisite. Even though the mask itself isn’t finished, I still think it looks great with the lights in the enclosure and with the general design. It definitely fits into a museum aesthetic.
Ben,
It’s really cool that you’re making a memorial for MF doom. Similar to you, I grew up listening to artists like MF doom. There are other artists like Ghostface from Wu-tang Clan that also had a mask and I think these masks dictate a lot about the persona they want to portray and the music that comes with that persona. I think some of the inspiration for MF doom’s mask was also from Marvel’s dr Doom, but I’m not too sure. It’s disappointing that Etsy didn’t deliver the mask, but I think you can still call this project a success. The frame and lights match the aesthetic you were going for perfectly and I think you could probably even laser cut the mask using some wood to enhance the final product. Either way, Great job on the project overall!