

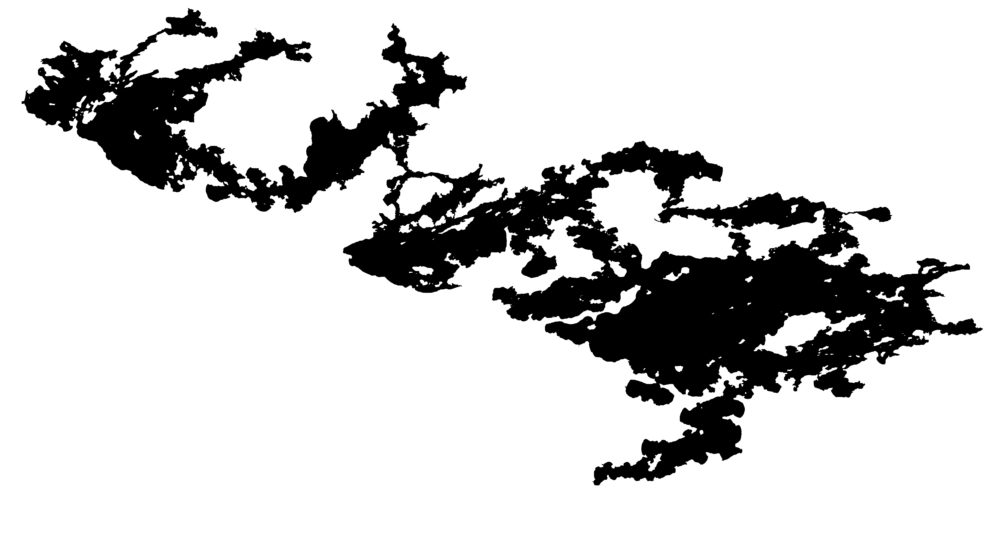
For the final project, I am creating a Wood Bathymetric Map. I feel this title accurately captures the aesthetic of the project as well. I will be creating this map for Lake Vermilion, MN, a lake I spent many summer weekends growing up.
(Google Earth)
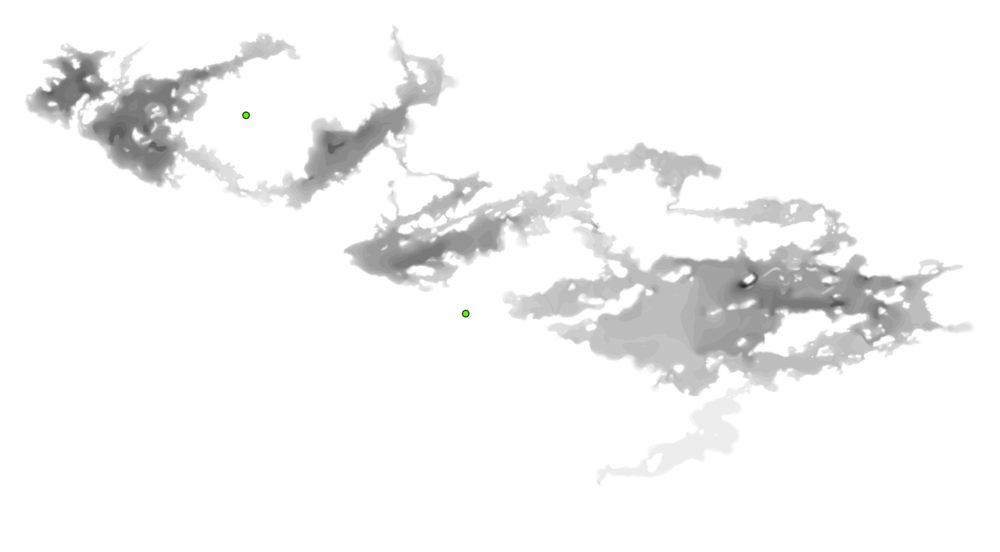
To create this bathymetric map, I am using Digital Elevation Data courtesy of the Minnesota Department of Natural Resources. The MNDNR has the digital bathymetric data for all major lakes in the state.
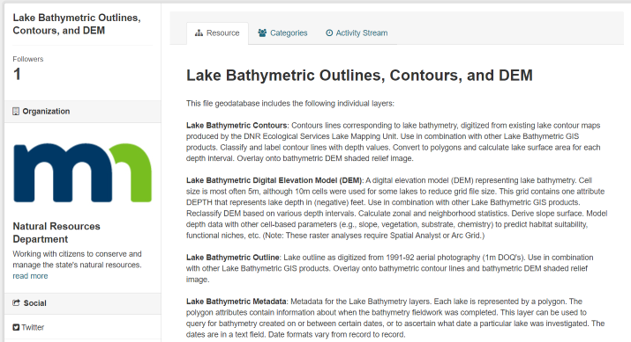
Using ARCGIS, I am able to pull any lake depth information I desire for Lake Vermilion. As a reasonable resolution, I decided to use 2.5’ contours for cutting depth. This means I will have a layer that is 0’, a layer for 2.5’ deep, a layer for 5’ deep, and so on. With the lake being 76’ deep, I will have 30 layers. Past 60’ deep, there is just one deep hole, allowing me to use a small area of wood. A layer resolution of ¼” for 2.5’ of depth gives a vertical exaggeration scale of 120. This will highlight the underwater features of the lake, but still be a small enough project to complete.
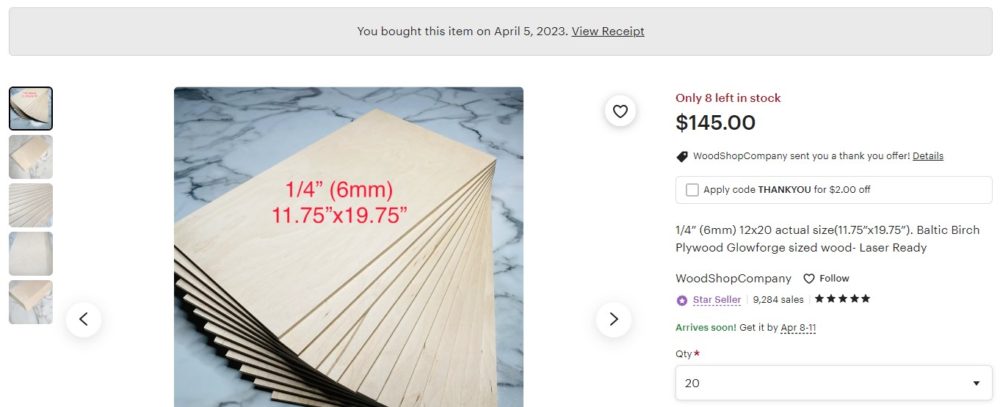
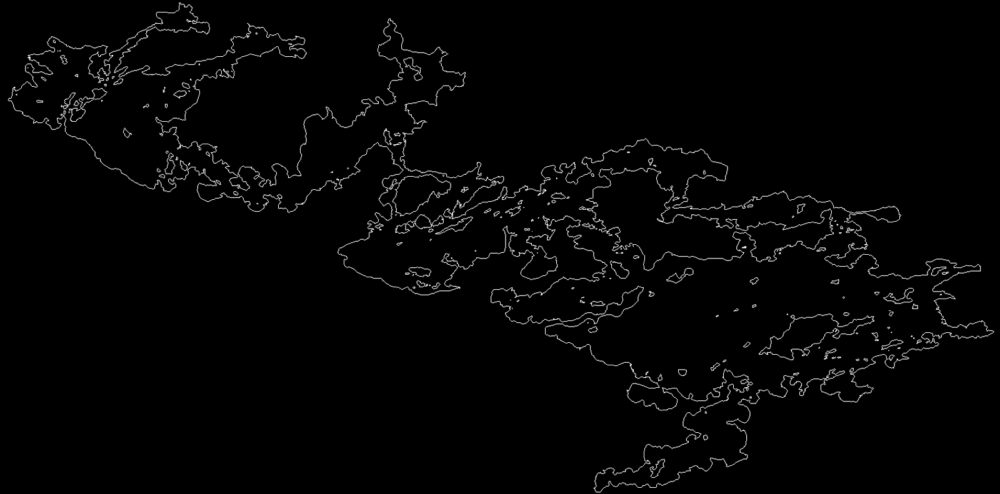
 To create the layers, I purchased 20 layers of ¼”x12”x20” Baltic Birch Plywood. This material will be laser cut to create the shape of the lake at the various depths. Using the a .JPG of every contour layer of the lake, I am able to convert this outline into .DFX file, which is a vector file used for laser cutting.
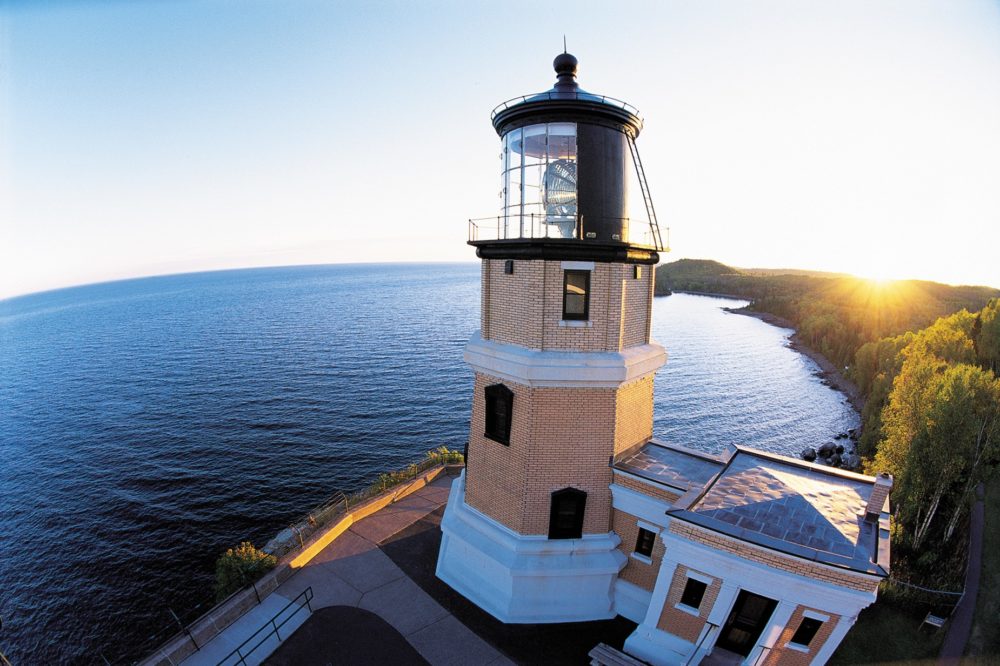
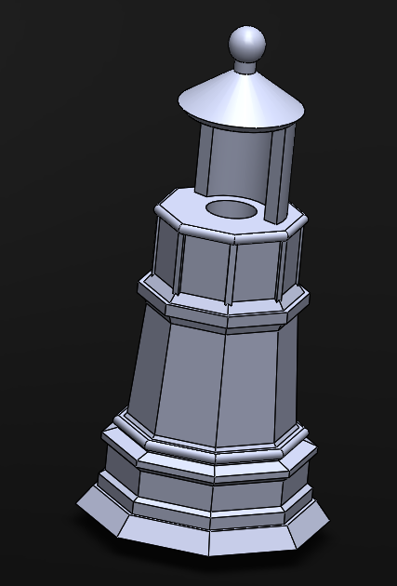
For the dynamic component of the project, I am going to make a miniature lighthouse that will flash its light. This continues the nautical theme, but also adds a removable component. If my plans for this project change in several years, I can make it a table or a wall hanging item without the lighthouse. As a tabletop display, I can include it. I modeled the lighthouse in Solidworks, based on Split Rock Lighthouse, a Minnesota landmark. I will used a 555 chip and circuit to pulse an LED in the top of the lighthouse, with the electronics hopefully tucked underneath.
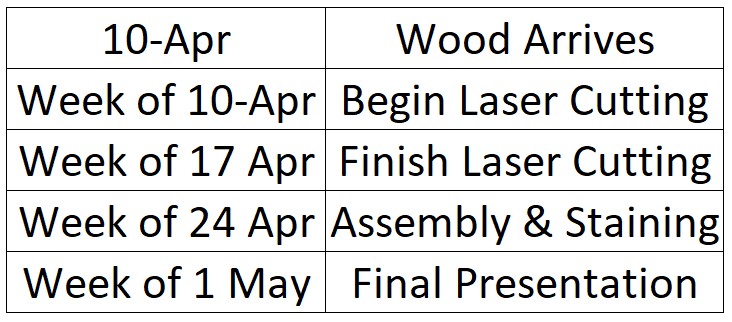
Advancing this project, I need to complete the following:
- Convert the remainder of the images to DFX
- Laser Cut each layer
- Design a top layer to laser engrave a road network, labels, etc.
- Design the Circuit for the LED
- 3D Print the lighthouse
- Assemble the simple lighthouse circuit.
- Adhere the layers together.
- Stain the water layers blue
Adhering the wood layers together is one of the biggest unforeseen challenges. I cannot predict how this will go until I have the wood in hand, I have cut out the lake shape, and have pressed them together. This will be a learning experience. If adhesives don’t work as desired, I can used mechanical fasteners.
2 Comments. Leave new
I like the idea for your project and I think the whole thing is headed for a great shape and size. The thickness of the plywood layers will be very interesting to work with. I think the piece will be solid and compelling even without the lighthouse.
The software you are using to create the map is very interesting. I really like the gif showing the different levels of the lake as it gets deeper and deeper. I’m very excited to see the finished product.