

I have been able to complete the picture frame base. I started by buying a donor painting from goodwill that I removed from its frame. Next I cut the frame into pieces so it would be more manageable to carry around with me. Then I measured two corners of the frame with the monitor so I would know how long the inside sections should be.
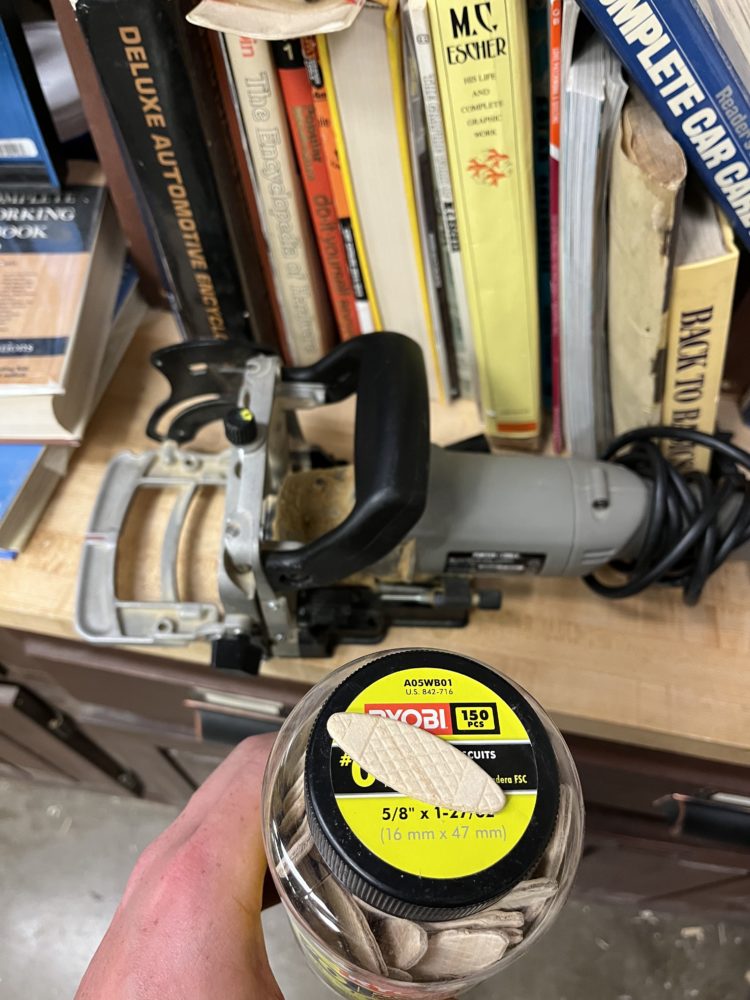
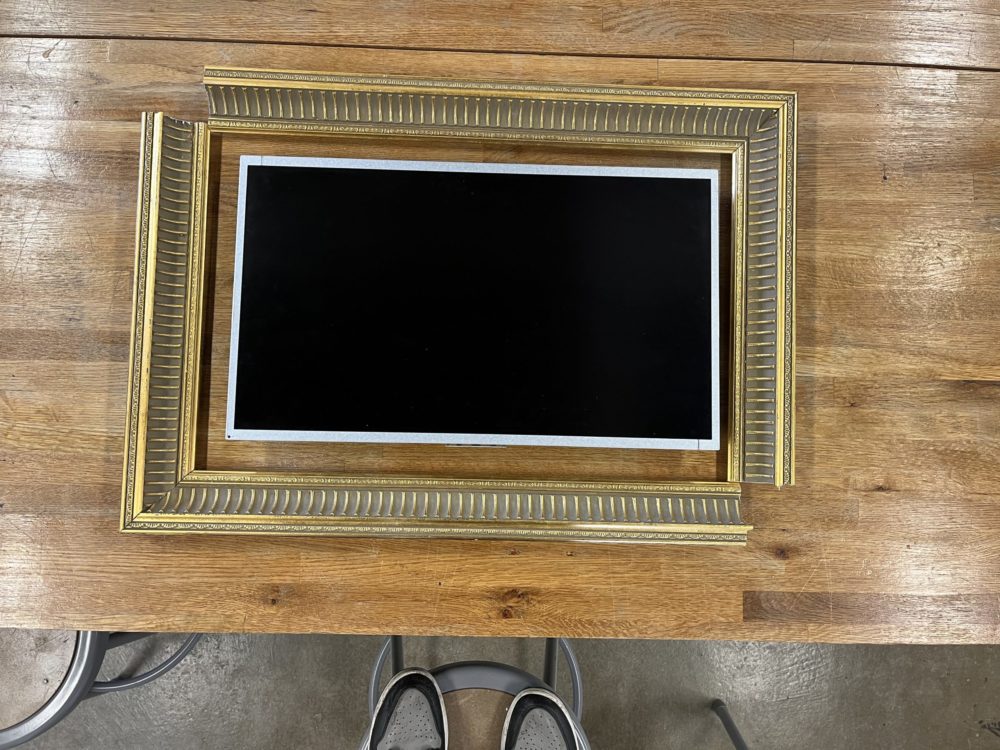 The next step was to mark the 45 degree angle from the internal length so the miter cuts on the frame would line up. I made sure to tape around the cut so none of the molding would be damaged when cutting. After cutting the pieces I set up the domino rabbit to the correct height that would work for my cut. I wanted to use dominoes as they would add extra stability during the glue up. I decided to use Ryobi #0 dominoes as they fit the size of my joint.
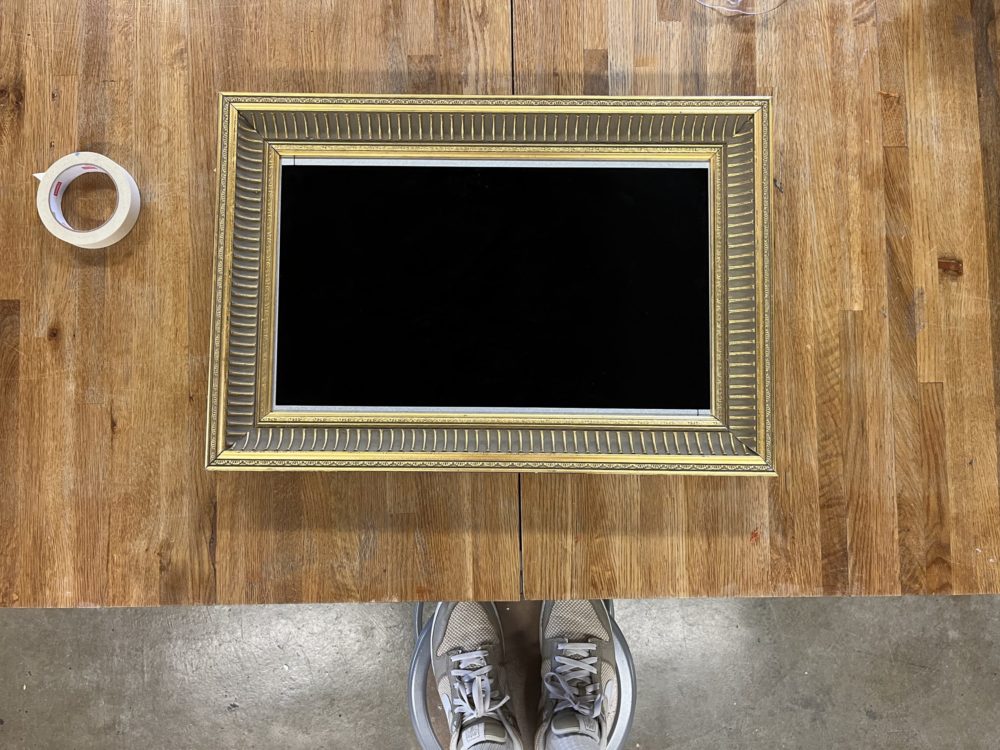
 Next I cut the rabbits along the mitered edges. Using Titebond III and a band clamp I glued the frame together to make it one piece.
![]()

I then added struts to the top and bottom that will hold the monitor in place. Here is a picture of the monitor in the frame.
I have been practicing my blender skills for my senior design class but I cannot show my renders due to an NDA agreement. But this will be the next focus of my project. After this I will bring everything together by coding the Raspberry Pi.
Citations:
N/A
2 Comments. Leave new
I really like your choice of frame Luke! And I can’t wait to see what you create in blender to showcase in such a cool piece. This is a really cool idea and perhaps a marketable one? If something like this became popular it could drive the creation of a modern marketplace where artists sell their short animations to people with these in their homes.
Hi Luke, I like how your photos show each step you took to complete this project. Is this a free-standing frame on a wall with its own battery pack or a power cable? Either way, I think it looks great! Overall good work, and I can’t wait to see what you come up with on Blender.