
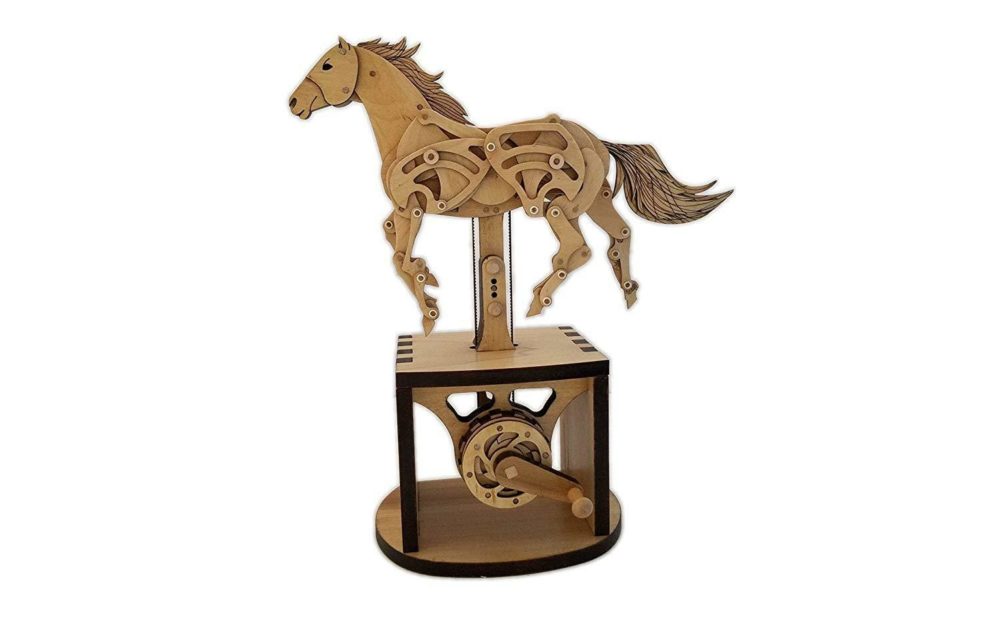
Initially, when I was planning my final project, my idea was to create a mechanically programmed buffalo powered with a crank handle mechanism similar to the horse below. As I started working on the CAD in SolidWorks a few days ago, I realized how much work and the complexity of the joints this project actually is. I spent two hours working on the back leg assembly and I did not get any substantial work done that was up to my standard.
I decided that I needed to pivot from my initial idea, so I took a night and slept on it. As I still wanted to create a CU memento, I decided that I was going to make a display piece that was electronically dynamic instead of mechanically dynamic. As I rummaged through my electronics bin I found a couple of parts that sparked a light bulb, these parts were an Arduino Uno, an individually addressable light strip, an IR receiver, and a remote. From these items, I came up with the idea of creating a buffalo that was lit up from the inside with a black border and transparent diffuser to help spread the light.
![]()
From this Idea, I got to work on pairing the electronics with the Arduino. I started this by coding a lighting effect on the LED strip using the FASTLED library. Next, I tackled the IR remote and receiver by doing some research on Google and YouTube to find the IRremote library. This library helps decode the data received from the IR receiver. I then went through each button on the remote and listed its HEX value to be able to program lighting schemes based on the remote input.
Now that I was able to get the electronics sorted, I directed my attention toward the CAD. My main goal for the CAD was to create a structurally sound boxed base with all of the electronics fixed with standoffs and screws. From there, I could take the CU logo and sketch the outline with a spline and extrude it into the final width, add wiring cutouts, and create clear faceplates as seen in the images below.
![]()
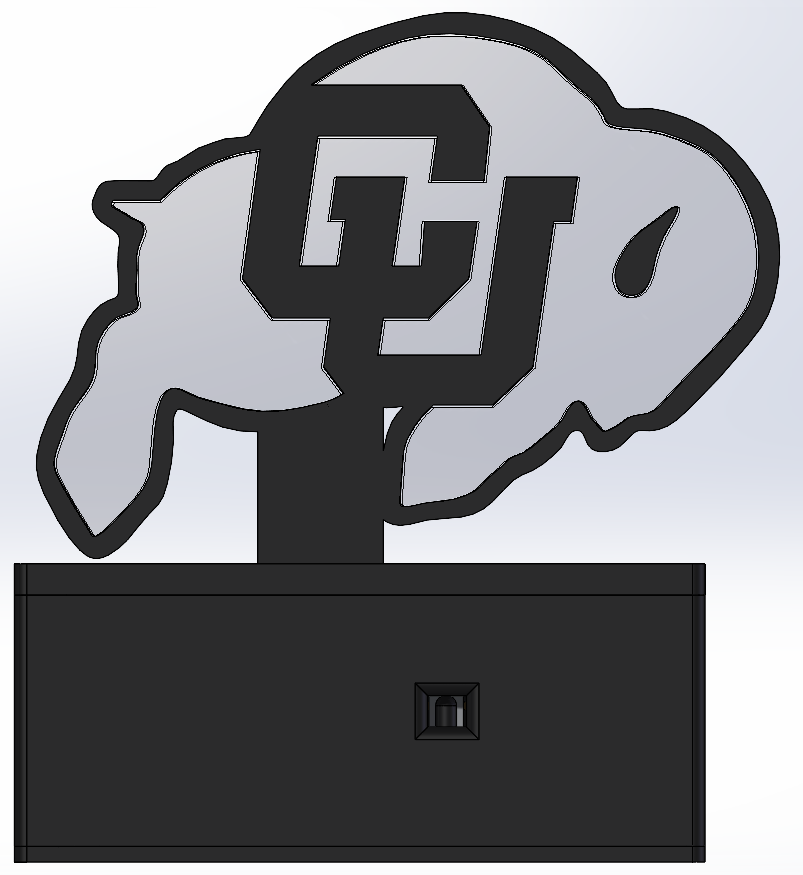
The materials I plan on using come from what I have on hand at home. For the base box and Buff outline, I am using black PLA and for the transparent faceplates, I am using clear TPA. Timeline-wise, I plan on finishing the electronics, finalizing CAD tonight, and starting to print all of the parts tonight. Hopefully, full assembly with all of the parts comes this weekend. As I am bummed that I was not able to complete my first Idea, I am proud of myself for being able to pivot fast and make major progress quickly on my new idea.
2 Comments. Leave new
I like the vibes of the project, it seems like a really nice piece of decor and homemade memorabilia to have to have around the house. The usage of a 3D printer to get the shape is cool. Are you using anything to diffuse the light or are you just have the led lights face away so that there’s indirect lighting? I’m excited to see what the final product looks like, it seems like it will have a really nice aesthetic to it.
Thanks for the comment, Cody! Currently, I am printing a clear diffusive layer out of TPU (a flexible filament) that will hopefully fit into the inside of the outside ring.