
I recently finished construction of my iris mechanism table. The progress so far can be seen in the previous few blog posts.
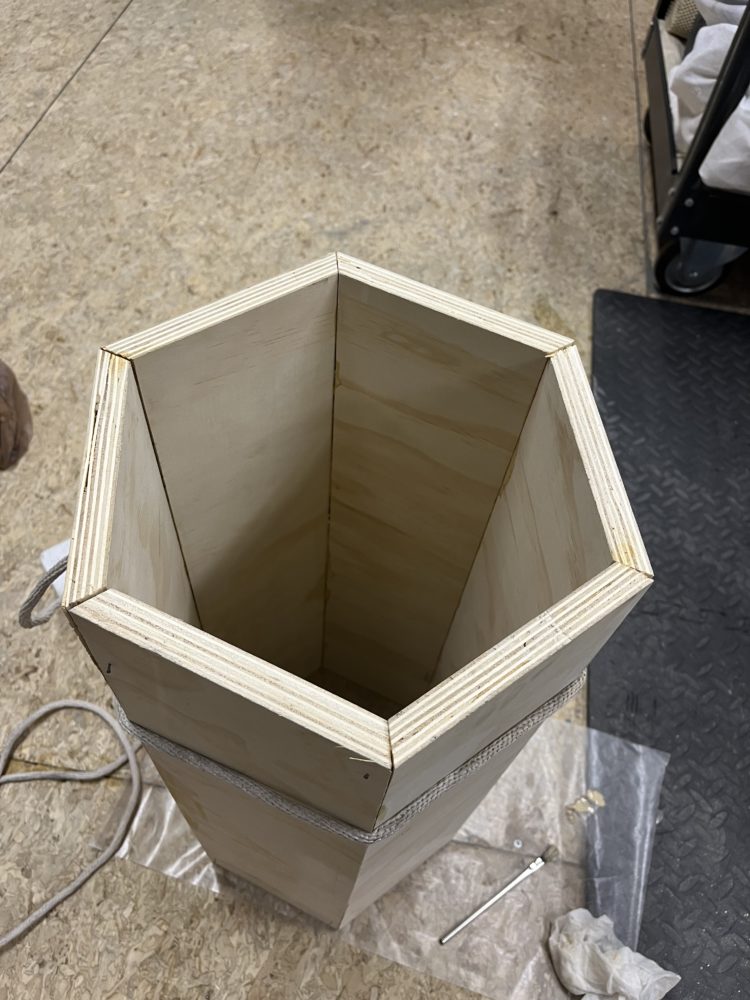
My progress since has been the assembly of the table and figuring out how to make the mechanism operate smoothly. First I put together the base of the table by gluing and nailing the pieces together. Since the angles were already cut, once the pieces were assembled they created a perfect hexagon.
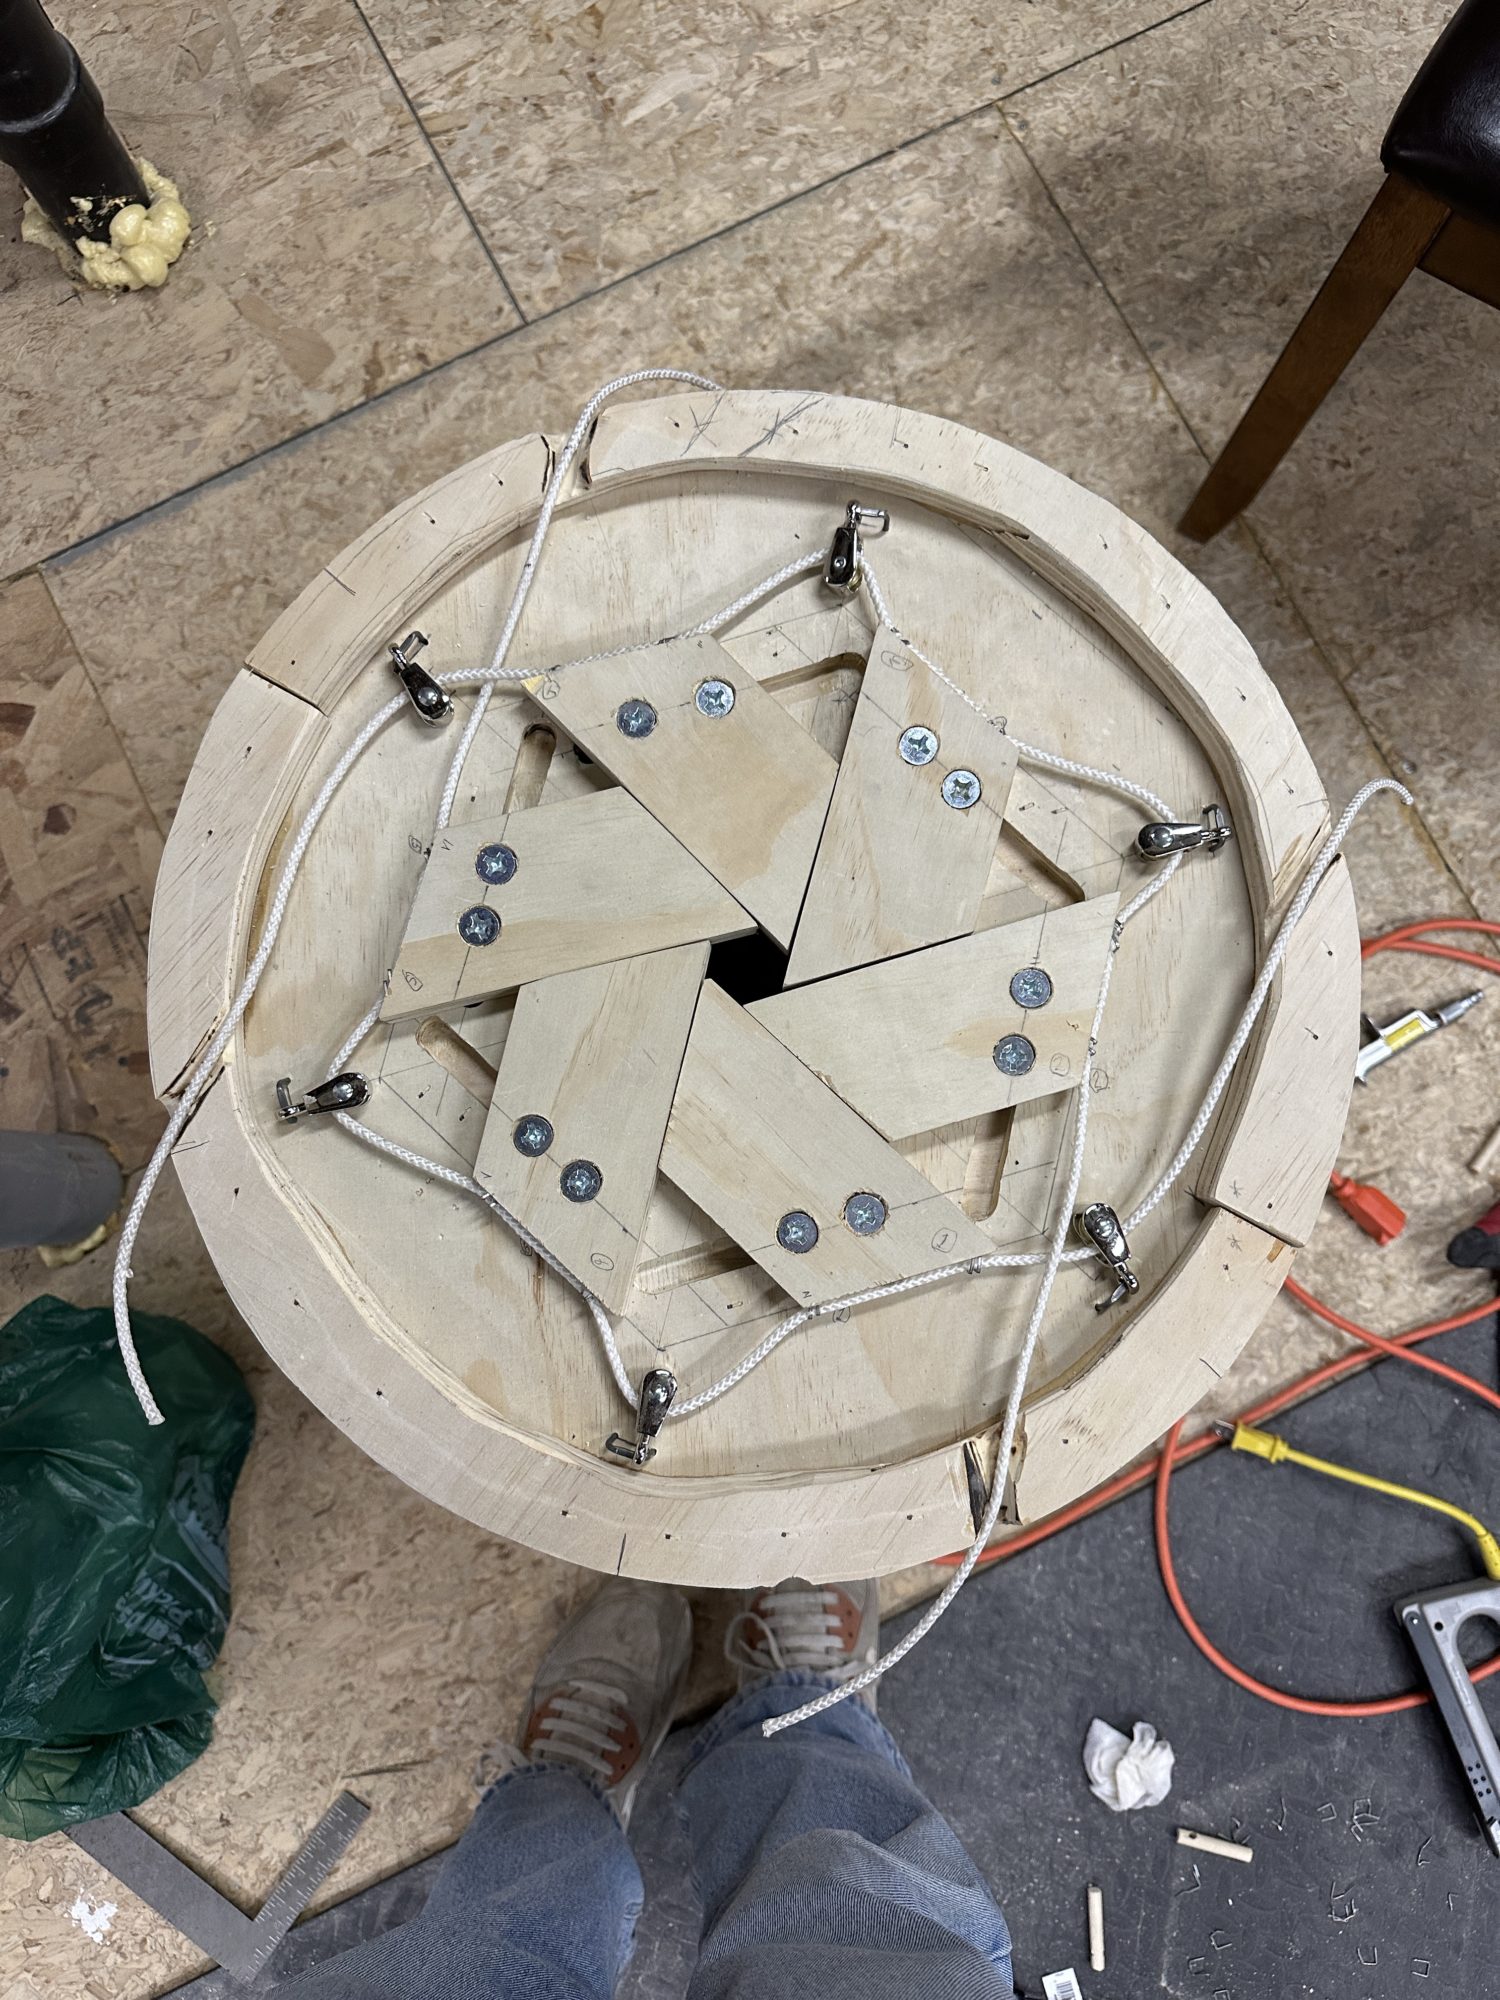
Once I made the grooves into the base piece for the trapezoidal blades to slide along, I put screws through them that sit in the grooves and allow the to slide the way they should. Initially, my plan was to use dowels that stuck out of each piece that would be pulled along by a rope. The pieces with the dowels can be seen below. 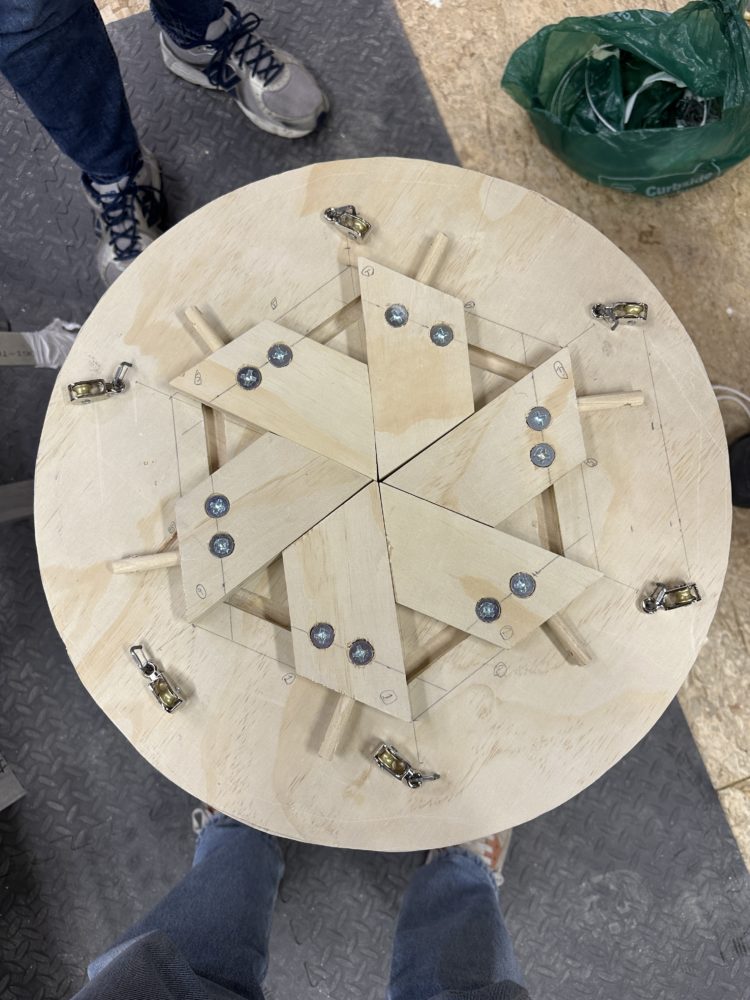
After testing this method, I realized that it wasn’t going to work because the longer dowels created too much of a moment around the pins. To alleviate this, I ended up stapling the rope onto each blade and running it through pulleys so it would pull the pieces straight. I waxed all of the pieces so that they would slide smoothly. All the pieces also needed to move in unison so I ended up doing two separate ropes, each attached to three pieces, so it would operate more smoothly. This can be seen in the picture below.

Once I finished this, I put the top piece on and glued and nailed everything together.