
There wasn’t a fabrication process for my project per se; rather, it involved a lot of coding, so I’ll try my best to explain in plain English. All of this was done using C#, a programming language, and Unity, which is a popular game engine.
First I had to figure out how to implement Perlin Noise. If you’ve ever played Minecraft, Perlin Noise is the algorithm that generates the terrain; it helps produce smooth and natural changes in topology, but it can be used for other applications as well. However, just like blocks in Minecraft, Legos are pretty blocky, so smoothness won’t exactly work here. Instead, the Perlin Noise used has to be discretized. Basically, if the Perlin Noise normally generates decimal numbers within 0 to 1, multiply it by 10 and round to the nearest integer to get discrete integers from 0 to 10 (i.e. [0, 0.000001, 0.000002…0.999999, 1] becomes [0, 1, 2…9, 10]). Now the noise can be used to generate different layers of heights rather than a smooth transition between heights.
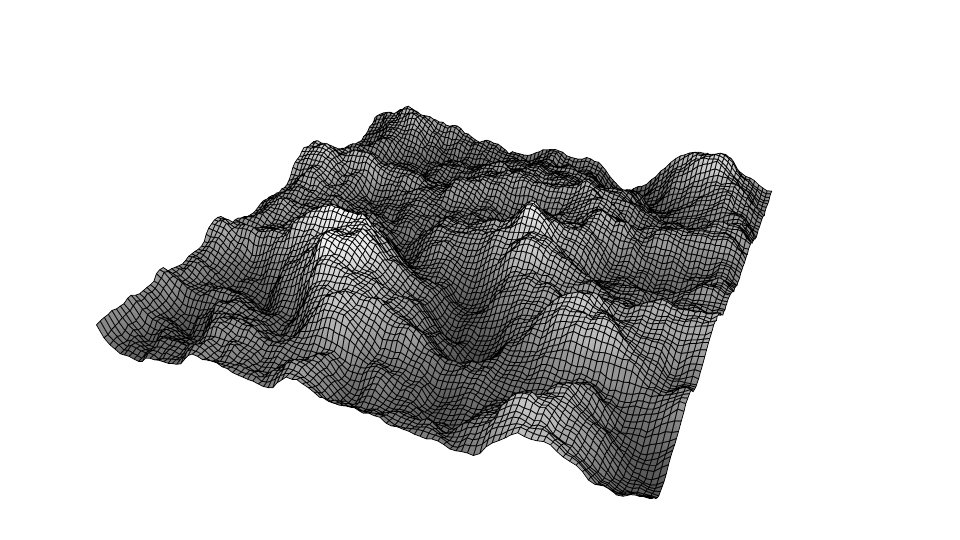
2D Perlin Noise from https://www.scratchapixel.com/lessons/procedural-generation-virtual-worlds/perlin-noise-part-2/perlin-noise-terrain-mesh.html
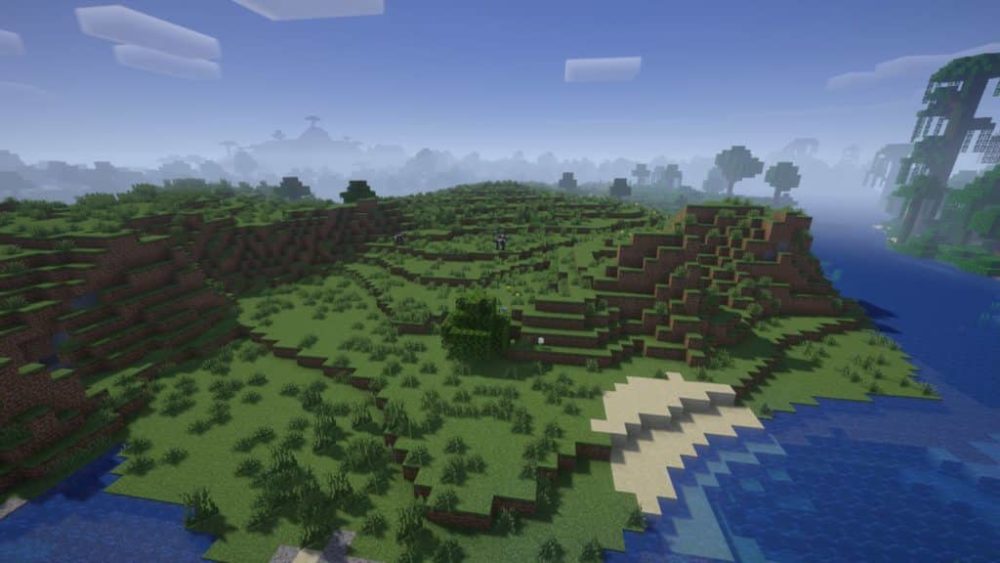
Minecraft Terrain from https://whatifgaming.com/best-minecraft-terraforming-tips/
Next, I implemented movement controls with the WASD keys on a keyboard in order to move the terrain around. I was planning on replacing the WASD input with a webcam, but I eventually scrapped the idea. In the end, I scrapped the movement idea altogether because of some issues I was facing with spawning random objects.
[googleapps domain=”drive” dir=”file/d/1t9iX1GjmU145Wo98M1X0TxxugdzzGXfQ/preview” query=”” width=”640″ height=”480″ /]First project iteration
Even though this is a randomly generated terrain, users would still expect to be able to travel to a different spot and back and see the same terrain. “Random” in terms of computer science is never truly random. Due to this fact, any random object spawned in that location has to remain the same. It’s like in Minecraft, when a player can travel far and come back to their base or the same landmark. I had trouble implementing a “static random object” (i.e. an object that remains the same for any given coordinate), so I removed the whole movement thing.
(gif doesn’t work here; click to open in a new window instead)
Static objects on a randomly generated map from https://gamedev.stackexchange.com/questions/182766/how-to-put-trees-on-procedural-generated-world-created-using-perlin-noise
Once the terrain and random object worked as I wanted them to, I had to implement random colors, and this was pretty simple, so in addition to random colors, I also implemented the option to create a gradient between two chosen colors. For the terrain, each layer would have a certain color; for the objects, I split them into two groups: one group would be “trees”, and the other group would be “flowers” (not quite an accurate description but that doesn’t matter too much; perhaps “foliage” would’ve been a better word but oh well). Then, each type of tree or flower would have it’s own color.
Once that was working, I had to implement some sort of UI that would help users control the random location, object spawning, and colors. I just used the built-in UI elements, but I decided to use a different font; specifically, the font I used was Shin Go by Morisawa, a Japanese company. It’s the same font that Nintendo uses for a lot of their products, especially during the Wii era. I organized them based on function, and placed them on the sides of the webpage in order to prevent distraction from the main focus, which was the generated terrain placed in the middle of the webpage.
Finally, I decided to implement a random background and randomly generated names for the title of the terrain and username of the user that created the terrain. Implementing these followed the same principles as above.
[googleapps domain=”drive” dir=”file/d/1o32Re67hHkXznEPavQlEC0ZAKpy07I9I/preview” query=”” width=”1030″ height=”579″ /]Final iteration
Overall, while the final product differed from my original vision, it still fulfills what I wanted to do. The webcam-movement idea was cool, but ultimately wasn’t going to affect the aesthetics of my project, and it would’ve been way too difficult to actually implement in a short amount of time, so that idea was scrapped. This did introduce another brainstorming session to figure out what the final product was going to look like, but I think it ended up being a good thing; it introduced some new ideas that I hadn’t thought of before. For example, the floating aspect of it came to me after scrapping the original idea; I can’t say where I got the idea from, however. I know I’ve seen something like it before, but I can’t remember from where or what. I don’t think I wish that I could’ve done things differently, and I’m not sure what I could’ve done differently; I feel that this project was something that I knew would evolve as I went along, so, to me, it doesn’t really matter how I started it. Perhaps time management could’ve been a bit better, however.
I’m going to continue developing this project; there’s a few things that were mentioned in a few meetings prior that I’d like to be able to implement, as well as a couple of things that I thought of myself. Afterwards, I’ll fully release it to the public and hopefully it gets used and a gallery of works starts to grow.