
Before I actually started to craft and manufacture the lighting fixture that I designed, I had a fairly clear and concise idea of how to execute the build. My design process left me with 2 basic sketches that really helped convey the aesthetic and product that I wanted to end with. Once I made the decision with which I wanted to move forward with, I ordered all of the necessary parts and was ready to move from my drawings to real life.
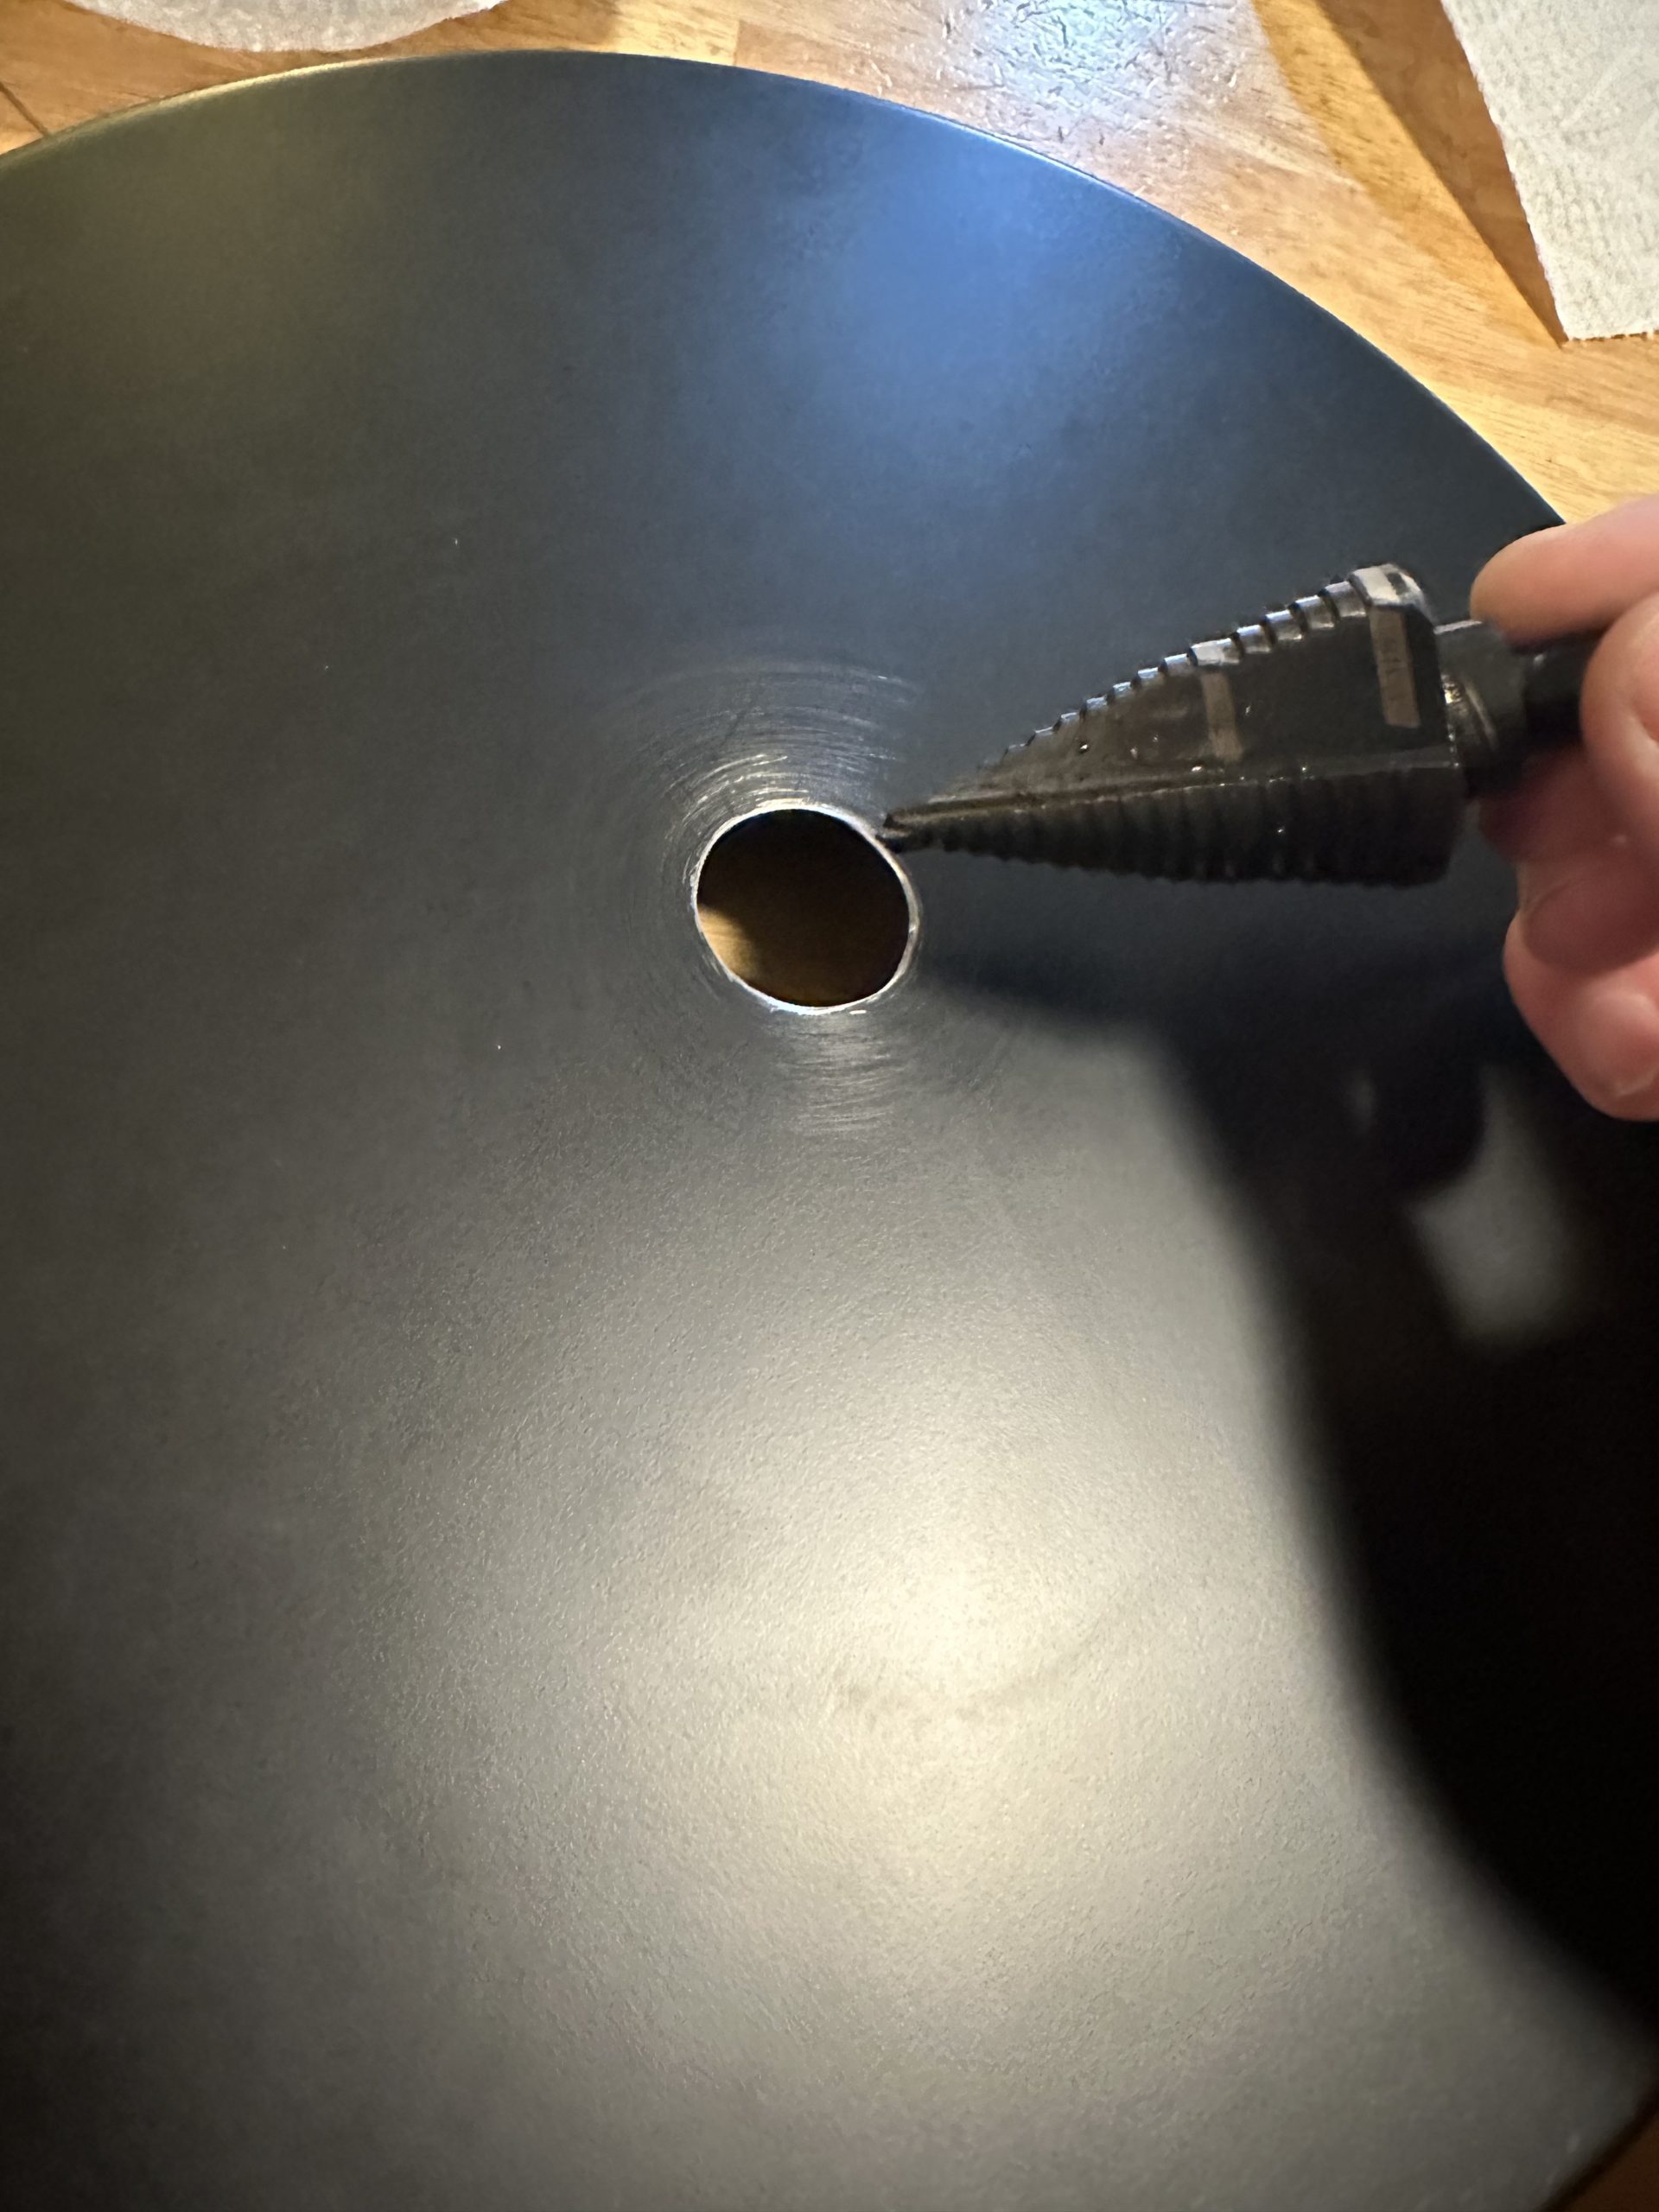
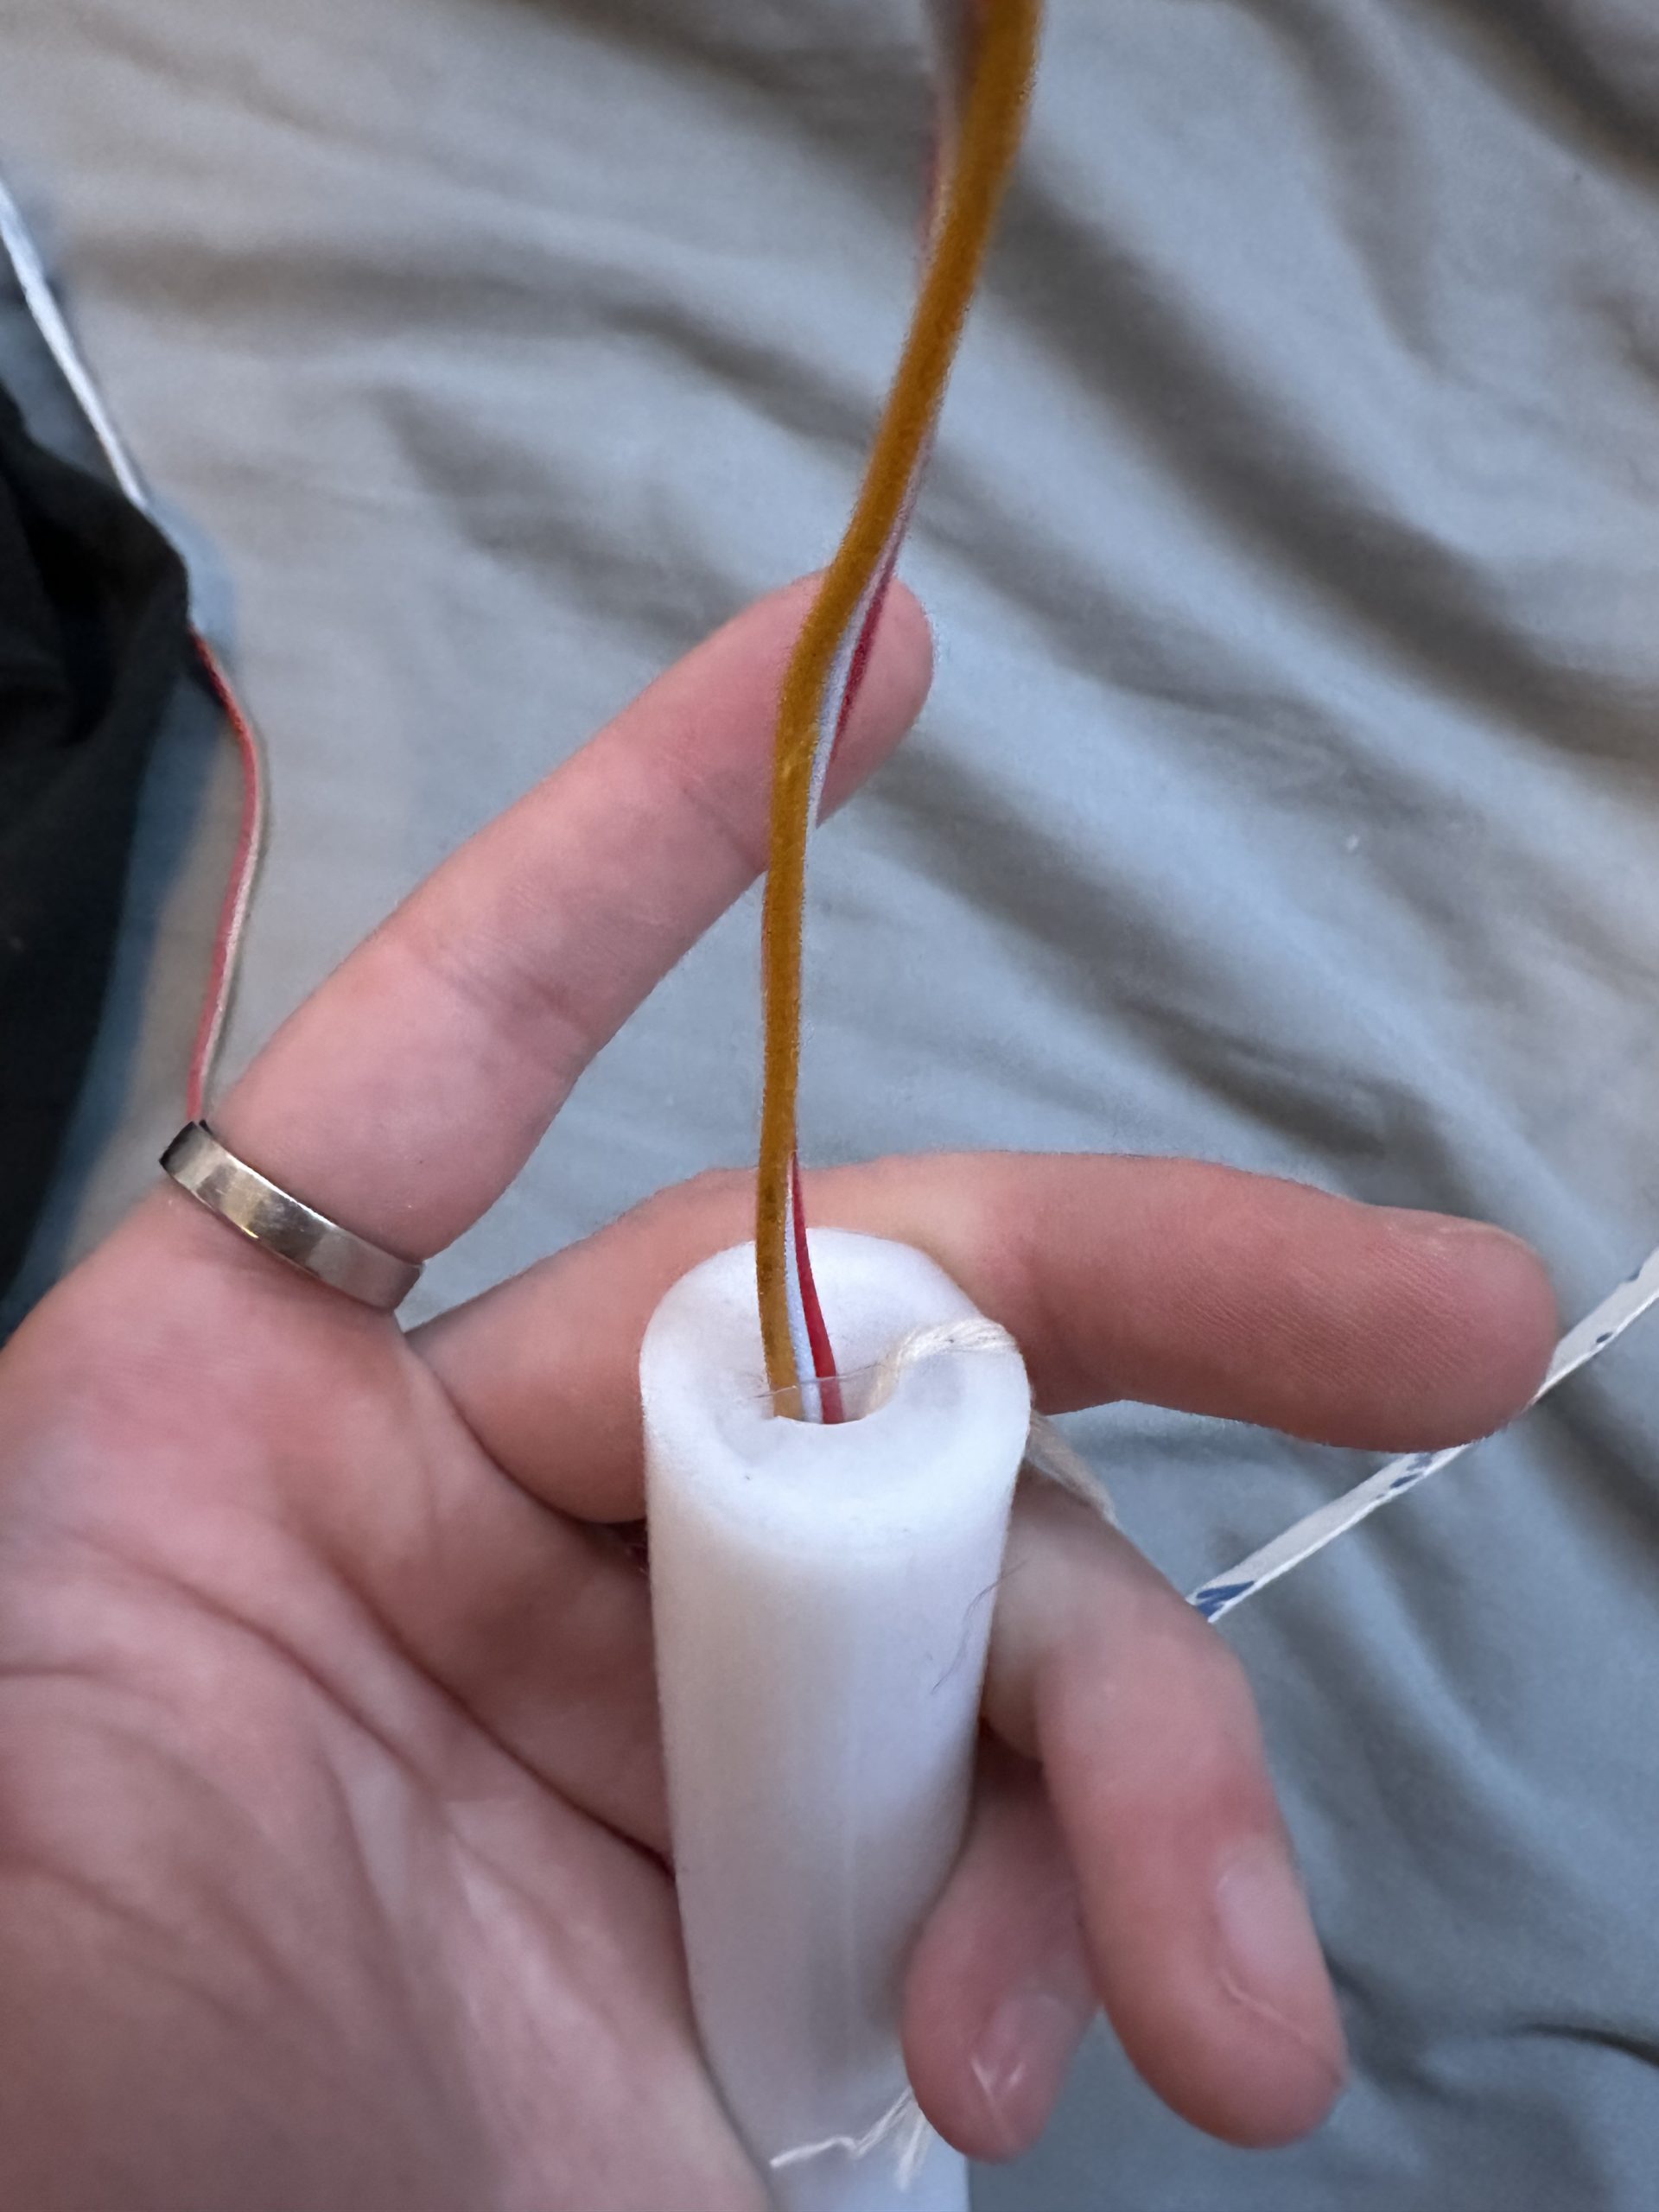
Unfortunately, shortly after this step was when I hit not only my first road bump but a series of them that I believe ultimately set me and my design back from where it really could’ve been. One of the first setbacks that I had to deal with was the fact that this lighting assembly would need to be assembled around the actual light section, not the base or structure, or endcaps. So when the specific diffused LED strip that I ordered was held multiple times throughout the shipping process, I was frustrated and behind to say the least. Either way, before that would come in the mail, I first started to modify the metal base plate. This piece was 10″ wide and had a 1/4″ diameter hole in the center. I knew this hole would be too small for the pole that I would be using although I know that I could drill a larger hole through to allow for the correct size. After this, I proceeded to cut and bend a small cutout that would allow a wire to pass through from the inside. When I was searching for baseplates, unfortunately, I couldn’t find one with a large enough hole or wire way, so this was the next best option. Once these cutouts were made to the proper size, I went in with an abrasive pad to get rid of the sharp corners and then a sanding pad to dull down the edges. With the base plate modified, I was ready to start and work on the next part of my design.
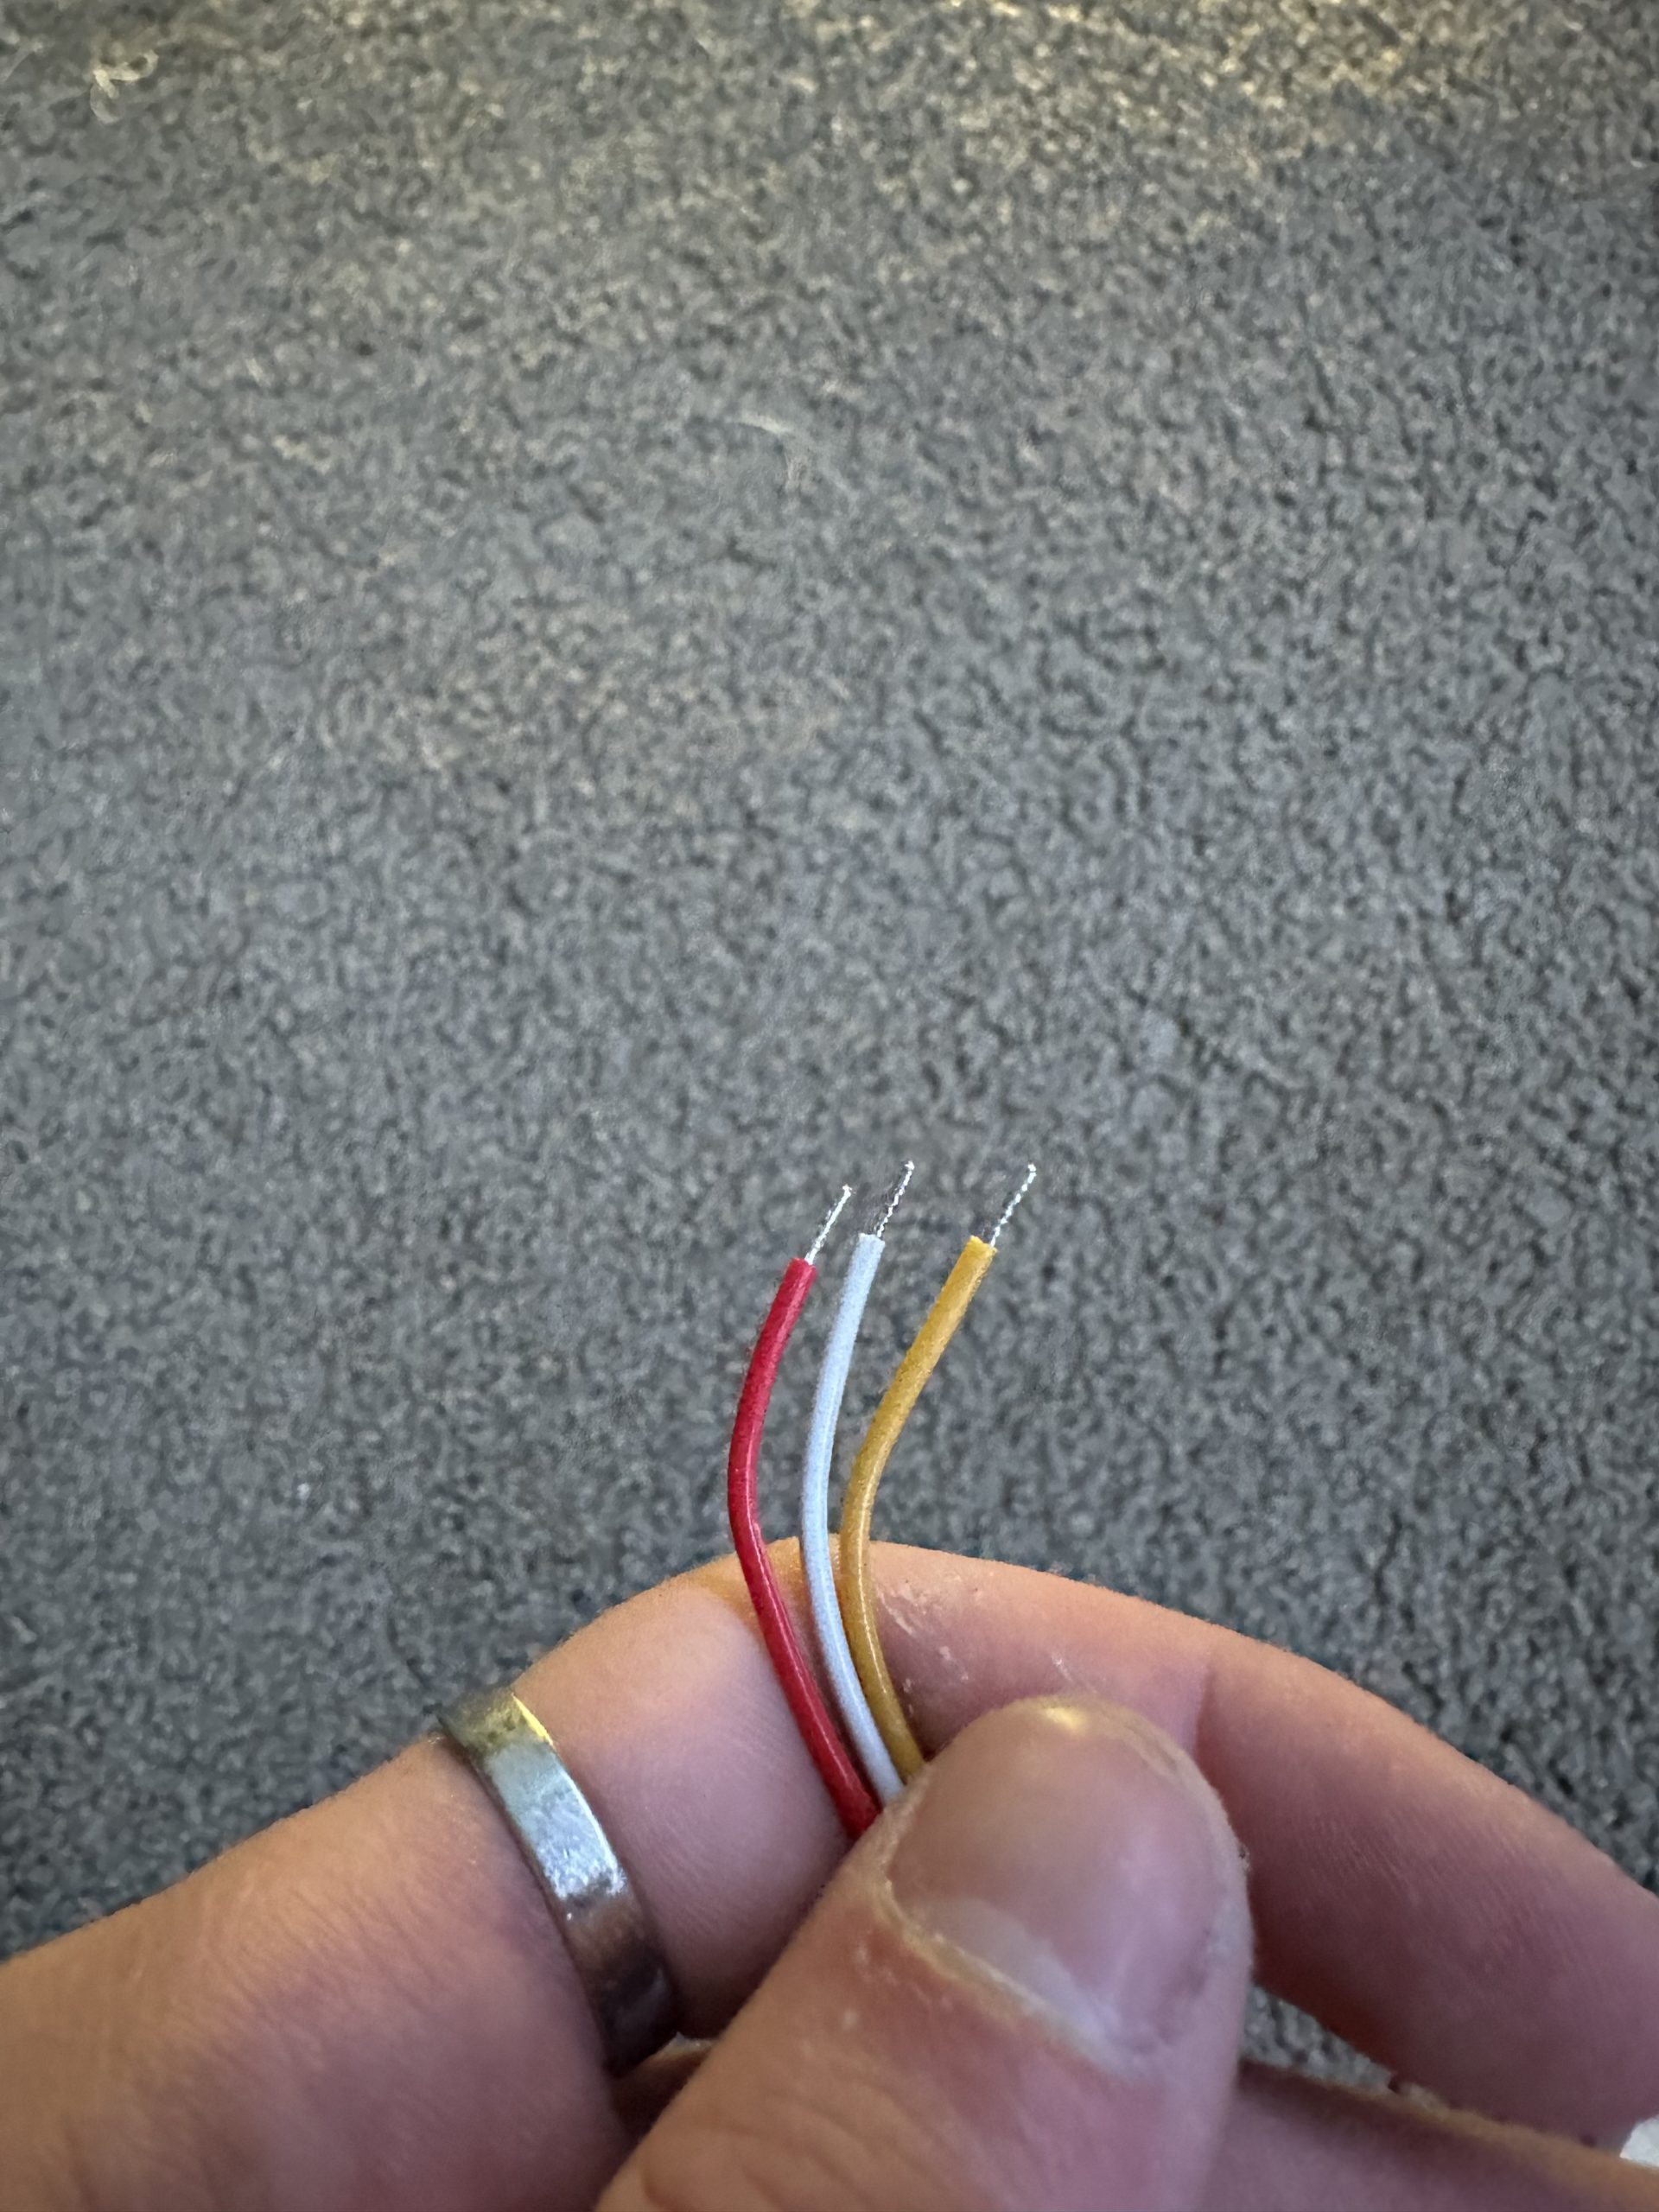
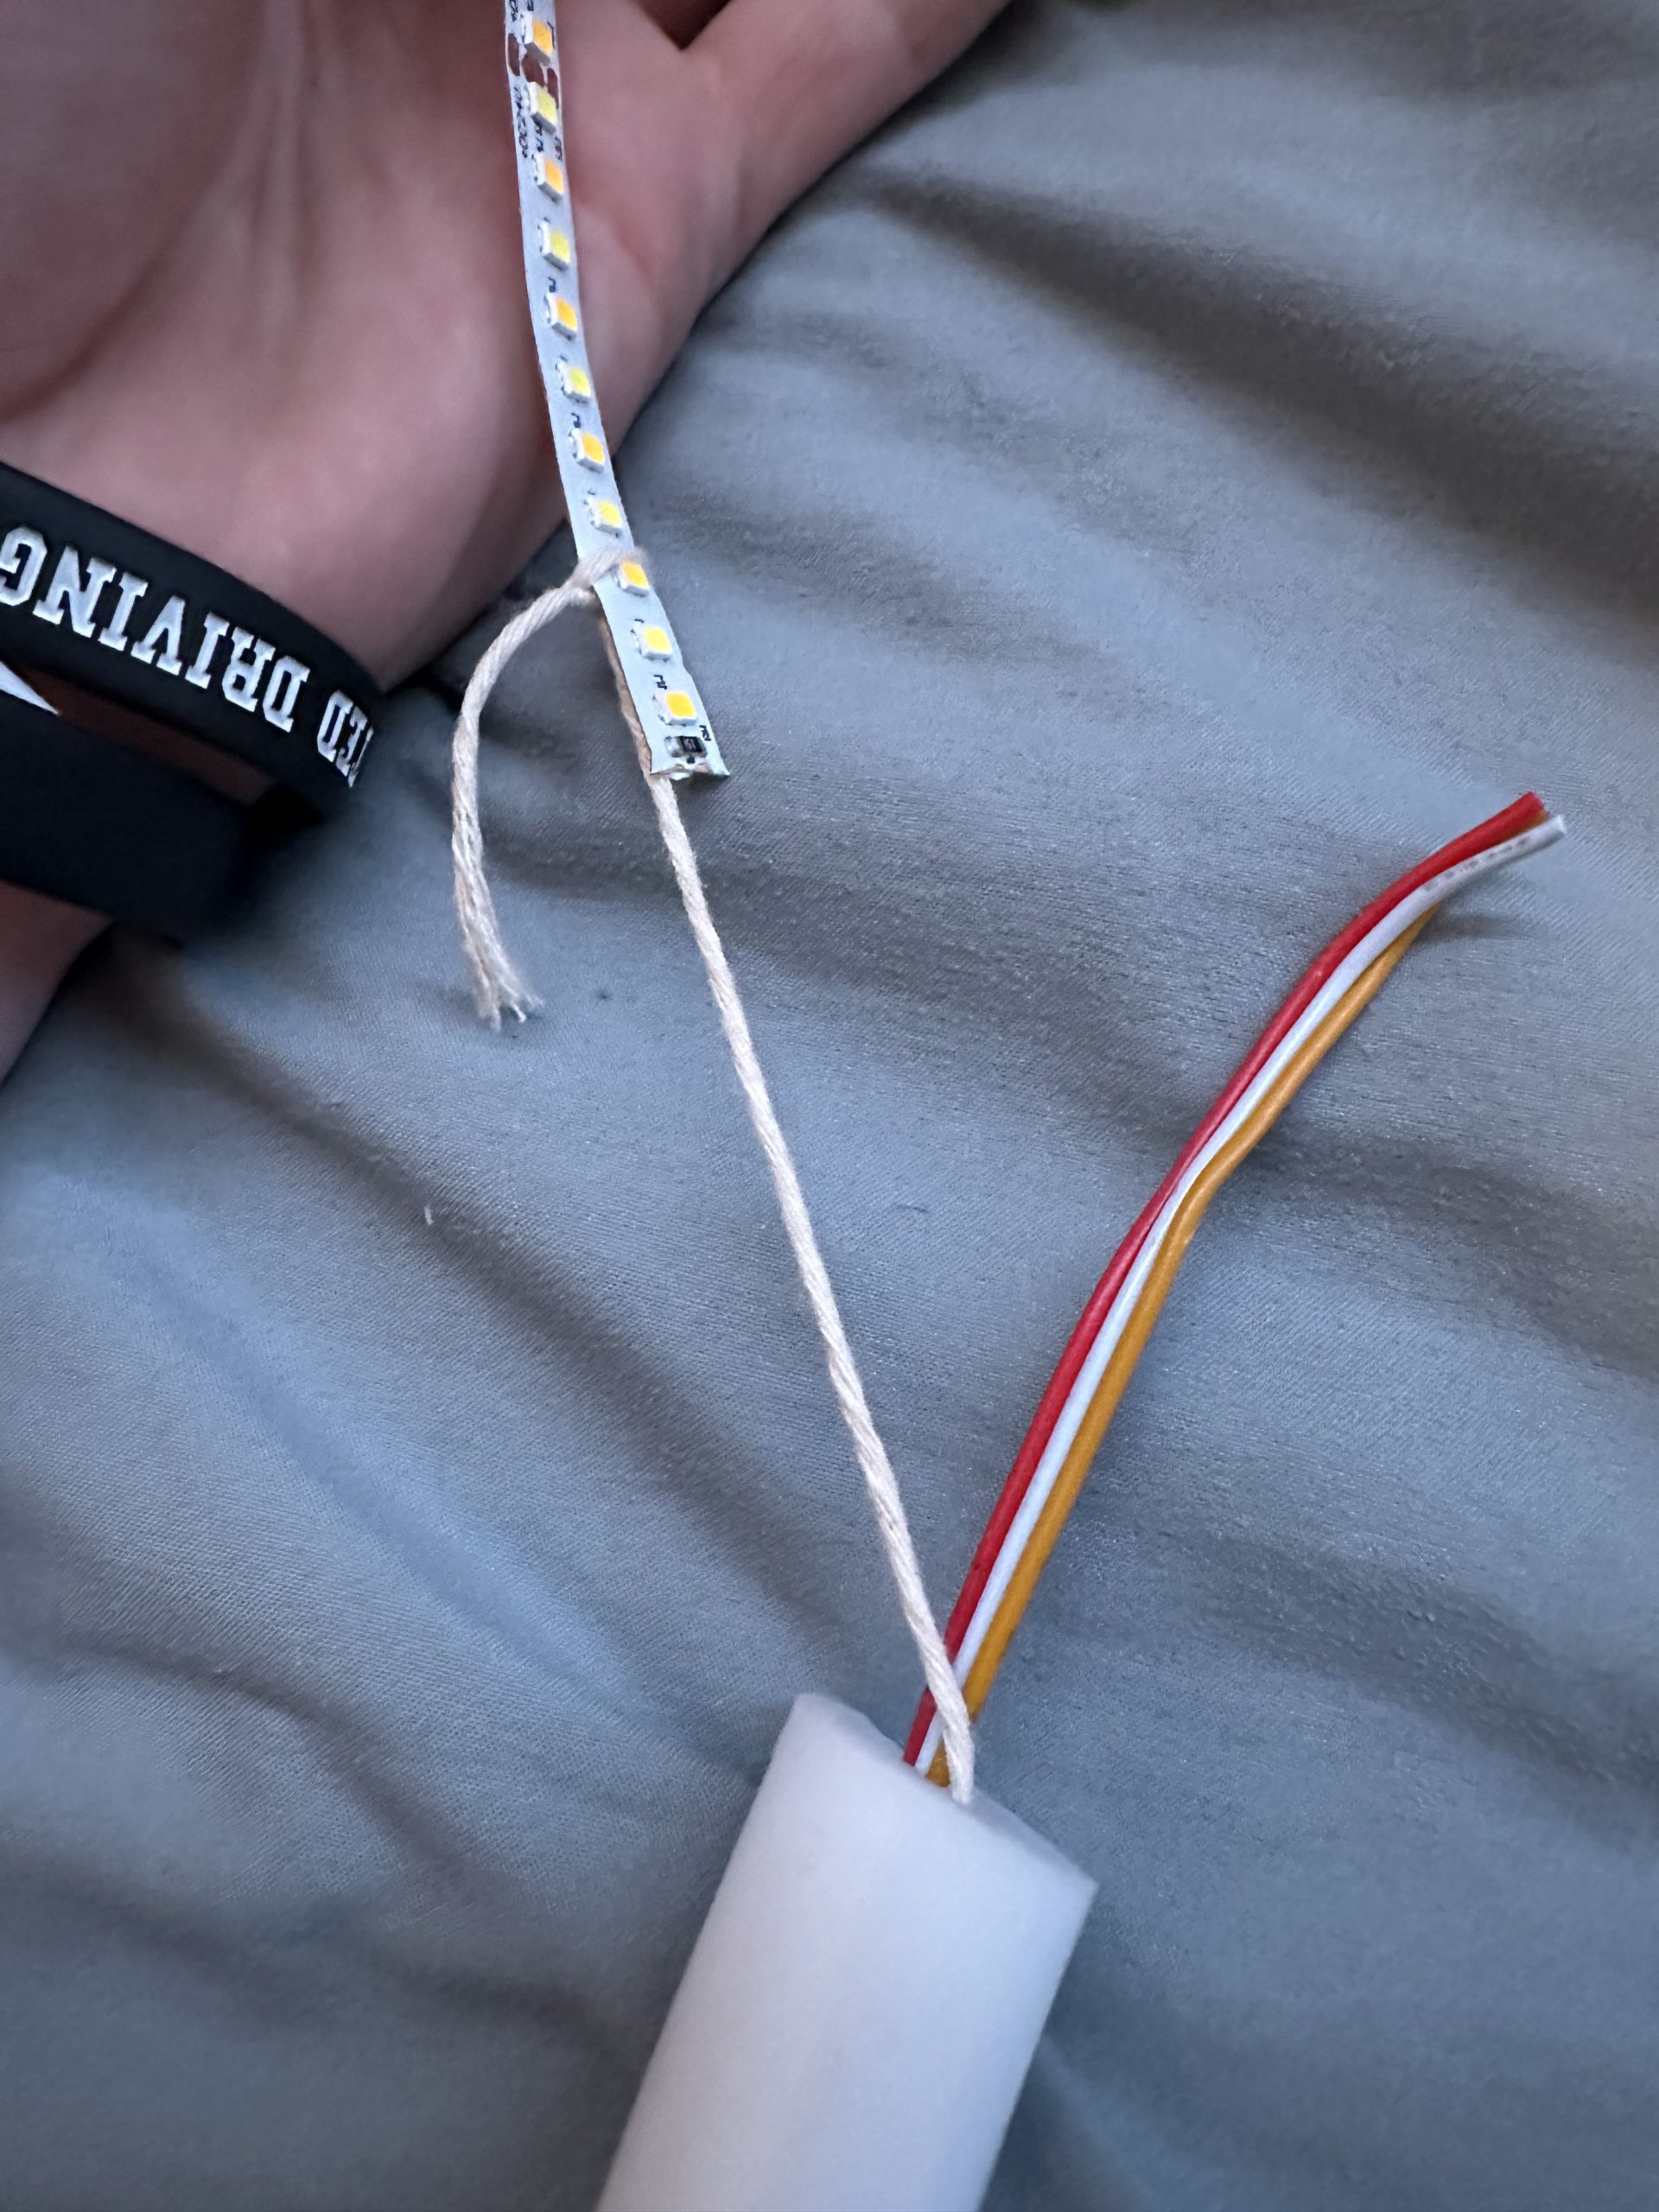
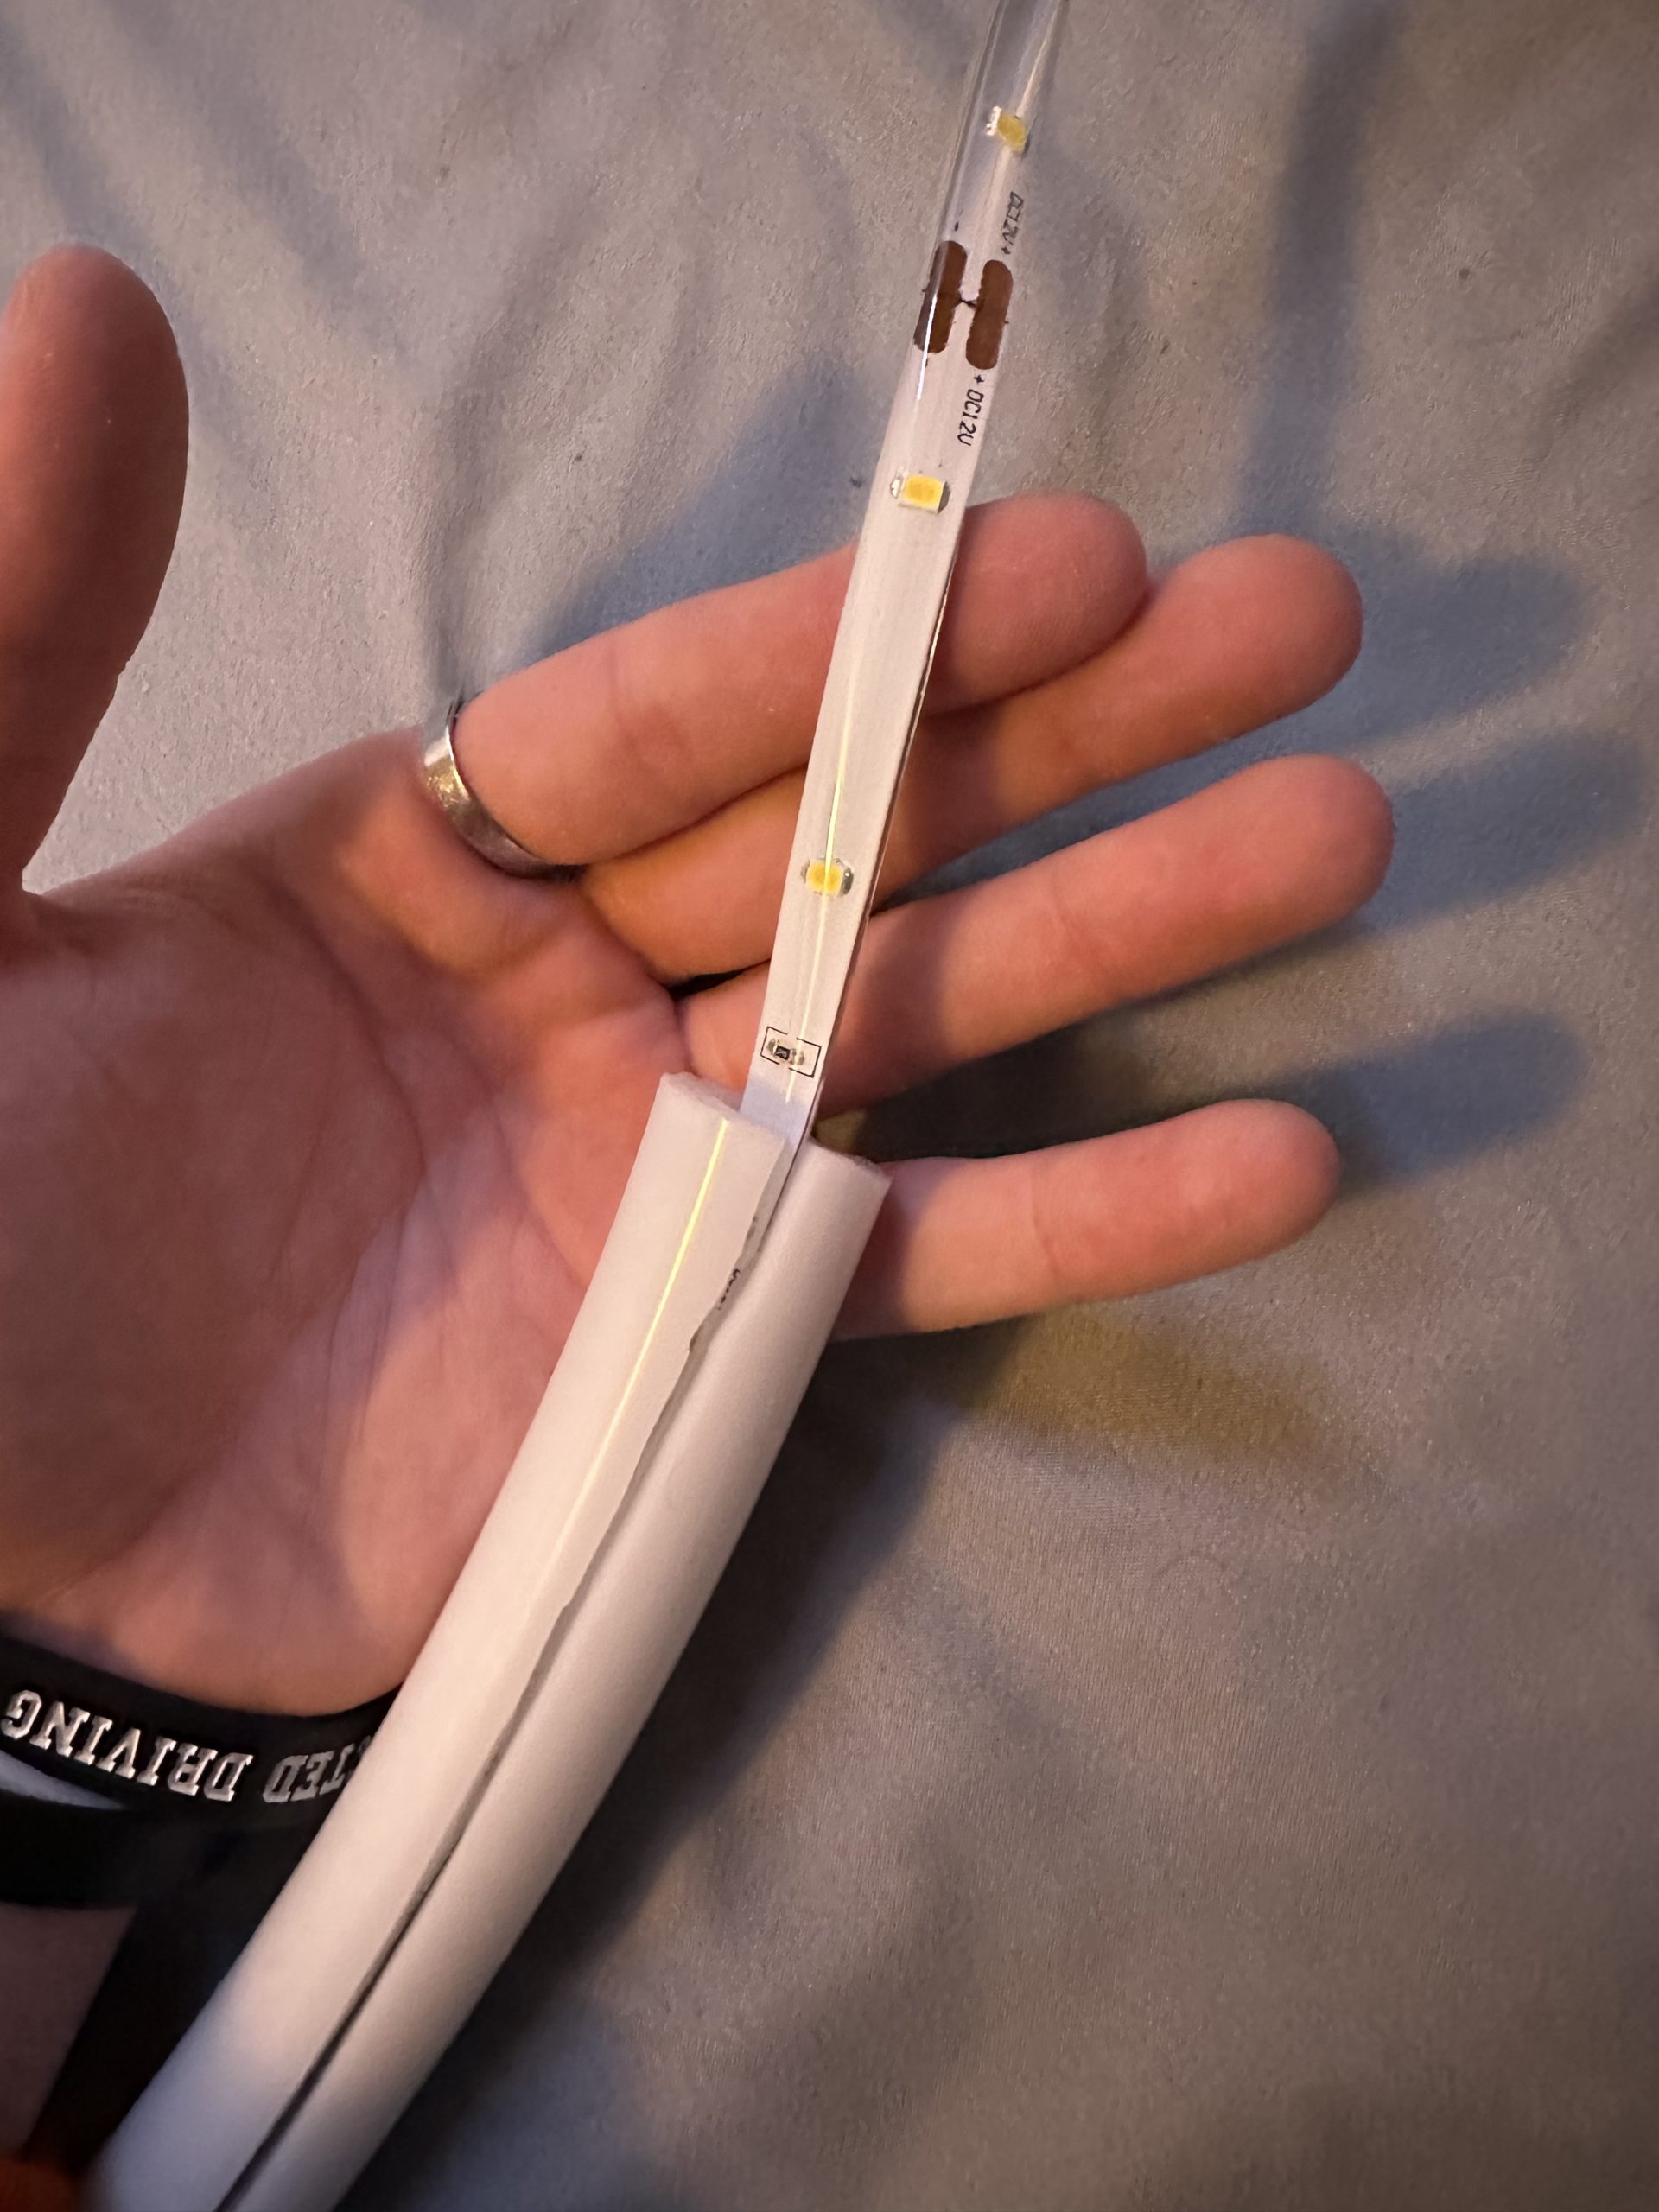
I was truly so excited to get the diffused LED strip that I had ordered. After waiting longer than I should’ve (I paid for much quicker shipping than what it was) I finally was able to rip open the package and finish the build of this light. Sadly, this did not go to plan either. When I opened the box and took out the cylindrical diffuser, I came to find that the LEDs that were pre-installed came with no power source and were left with open-ended electrical wires. Because I really don’t have much background in electrical or mechanical I had no idea what to do next. After talking to some friends and a couple of different resources, I decided that with the short amount of time I had to finish, I would rip out the currently installed LEDs and somehow manipulate new LED strips inside. Once again this just did not go as smoothly or easily as I would’ve liked it to. I was able to get the current LEDs out by tying yarn around one of the ends that were hanging out of the diffuser. Although when I tried to tie the yarn around the back end of the installed LED to the new LED (so I could pull the old LED through the diffuser and it would pull the new LED into place), the new LED ripped in half inside of the middle of the diffuser. At this point, I decided that it would be more time efficient and costly if I just cut a line down the center of the diffuser. This is exactly what I ended up doing and very thankfully it ended up working out so that I could place the new LED safely inside.

With the LED functional and inside of the diffuser, I started to glue the line that I had cut down the center. Once this cured, I took the polyester sleeving that I ordered and started to weave it around the length of the LED diffuser. This part thankfully was not too difficult, although when I attempted to glue the sleeving down to itself (to create a tight rope-like structure) I found out that the plastic fiber-like sleeve does not adhere well to itself at all. After much struggle, I decided that I would leave the sleeve open, allowing you to access the diffuser on the inside. Once again though, I found myself struggling with getting the endcap attached to the free end of the diffused strip. This was most likely due to the fact that again, the polyester sleeving did not have great adherence properties. Although I would also say that another big contributor to the reason it wouldn’t stick was due to the size difference.
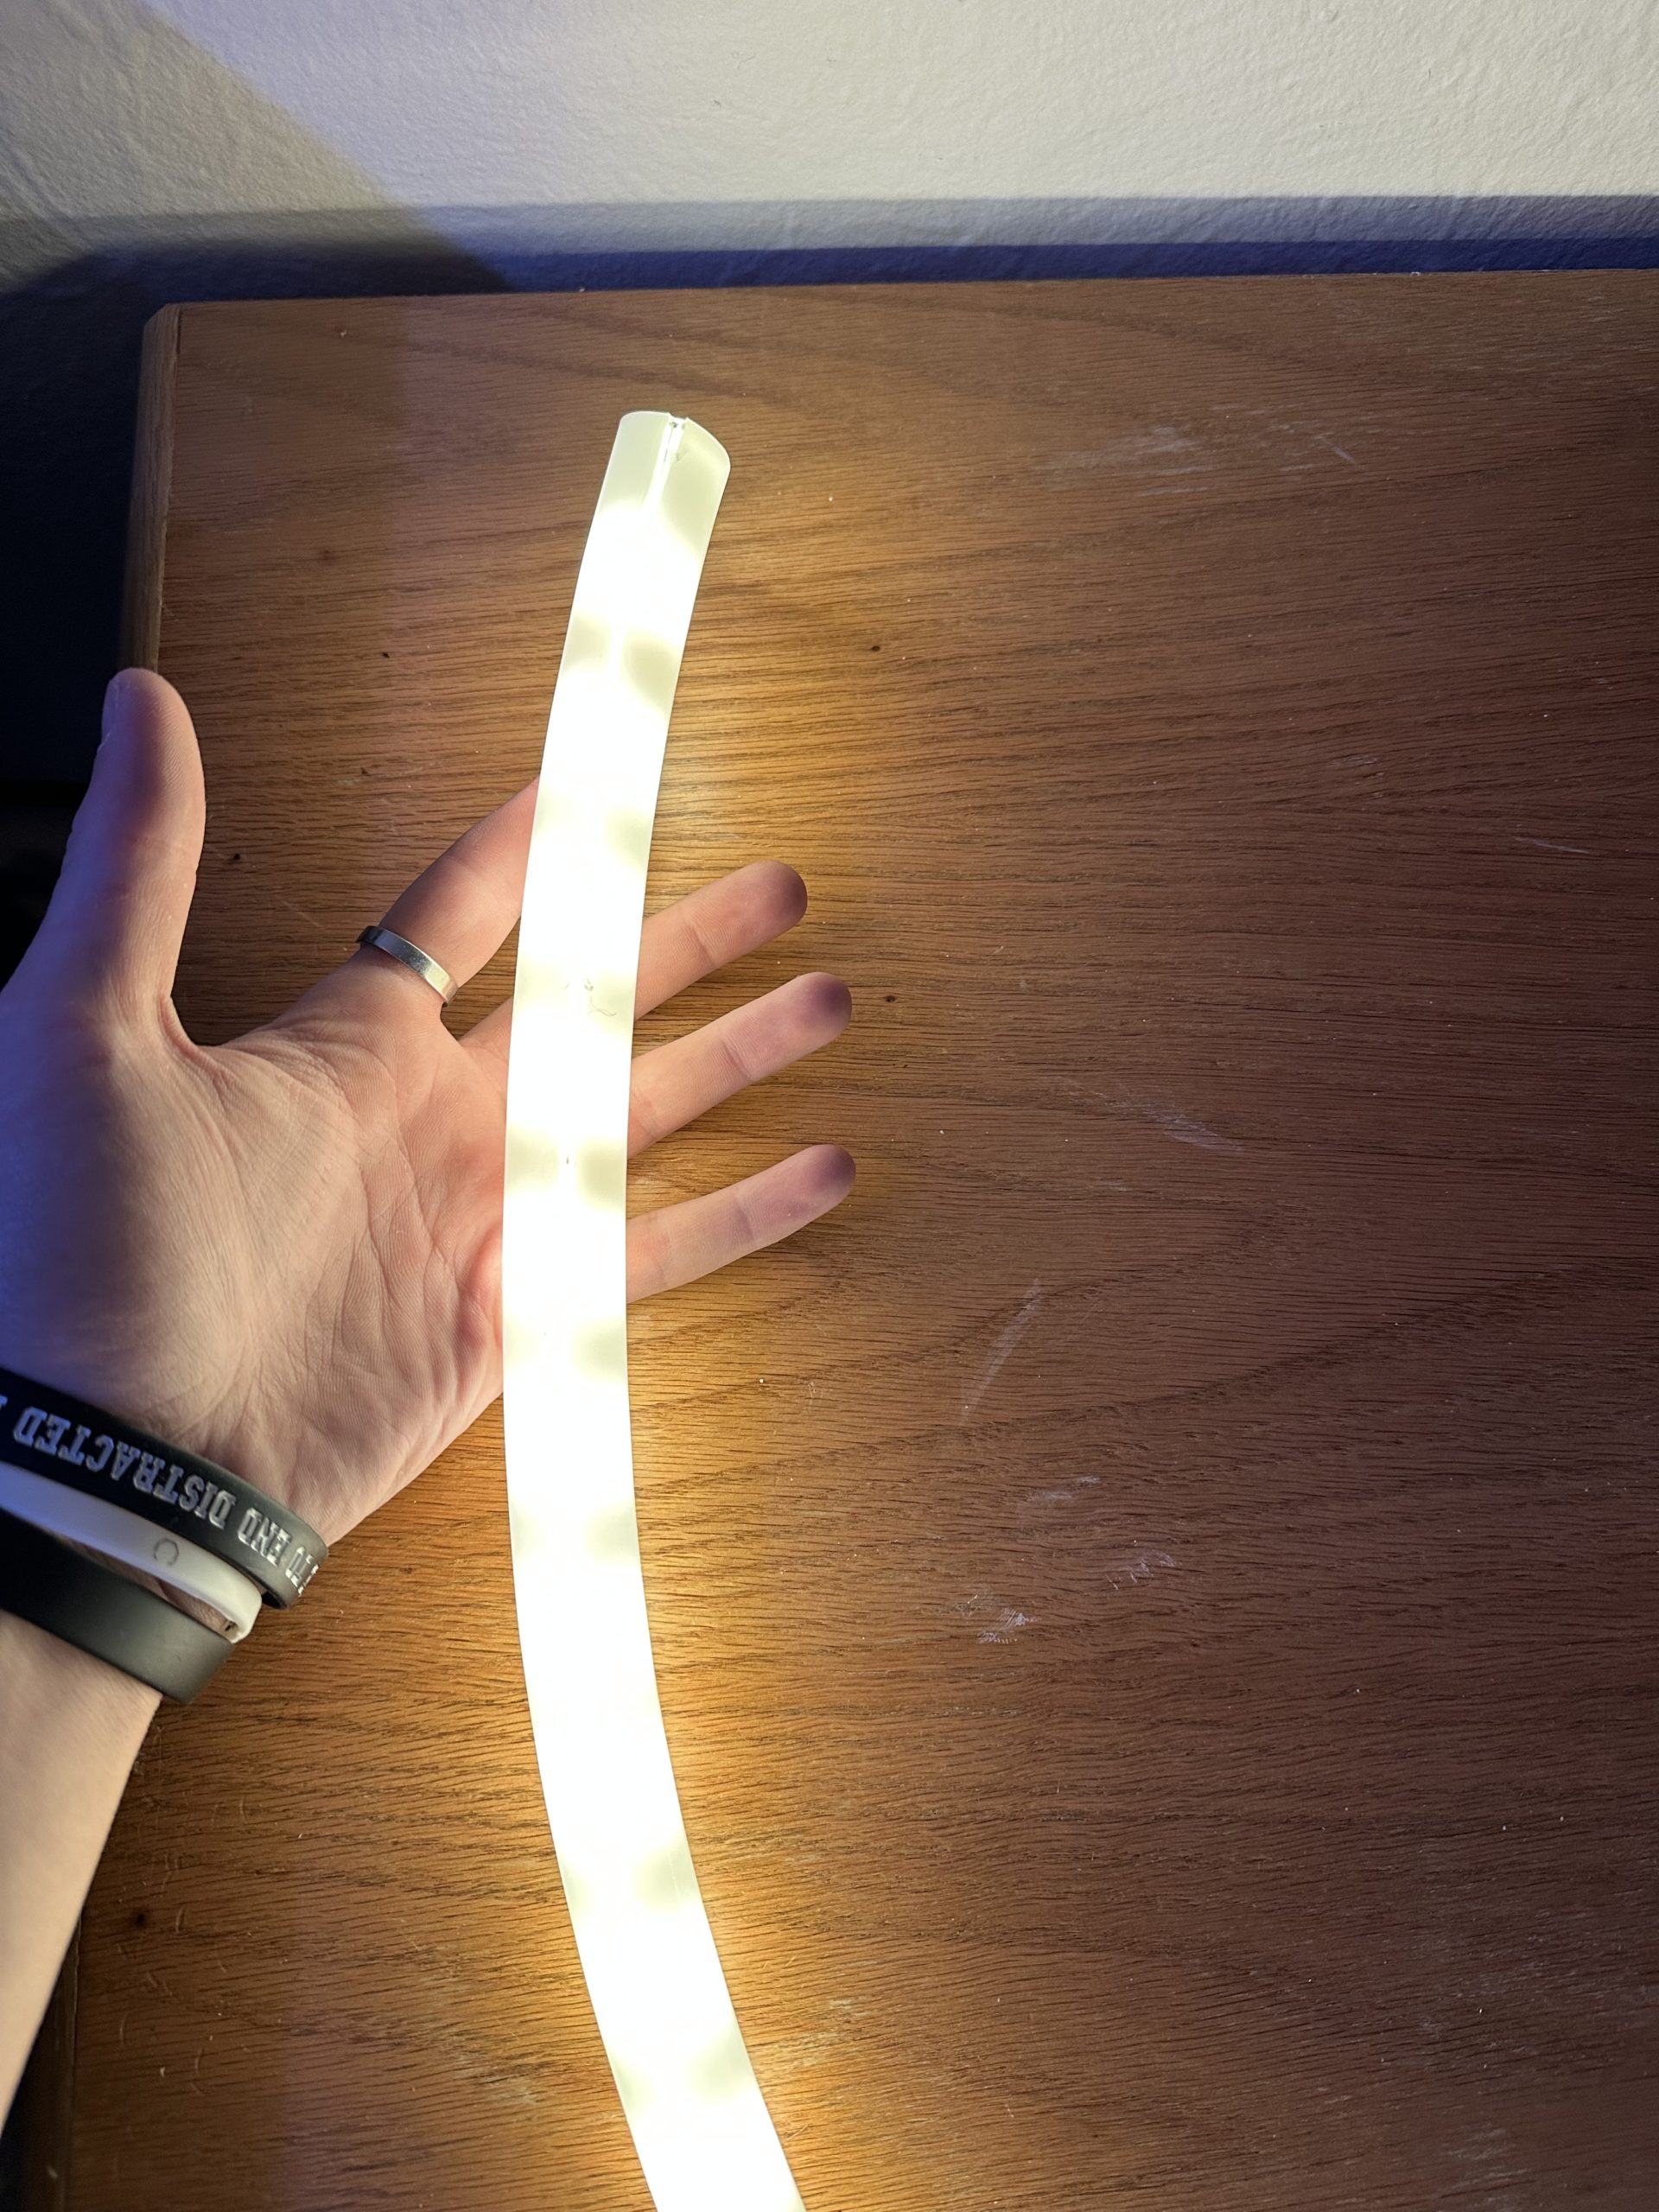
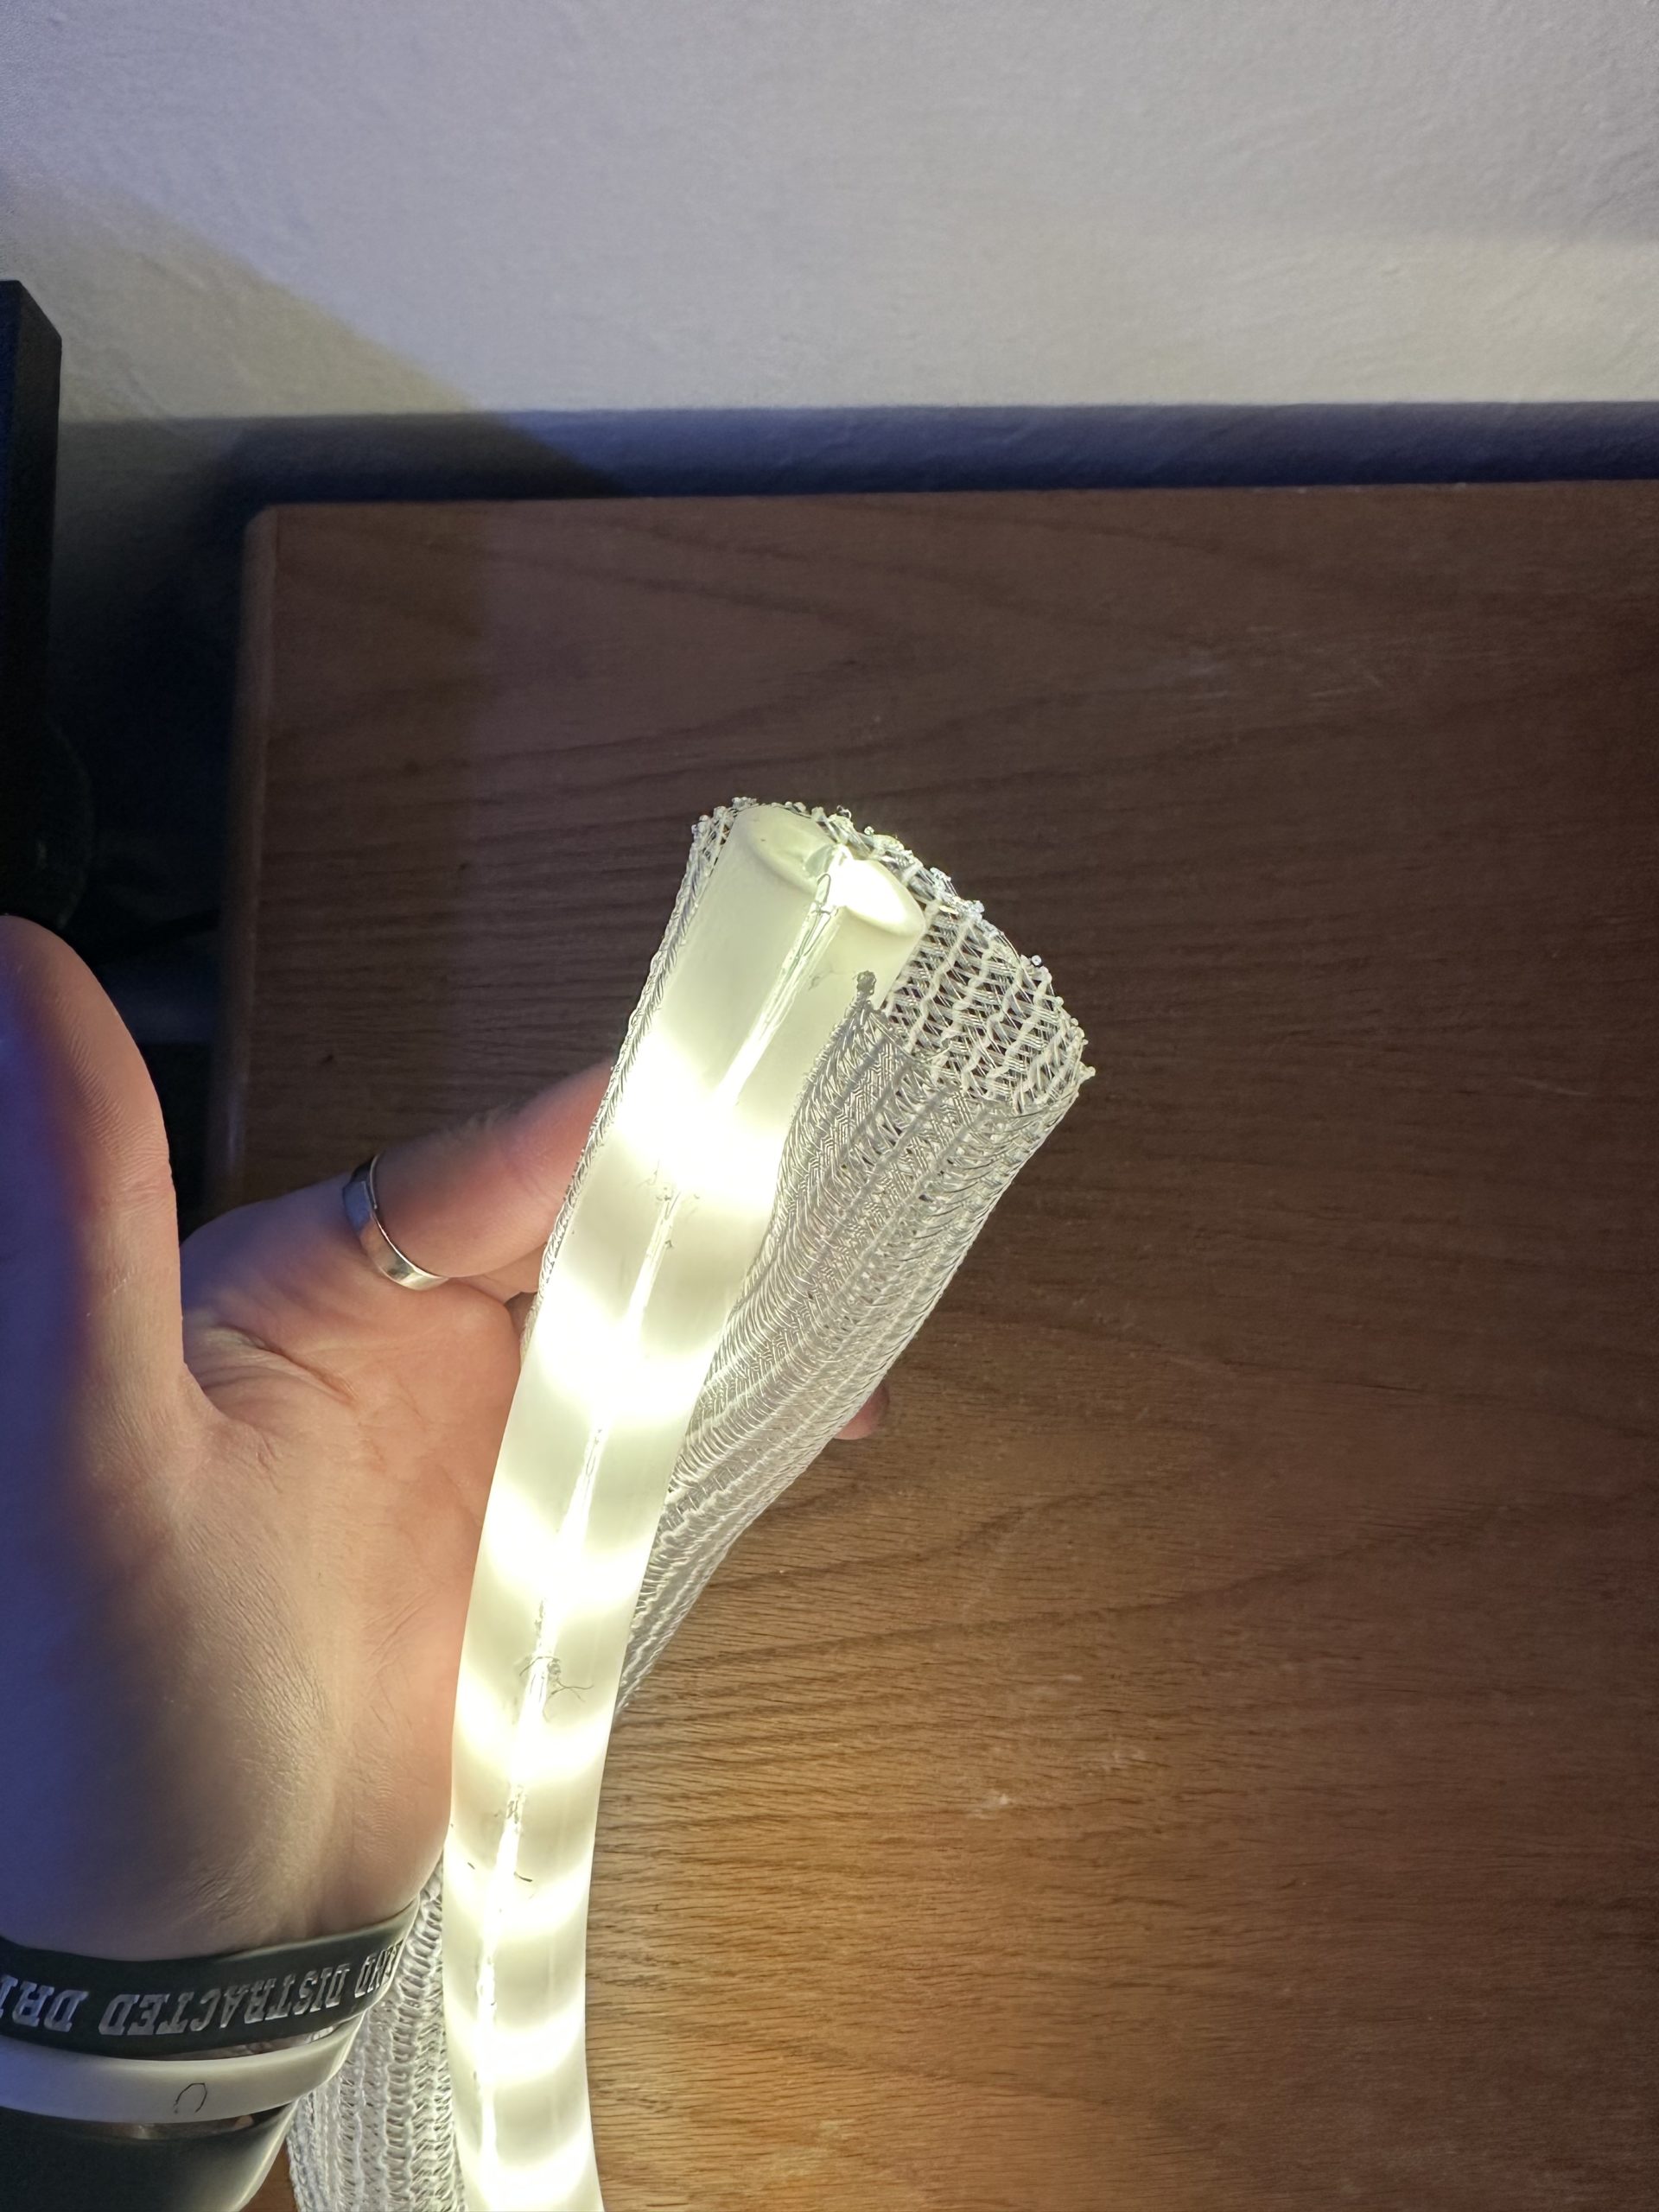

When designing and picking out my parts and materials for this design, I was extremely careful and aware of all of the measurements and diameters that I was using and would need. I had made sure that whatever the diameter of the diffuser was would not only fit inside the endcap and main pole structure, but also create a nice snug fit. My idea was that with the sleeving along the outside of the diffuser, the diameter should’ve equaled just around 1″ wide. Although yet another issue that I found was that the diffuser I ordered was much narrower than was specified and what I anticipated. Unfortunately, I believe this is the main contributing factor that held my design back from what it really could’ve been. Despite these challenges through, I was able to get the end cap attached to the free end. Finally, my last step would be to attach the rope light to the base that I modified earlier.

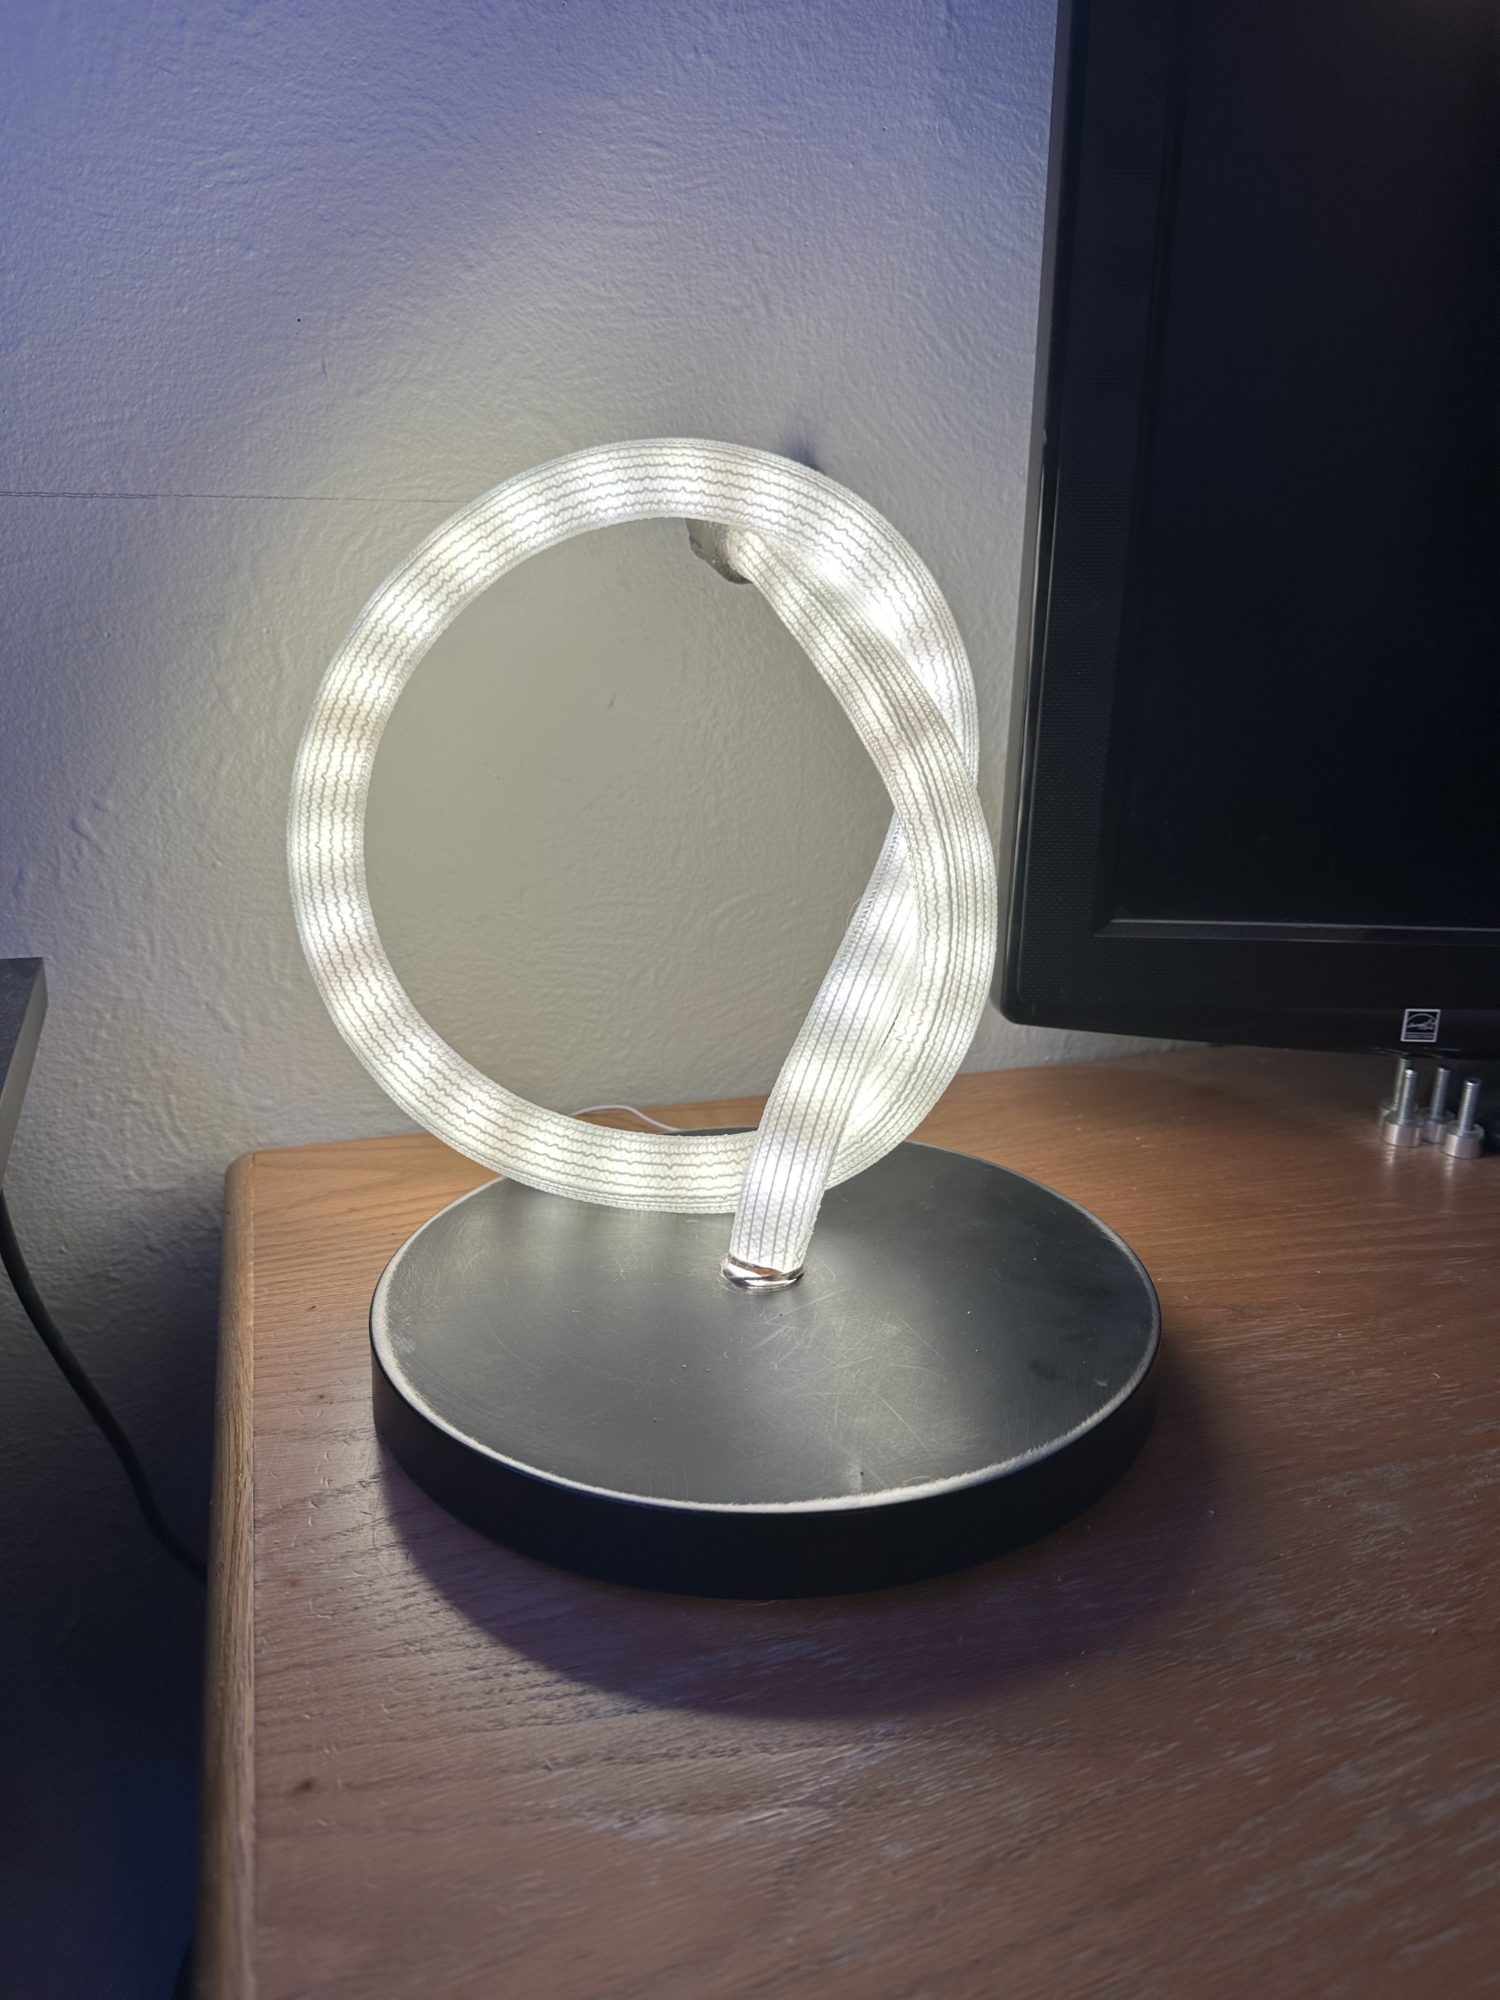
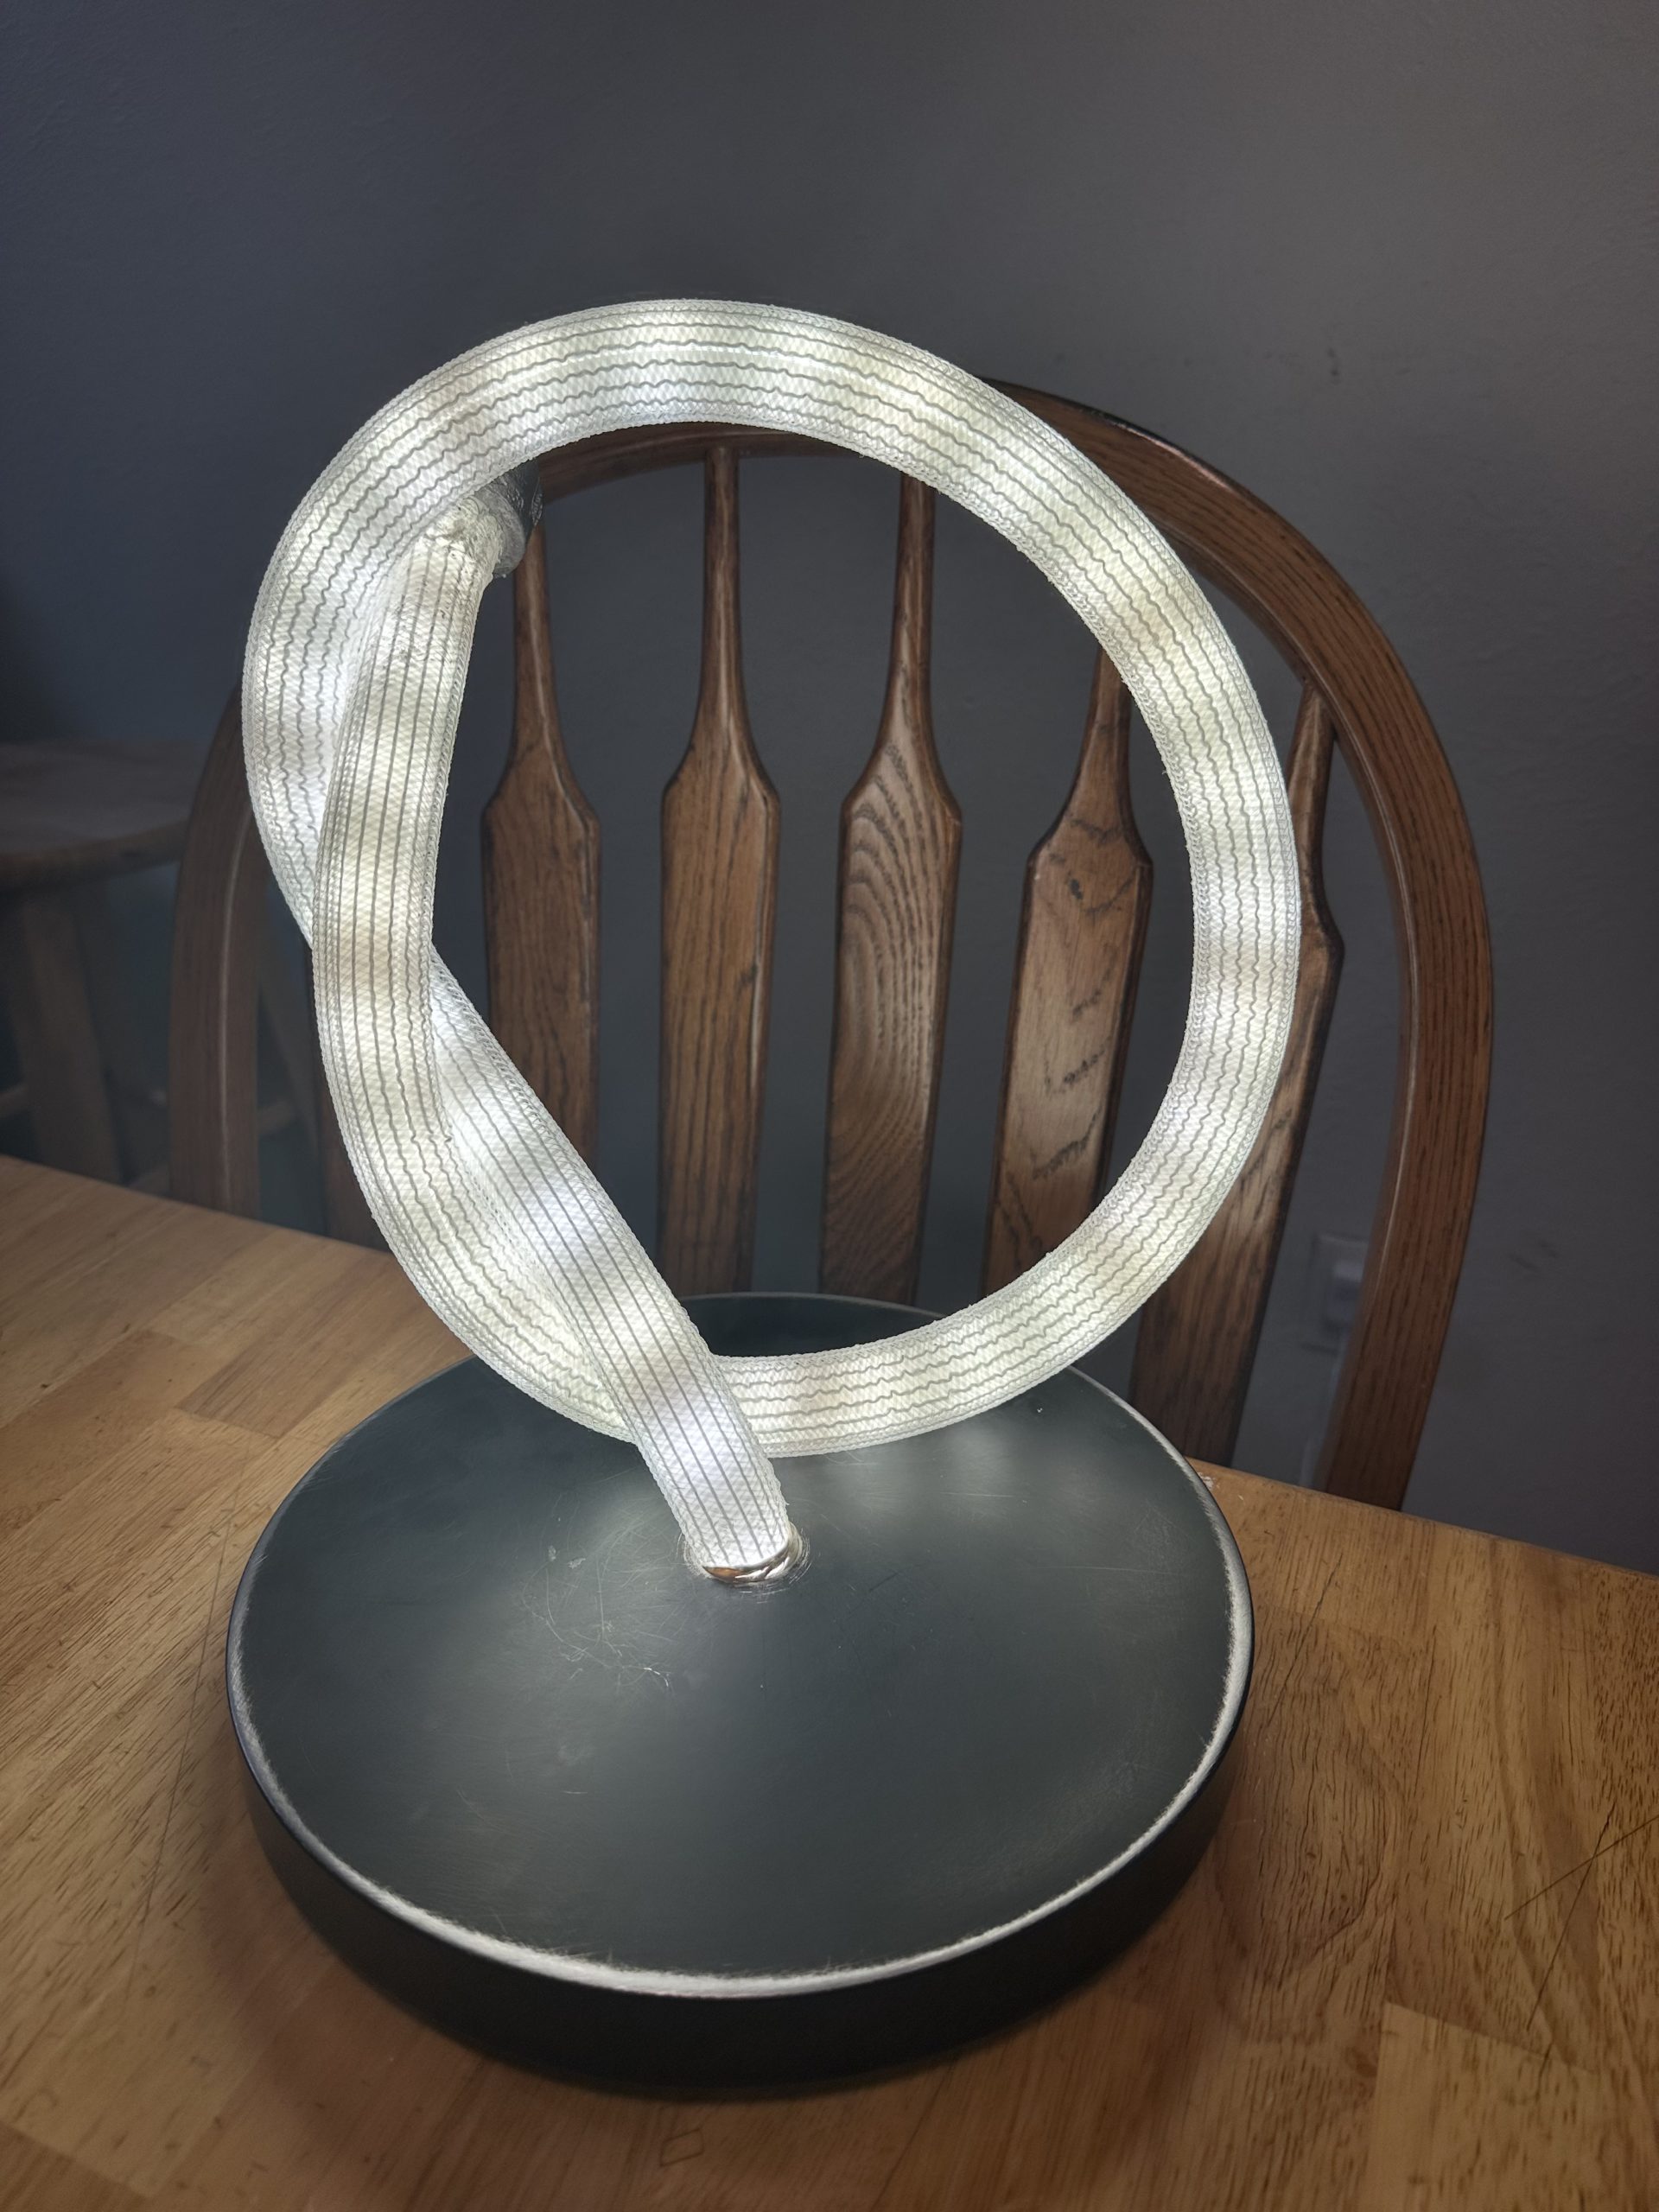
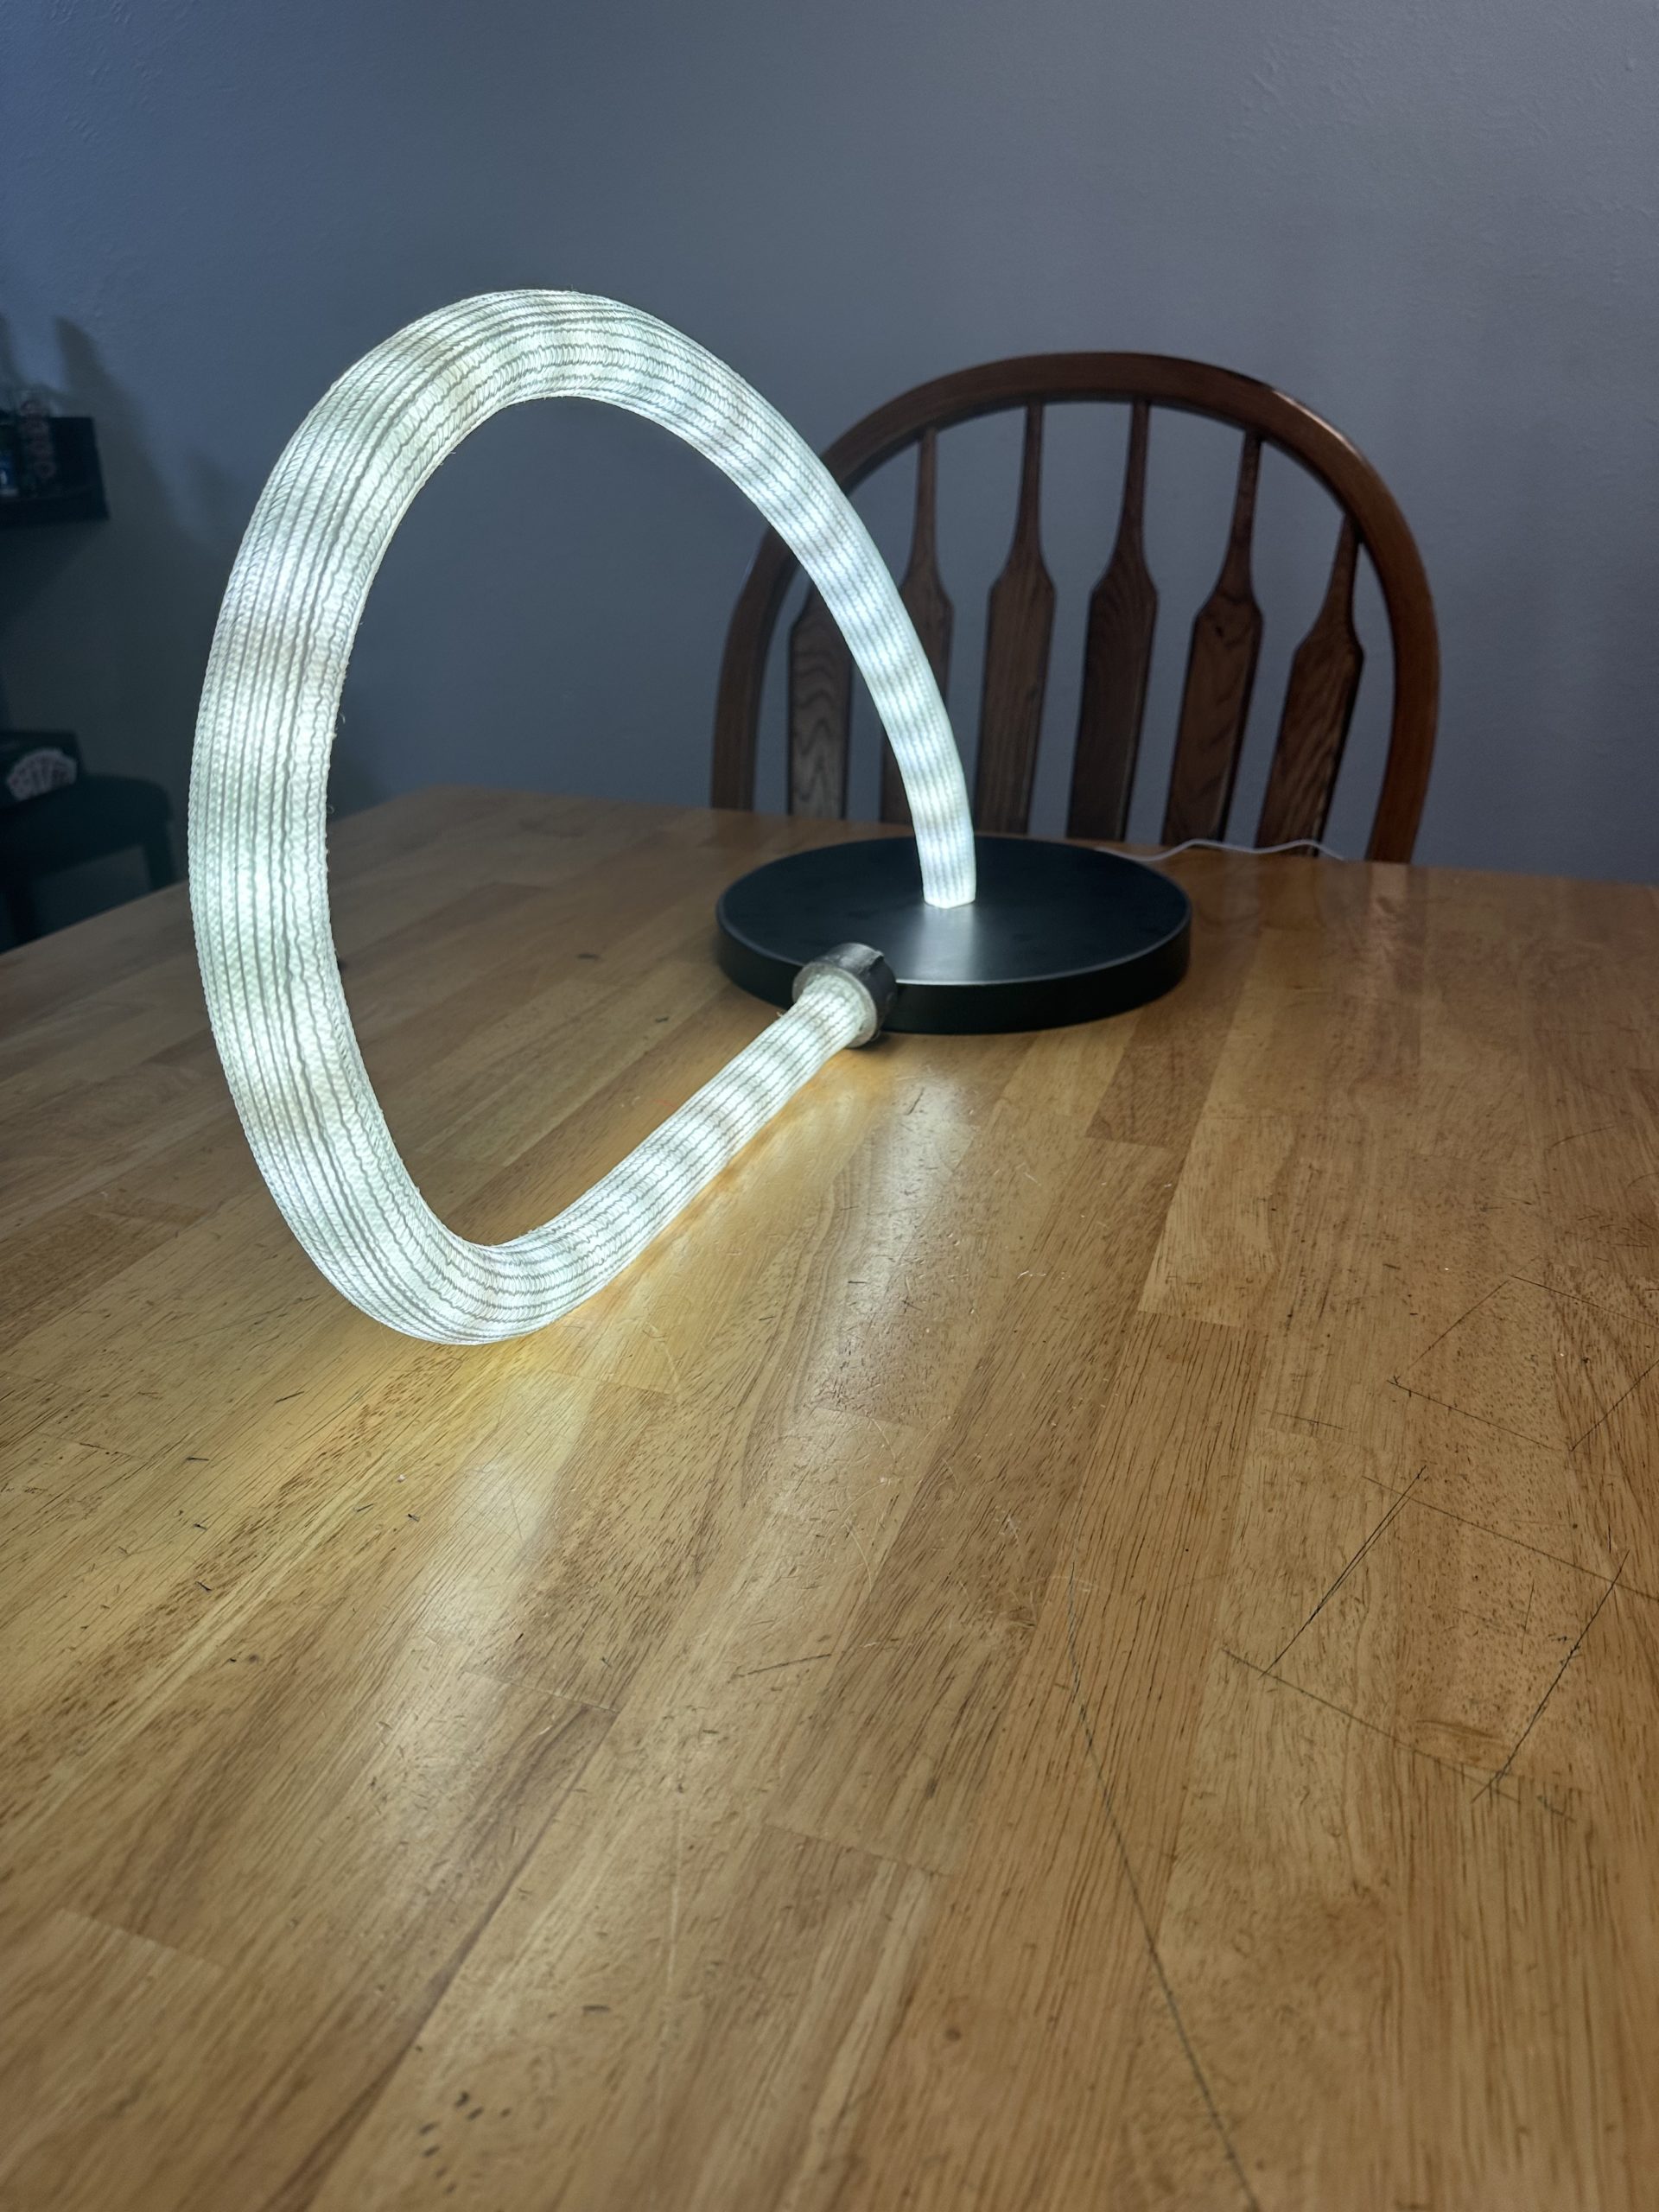
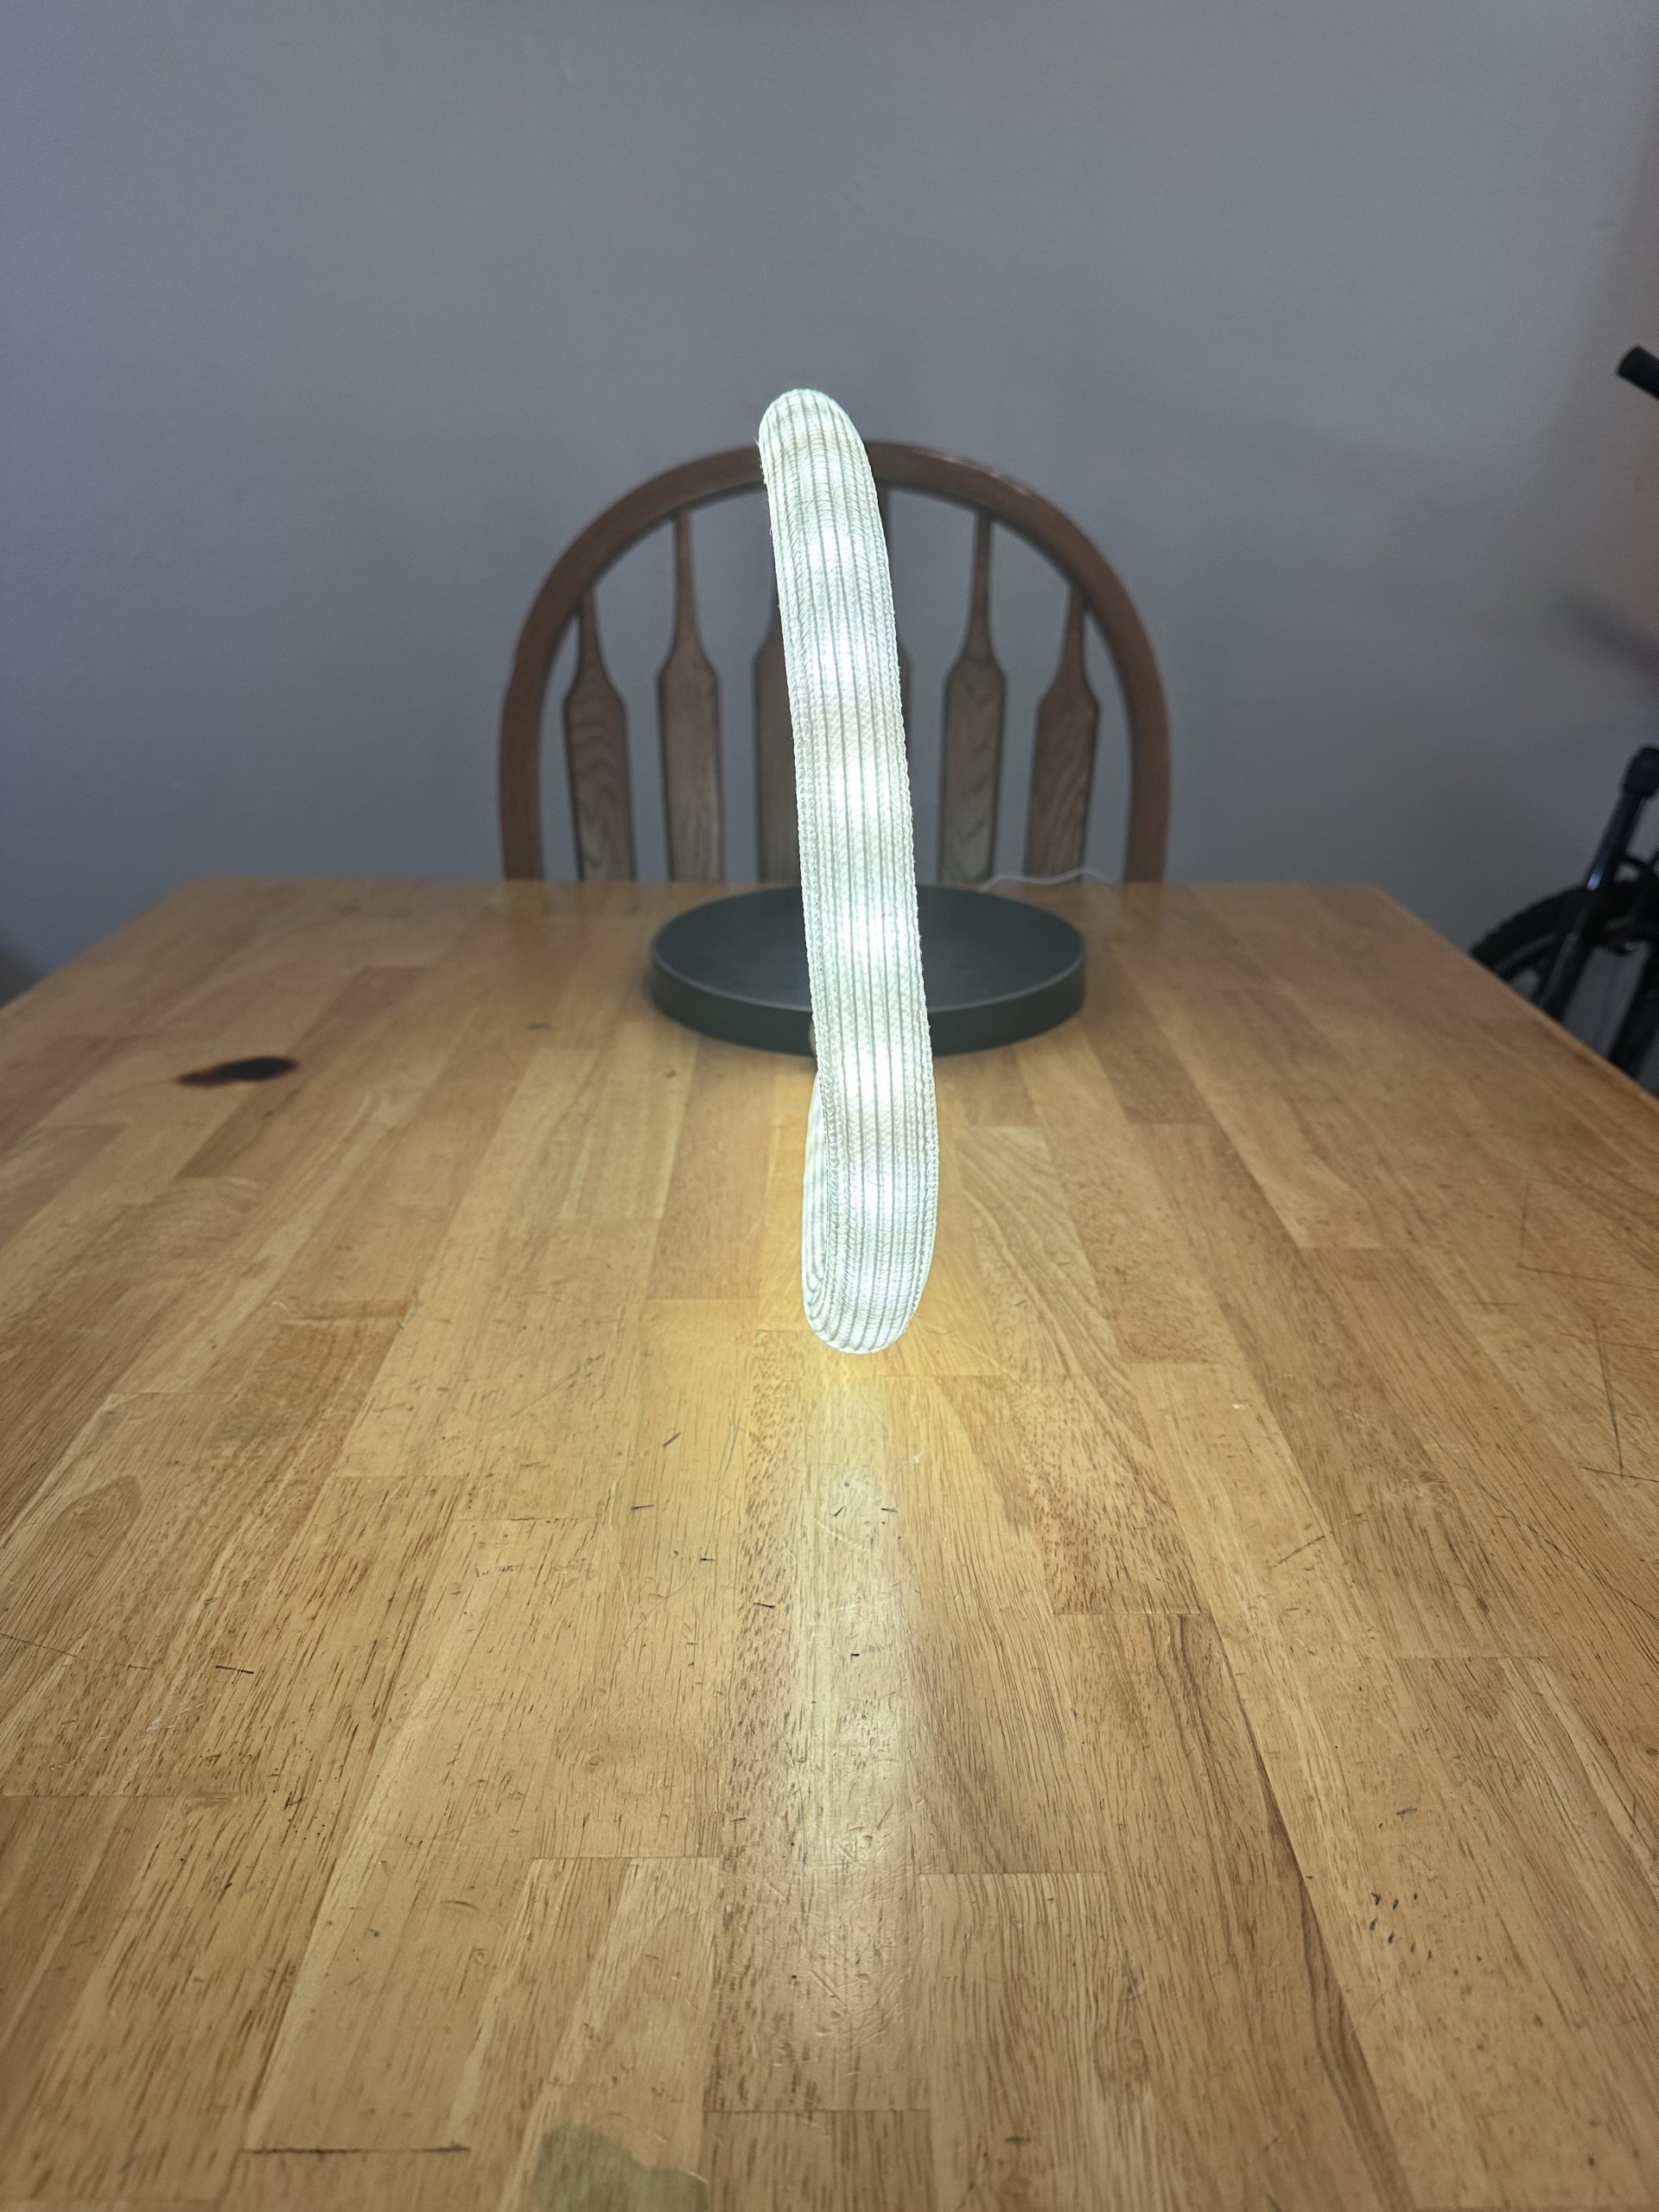
This part of the process was not too difficult. I found myself constantly adding more glue because I was worried that the rope light would rip out of the base if you moved it too much, although the actual construction part of this section was not bad. At this point, I already had the bottom of the rope light through the hole in the base, and after some measurements, I held the light in place while the glue dried. You can see in the photo that I let the base sit upside down overnight to make sure it would be secure. As this was my last step, I was able to come back in the morning and flip my light over to witness the final product. Sadly, I don’t think the aesthetic ended up quite where I would like it to be although I think the function does exactly what I needed it to.
1 Comment. Leave new
Hi Matt, I love the final result of this project. My favorite parts of the design are how substantial the base is with its size and color contrast between the white LEDs and the dark base. I enjoy the detail in your post outlining the whole process and explaining the road bumps you had to overcome. If you were to make version two, what changes in the design would you implement so that you don’t hit as many speed bumps? Overall, great project!