
My previous post detailed mostly how I went about making my table, so in this post, I’ll dive a little bit deeper into the creation, but also focus on the aesthetic of the table. For my presentation, which covers all of this, watch the attached video.
Inspirations and Aesthetics
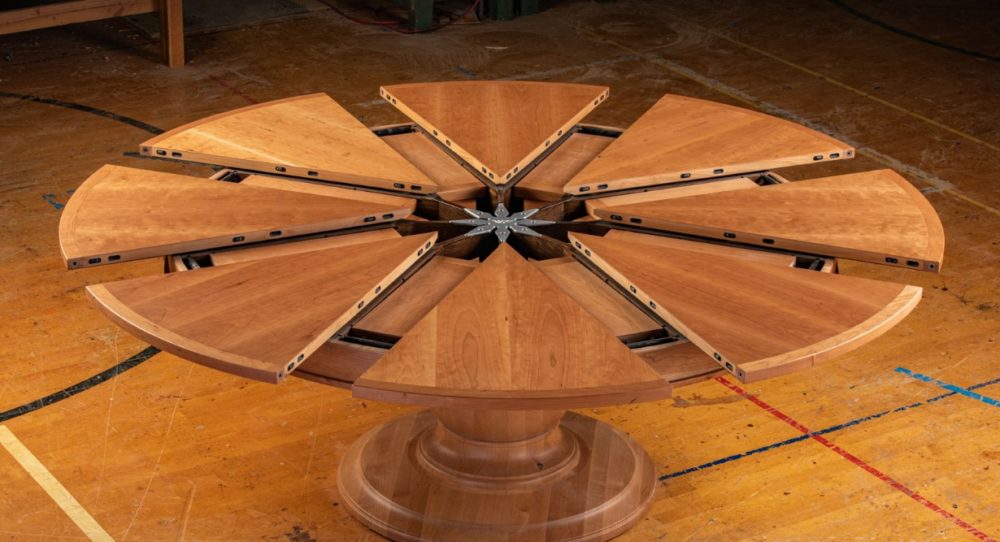
The inspiration for my table came from two main sources: the circular motion of a camera aperture to control light, and other dynamic woodworking projects such as the table pictured below made by Lotus Woodworks (https://lotuswoodworks.com/)
I wanted to integrate these two ideas into one design by creating a table with an iris mechanism (the mechanism behind an aperture) in the middle of it that could be open or closed to increase or decrease the amount of light coming from a bulb within the table.
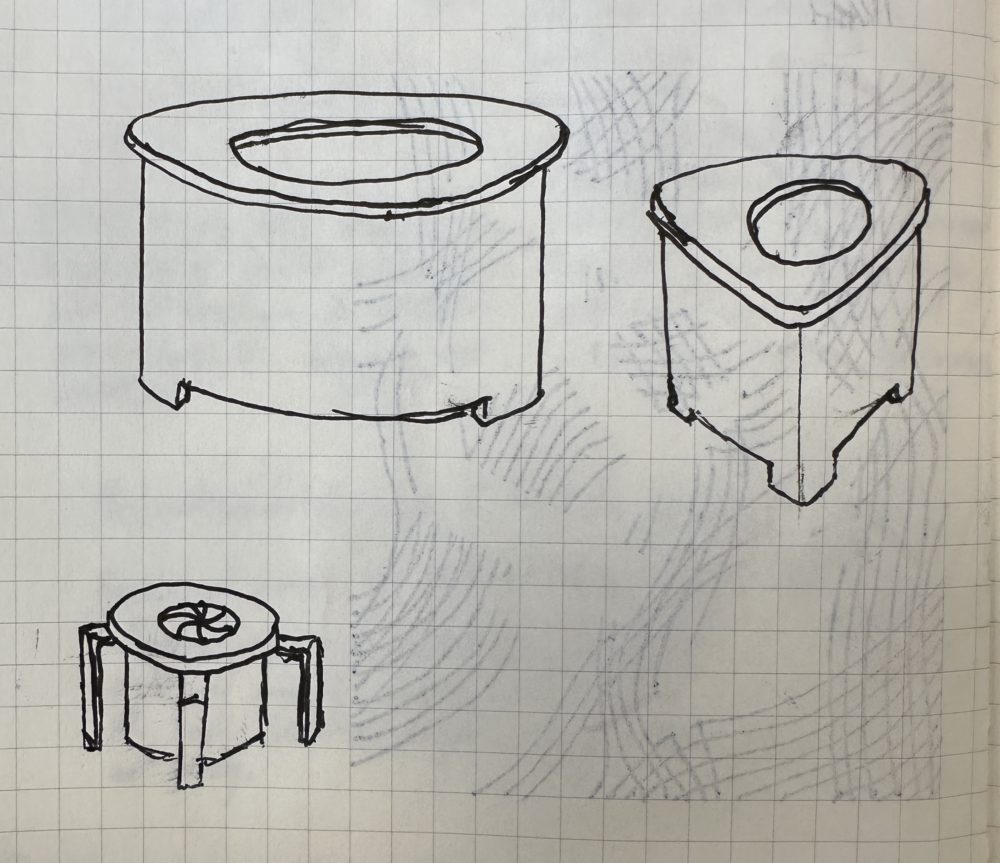
Early Ideas
I initially sketched several ideas for the aesthetic of the table to see how different elements would look with this design. After looking at pros and cons of several different designs, I finally decided on a round table with a hexagonal base. Not only did this have the cleanest and most refined look, but it would also be the easiest for me to build given my constraints.

As I continued designing my table and figuring out proportions, I came up with a plan of attack for fabrication.
Fabrication (cont. from previous post)
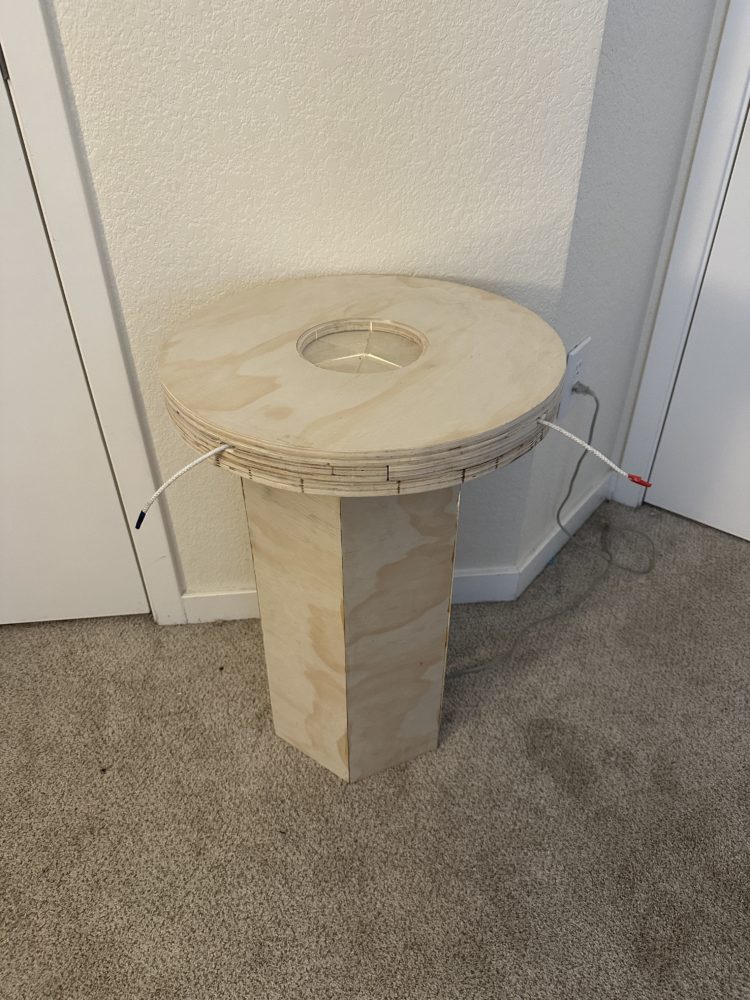
The entirety of the structure of the table was made from one 4’x4′ sheet of plywood. I carefully drew out the pieces that I would need to cut and the most efficient way to cut them all out of this one sheet. All of the images relevant to the fabrication of this pieces can be seen in the presentation video above and my previous post. Fabricating this table provided me an opportunity to use several tools that I had little or no experience using previously, such as a jigsaw and a router. The jigsaw was used to cut out each circular piece. Because the jigsaw is hand guided, I had to carefully draw out the shapes that I wanted to cut so I could follow the lines. Because of the nature of the tool, there were some inconsistencies in the circles, which were for the most part sanded off once they were all connected. The router required more precision due to what I was using it for. The grooves that I created for the blades of the iris mechanism to slide in had to be exactly the right size and in exactly the right place, otherwise none of the blades would be able to move. To do this, I very carefully made measurements and then created a sort of jig that would keep the router straight and make the groove the correct size. More can be seen about this in the presentation.
Final aesthetic and next steps
My final product came out largely as expected, with the design looking very accurate to my drawing. Right now, the base and top of the table have a nice wood grain finish from the plywood, but the edge of the top piece shows all the layers of the plywood and doesn’t fit the polished aesthetic I was aiming for.
As a part of my next steps with this project, I think I’m going to paint both the blades of the iris mechanism and the edge of the table top black to provide contrast to the light coming out and to cover up the layers. Then for the rest of the table, I plan on using a medium wood stain to darken the wood and give it a protective finish. I think the contrast between these colors will make the table stand out without being too flashy.
As for next steps regarding the mechanism, I plan to install I switched light inside the table, as right now the only way to turn it on and off is by plugging or unplugging it. The ropes used in the mechanism also don’t meet my criteria for the aesthetic, and I plan on looking into ways I can get rid of them. A thought I’ve had is to return to my original idea, which I mentioned in my presentation, of having an independently spinning outer rim that turns to open and close the mechanism. This could be just a thin cover that would attach the ropes and functionally operate the table while hiding the rough operation of the mechanism.
As progress is made in the future hopefully I will come back occasionally to update this post and keep my progress to date!