
![]() Building my project was honestly really fun. A real hoot and a half. Starting with the rocket, the building of it was pretty fun as all Lego’s are. The process was mostly just a following the directions of printed manual though not gonna lie there were parts of it that were pretty grindy to get done. There were many more intricacies in the design than I realized when starting which did make the building process longer than I had anticipated. Overall a good time though, the top is coming along nicely, I just haven’t been able to put quite as much time into it due to the insanity that has been Thermo 2 and Senior Design which both have consumed every waking moment of my recent existence. However, I will keep working on it and finish it, probably once finals end.
Building my project was honestly really fun. A real hoot and a half. Starting with the rocket, the building of it was pretty fun as all Lego’s are. The process was mostly just a following the directions of printed manual though not gonna lie there were parts of it that were pretty grindy to get done. There were many more intricacies in the design than I realized when starting which did make the building process longer than I had anticipated. Overall a good time though, the top is coming along nicely, I just haven’t been able to put quite as much time into it due to the insanity that has been Thermo 2 and Senior Design which both have consumed every waking moment of my recent existence. However, I will keep working on it and finish it, probably once finals end.
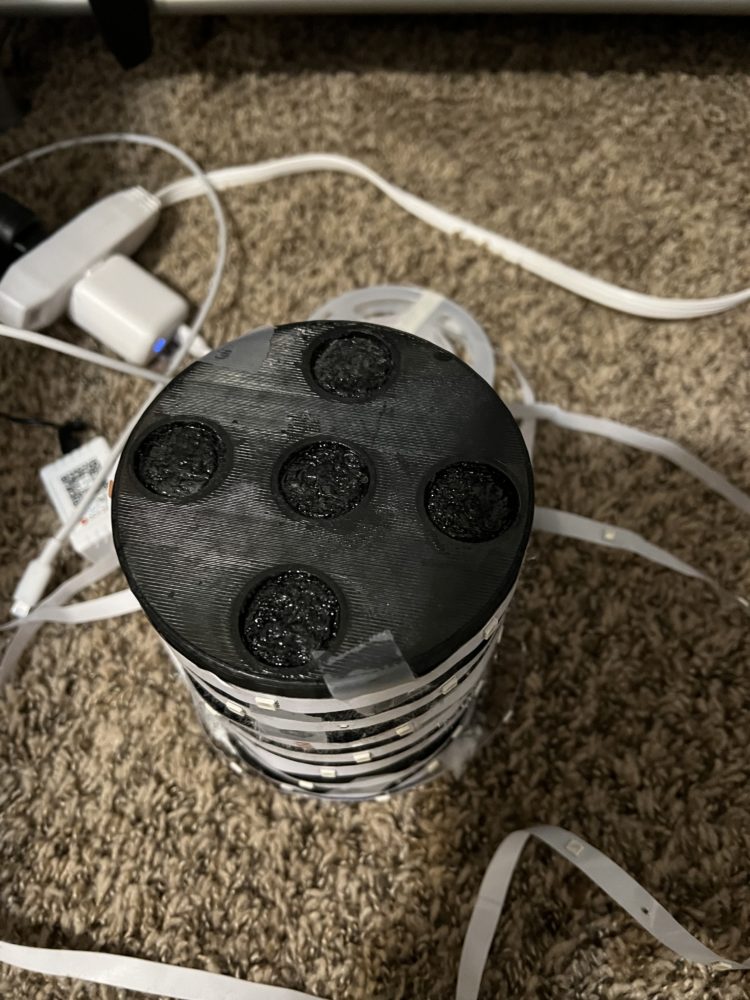
Next was the 3D printing. I used an Ultimaker S5 to print the base which was nice. Being able to use a super fancy printer was nice because I had no wait for it and got immediate access to it. The print took about 12 hours and had a uniform 50% infill. I ended up having a uniform infill because it was simpler and more reliable. I was trying to play it safe with second print, and accounted for the base with an epoxy to hold it down instead of screws. The print did have some deformities where the top part (with the cut outs for the nozzles) shrunk so the nozzles didn’t actually fit into them. In addition to this, the base of those cutouts were too thin relative to the overall thickness of the top (where the hollowed out section of the stand ends) and as a result had some warping. This just messed up those bases and changed the overall shape. However, this defect is relatively small in the grand scheme of things. The rocket can stand on the top of the 3D printed stand well enough and I can use other methods to secure the rocket to the stand. I also want the rocket to be easy to move and the whole thing to be easy to disassemble so it’s not too big of a deal.
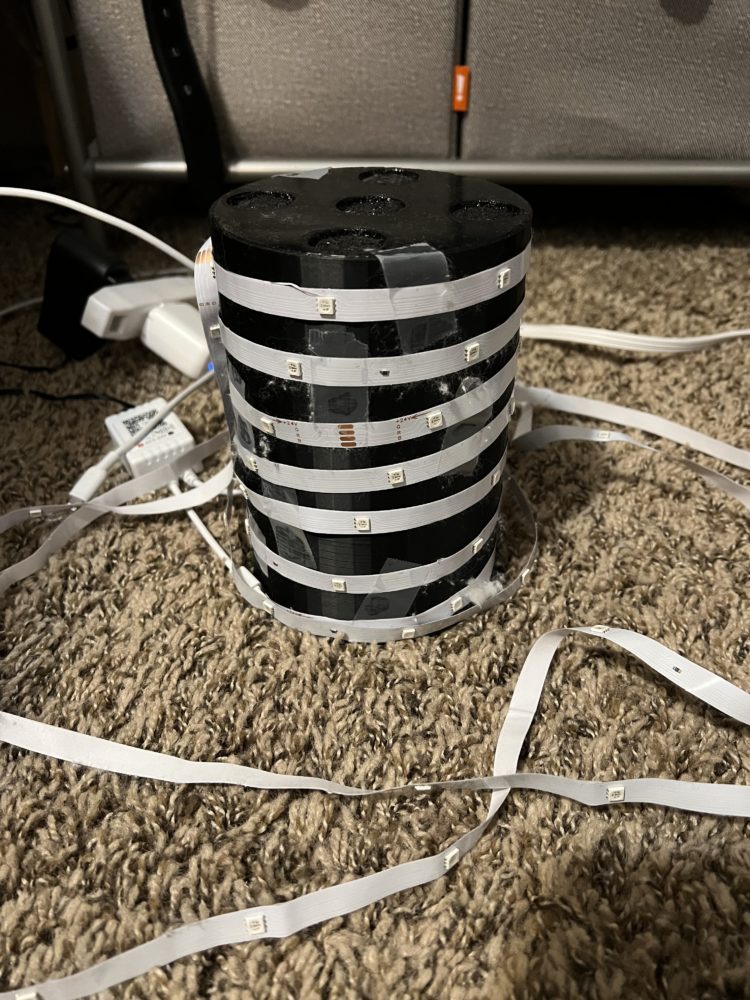
The LED light strips were pretty easy to work with. I wrapped them pretty densely around the stand and had two loops of lights around the ground around the stand itself. This Would mean that the areas closest to the rocket base a brightest before tapering down to the rest of it. I taped them on instead of using the provided sticky back to make it easier to disassemble and move around if need be. The lights can be set to almost any color and I have the audio of the actual Saturn V rocket launch saved as an audio file on my phone. The lights came with an app that reads that audio file and causes the flights to flicker in time with it.
![]()
![]()
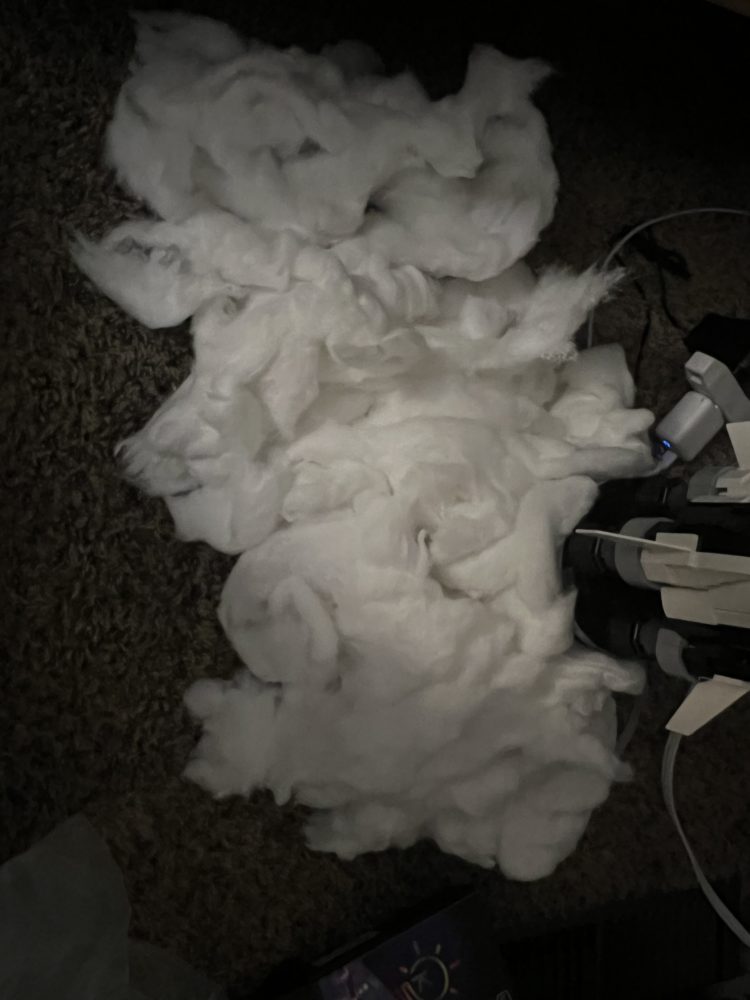
The cotton was the final and pretty simple step. I was pretty surprised by how easy it was to achieve the desired aesthetic. I just unrolled the cotton and built up the cotton around the stand. I just pulled apart the cotton and fluffed it up and it made a really convincing smoke effect. There was a nice depth and texture to it.