
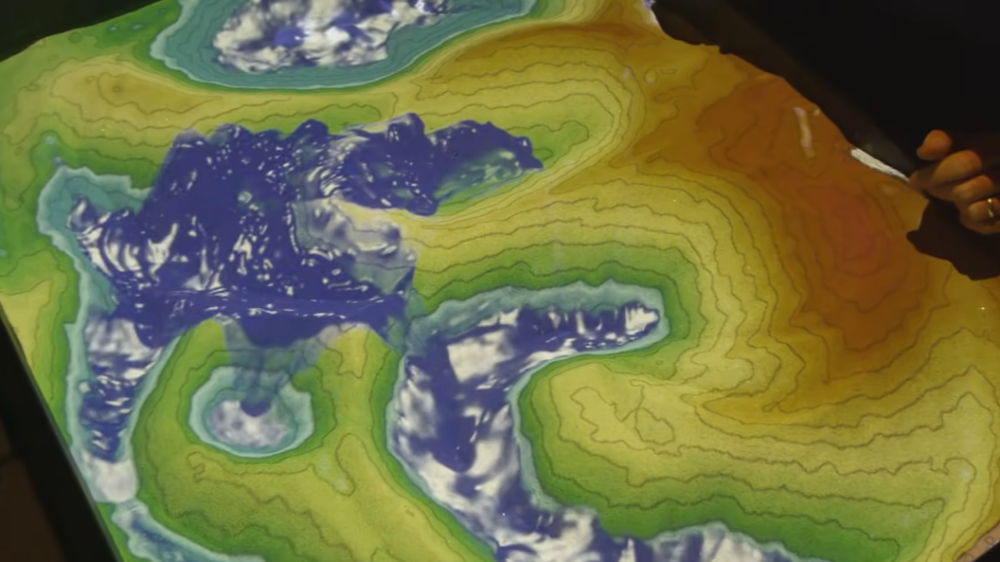
The sources of inspiration for this project came to fruition thanks to the mysterious ways the YouTube algorithm worked. While I intended to use cardboard going into this project (I wasn’t kidding about having an abundance of cardboard lying around), I had no idea how to utilize it. That was until I stumbled upon a UCLA video of an augmented reality topographic sandbox — which had colored layers that conformed to the alterations to the sand. This led me down a rabbit hole in topography, and I found various models online.
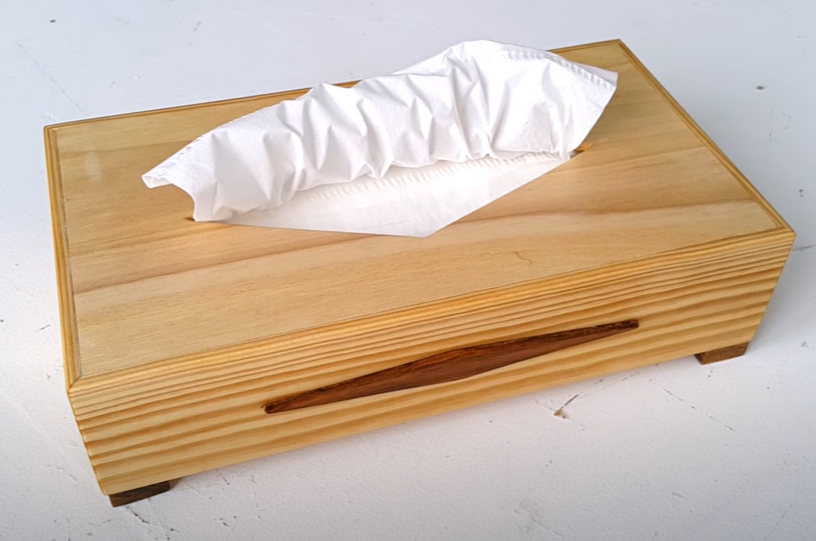
While I did initially want to create a diorama in a similar vein as seen online, I wanted my project to have some utility as opposed to a model that would honestly gather dust on a shelf or be tossed after completion. It took time until I gained inspiration when I stumbled upon a wooden build of a tissue box cover on YouTube.
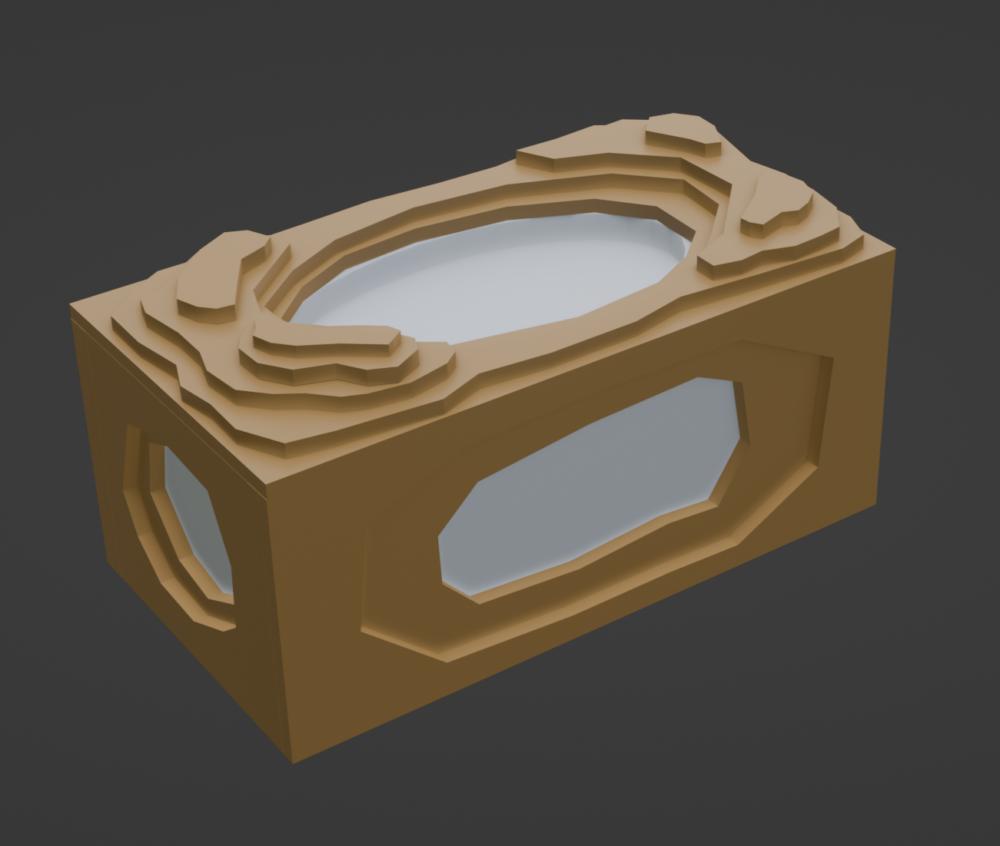
While I considered utilizing laser cutting for the project, I opted to do it by hand as it appeared more engaging, and I did not want to replicate the Blender model entirely.
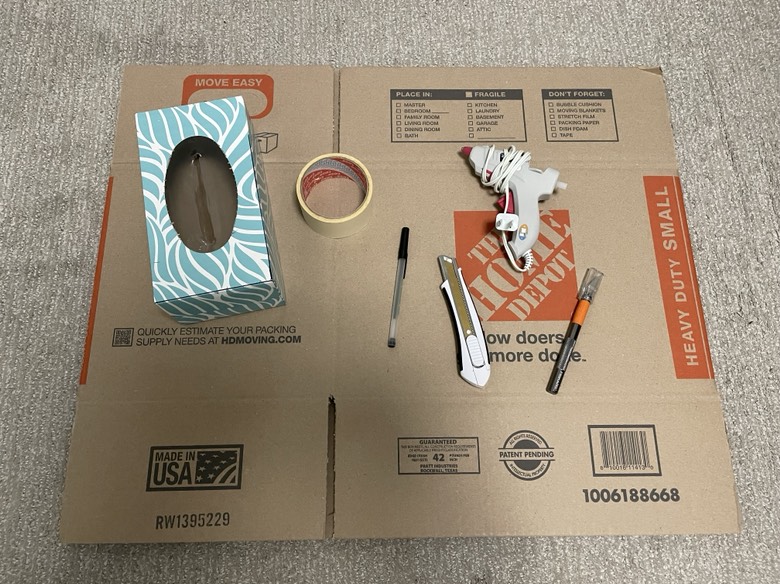
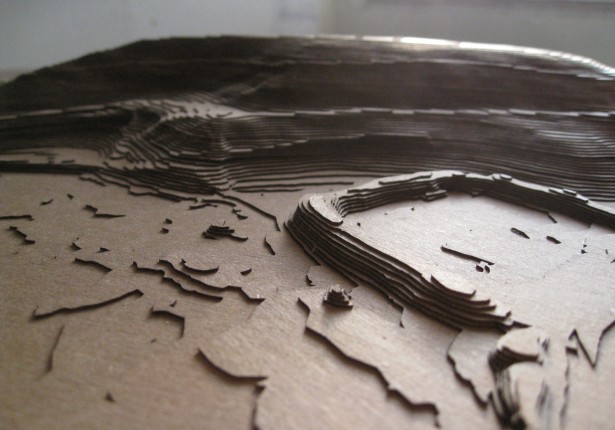
The side panels were the first to be made after referencing the measurements of their digital counterpart in Blender. The pen was first used to trace the needed cuts before the box cutter was used to cut out straight lines, while the X-ACTO knife was used to cut the angled one and any excess bits that were still attached.
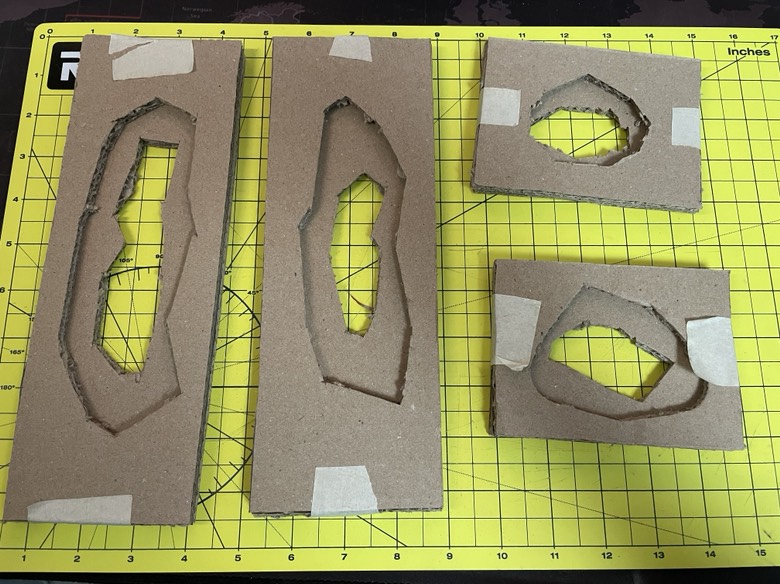
Likewise, the shape and opening for the tissue of the top panel were cut. For the topographic layers, the process remains the same. However, it was made easier with the extra refused portions that could be repurposed.

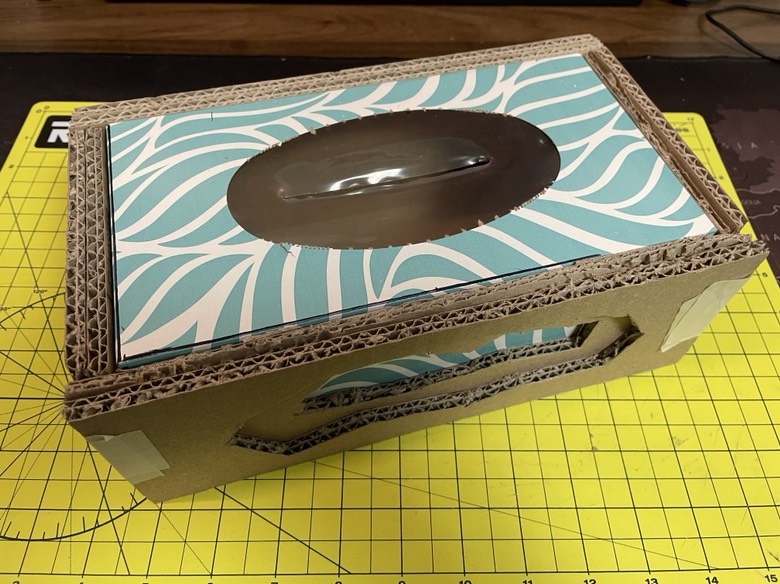
Once all panels were constructed, the glue gun was applied to the internal panels before Scotch tape secured them while the glue dried. The process remained the same for the topographic layers on the top panel. Once done, additional tape was used to wrap around an empty tissue box to ensure ample room to slide over.
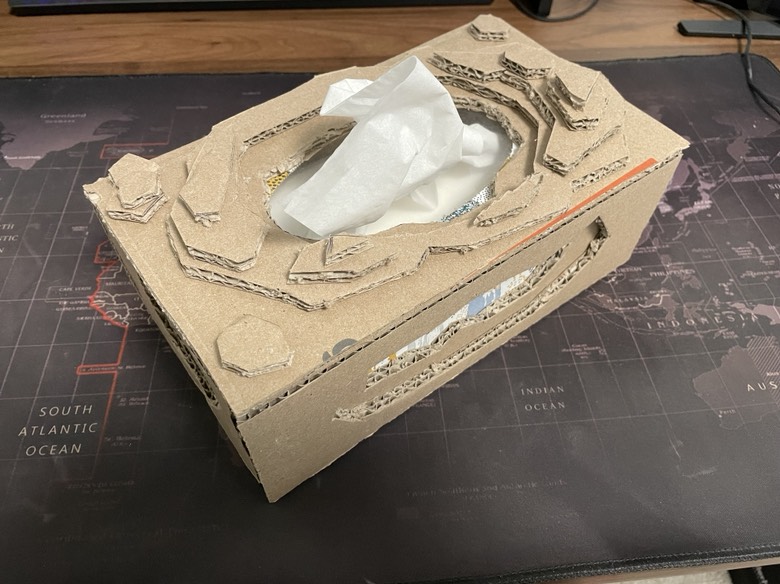
Functionally, the project was a success. The topographic cover easily slides over a tissue box. However, I had to ditch the incorporation of computer mouse weights as it was insufficient to keep the box down, and I’ll likely seek out something heavier that I can use.
Despite some issues with the squished portions and jagged cuts, I’m surprised at how well it turned out. Again, the Blender model was just a reference. While I could’ve utilized the laser cutter, I’m content that I made it with my own hands.
Regarding my Upcycle project, I am absolutely keeping it and may consider creating a new iteration with different materials.
References
[1] https://www.baseheight.com/home/portfolio-item/chipboard-topographic-model/[2] https://www.youtube.com/watch?v=CE1B7tdGCw0&ab_channel=UCLA
[3] https://www.youtube.com/watch?v=F8QbQ1MNJyo&t=31s&ab_channel=DMIdea
[4] Program Used: Blender 4.0 – https://www.blender.org/
Topographic Tutorial: https://www.youtube.com/watch?v=hGcKYuCfqDI&ab_channel=KyleSinko
2 Comments. Leave new
Hi Vincent. Great job on your project, and what a creative idea to incorporate topography onto a tissue box. Your edges and cuts looks great despite having to cut your layers with just an X-acto knife! Have you considered coloring your layers to look like topographical maps, or do you prefer the raw cardboard look?
Thanks for the feedback. I prefer the raw look of the cardboard as the different colors would be too distracting from the overall project. That and I honestly prefer its appearance the way it is currently.