
Hip-hop originated in 1970s New York (although it’s highly debated by neighborhoods (Queens, Brooklyn) that were the originators). Even so, the culture began to rise among youths of the time from all neighborhoods. B-boying (break-dancing), jamming to local disc jockeys. The music carried across from coast to coast, inviting creative people with something to say. Meant with much criticism from the mainstream during its prime, hip-hop has rebirthed into today’s pop culture. The popularity of hip-hop in Western culture has meant a reprisal of its fashion. Hip Hop, sometimes called, “urban”, fashion has evolved since its inception. Today, most of our accessories, shoes, and clothes come from this early scene.
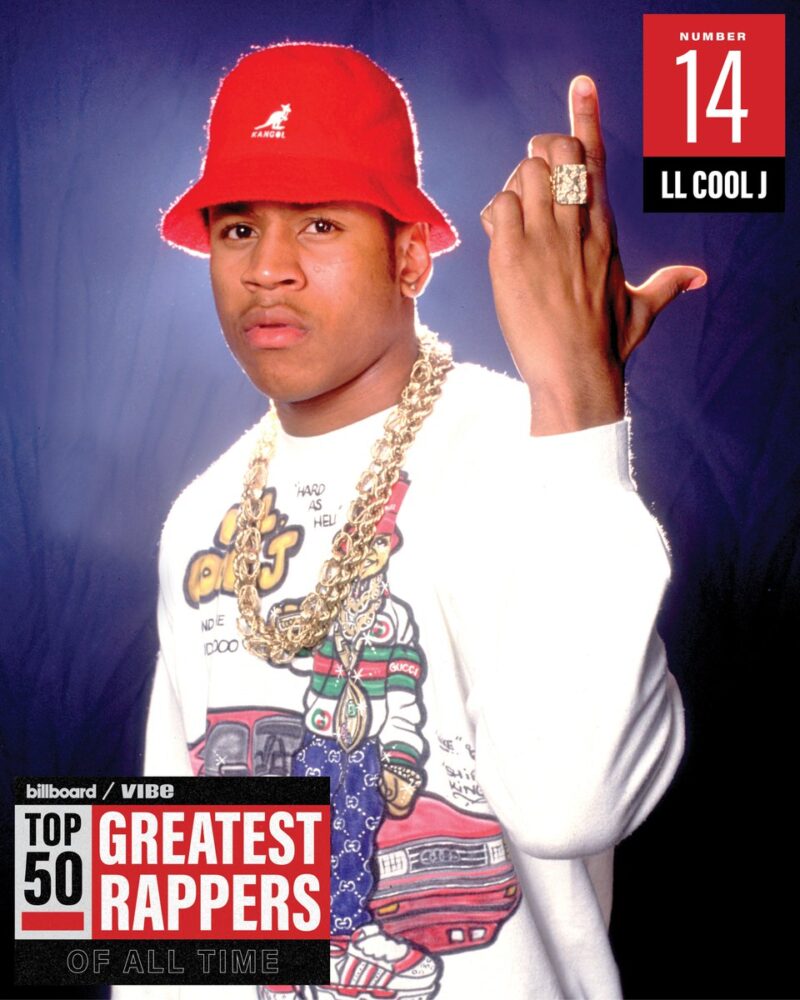
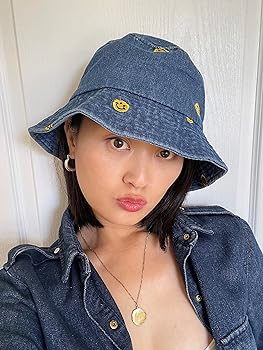
One of the most notable pieces was the bucket hat. Bucket hats were first utilized as protective gear by fishermen. It first was adopted by hippies in the ’60s and ’70s, synonymous with the youth rebellion. It’s possible it was also adopted into the hip-hop culture for the same reason. LL Cool J was not the first to wear this accessory, although it did become popular as he was an up-and-coming artist, showcasing the piece on the cover of his second album. Specifically, he sported a solid red Kangol bucket hat. Personalization was important to culture such that other styles including ones made from other fabrics like fur and ones that were patterned–reinforced the bold style of those who enjoyed it.
[1]
.Old school hip hop is known for its bold and brash music, such that it reflected in its attire. While other sub-cultures of the time saw baggy clothing, such as grunge, what made old-school hip-hop different was its flashiness of accessories and its ability to make yours, yours. Other accessories included chunky chains and working shoes–like air forces ones or Timberlands.
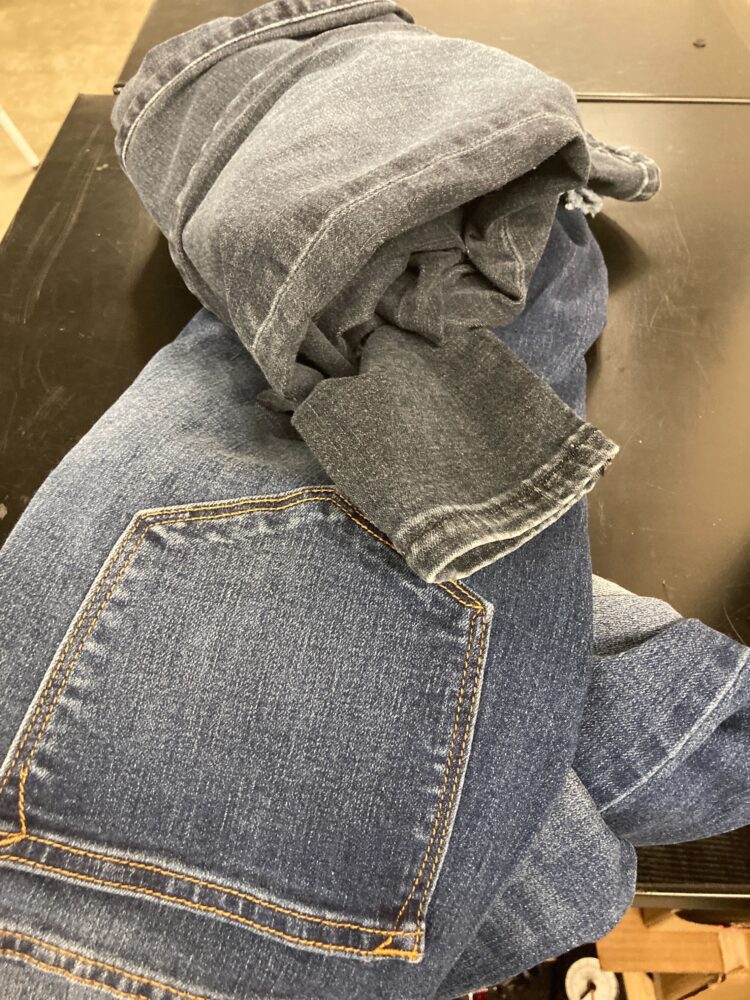
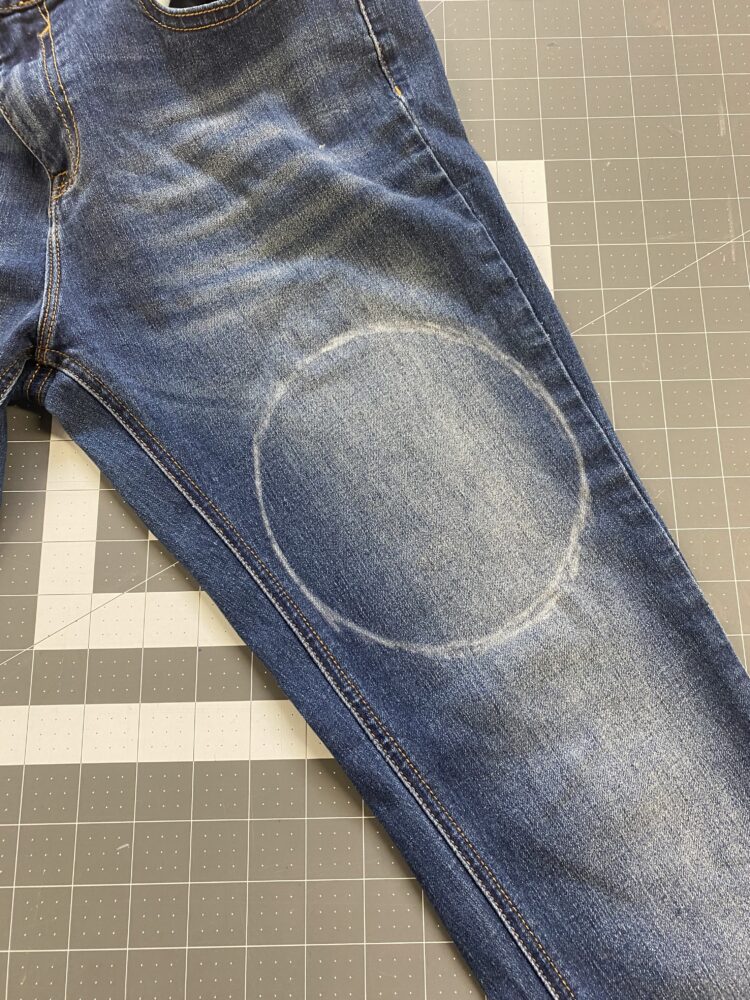
However, seeing these, the fabrication difficulty of the former (bucket hat) seemed the most appealing to make an upcycle project from. I also don’t have spare metal or hardy shoewear material–but I have lots of fabrics–specifically denim. Remember in 2014-2016 when everyone was wearing skinny jeans? I happened to get a LOT of hand-me-downs. I think I have like like 15 pairs of jeans my mom refuses to let me donate. I stole a couple from home to construct the bucket hat. Denim lowkey defeats the true purpose of bucket hats–which is protection against the weather. But 90s hip-hop–I think it fits. I am pretty I think denim symbolizes the working man–something quite American, if you will. You can see my jeans below:
[2]
I ensured that they were jeans that I would not regret tampering with by checking if they were high-brand or not. One of them is Vigoss and the other is Jolt. Seemed pretty fast fashion to me after quick Google searches. I was planning to do a hybrid wash hat (see inspirations below) but I don’t think those colour mesh well together. I wanted to cut some test strips to treat them with different levels of bleaching but I never got around to doing it. I also thought this might be okay to do since it would be cutting so many different parts and pieces that the “stitched” look like below could be replicated to some degree. Instead, I just used the bluer jeans (they look better with my hair colour) since I was lazy. The picture above makes the colours a bit warmer. The grey-looking jeans are like a dusty blue (like the sky on a stormy afternoon). The blue jeans seem very unnaturally blue (blue n.1 moment). I also wanted to do embellishments like the second photo below, except with Snoopy (I am quite a fan of his). I was either thinking of using a patch or just using a fabric marker to put him up front and center. Specifically, I wanted this design:

[3] snoopy!
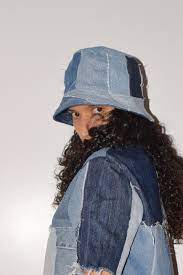
Below are some inspirations: different washes and embellishments.
[4]
[5]
I got my pattern and tutorial from Apple Green Cottage which were both free! The first thing I needed to do was learn how to use a sewing machine because there was no way that I would be able to do anything by hand–for quality or time’s sake.
I didn’t know how to sew before. I had taken the Idea Forge workshop and then got to work. Except… I made lots of mistakes. Other than cutting out the pattern, I didn’t realize the guide was talking about 2 pieces that were attached. I was supposed to use the end of the jeans that was already sewn as this guide was expecting that I use just a sheet of fabric. 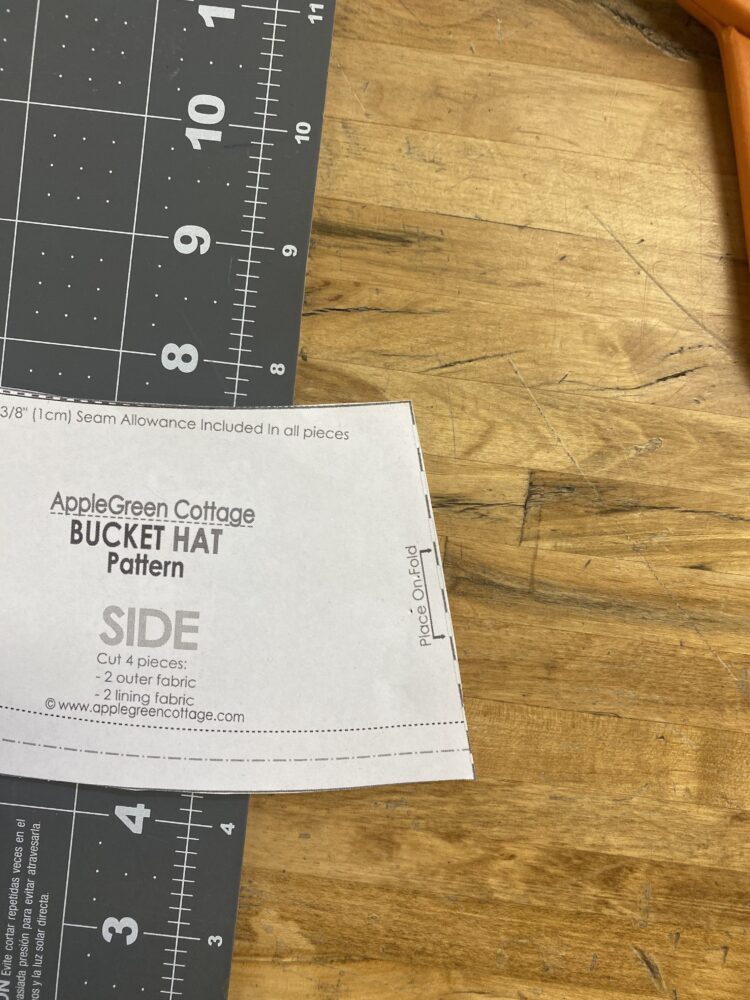
[6]
This became a problem because everything was already dimensioned on the template. I ended up using 1/8th stitching instead of 3/8th so I wouldn’t make it too tight (foreshadowing).
[7]
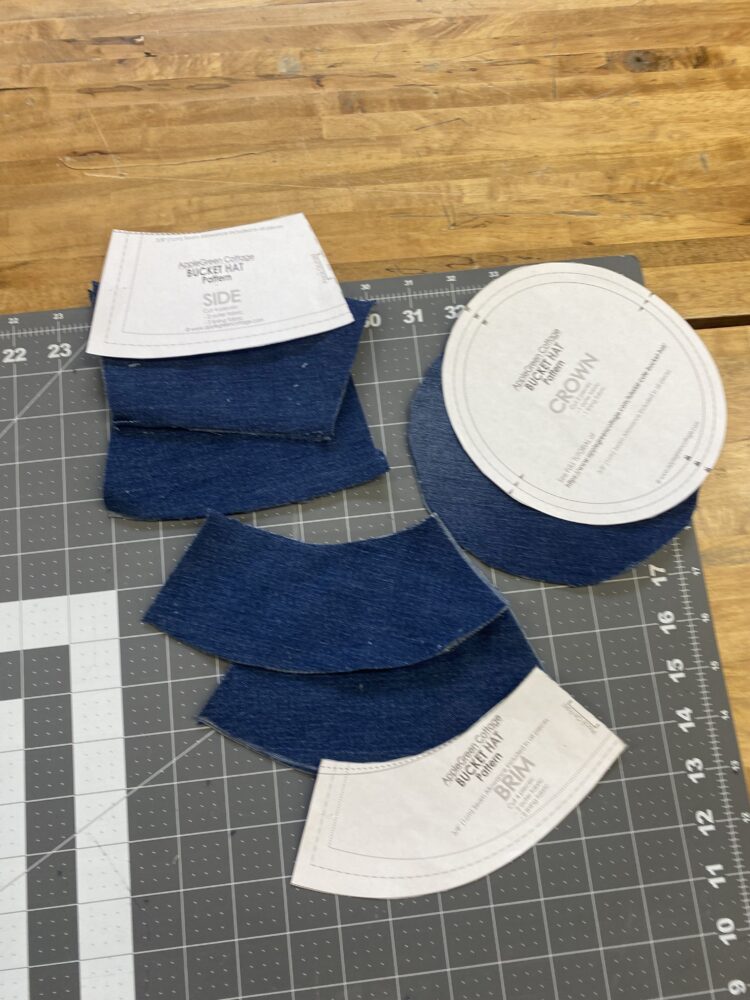
[8] The photo above shows half the pieces I cut. In reality, there is double of the sides, brim, and top pieces.
Using a rotary cutter proved to be a problem also. I did not ensure that the pieces were all the same size–I also cut some bits off that I didn’t mean to. On top of that, I also sewed the wrong sides together the first time. This little guy was my friend, which is a seam ripper. I hadn’t even realized I was doing the wrong side until I had already done the entire brim… Unfortunately, I cannot find the photo of the wacky first attempt at the brim. The picture above doesn’t show it well but the “inside” part of the jeans has a light and unappealing, almost corporate look to it. I didn’t like the way it looked so I ripped the entire thing apart.
[9]
So I restarted. It went better this time–until I had to attach the top to the sides. This felt like Temu-style stitching. I tried my best, but it ended up sloppy. Not only was the fabric slightly off in a lot of places, but the guide had called for a 1/2cm cut into the shorter side of the fabric. I saw this as 1/2 in. As you might know, these are not the same measurements. Therefore, the sides ended being up a lot shorter than I wanted them to be. In addition, I didn’t press the fabrics, so that the machine would go over the pieces easier. This also had to be one continuous stitch–which was hard cause I had to remove the clips every so often-which meant the fabric would shift around and not lay as they were supposed to.
[10]
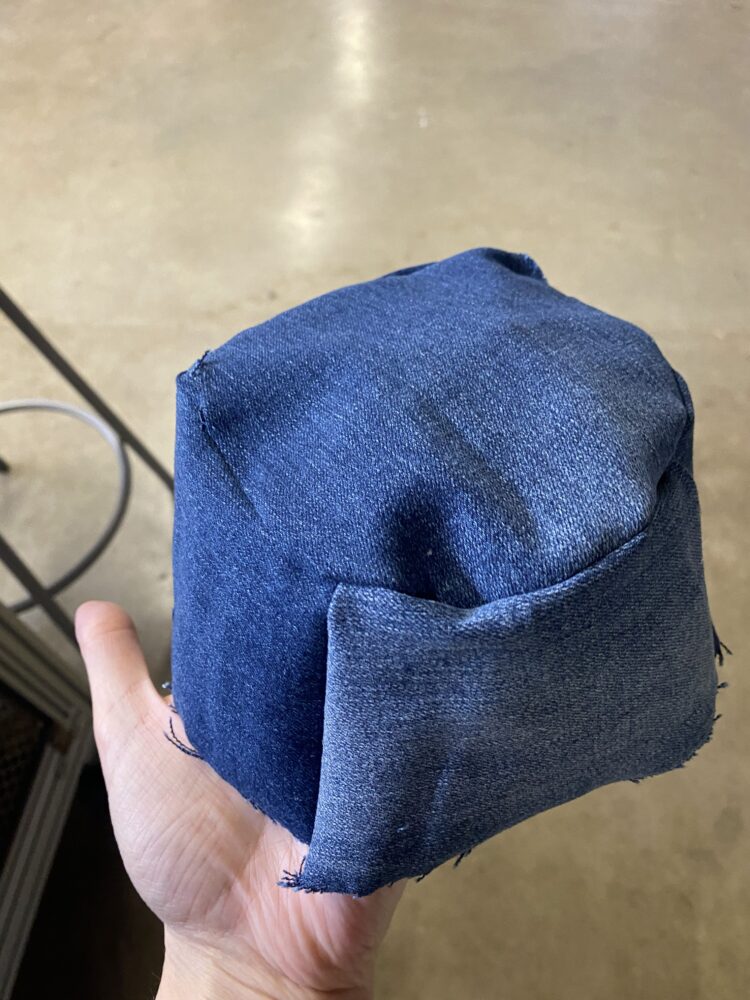
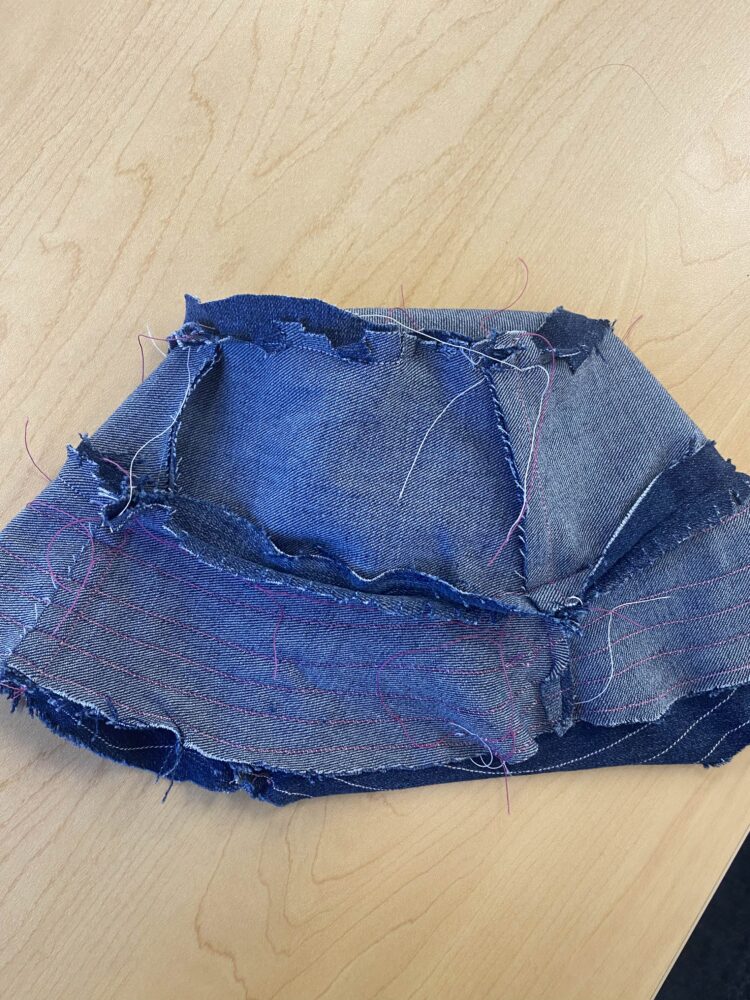
I got the hang of it by the brim time. The guide wanted to add that “professional” look by having top-stitching underneath the top of the hat on the sides, and just underneath the brim. The top stitching further secures the pieces together. I didn’t want to sew two pieces that were supposed to be together accidentally so I forewent this. I did, however, opt for the stitching that circumvents the brim. This part was probably the most fun. It was difficult getting equally spaced lines (also to get them to match up). But I tried my best. The second photo below shows the inside of the hat. It’s pretty rough as I didn’t take the time to cut all the little strings and whatnot. The overlap of the denim from all the pieces is a lot more visible–as well as that “corporate wash” I was talking about earlier. In the photo above, a hole in the fabric can be seen from rough-housing the fabric too much 🙁

[11]
[12]
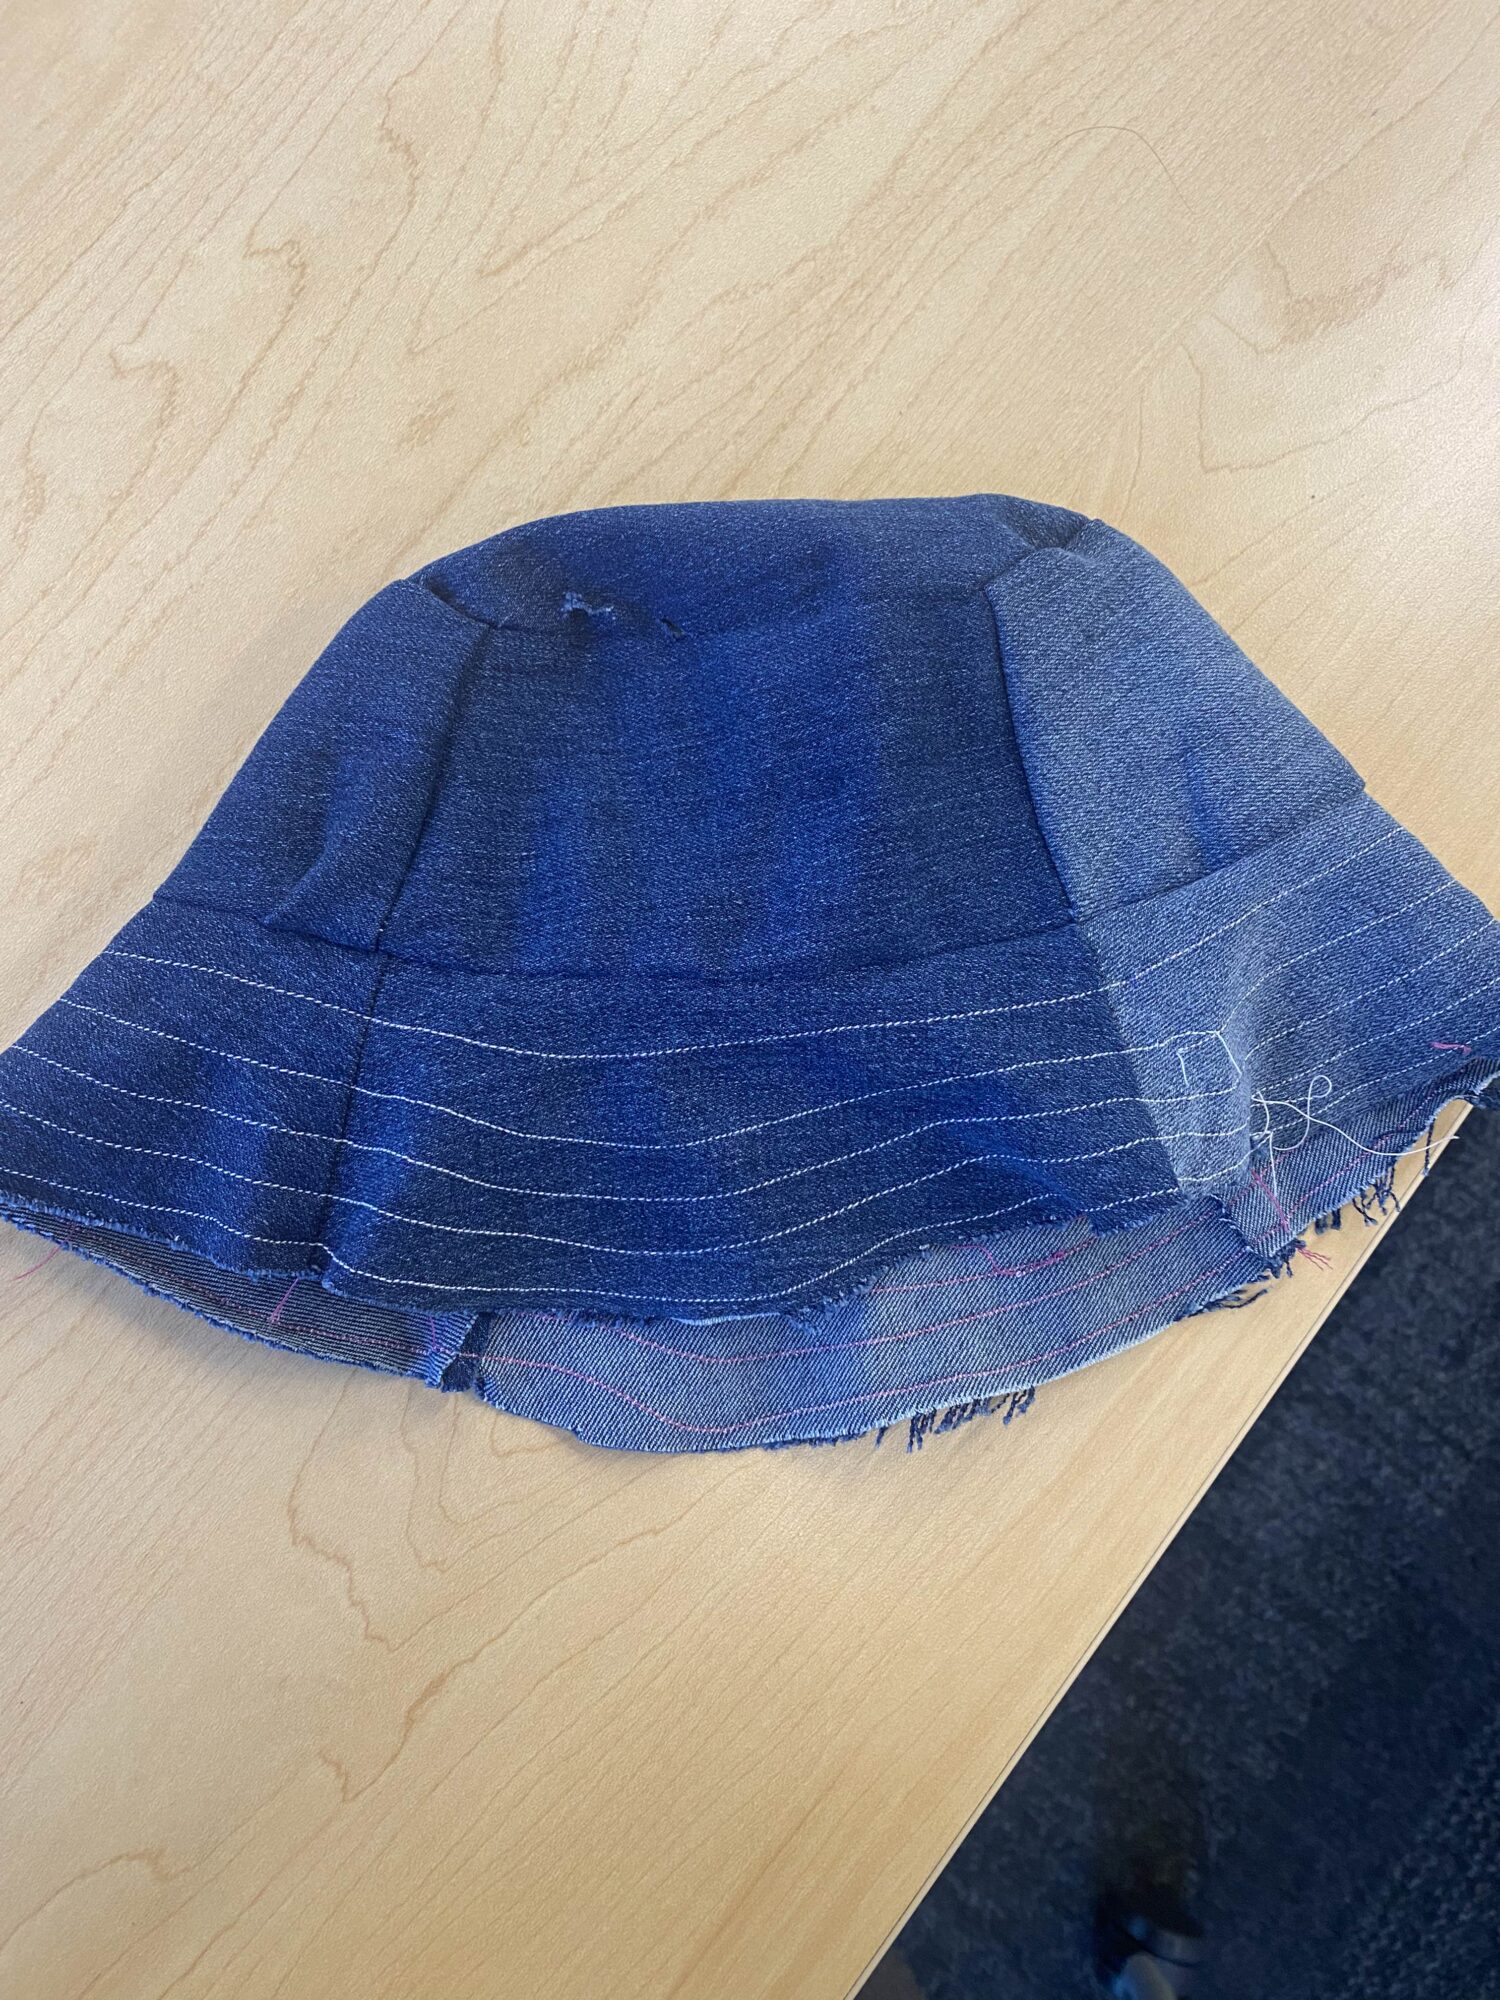
The hat needs some work. The brim is pretty flimsy, as the guide was meant for double-sidedness. Other than it being fairly functional (and kinda ugly), I think it’s true to its aesthetic. I customized it myself–and it’s out there being made from denim. It also looks like a bucket hat! Because of my poor sewing skills, the hat is a little small–even for my head which is on the smaller side. However, the consensus I got from showing it to everyone around me was that it didn’t look as bad I think.
Below, Collin models my creation. It might be better for a child, though. Perhaps I will clean it up and donate it? Otherwise, I will continue to sew. It was really fun! It’s also a really good skill to have. There were some sewing techniques that I knew I should do, but felt lazy. Seeing the final product, I won’t try to be so lazy. Maybe I will make another hat that fits this time. I have no shortage of skinny jeans…

[13]
In addition, I made of bunch of people take a photo wearing my hat. I put together a slideshow, which can be viewed here: https://docs.google.com/presentation/d/1vh6ECTm2MXDNkvIlr32xhXoBBt0jMoJ8AhruEANemkM/edit?usp=sharing
References:
[1] .“.@llcoolj Is Billboard/Vibe’s No. 14 Greatest Rapper of All Time. ?  See Nos. 20-11 Here, before the Full List Is Unveiled in the Coming Weeks: Https://T.Co/R5pufhtqne.” FetcherX, fetcherx.com/post/twitter/1620890239907827712?search=11. Accessed 24 Jan. 2024. [3] https://www.google.com/url?sa=i&url=https%3A%2F%2Fwww.amazon.com%2FSnoopy-Holding-Woodstock-Sticker-Laptop%2Fdp%2FB08KHX1QR7&psig=AOvVaw377GJI1wL09WhRXHv4f9AR&ust=1707430925250000&source=images&cd=vfe&opi=89978449&ved=0CBUQjhxqFwoTCPDKgYSimoQDFQAAAAAdAAAAABAD [4] https://www.etsy.com/listing/643530860/denim-bucket-hat-patchwork-bucket-hat [5] https://www.amazon.com/Fun-Theme-Bucket-Stiffer-Fashion/dp/B0BDXDL916 [9] https://www.google.com/url?sa=i&url=https%3A%2F%2Fcolmanandcompany.com%2F110R.html&psig=AOvVaw1WogSVseVLduFkXdgohhpf&ust=1708621963031000&source=images&cd=vfe&opi=89978449&ved=0CBUQjhxqFwoTCJDXkvv2vIQDFQAAAAAdAAAAABAO** All other photos were taken by me
Link to the pattern and tutorial I used: https://www.applegreencottage.com/tutorial-cute-bucket-hat/
4 Comments. Leave new
I think this hat really suits Collin, with its great stitch work and shape I am very impressed with the quality. I think it would be really cool to clean up the stitching on the inside to make it look professional from the inside and outside. Great work, I am excited to see your next project!
Collin is rocking it for sure. I agree-the extra threads make it look pretty unprofessional. It shouldn’t be too much extra work–although I worry that it would make the threads loose, as I didn’t double stitch.
Hi Tiana! I’m very impressed with the level of craftmanship you were able to make given that you are not a professional sewer. If you were to make the brim less flimsy, do you think you would add only a second layer of denim or would you use a different material to help it create structure?
How nice of you to say! I belive a second layer would’ve helped its stiffness-it would also help if the brim didn’t sit so far up on one’s head. I believe it’s being too stretched where it’s placed–which makes it even more flimsy.