
Abstract
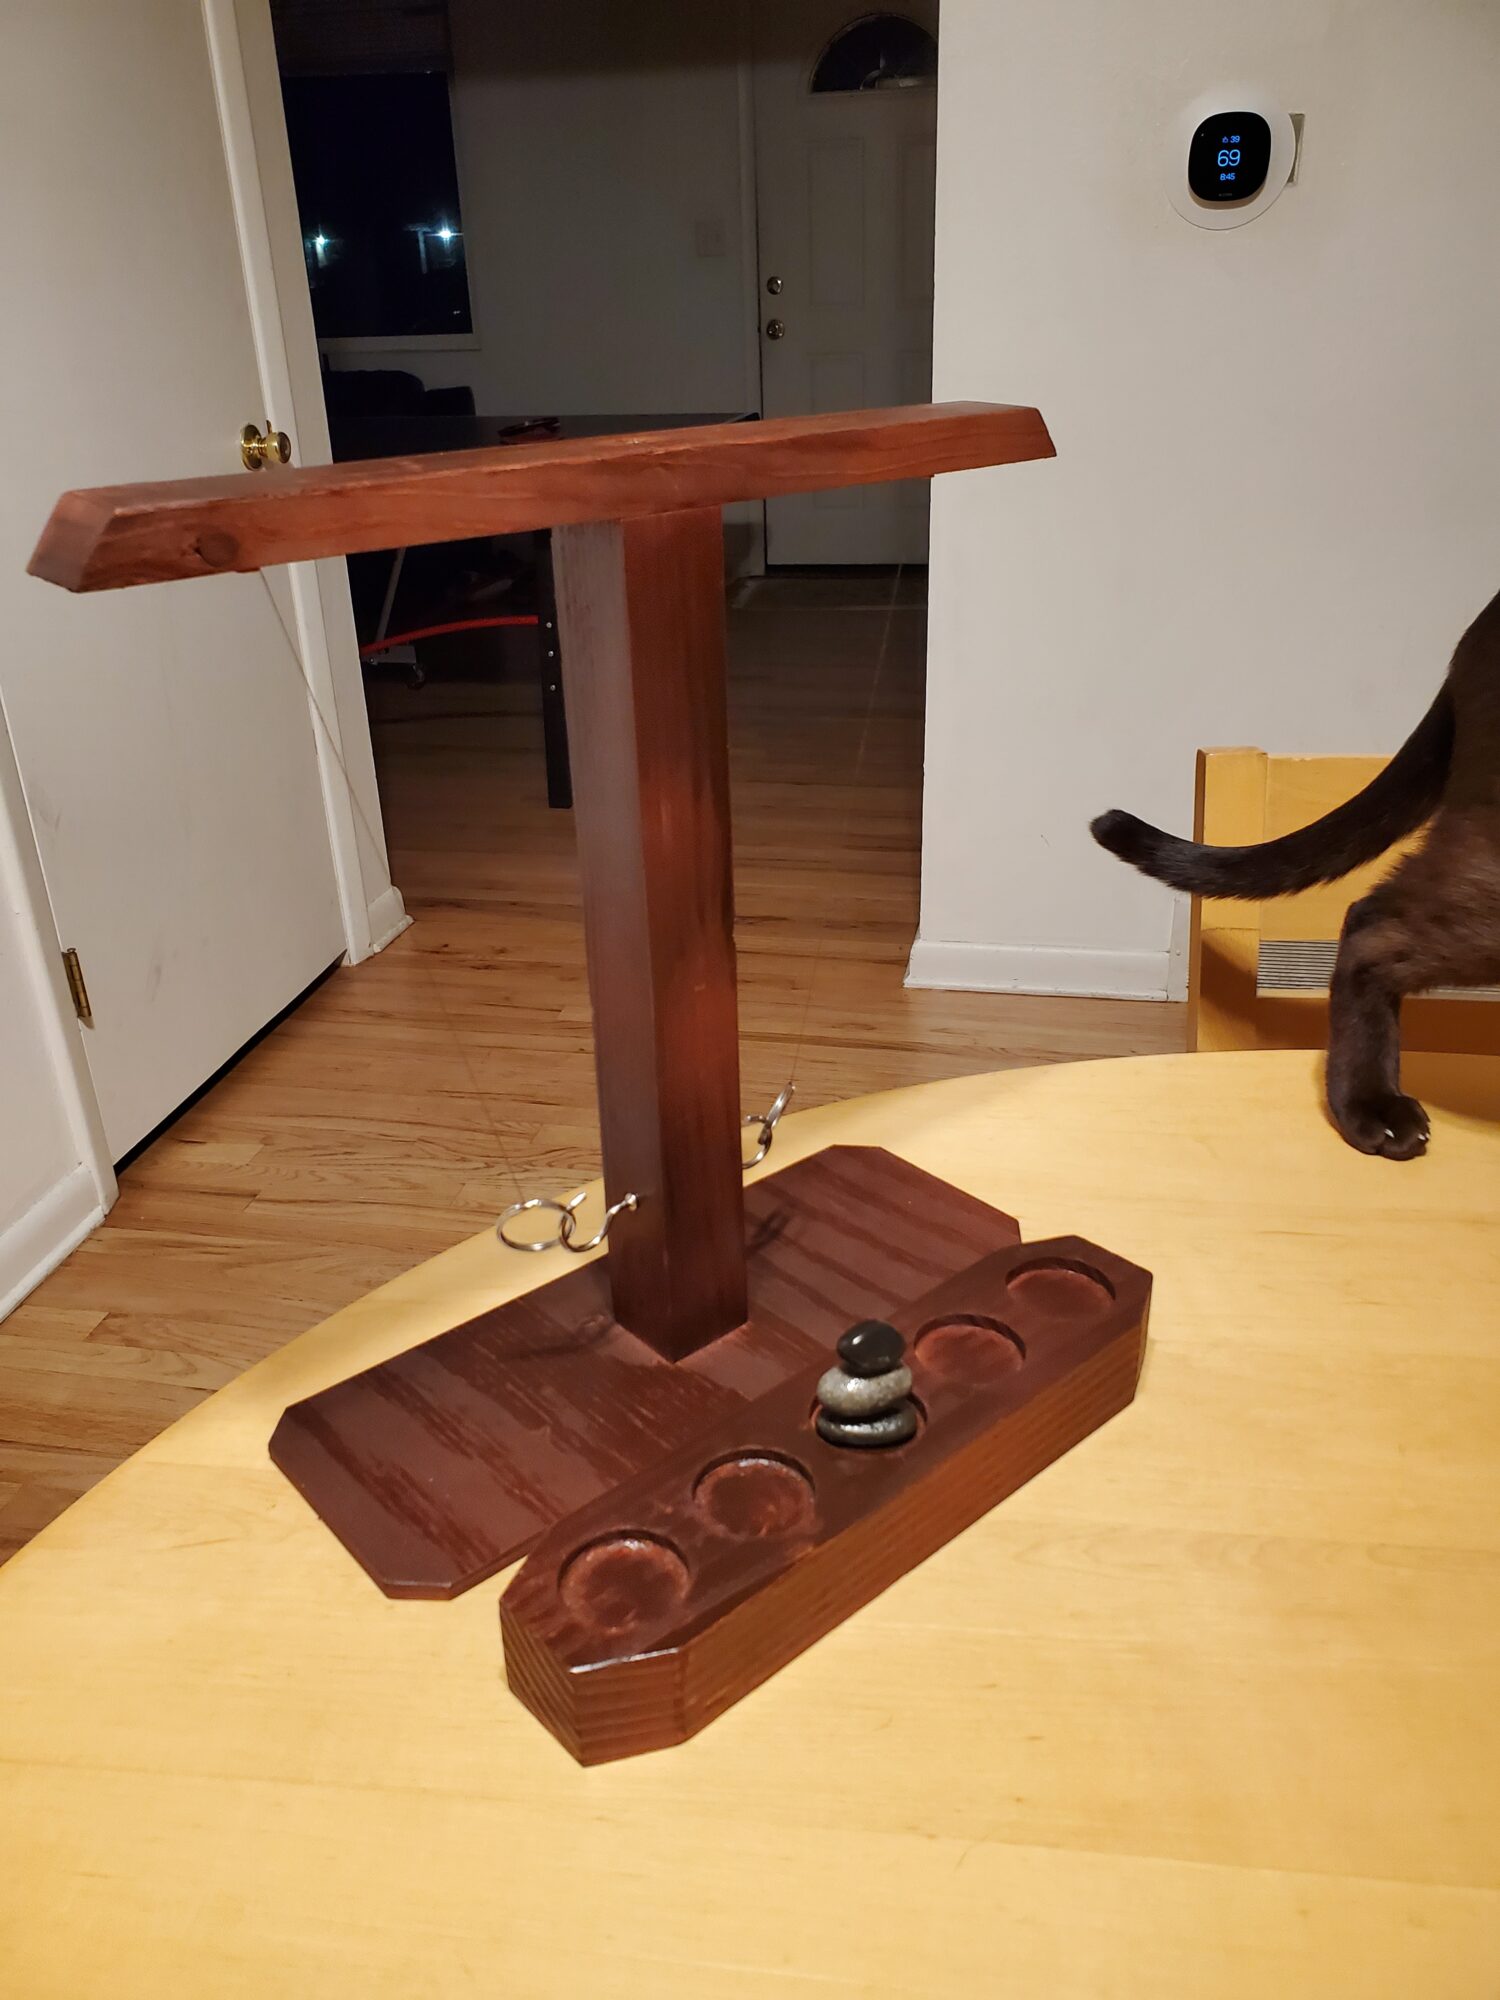
For my upcycling project I created a ring and hook game using scrap wood, spare parts from the ITLL, and borrowed wood finishing products. Manufacturing and assembling the game was a multi-day process that took around 15 hours in total. My inspiration for the piece was largely from versions of the game that are already being sold online. The game I created is designed to have a ‘japandi’ aesthetic which the final product reflects pretty well.
How to Play
The game involves two players sitting across from each other at a table. The object of the game is to swing the ring and land it on the hook faster than your opponent. Both players begin swinging the ring (attached to a string) at the same time with the goal of landing it on the hook. Each time you successfully hook the ring, you move the scoring stone one space towards your opponent. The first player to score a hook with the rock closest to their opponent wins the game! It is designed to be fast paced and exciting. My favorite part is that comeback victories are common and those are the most exciting in my opinion. The game is also really easy to understand but takes some practice to get good at.
Inspiration
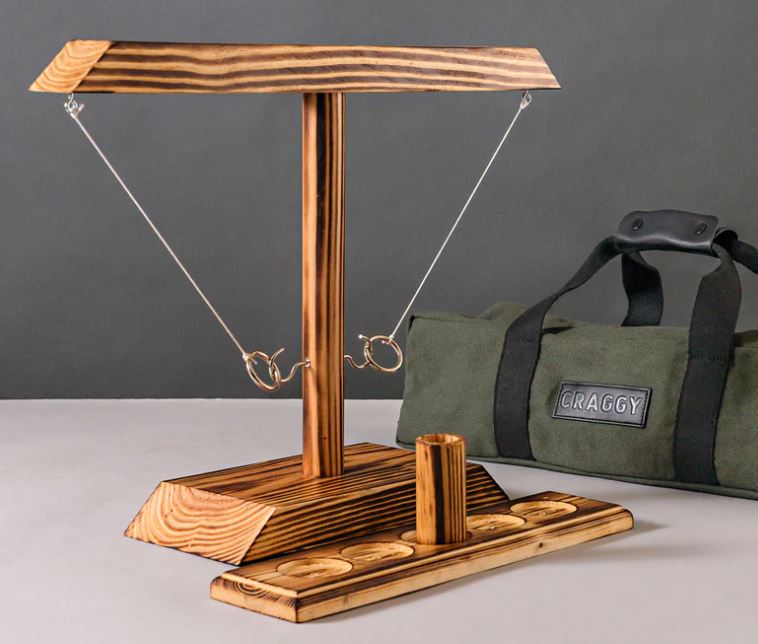
Many versions of this game are already available for purchase online. In fact, I got the idea to make this game for my project after it was stolen from me at a white elephant party. One example is made by Craggy Games [1]. An image of their version of the game is shown below.
The Creative Vision
I wanted to create an interactive and engaging piece that could be appreciated for centuries across varying age groups and cultural backgrounds. It could even represent a paradigm shift in creative thinking. The final piece should embody the ideals of Japanese culture as well as minimalism. If you put it in the Louvre it would fit in seamlessly alongside the Mona Lisa.
Chosen Aesthetic
My chosen aesthetic is called japandi. It is the Japanese version of the more commonly known scandi aesthetic. The scandi aesthetic is that of IKEA furniture. It is simple and uses soft colors. It is also usually minimalistic in the sense that the shapes and designs focus on simplicity and functionality rather than intricate details. Another aspect of the japandi aesthetic is that it incorporates nature. A good measure is whether the piece could be placed in an evergreen forest and not look out of place. This aesthetic is increasingly popular in interior design applications.
Manufacturing Process
The Scoring Board:
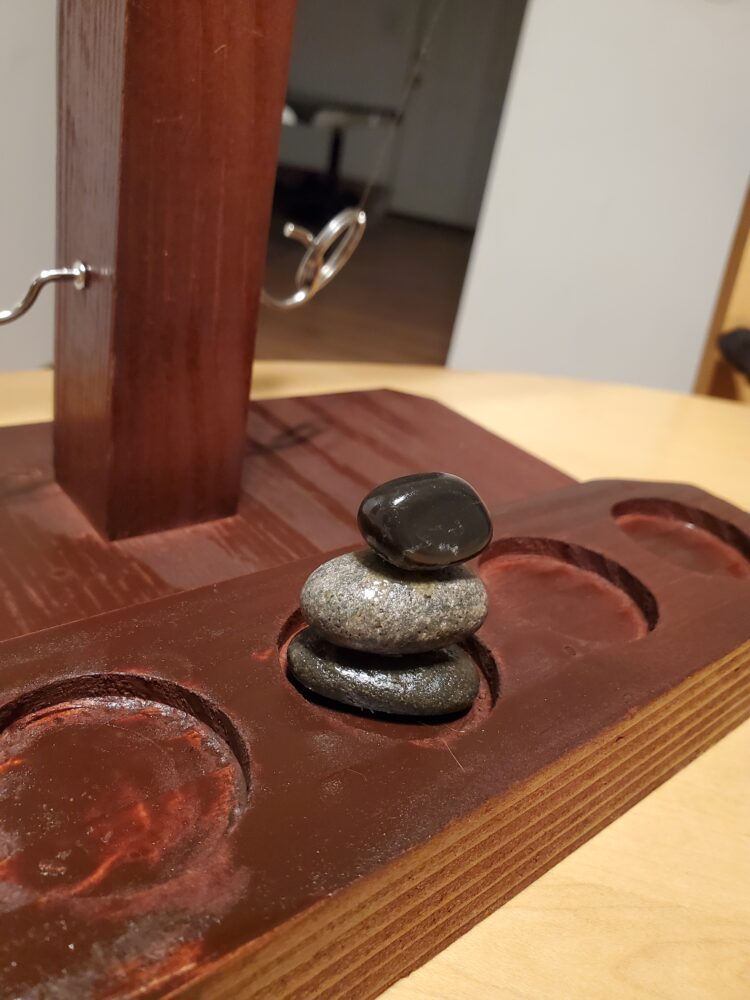
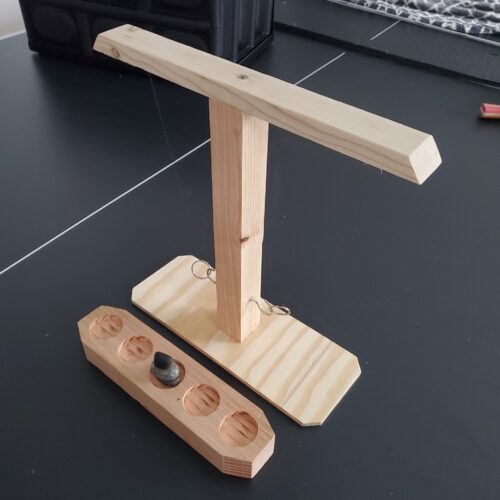
Creating the scoring board was one of the most time intensive parts of the manufacturing process and required the most steps. First, I used a table saw to cut a scrap 2×4 to the desired size. I then found the center of the top face by sketching two lines from opposite corners with a straightedge. Next, I secured the wood in the vice of a mill and zeroed the x and y dimensions to the center of the piece. Using this reference I was able to use a hole saw to drill a 1/4in deep profile of 5 equally spaced holes in the wood block. I then came back in with a hand-held router to finish removing the material from inside of the holes. I used the same depth again (1/4in) so that the new floor would line up with the original holes. This was the sketchiest part of the whole process because the router was jerky and it was hard to see exactly what I was doing when all the wood shavings were flying everywhere. If I hadn’t been wearing safety glasses I would probably be lookin’ like captain hook right now. The final step was to cut the corner chamfers on the bandsaw. I opted for an asymmetrical chamfer because I thought it would look better given that the piece is much longer than it is wide.
The Scoring Rock Cairn:
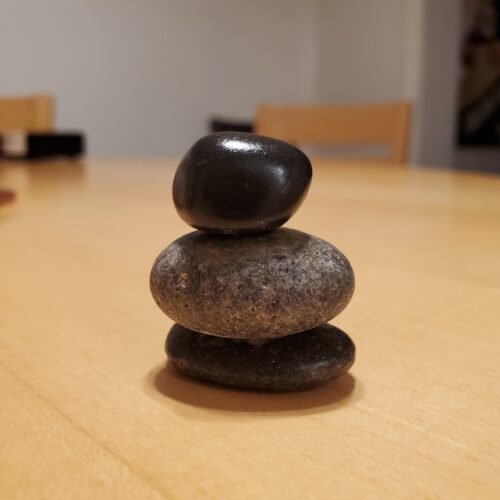
I had many trials and tribulations when trying to create the scoring rock cairn. I initially didn’t have access to superglue which meant I had to look for alternative methods of joining the rocks together. This turned out to be much more difficult than I thought it would be and I ended up with a very weak bond using Elmer’s glue. That night I also sprayed the rocks with polyurethane so they would look shiny. I was extremely happy with how that turned out. The rocks look permanently wet and it goes really well with the walnut color. On the morning I was bringing the game to school to present, I dropped the rocks and it sadly broke. Luckily I was able to rush to the ITLL and superglue the stack back together.
The Structure:
This was the most straightforward part of the project to manufacture. I cut all three pieces to size on the bandsaw and added a nice chamfered edge to the base plate. I then clamped the pieces such that the pillar was centered on the top and bottom pieces so I could drill two pilot holes. I then fastened the three pieces together using two wood screws I found lying around. I also drilled a hole on either side of the pillar and inserted the two hooks. Finally, I drilled two more pilot holes in the top piece and partially inserted two more screws to attach the strings to.
The Finish:
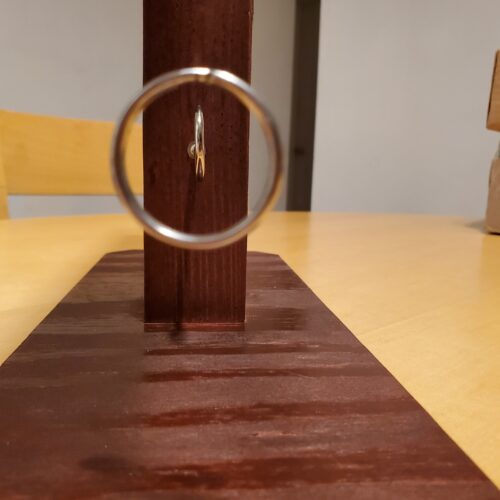
I finished the piece with a walnut stain and polyurethane gloss that my pod member, Arjun Mody, let me use. The final color is much darker than I imagined it would be but it definitely still looks better after the paint job.

Functional and Artistic Results
I am very happy with how the finished product functions overall. It is fun to play and challenging enough that games last a couple minutes usually. One thing I would change is the upper string attachment point. If I had more time I would move it further out on the top piece and make the string slightly longer.
I have mixed feelings about the artistic results. Most of the piece fits with the japandi aesthetic and I’m especially happy with how the scoring rock cairn turned out. The gloss coat on the rocks gives the impression that they are always wet, as if they were just pulled from a stream. This perfectly fits the nature component of the japandi aesthetic and is my personal favorite part of the piece. However, there are definitely some aspects of the piece that I would change if I were to do this again. First, I would use a lighter color of paint and use multiple coats rather than one thick coat. This would give the piece more of the soft and simple feel I was initially going for. Being able to see the wood grain more clearly also gives a more natural look which again would benefit the aesthetic. Additionally, the internal edges of the holes in the scoring block are a bit uneven because the router was hard to control. If I were to do this again I would write a CNC mill program to cut the entire pocket for me automatically. This would guarantee a nice even finish all the way around.
Future Work
Despite the near perfection of the piece, there are several improvements I would make if I had more time to work on this project. First, I would add four sticky feet to the bottom corners of the base plate so that it doesn’t slide on the table during play. This could become an issue if the game is being bumped when played in a chaotic party setting. Second, I would have applied a lighter coat of the walnut spray paint finish. Due to the makeshift environment in which I was painting the game (the floor of my garage on a trash bag), the paint job is a bit uneven and applied in a thick coat. If I were to do this again I would perform the painting in a space that is well lit and easier to work in. I would then apply several lighter coats of paint rather than one thick coat. This would allow the intricate grain pattern of the wood to shine through more clearly and would add to the Japandi aesthetic.
References
[1] https://shorturl.at/nGOR0
4 Comments. Leave new
The stain applied to the wood really brings out its character and makes it look more professional. One improvement I suggest would be adding rubber feet to the bottom of the base so that it has more grip on a table.
That’s a great idea! It does slide around a bit during more intense games if the surface is slippy.
Colin, I thought your project was very fun and cool because it is not only aesthetically pleasing but also very interactive. This is a good piece to have around on your table or coffee table. I also like the jJpandi aesthetic an the simplistic or symmetrical cuts you did to the wood. Nice Project!
Thanks! It’s currently on my parent’s coffee table and has been pretty fun to play.