

Inspiration:
When deciding what I wanted to make, I mainly focused on what materials were easily accessible to me, and since we live in Colorado, I decided to go with something outdoors. For these reasons I chose to use a tree branch as my material. This lead to me deciding to make something out of this tree branch with a rustic aesthetic. Overall, I chose to create a rustic wood coaster made from any branch that I could find with proper dimension.
Rustic Aesthetic:
Looking into what makes a rustic aesthetic, there are a couple of main prominent features. The first one being the material. The materials used must be natural materials found in nature such as wood, clay, stone, and metal. With these materials, they are often left in their own natural state and not altered much in the end product. The next distinction is the color palette, which primarily focuses on neutral colors and earth tones such as brown. beiges, green, and blues. Rustic designs are also most commonly made by hand or as artisanal pieces, adding a sense of craftsmanship and authenticity. Finally, a rustic aesthetic often portrays a weathered aspect to its piece giving a worn and aged appearance that many see as adding charm to the space.
Creation:
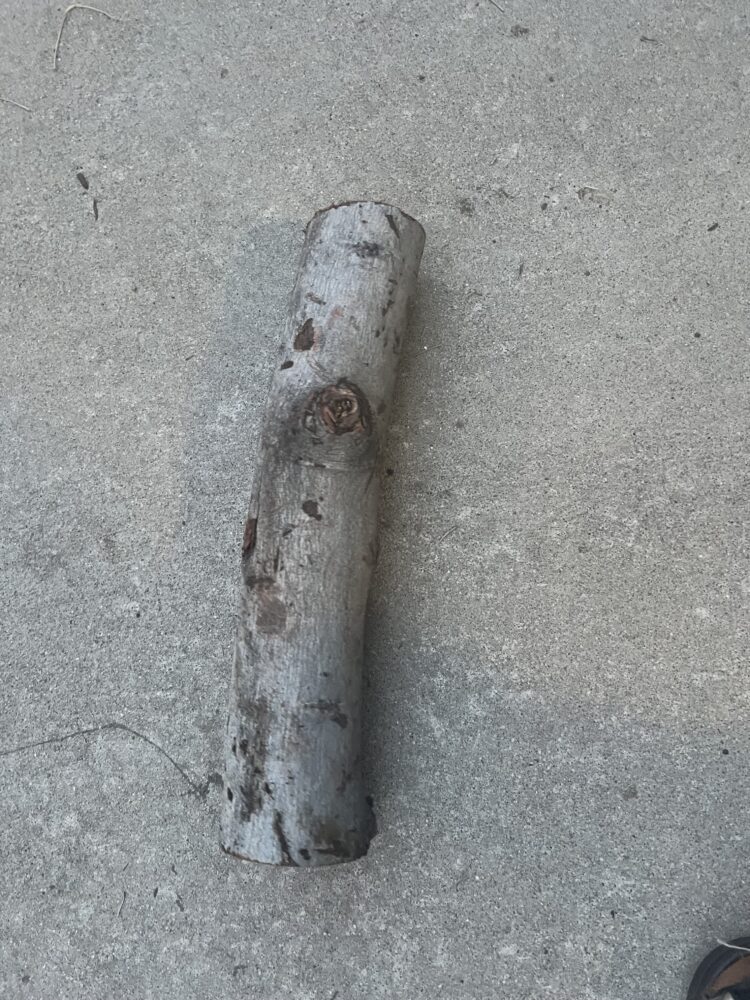
I began creating my rustic coasters by sourcing my materials. I had been trying to find the right piece of wood that would look good for a coaster. This offered more difficulty as I wanted to find an already fallen branch to use. Although most of the branches I could find were either to small, fractured, or in an unusable shape. However, after a long time of looking on trails, I managed to find one that is a perfect fit for this project.
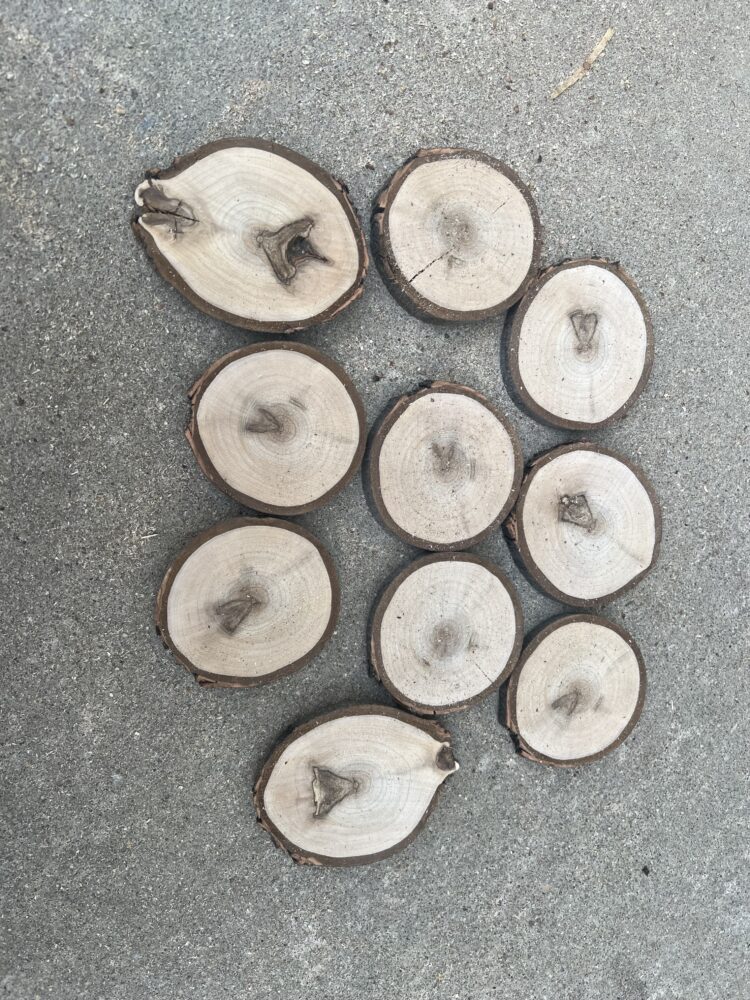
From here I cut the branch into half inch disks using a chop saw. It was a little bit sketchy as I had no secure way to hold onto the branch while I cut it other than my hand, although luckily nothing went wrong and I managed to get 10 coasters before I got to a split portion of the branch. I intentionally did cut through a not in the branch as it offered some new shapes and appearances in the wood. 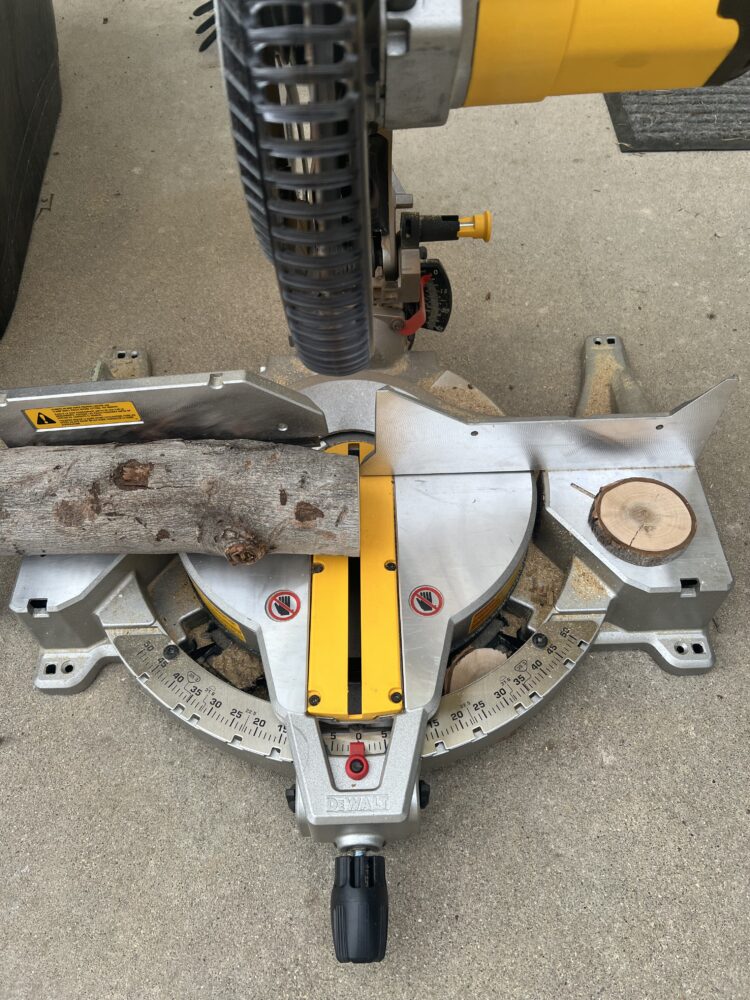
Once I finished cutting up the branch it was time to move onto sanding the coasters to create a smooth surface before we stained them. I started by sanding them all with 80 grit sand paper. When sanding wood it is customary to start with a rough sand paper and incrementally increase it until you’ve reached your desired surface smoothness. After sanding all sides with 60 grit, I moved onto 120 grit sand paper and finished them with 240 grit sandpaper. Once I was done with sanding, the surfaces felt as smooth as a babies bottom. When I was sanding it definitely got quite exhausting as I was using a manual sander and inhaling all the wood shavings was not the best for my throat. 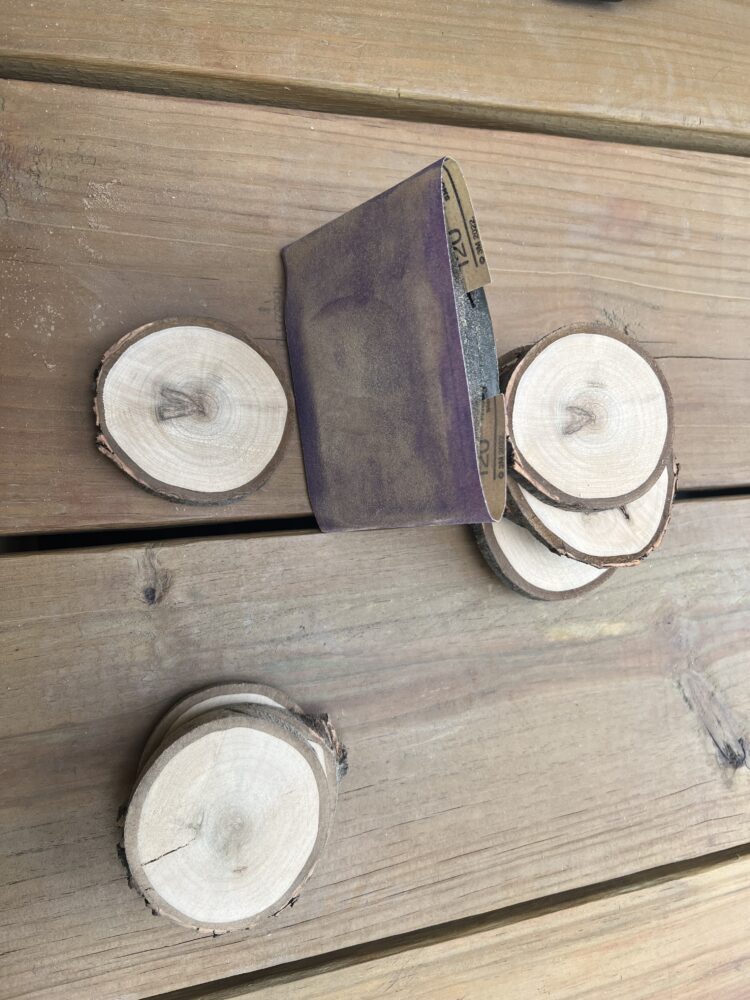
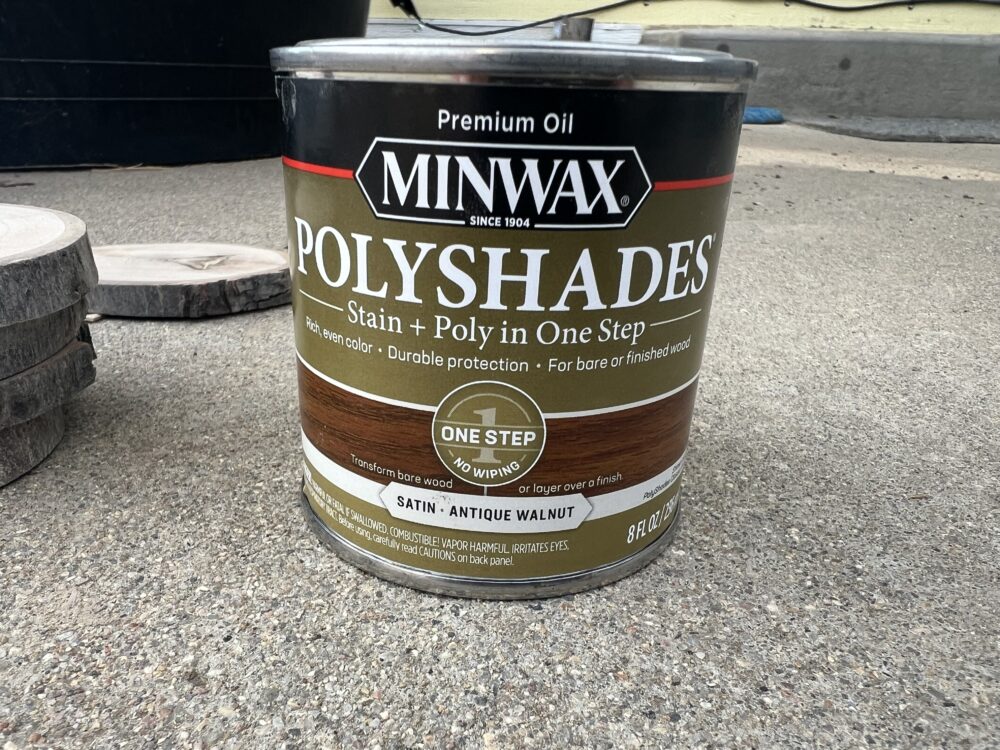
Once I was finished sanding all the coasters, I blew them off to make sure there was no dust on them and began the staining process. I decided to use a satin stain with the antique walnut shade. Doing this stain adds protection from any water that gets on them, which is necessary as they are coasters. I used a cloth rag to apply the stain to the wood which made it quite easy to apply to a large amount. I did one side at a time and applied two coats of stain on each coaster. There was a portion of time when the wind picked up and blew some left over saw dust onto the coasters, although in the end they turned out amazing.
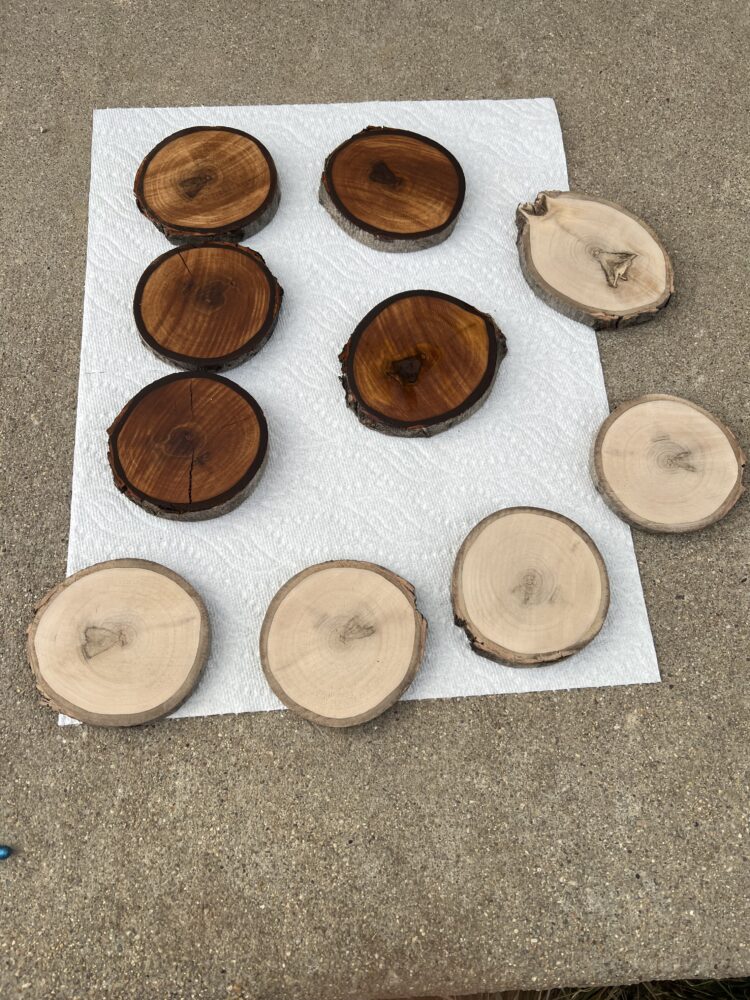
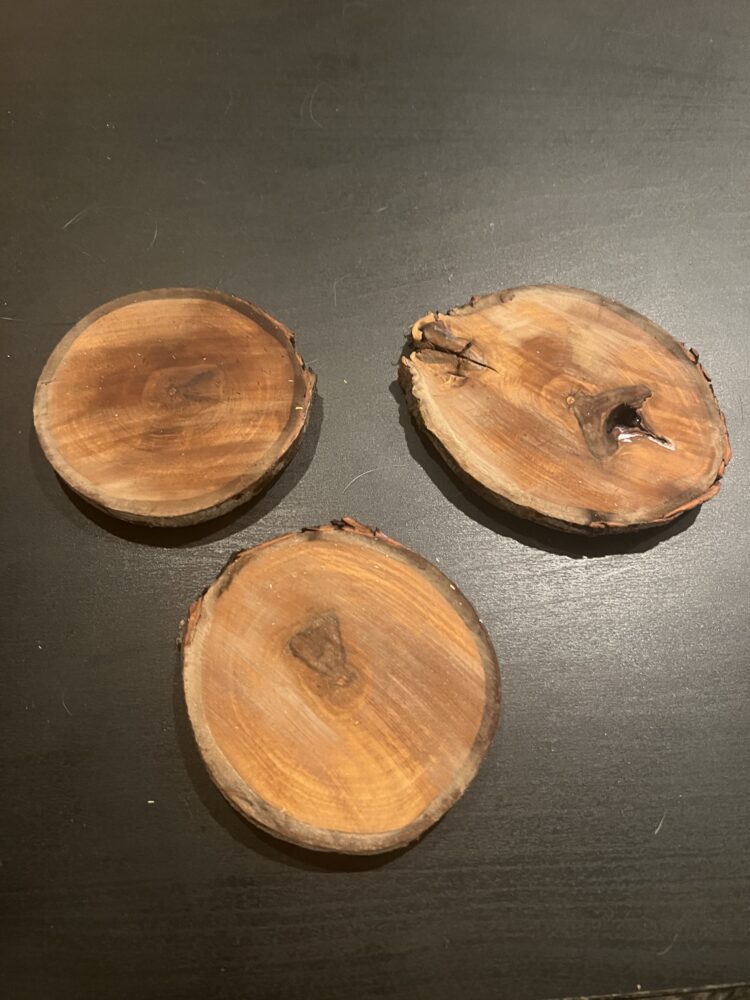
In the end my finished product turned out exactly how I wanted it too. I believe I was able to achieve the standards I set for myself and now I have some great coaster! In my opinion with a bit of time they will look even better as time ages them giving them a much better rustic look. Depending on how they look in a couple weeks, I may apply a couple more coats of stain or add some gloss to them to add some protection, although that may ruin the rustic look so I’ll have to try on one first and see how it turns out.
4 Comments. Leave new
[…] Rustic Table Coasters […]
Hey Kyle, I really like the design you were going for. It was interesting to see you cut it out of a log and hit it with a nice finishing coat. Overall it looks great!
Kyle, your rustic wood coaster project, inspired by the Colorado outdoors, is both creative and thoughtful. Choosing a fallen tree branch as your material adds to the rustic wood aesthetic as well as a local touch. I like how each piece has its character and looks different yet they all fit together very well. As time passes, the coasters will look more rustic and add to the aesthetic as well. Congratulations on your successful project that combines functionality with rustic beauty!
I think these are some really cool coasters that I’d love to have, great job Kyle! I too am a fan of the natural/rustic aesthetic that these coasters portray, and I think the walnut stain and poly was a great choice. With enough coats it should leave almost a rubberized feel on the surface, which is great for a coaster. As an addition to this project, I’ve seen coasters stacked up in a wooden carrying box with an open top and notches in the side, and I think you could make a rustic version of this for your coasters using the rest of that branch. If you use a table saw or other saw to get planks/strips of wood from the branch, this can be done relatively easily and would give you a nice presentation piece for the coasters to sit in. These are great coasters that are ready to withstand years of use, while aesthetically improving with age!