
As someone who has a growing record collection, I have been getting increasingly into music from the ’70s. I have always enjoyed music from this time period but hearing original pressed records through my record player has only boosted my appreciation. Artists like the Doors, Fleetwood Mac, Jefferson Airplane, Three Dog Night, and David Bowie are some of my favorites.
For this upcycling project, I wanted to combine my love for vinyl, the aesthetics of the 1970s, and the need for a bedside table in my room. To accomplish this goal, I hoped to fabricate a side table using an old record as the top surface. This idea already exists on Etsy and similar DIY websites (see the image below), but I wanted to add more storage (potentially for some of my records) features to the design.

Source: https://www.cutoutandkeep.net/projects/retro-vinyl-record-side-table
Diving deeper into this project’s aesthetic, the 1970s design language consists of bright and bold colors, lots of floral and natural elements, and overall a maximalist approach. Music, movies, cars, politics, and other elements greatly influenced culture in the 1970s and therefore the aesthetics that followed. Although I ended up using a black chair base for the table’s support structure, I intended for the records stored on the outside of the table to portray the 1970s aesthetic. I specifically chose records that I owned that were made in the 1970s.
In terms of the materials I used, the base of the table was repurposed from a chair that I purchased at a local thrift store. The record for the top surface was purchased 2nd-hand from a local record store. More specifically, it is a 1974 press of the Beach Boys compilation album “Endless Summer.” Initially, I planned to epoxy the record to the base, but I was able to design a mounting piece so that the record could be removed without damage if needed.
The fabrication process mainly involved designing and 3D printing parts (in the IdeaForge). After I found the base, I took measurements of the top mounting plate that the chair was previously attached to. This allowed me to model an adapter piece in SolidWorks that would interface with this mounting plate and the center hole of a standard record. I used countersunk mounting holes with flat head screws so that the record could sit flush. A 1/4-20 bolt with a nut was used to secure the record to the adapter plate and luckily the nut fit perfectly in the center hole of the base. These fasteners were purchased from Home Depot and taken from my Senior Design project since our team had extras. The other fabrication had to do with some 3D-printed brackets for holding my records on the outer faces of the base. I measured the tube size that these brackets would mount to and then began modeling them in SolidWorks. I was not sure about the clearance for these holes so I added a feature that would allow me to add a tightening bolt. After printing the parts and trying them, they snapped satisfyingly into place and were snug enough that no bolt was needed. The images below highlight the manufacturing process as described above.
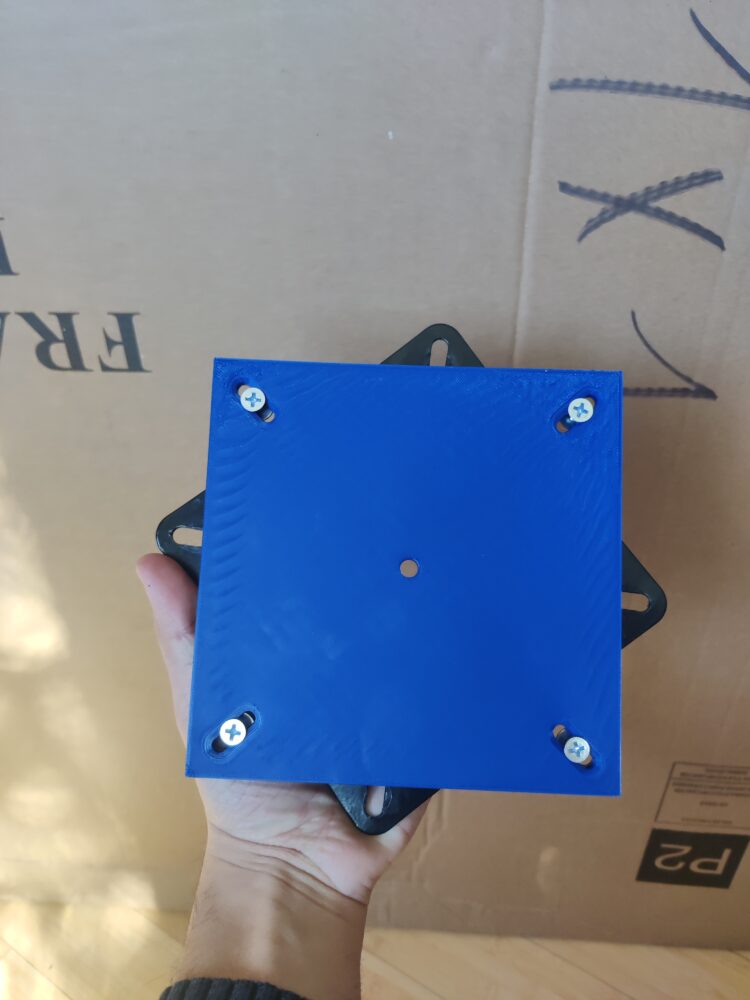
3D printed adapter piece with countersunk holes
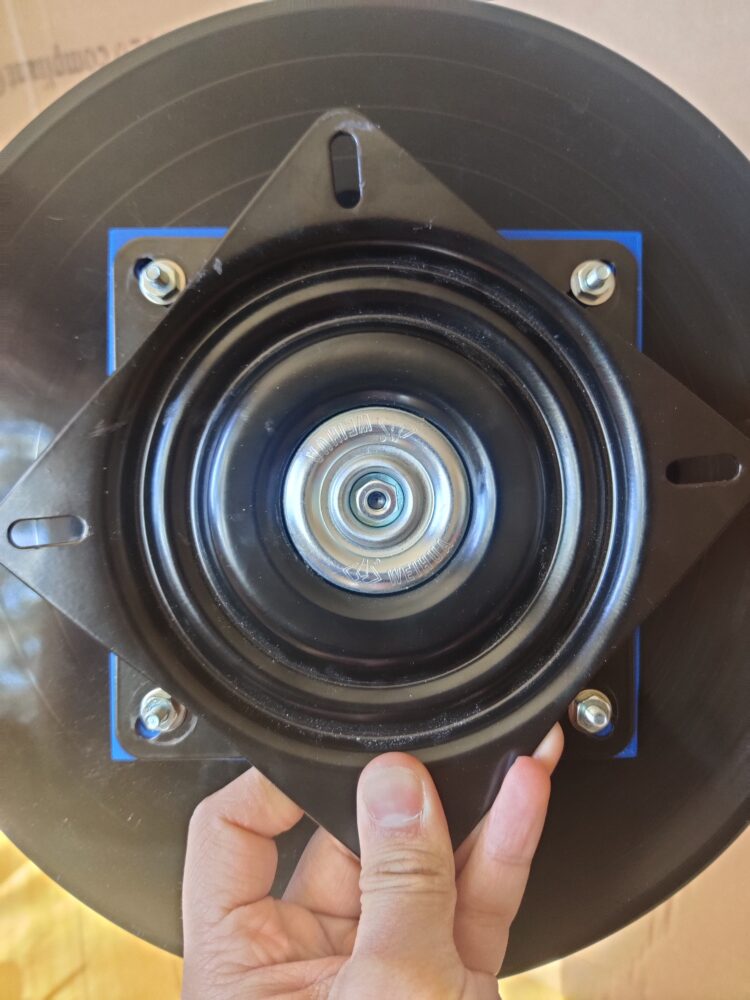
3D printed adapter piece with the center record hole mount
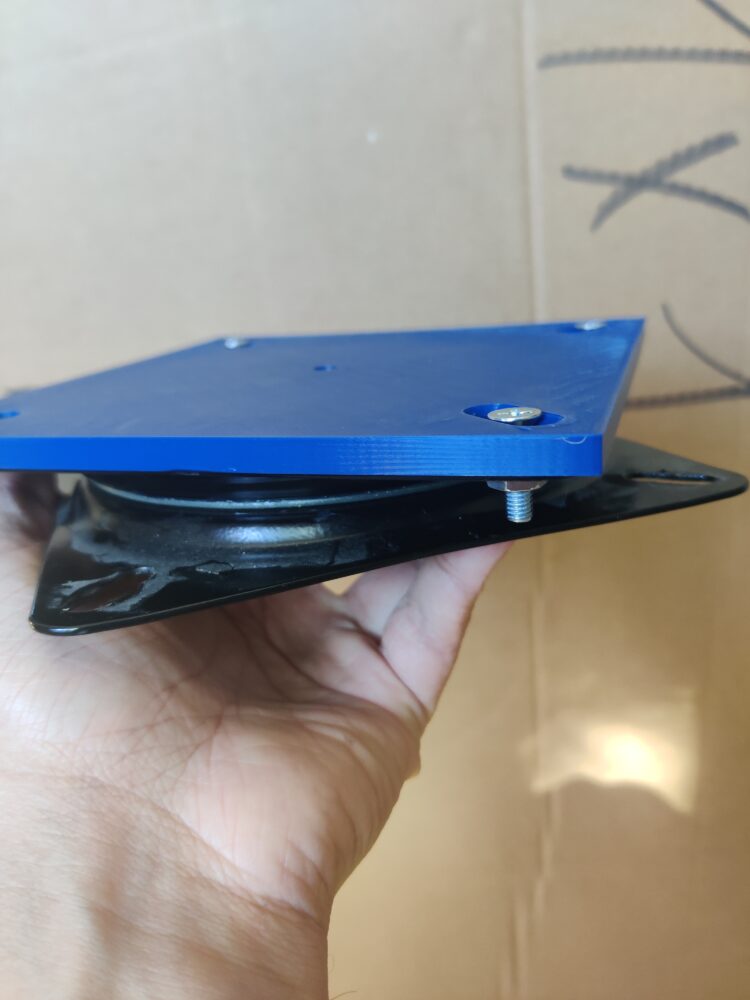
Adapter piece nut clearance with the table base
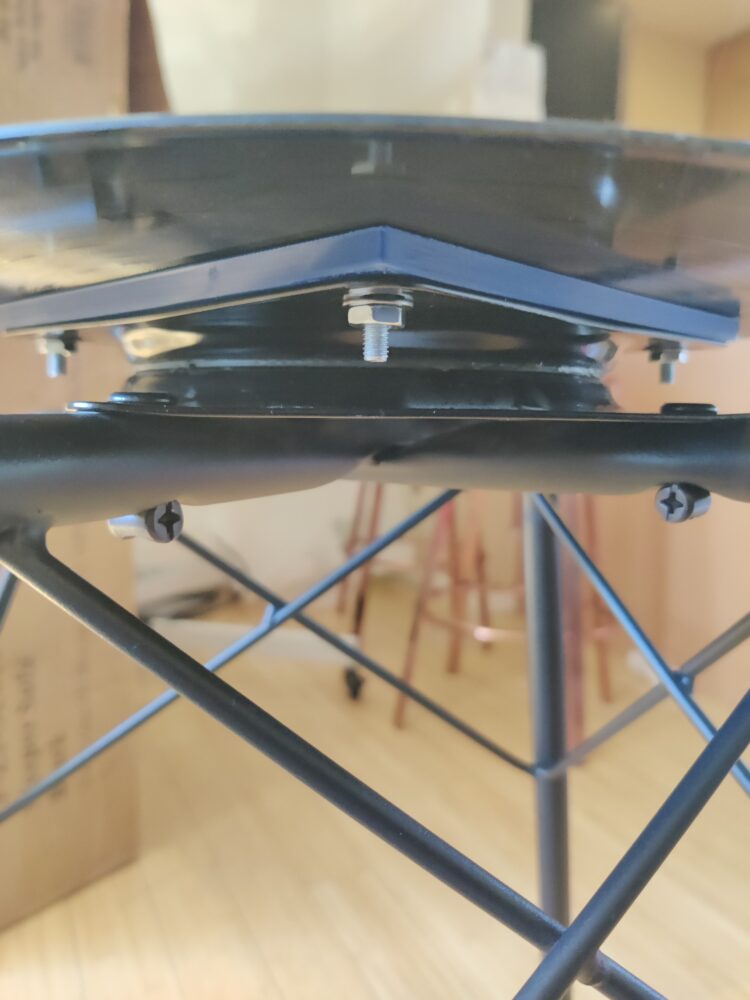
Adapter piece with the flush mount to the base
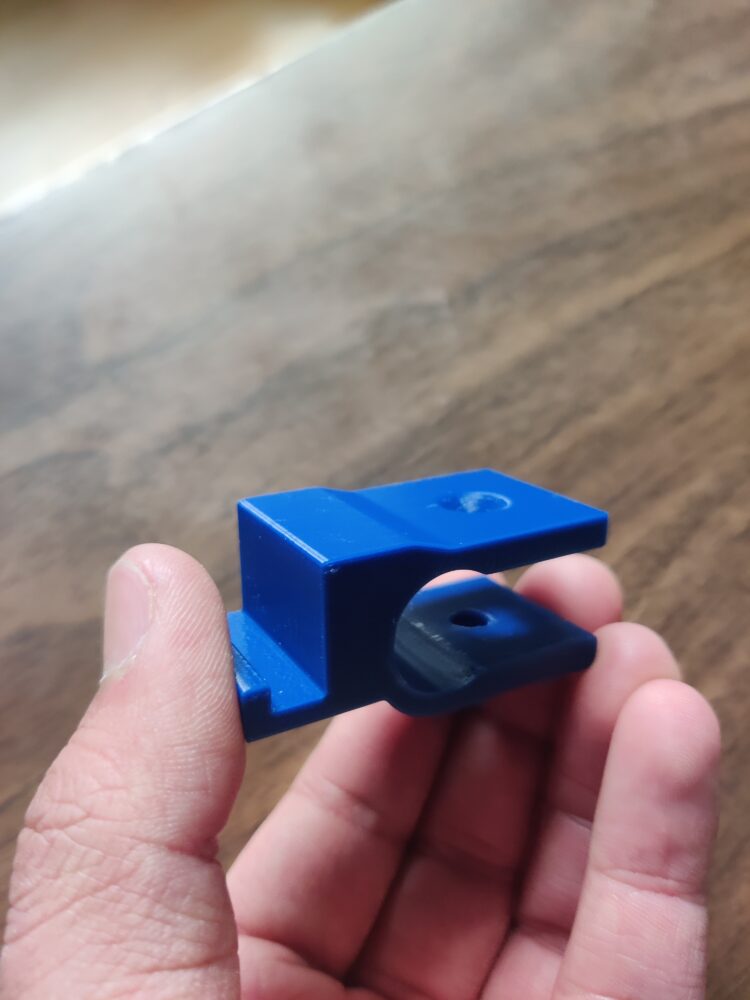
3D printed record holder bracket
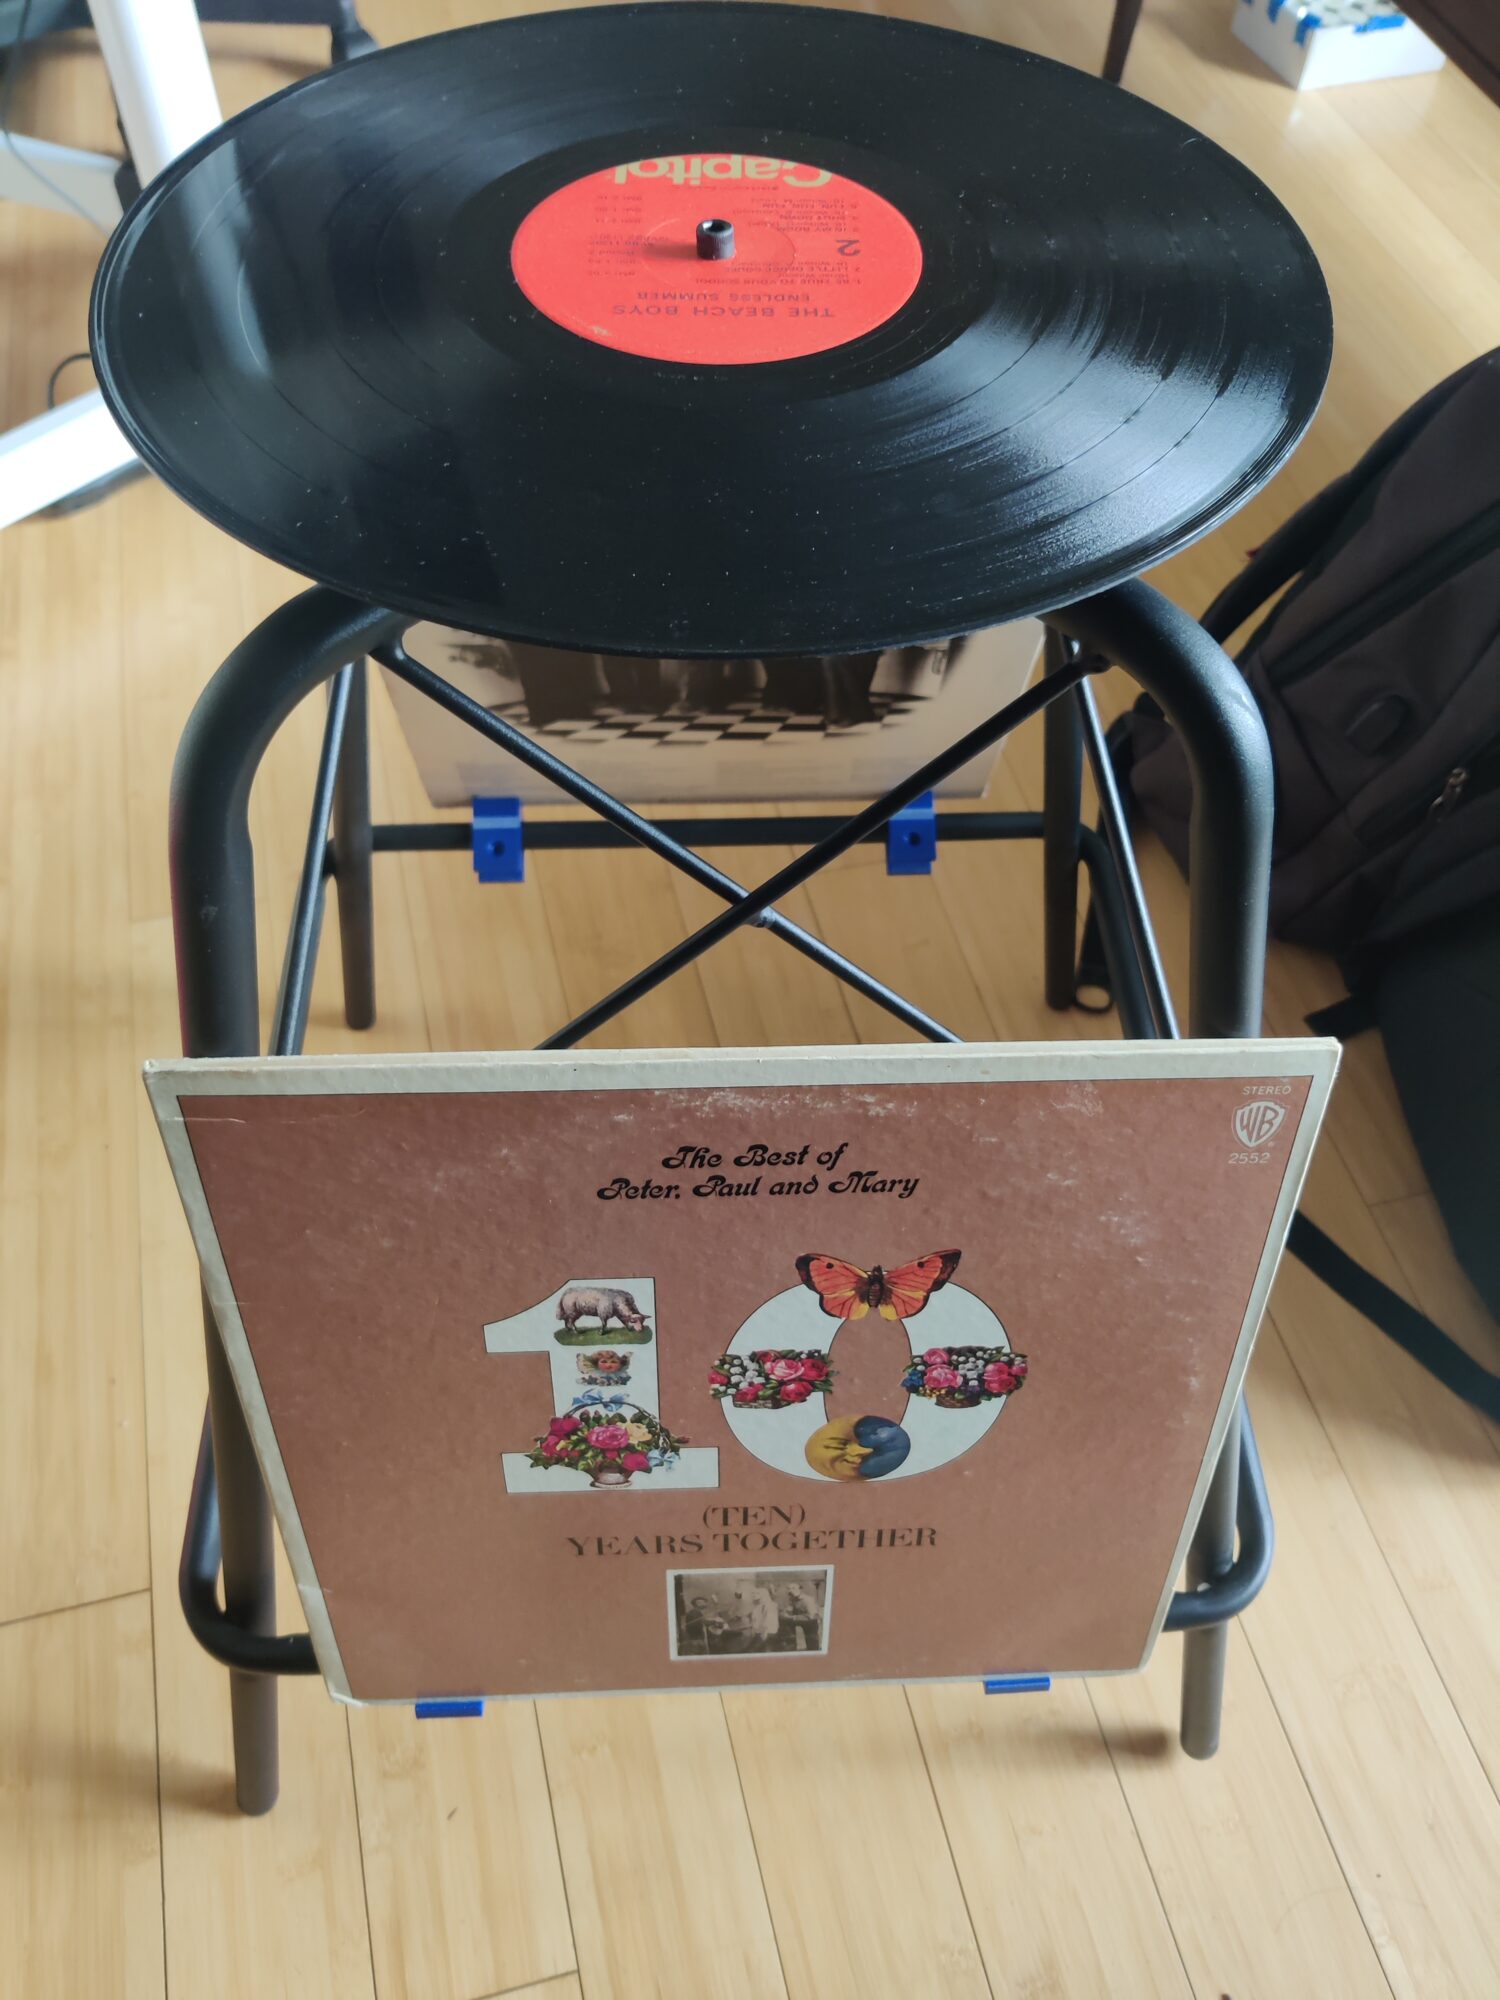
Functionally, my final product hits all my marks. The adapter piece along with the way the record is mounted adds some much-needed strength. This allows for things such as phones, cups, and bottles to be placed on top without causing any major flexing. The side record holders also worked better than expected, not allowing the records to fall off when moving the table. Additionally, the height of the table ended up being perfect for bedside positioning.
Aesthetically, I also think my project went well. I did want to add more color and visual elements to the base of the table but using some of my existing records as these elements works nicely. Since I do have a good number of records from the ’70s, a lot of the cover designs fit well with the project’s aesthetic.
Looking forward, the main addition I would pursue would be a protective cover for the top surface. Currently, the mounting system allows me to remove the record and play it. However, with objects constantly being set down and moved around, scratching is likely to occur. To solve this, I could laser-cut a transparent plastic sheet that protects the record’s surface but still preserves its appearance. After doing this, I plan to use my project as a bedside table and to store some of my records. See below the finished product:
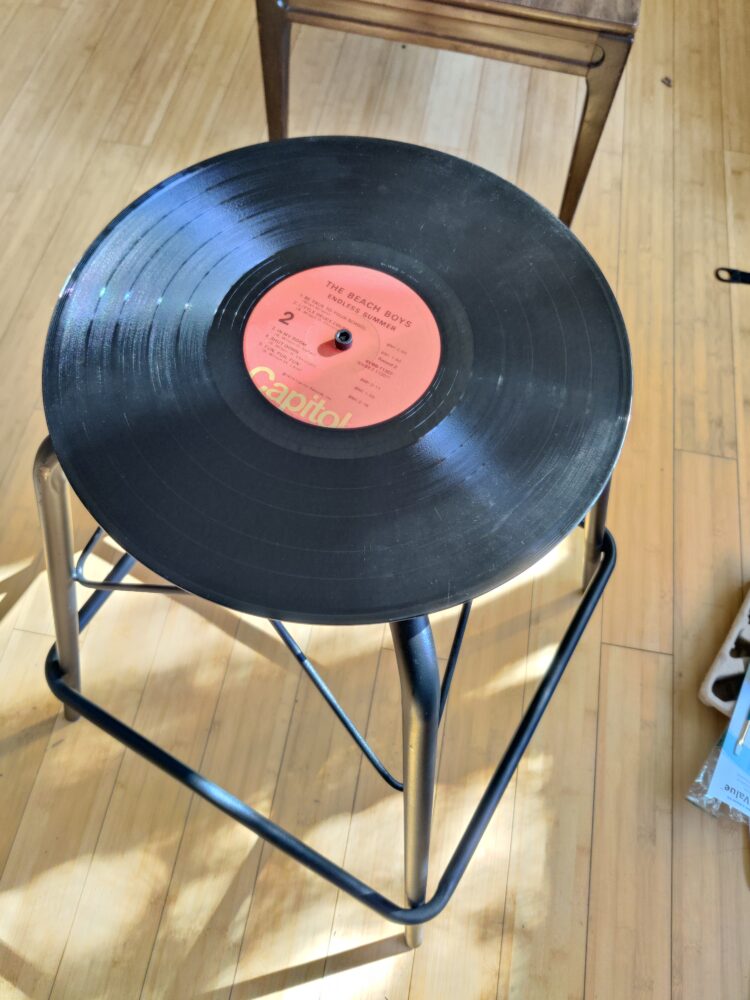
Table without record storage mounts
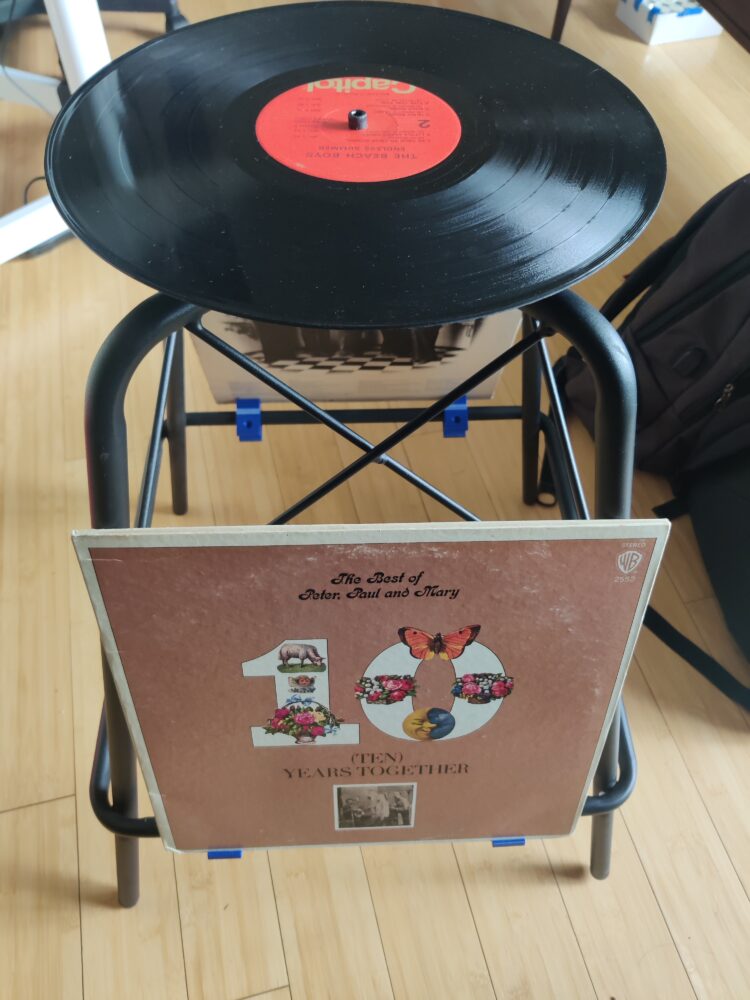
Final design with record storage mounts
4 Comments. Leave new
Great craftsmanship on this project, I think the record just looks so swanky. Keep up the good work i’m looking forward to your second project. What if you added an actual turntable to this setup?
HI Arjun, this looks awesome. I like that you expanded on the previous designs to increase functionality. Maybe reprinting the clips in black could help hide them better. Also how much weight do you think it could hold?
I think this turned out really well! I love the idea of mounting records to the side. The ability to swap out record and constant evolve the look of the table was an excellent design choice. The blue 3D printed parts really stand out to me and I wonder if it might be cool to design them with some type of floral or natural shape. Possibly printing them in several colors to add the color you felt you were missing. Great job Arjun!
Good idea with the 3D printed mounts! Having the records on the sides really brings the whole piece together. One question I have is are you worried about the vynyl getting scratched if items are placed on top of the table?