
Post 8: Design Preview Presentation – (before the finished design before spring break)
Aesthetics:

I was still deciding on my aesthetic while also deciding on what I would like to make. I had thought of trying to combine the functionality and detailed intricacy of my preferred aesthetic with something more antique. Something along the lines of a reimagining of a retrospective look at something antique but done with modern methods. I called it the old new aesthetic. I compared the aesthetic being like an old well loved book. However, I wasn’t totally sure I would be able to lean fully into the aesthetic because I would like the design to remain more functional than ornamented.
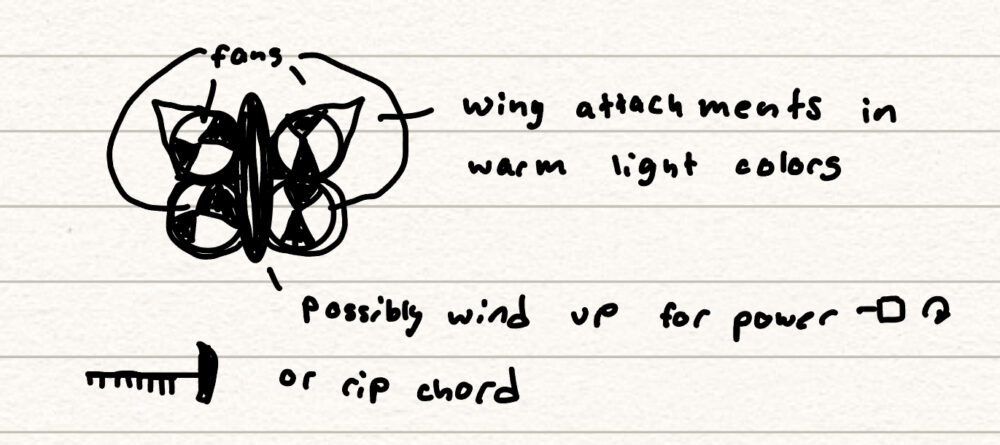
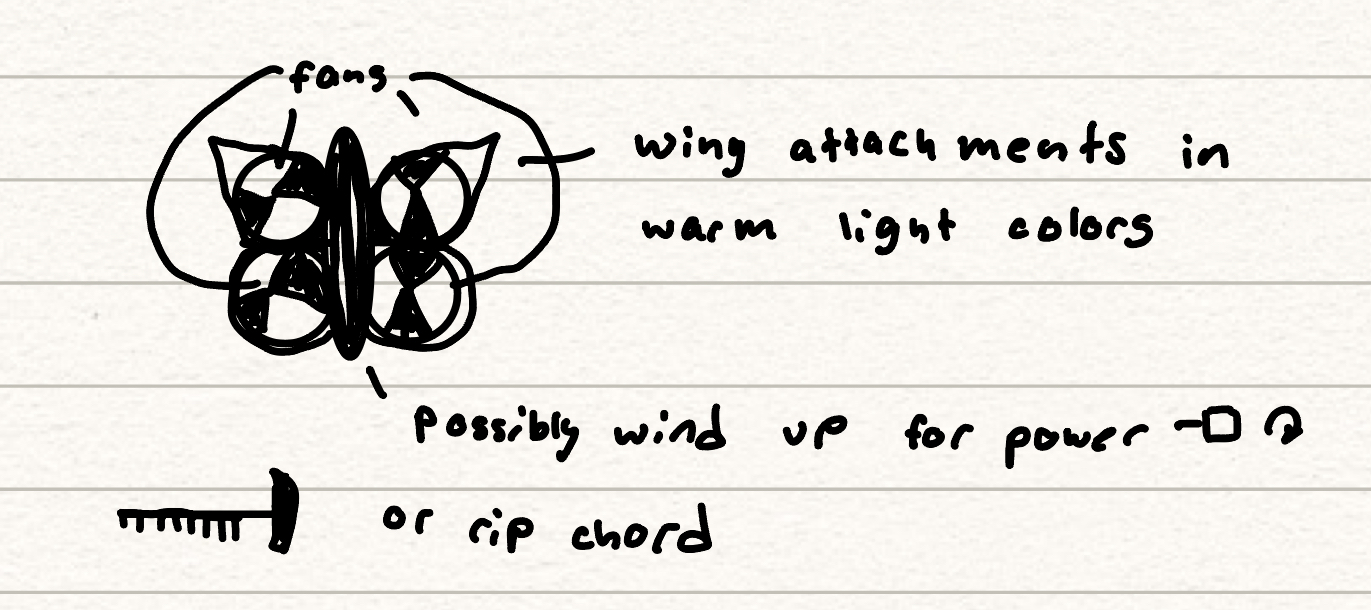
I also came up with alternative aesthetics, one being that I could try a whimsical aesthetic where I would round the edges and brighten up the coloring of the design. If I were to do the wall piece I could choose shapes that had softer curves and made the turning mechanic smooth and flowy. If I were to choses the flying machine then I could model the body shape after a butterfly and add warm colors.
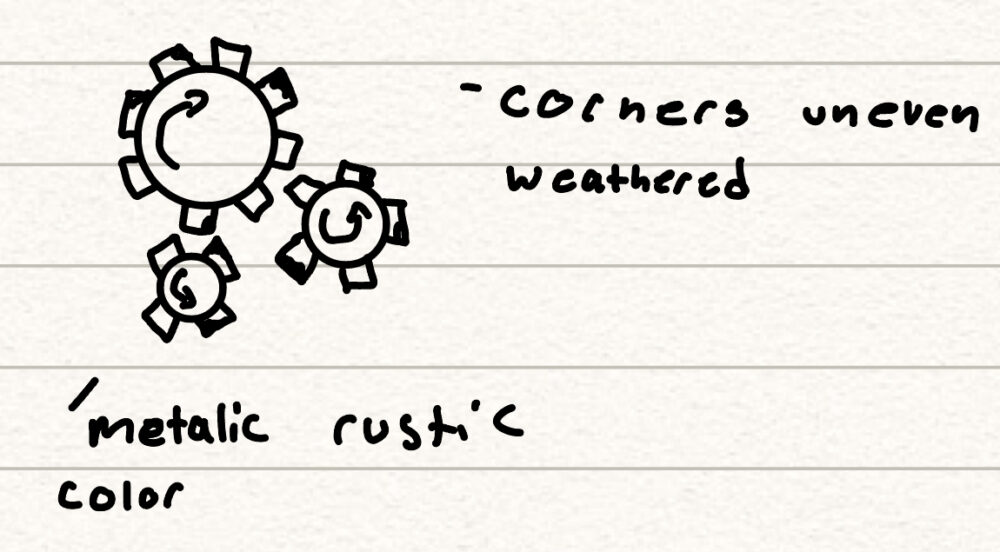
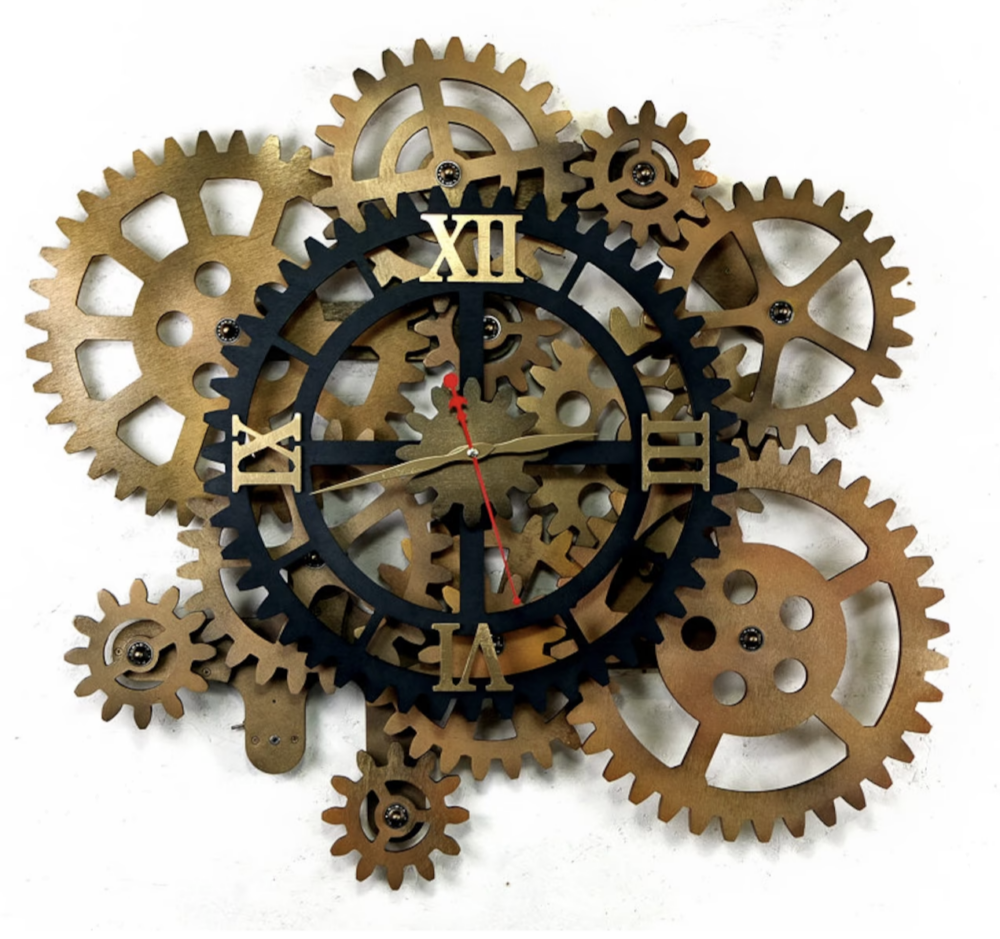
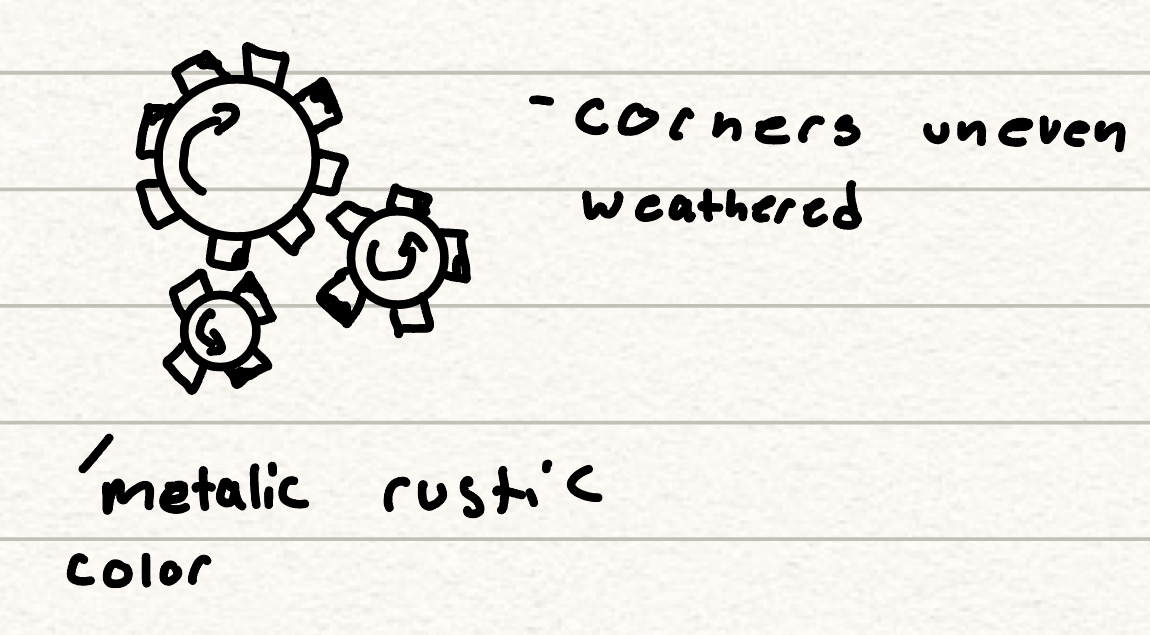
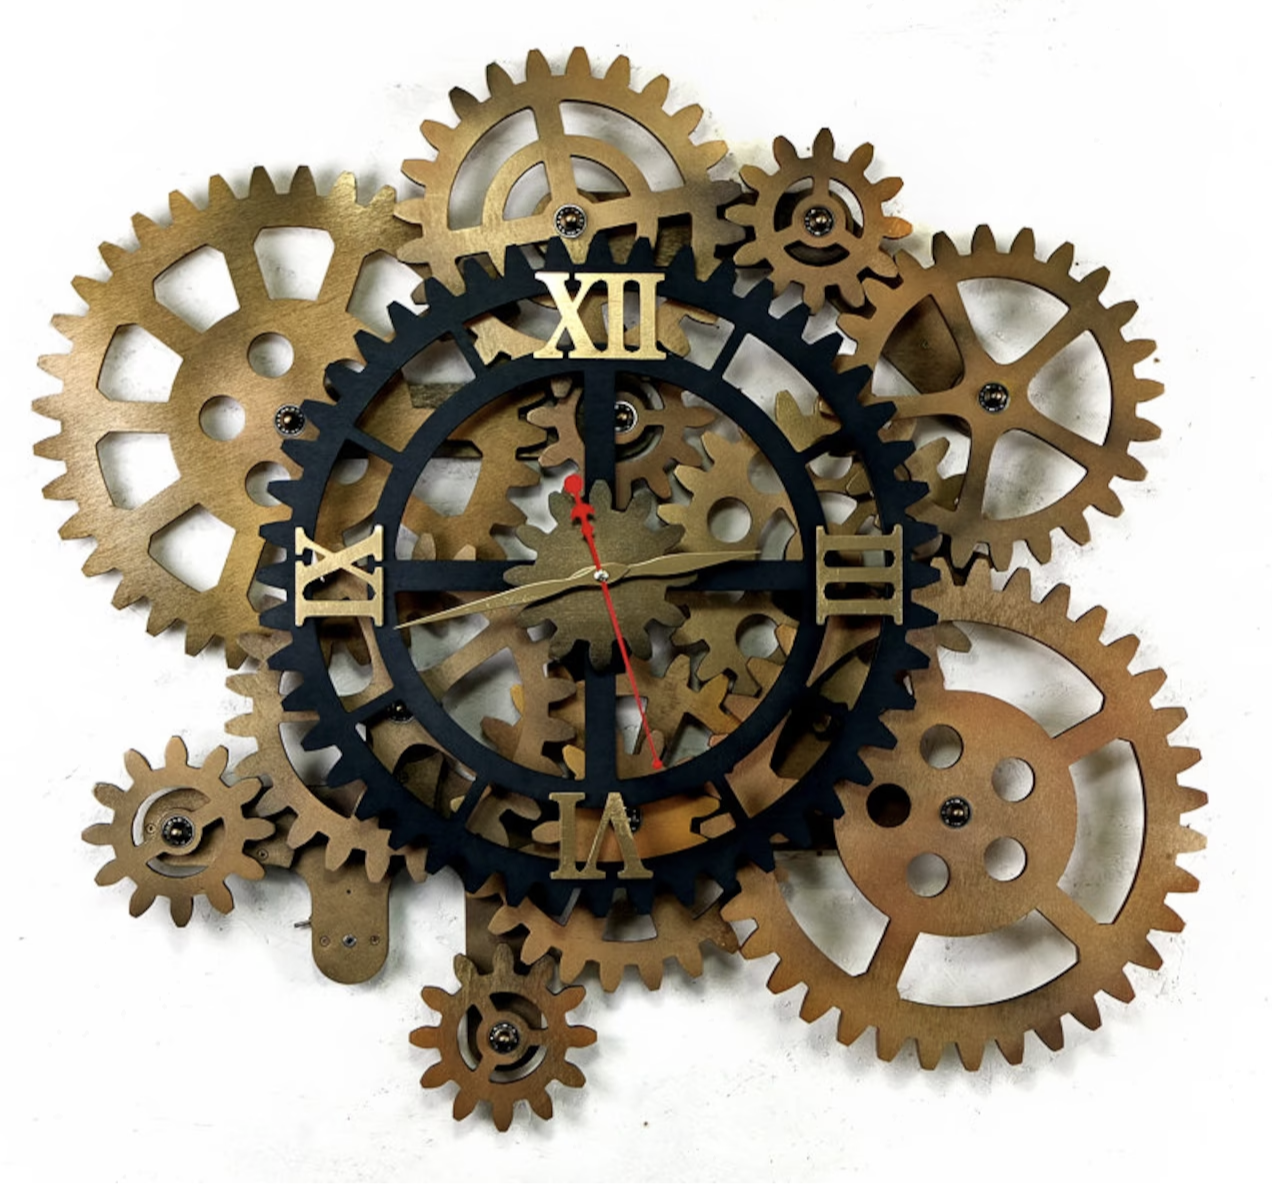
The other alternative aesthetic I thought about using was the steam punk industrial design so I could use gears and cogs and a metallic patina look. I think this could look quite interesting but am not sure it matched with any of my current aesthetics. So I’m not sure where I would place the project after I had finished.
As for the actual details of the design I think by adding some gear ratios and weights behind the aesthetic cogs so the front would spin for longer than expected would create an interesting effect. Then I would hide that behind the aesthetic cogs. Because it would be using weights and not a battery I think it would add to the aesthetic. I would add more cogs than is in the picture above and possibly turn the aesthetic cogs into a large image of something.
Design Ideas:
Since this project allows us to “make anything we want, as long as it has some sort of dynamic component (moving part or something that changes with time) I had a few initial ideas on what I wanted to make.
The first idea was to make some sort of dynamic wall art. I had seen a video once about a person whose hobby was making many different models of dynamic wall art. I thought it looked interesting and the prompt for this project brought that idea back into mind. I had an idea about adding maybe pulleys, weights or gears so the wall art would rotate for longer than an initial action from someone. I thought it might be interesting to hide that behind or in the piece itself so it gave the illusion that it would be very simple then surprise you with the hidden complexity.
The second idea I had was to make a small flying machine. This interested me because I hadn’t made anything like it so I knew there might be some intriguing things that I would come across while either building or testing it. Or more likely from somewhere I hadn’t even considered. As a passing thought I thought it might be challenging to make it not electronic so not powered by a battery and motors. Later I added to the shenanigans of no battery and motor by thinking it would be cool if I could make it flap like a bird. So the design idea went from a drone or electrically powered model airplane with propellers and the sort to some kind of flapping thing.
Decision and Material Collection:
I ended up deciding to go with the flying machine and so started looking for a design that I know had success in working. Since I had no prior experience making a flying machine I thought that would be the best place to start. By following instructions that meant I would hopefully also get a working model and if I had the extra time and resources it would also provide a nice jumping off point to make modifications.
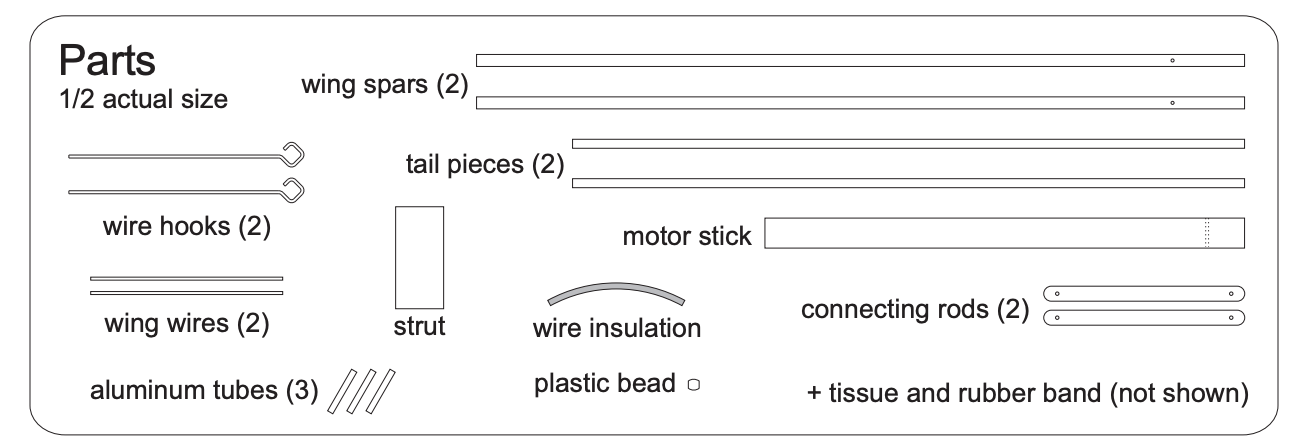
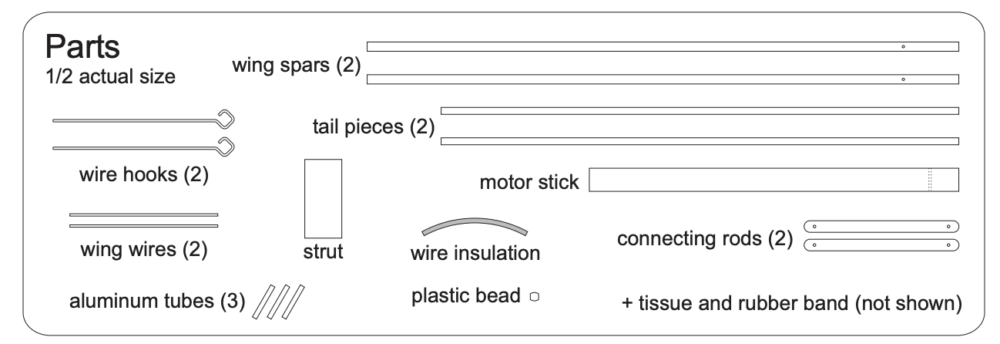
During the research process I found a great resource where it gave instructions, pictures, supply list etc (I have put the link in the citations below.) The design and instructions that are allowing me to do this were made by Nathan Chronister and those instructions let me start trying to gather materials.
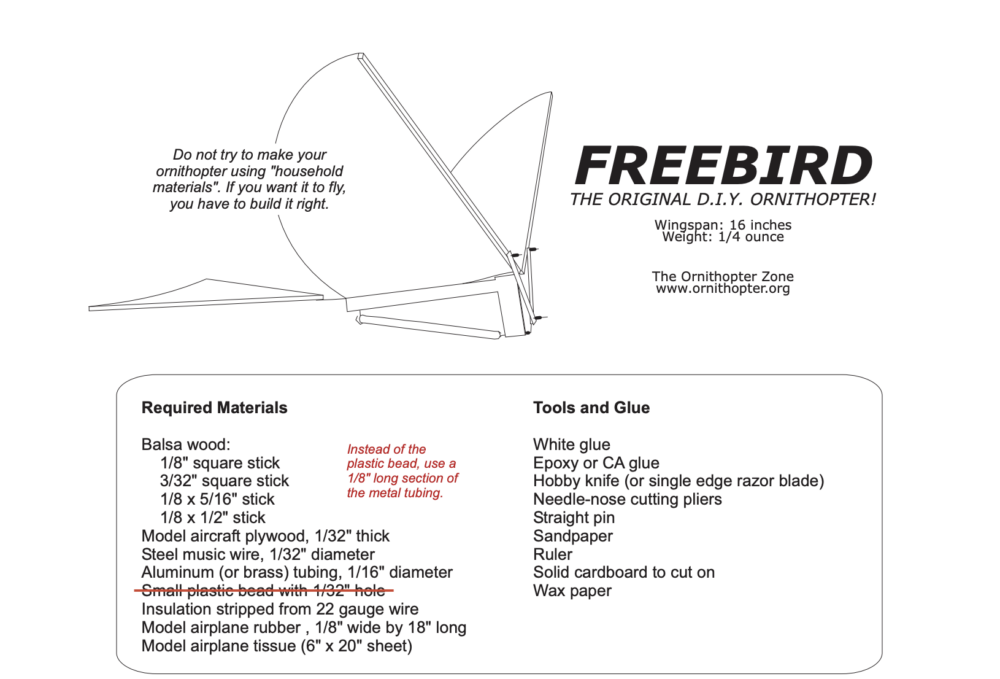
I had a bit of trouble finding any of the right materials for the “local hobby store” like the instructions had indicated. So I turned to getting my materials online. Some of the parts were difficult to find and the instructions used a bit of jargon that I was not familiar with like model airplane rubber or model airplane tissue as a few examples. That made the process a bit more stressful because I didn’t want to waste the material or the time or money it would cost to correct the mistake. But, once I had most things ordered it was time to wait.
Update on the Progress:
Luckily everything did not take too long to arrive, a little over a week. The next step was to prepare and arrange some parts to make assembly a bit easier. That is the part that I am currently on. I have a few pictures to share on that process but it is mostly just cutting the balsa wood down to size gluing some pieces together because I was unable to find the exact measurements that they had specified (I am hoping the extra glue will not affect the weight distribution or functionality in any negative ways.) Then I am also cutting down the wires to size and bending them to become hooks. Cutting the metal tubing is a similar process to the wires. Then both the tubing and wires are sanded down so the ends are flat. Something that I decided not to order that is giving me some trouble now is the model aircraft plywood that is 1/32” thick. I thought I would be able to use popsicle sticks but now that I need them I do not seem to be able to find them. So I will have to make my own out of plywood and trim/ sand them down to size. The instructions are also directing me to make holes in some of the wood so that is another step that I will need to do to the homemade plywood sticks after I make them. After all the prep work is done I can start assembling the flyer. There also looks to be more smaller prep work that I will need to do in between some of the steps.
______________________________________________________________________________________________________
Citation:
https://ornithopter.org/archive/freebird.pdf
https://www.instructables.com/Covering-a-model-airplane-in-Tissue/
^— This website just helped me get a better sense of different aircrafts and what the airplane model tissue was.
______________________________________________________________________________________________________
Prompt: Describe your vision for your project, the specifications that you developed for its function and its form, your artistic vision and aesthetic. What are you trying for? Show your alternate aesthetics, and discuss whether this changed your approach. Include and describe your initial sketches and final design plans. Include your CAD drawings if you are using CAD in your design process. Document any prototyping or fabrication progress to date. Create a timeline graphic. Add a detailed description of your fabrication process. How are you going to make your artifact? What are the steps? Do you have to learn a new skill? How? Describe the steps shown in your timeline graphic.
5 Comments. Leave new
[…] Post 8: Design Preview Presentation […]
Hi Sophie,
This project is really intersting! I have never seen a flying machine until reading this post. I like how you have your parts easily laid out. One question I had is are you planning on making multiple if the first one breaks?
Yes, I will be making a few along with making some extra pieces especially for the parts that I think will be more susceptible to break.
I also will be testing in grass to try and mitigate some of the potential breakage.
Great work on this post Sophie. I really like the idea for this project and think that it fits the scope well. I was wondering if you were going to make any modifications to the flyer in order to make it more your own? I think that it would be interesting to add design elements to help communicate your aesthetic. I am excited to see how this project turns out!
Hi Josh good question! Yes, I am planing on making a larger model that will have larger balsa wood parts than the model that I talk about above. It will hopefully follow a similar form as the original but because it wont be scaled directly and because I will be changing quite a few things to account for the larger size there isn’t a guarantee that it will fly. Though making the larger model wasn’t solely because I wanted to make it my own and have it function perfectly. I thought a larger model would make it easier to see the different components and understand how everything functioned.