
I lied to all of you. In my last post, I showed a picture of a mid-century modern xylophone and said I would not be doing this project in that style. Surprise! I actually loved the look of that sketch so much that I decided to make it the aesthetic of my final project.
Design Inspirations
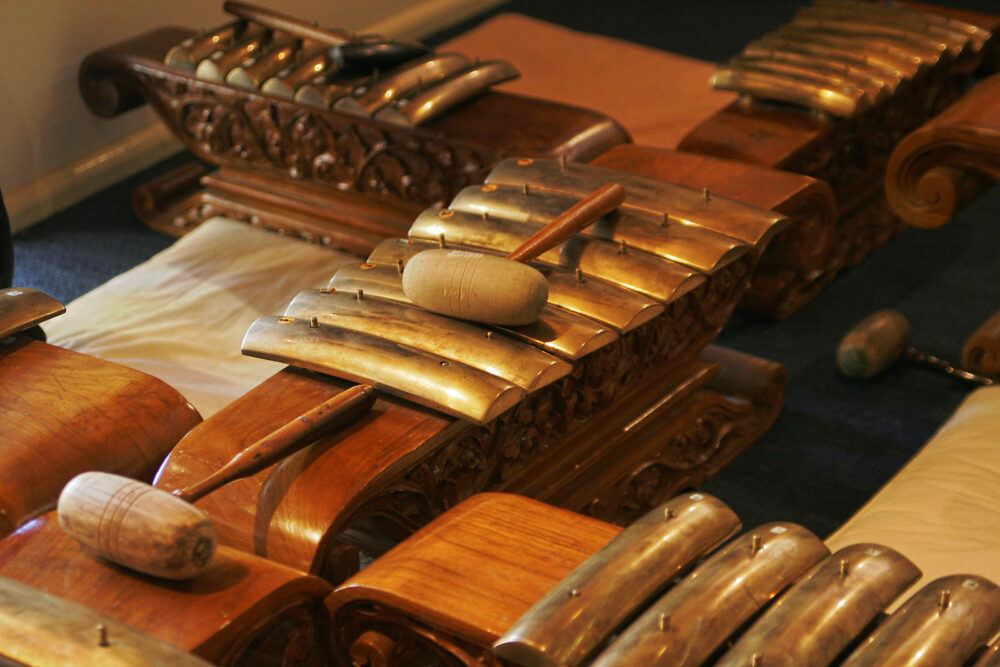
For those of you who haven’t seen my last couple posts about this project and my inspirations, here is a brief recap.I took a music course last year called “New Musical Styles and Practices” (which really covered musical styles from the 1880s to the present—that’s “new” for classical music), and one of the things we learned about was Javanese gamelan music and how it influenced French Impressionist music of the late 1800s. These gamelan orchestras are mostly percussion instruments (i.e. bells, gongs, drums, etc.) which are very ornately designed and produce a sound that’s very pleasing but unfamiliar compared to the sound of western music.
Preliminary Design
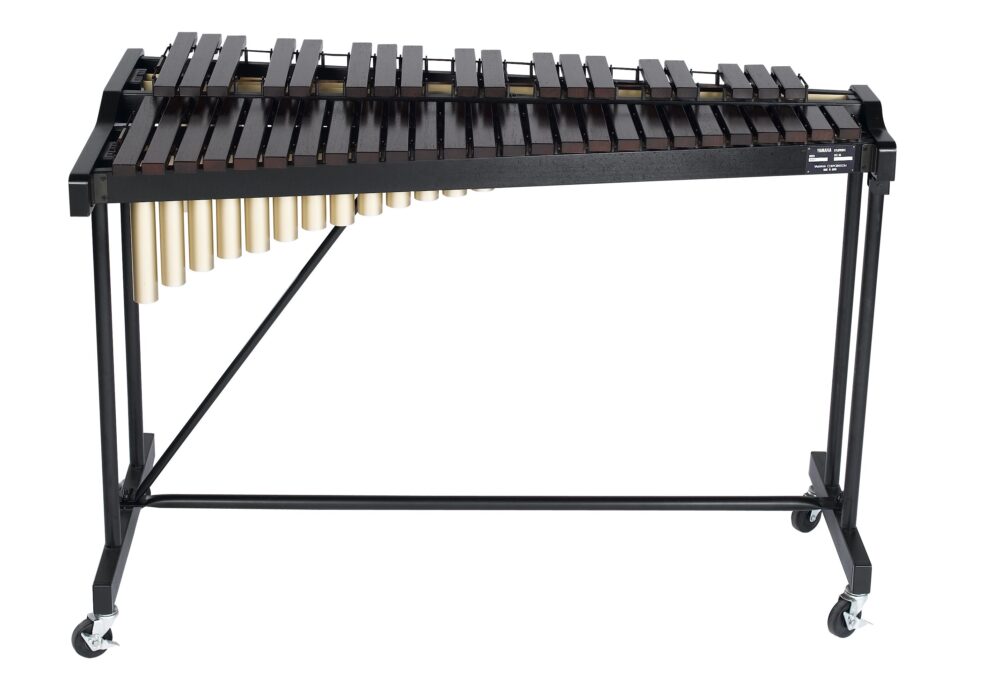
This xylophone is going to be unlike any that I’ve seen before, because it’s very stylized in the mid-century modern aesthetic. Xylophones (and musical instruments as a whole) don’t really ever change with the popular aesthetics of the time—a xylophone from the 1950’s would look very similar to one that was made yesterday. Instruments are utilitarian in nature. While they are stylized and don’t look ugly by any means, instruments need to be laid out in very similar ways across different models and brands so that a musician can adapt to new instruments without having to re-learn the layout. CU Boulder, for instance, has at least 6 or more xylophones around the music building and they’re almost all different brands/models (but they all look more or less the same).
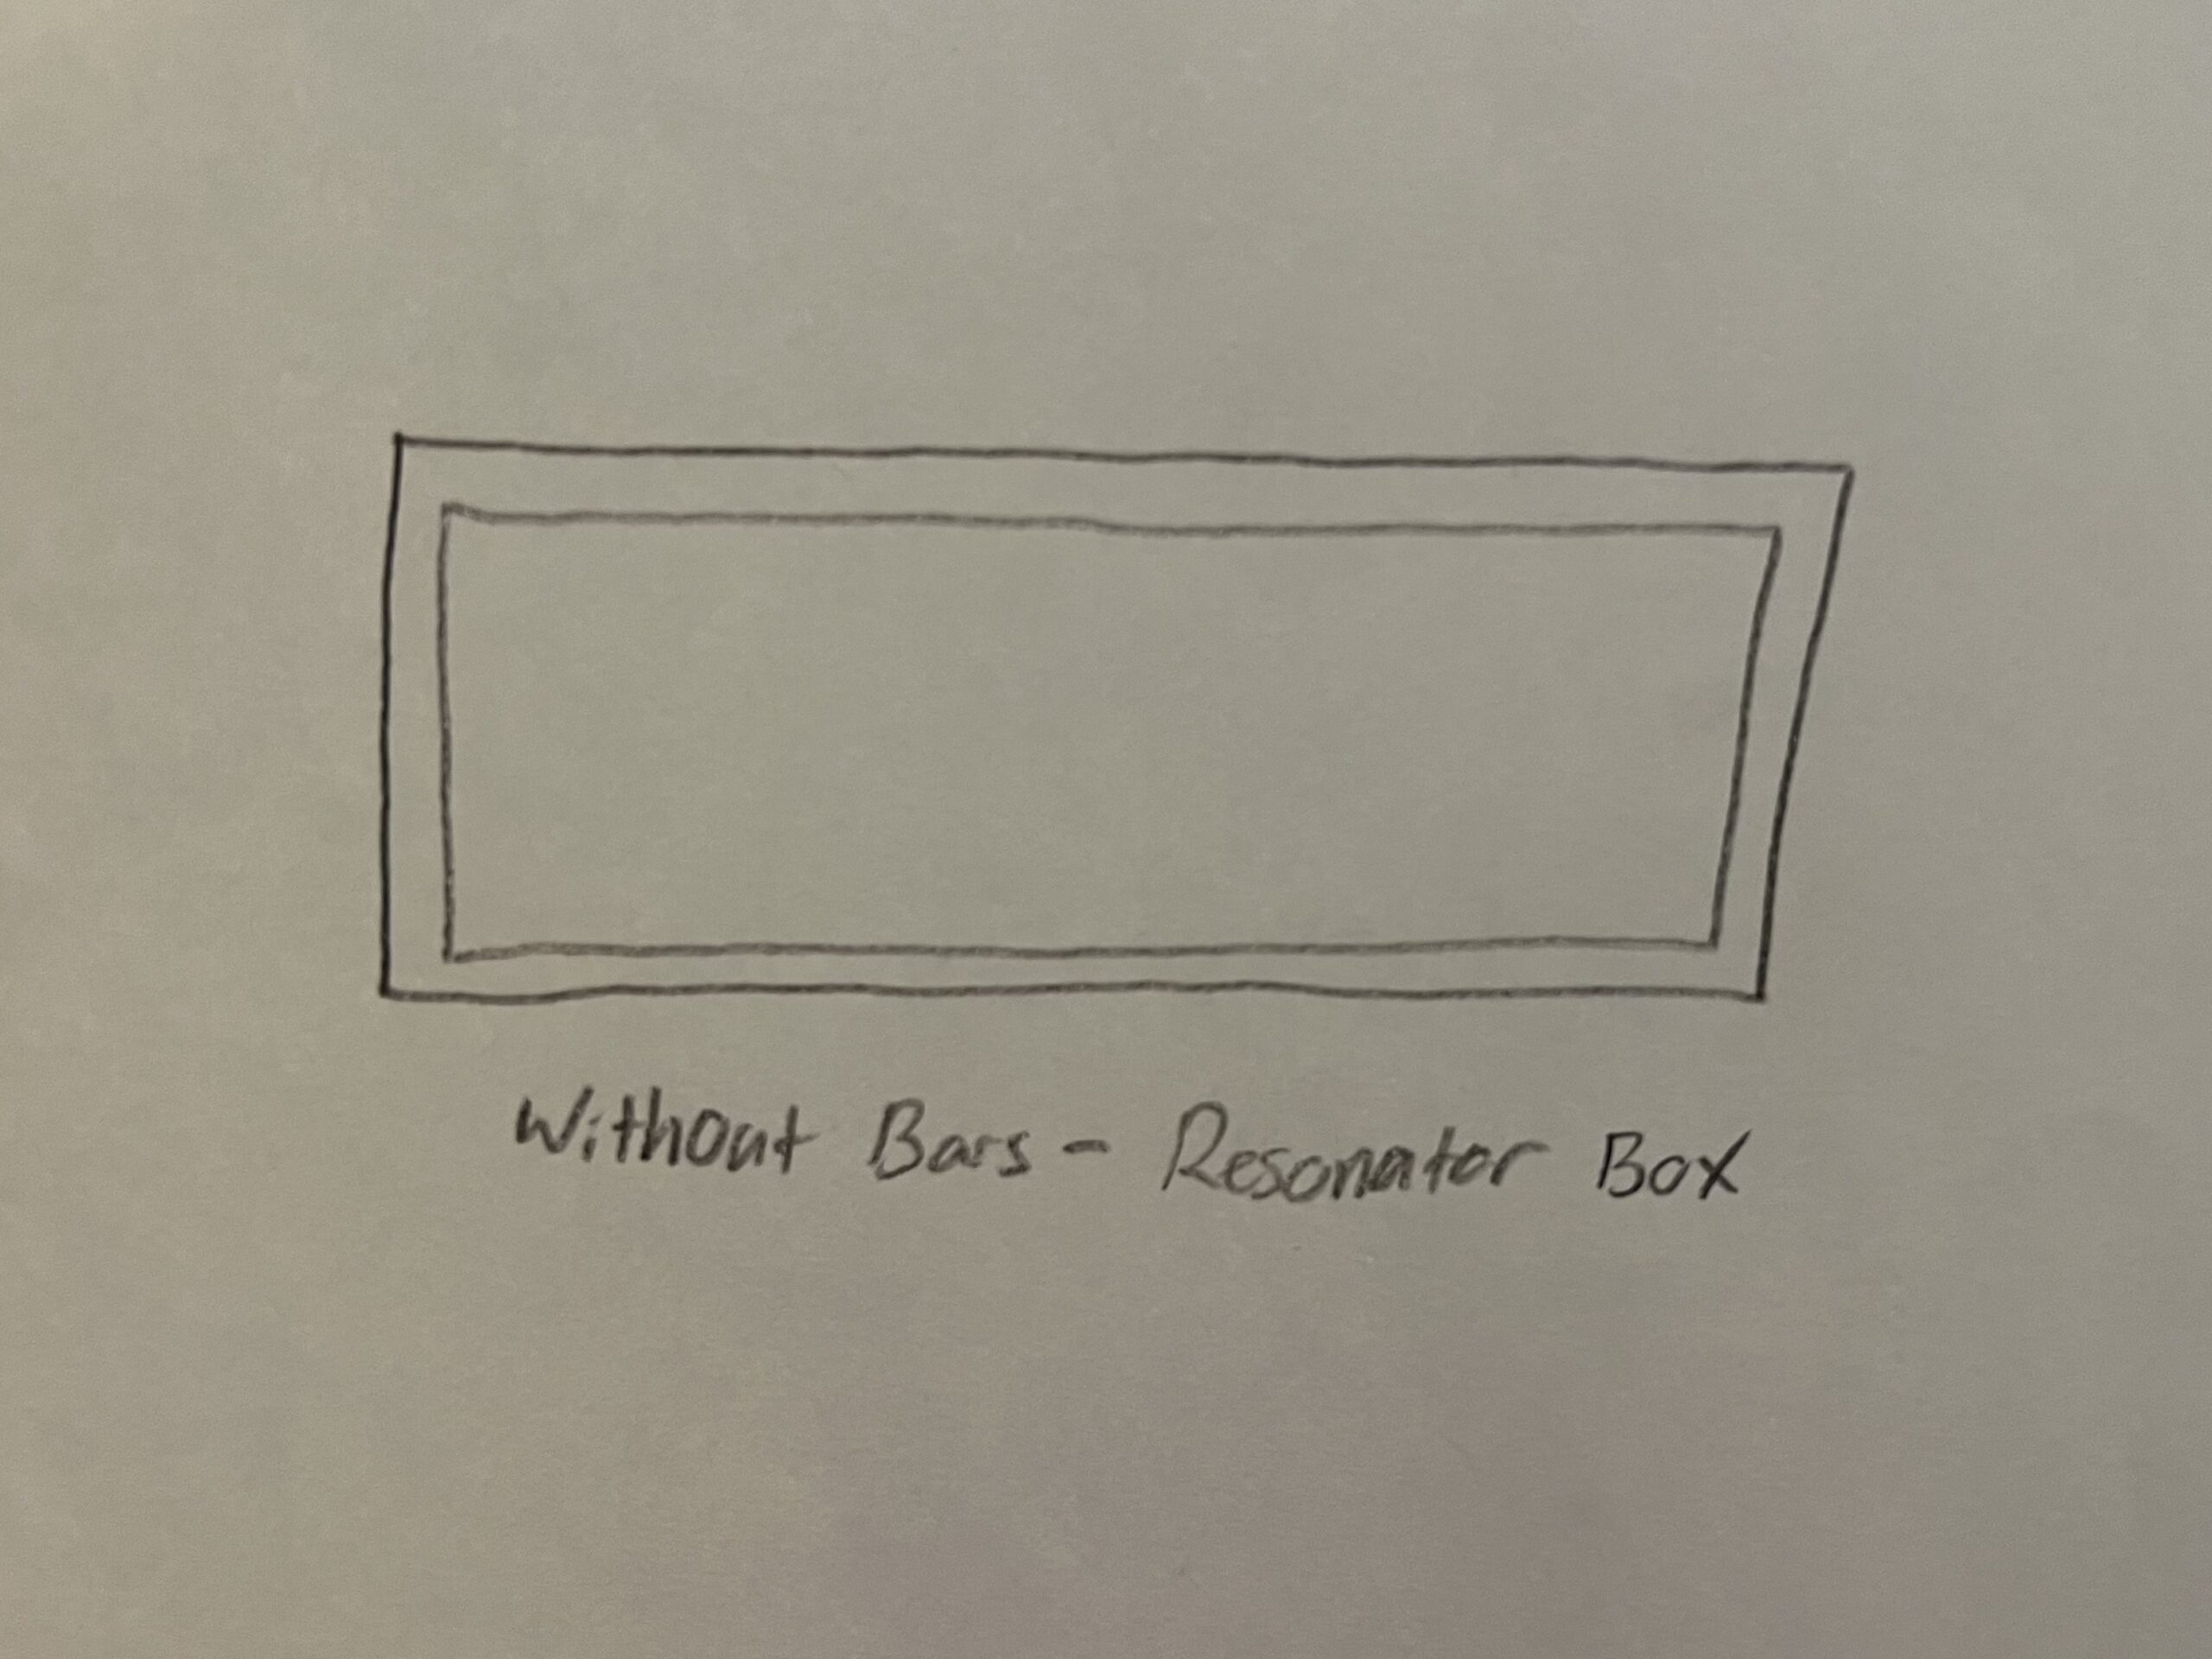
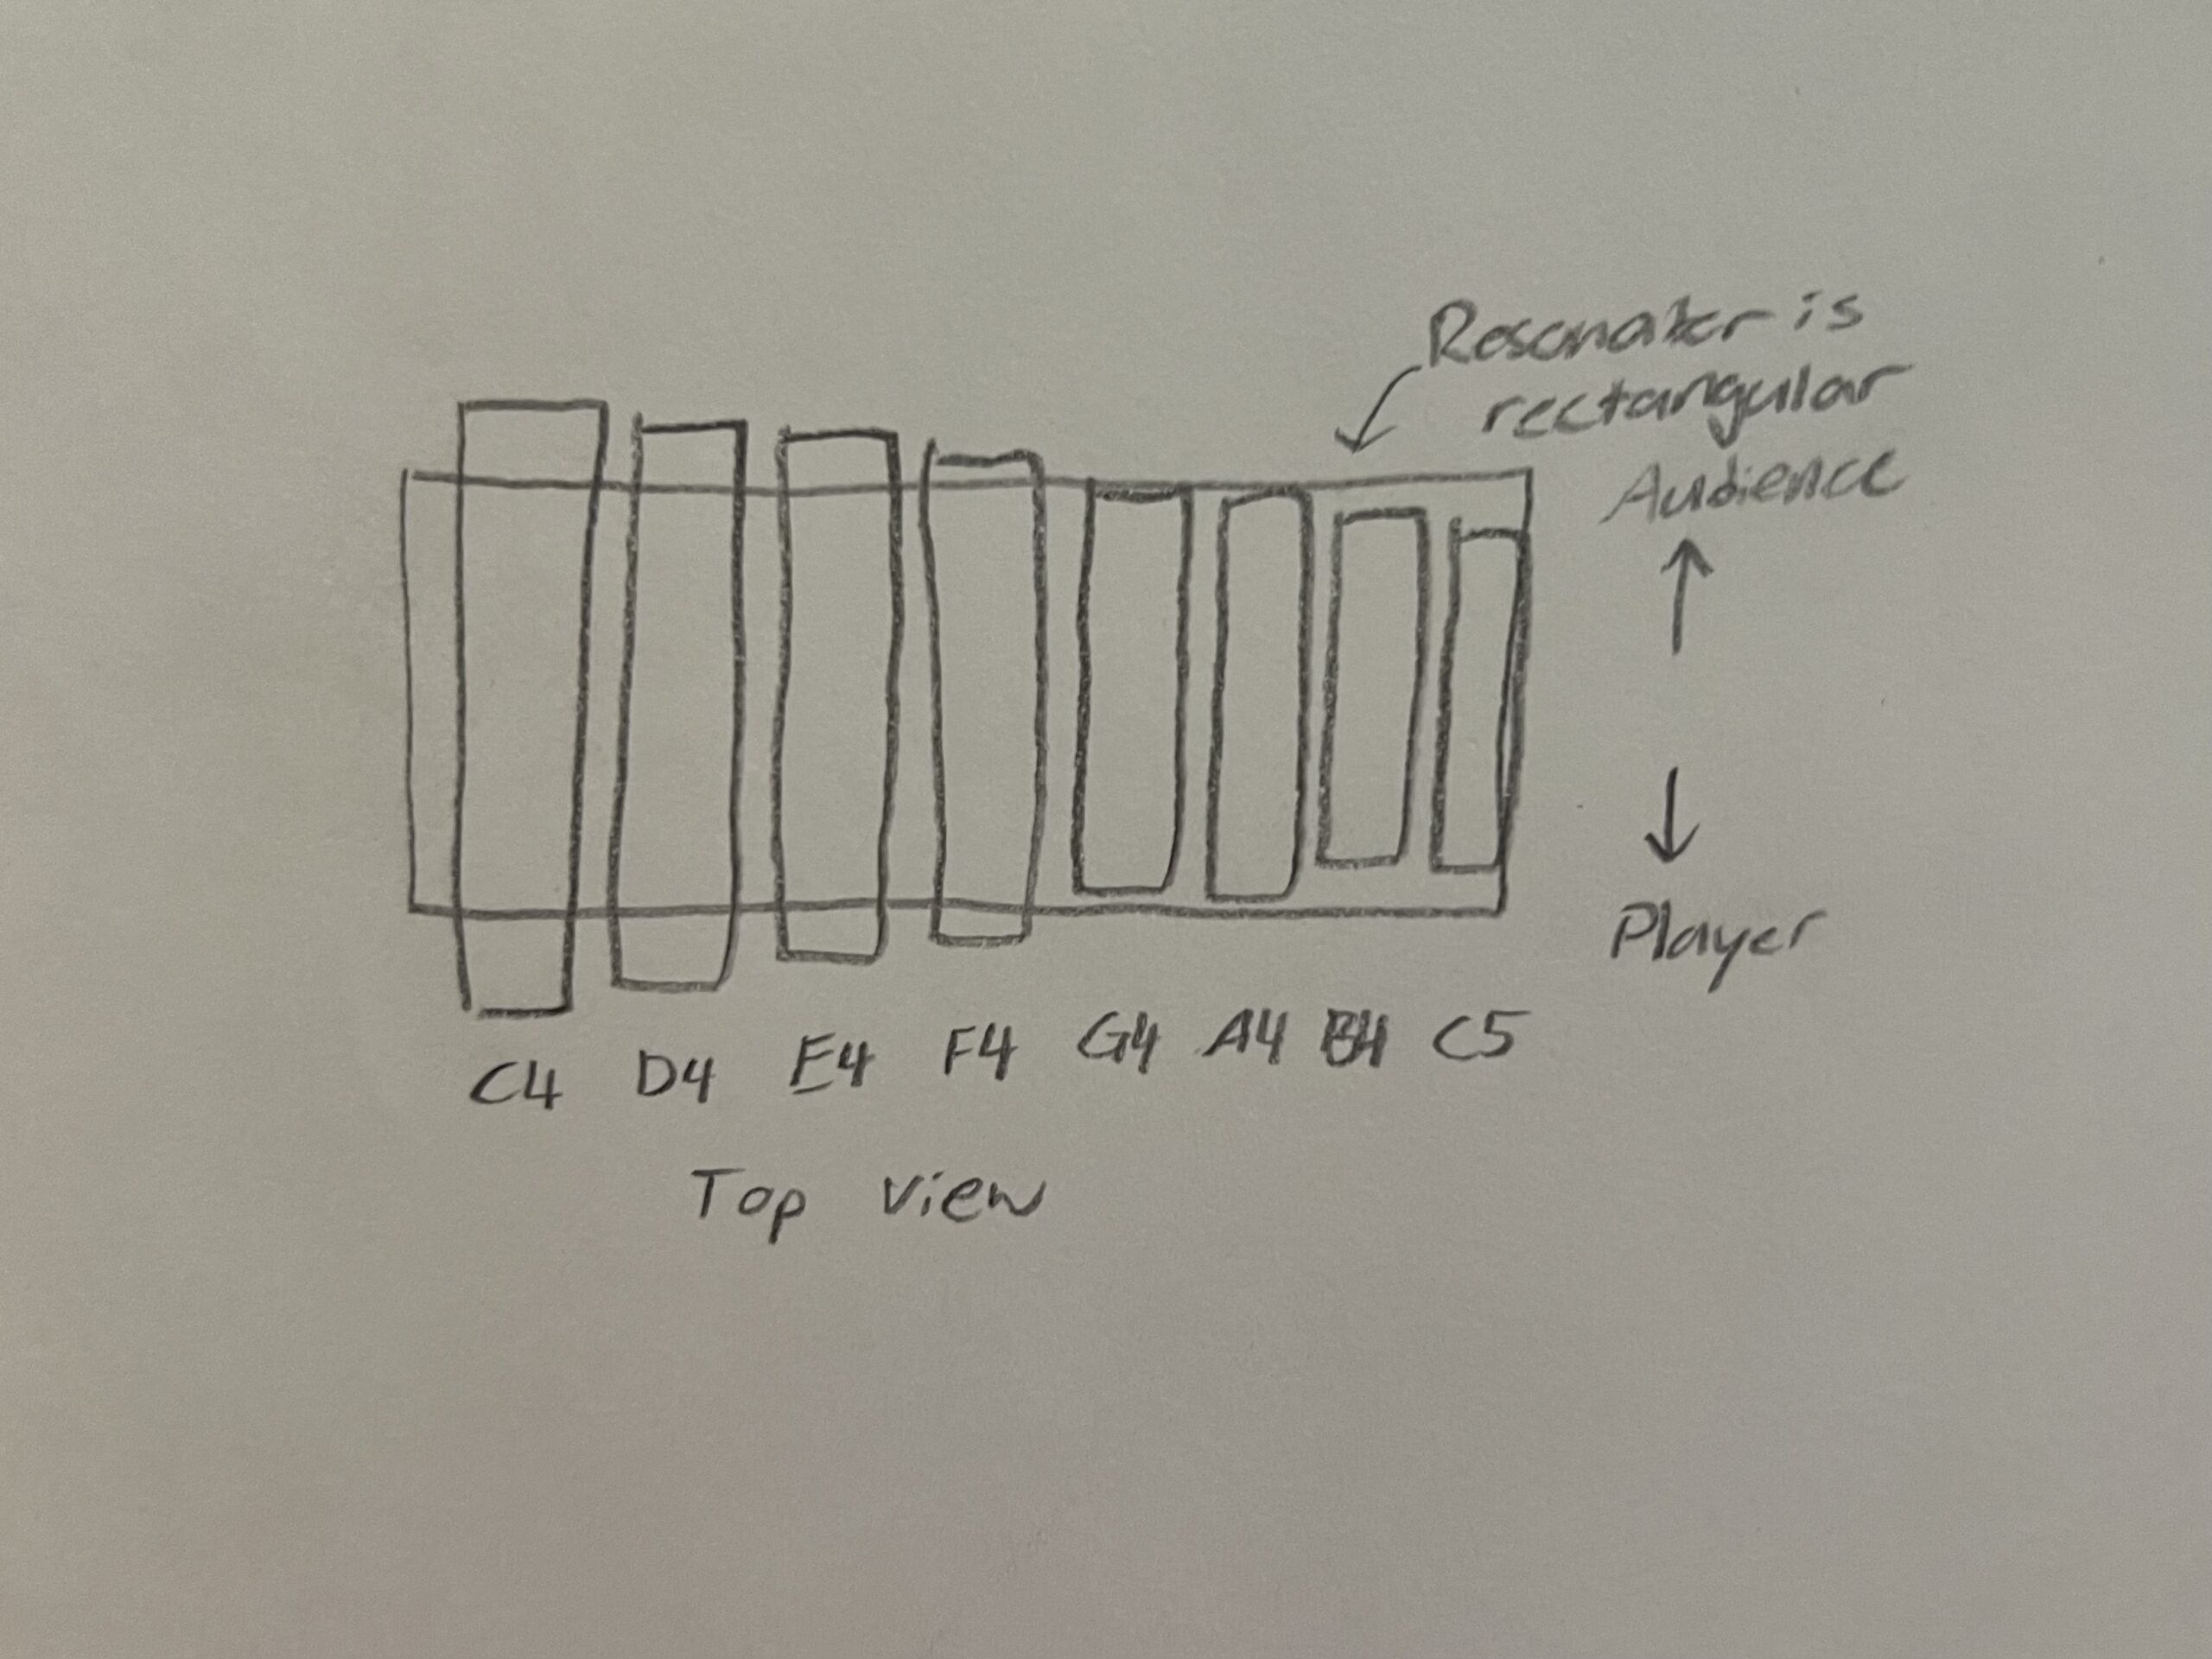
This particular xylophone is going to be much smaller than what you’d typically see in a classroom or a concert hall. My design uses a box resonator, which basically means that all the keys use a single hollow box underneath them to amplify the sound, as opposed to a series of tubes underneath each individual key to amplify the sound. This works in my favor because of the “boxy” nature of mid-century modern, and should amplify the sound just fine.
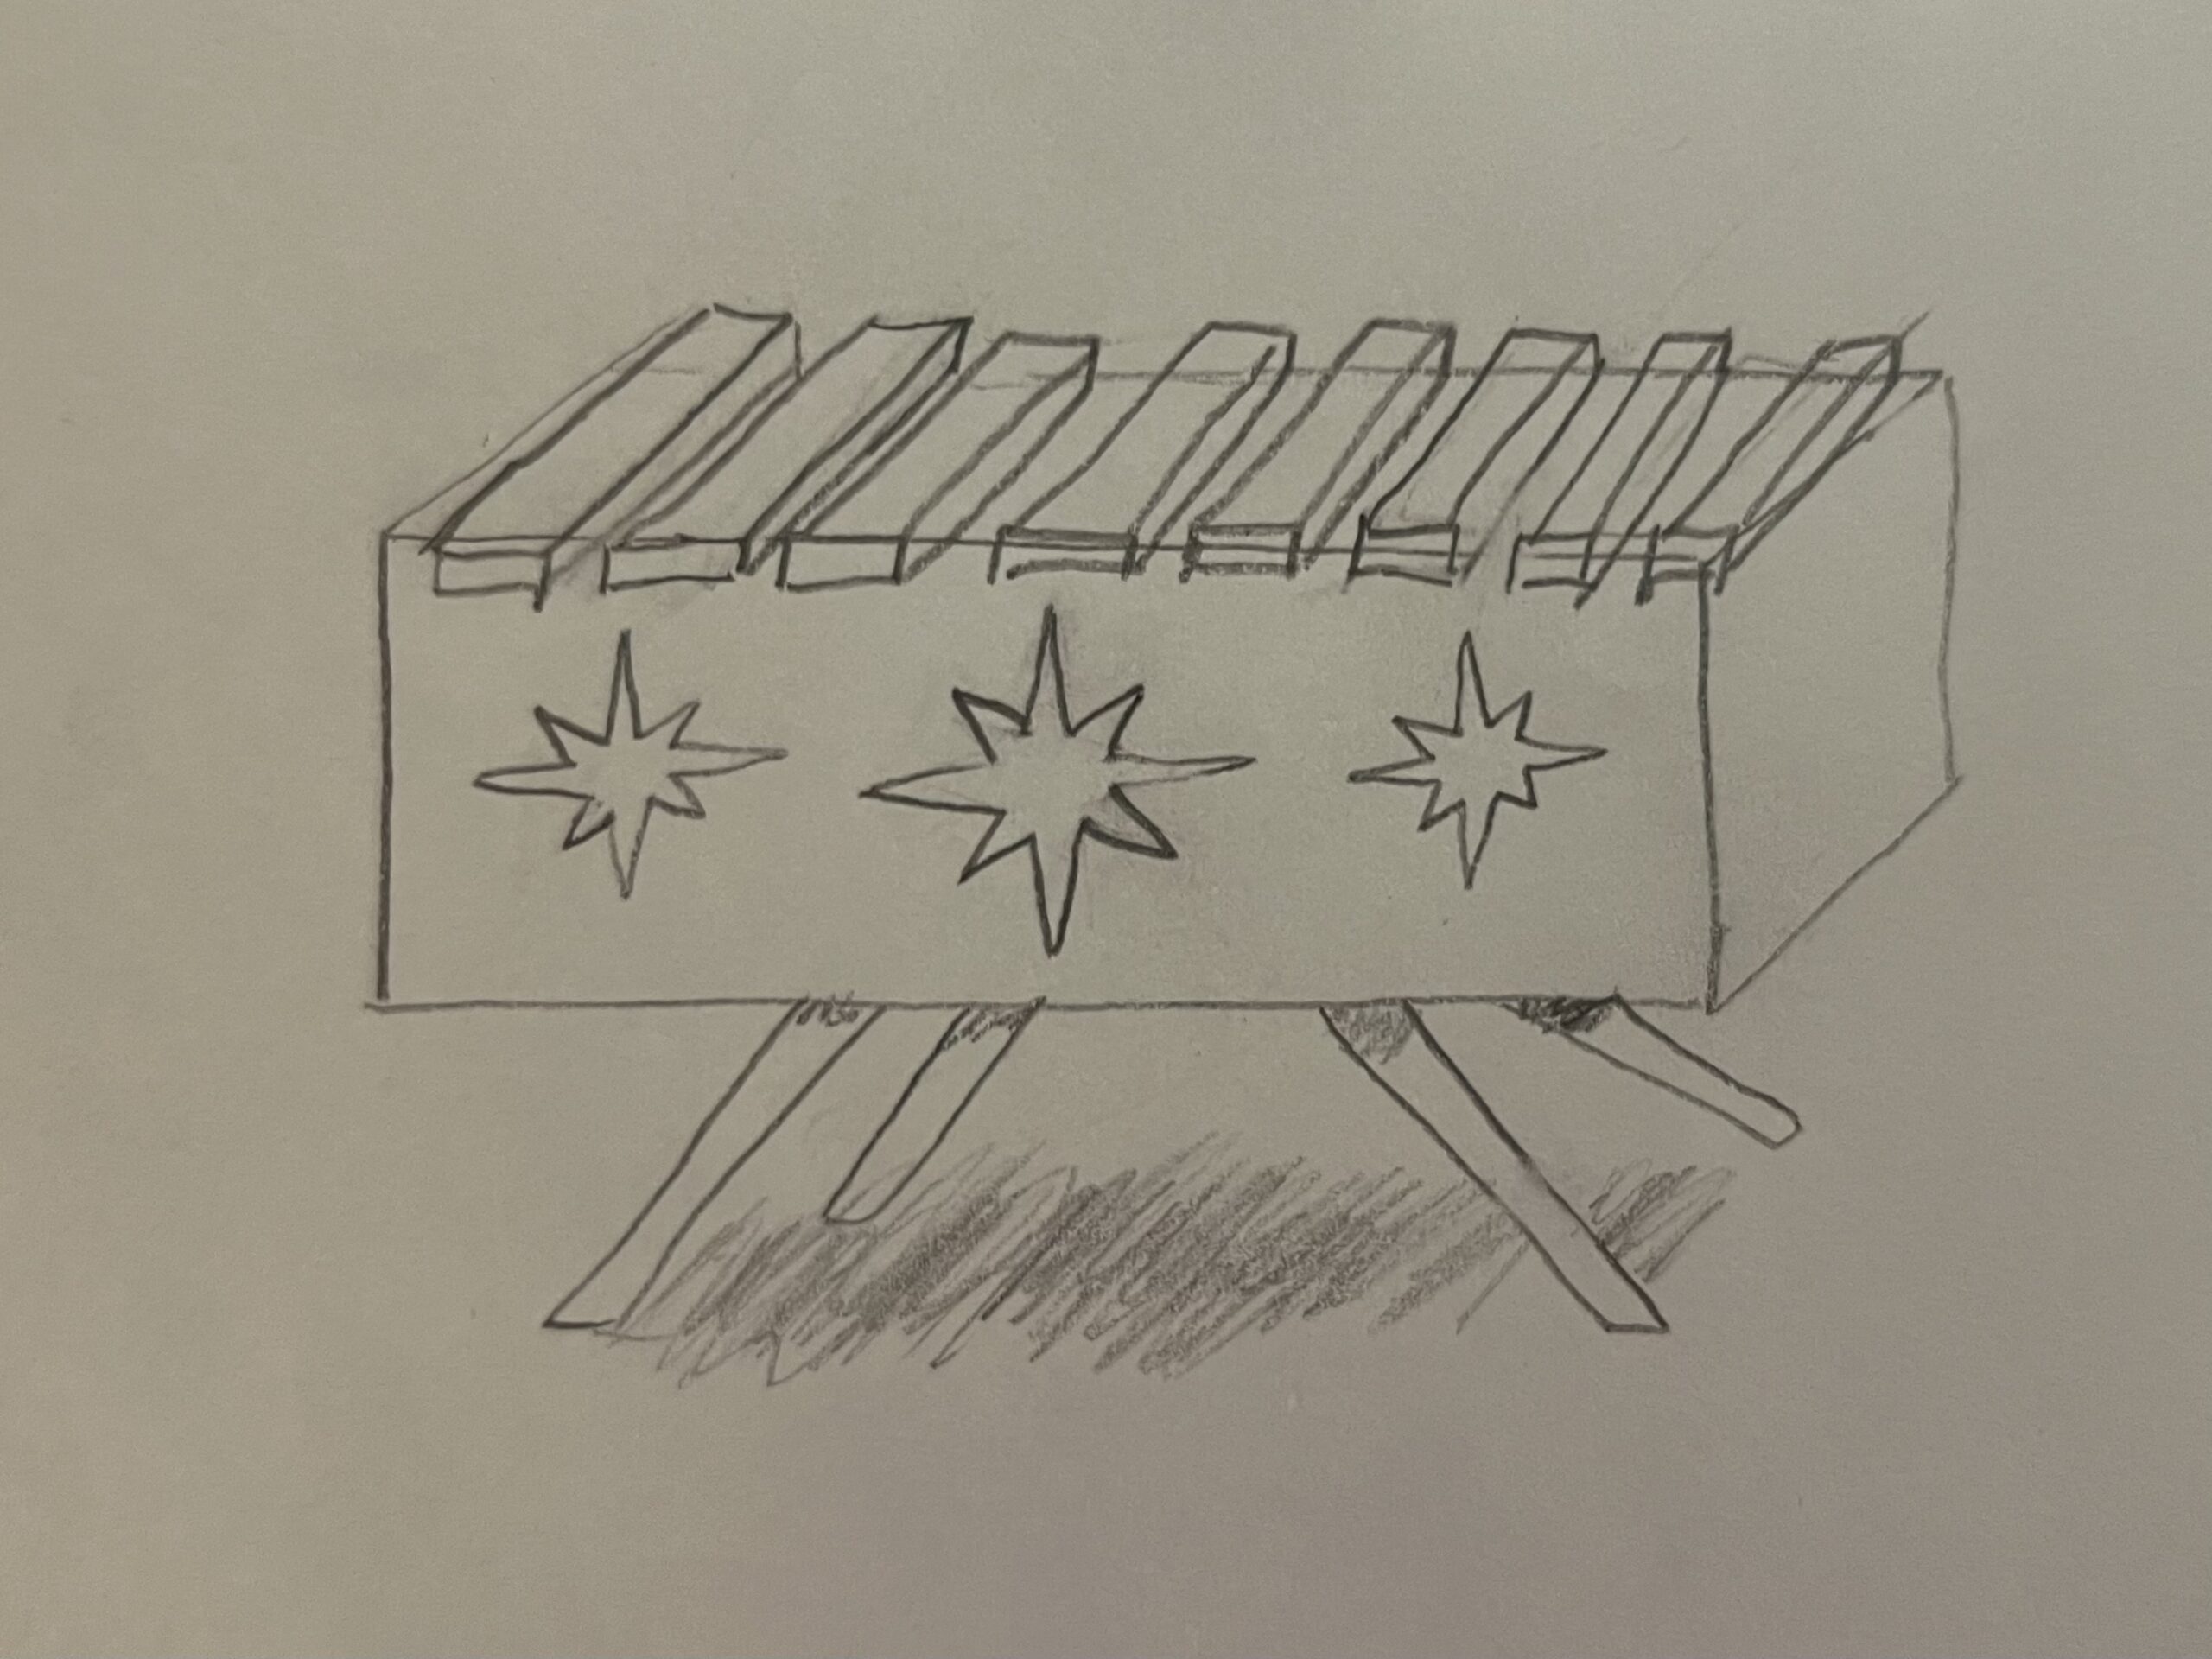

One part of this sketch is misleading, and that is the size of the keys. Mallet instruments usually have graduated keys, meaning that the low notes are wider and the high notes are narrower. This sketch shows them going high to low from the player’s perspective, but it is actually the other way around.
Material Choices
To make a xylophone, you need to make keys out of wood. To make a good xylophone, you need to choose from a select few species of wood that have the harmonic characteristics that make a good instrument. The top choice is Honduran rosewood, an endangered species of tree which is ridiculously expensive and legally regulated. There are two other quality hardwoods that are more affordable: African Padauk (puh-dook) and Purpleheart. I have worked with both of these woods before in previous attempts to make mallet instruments, so I have a good idea of their characteristics. Padauk has a rich orange color (and makes lots of rich orange sawdust), and purpleheart is, well, purple! It tends to turn brown when exposed to air, but if it’s sealed in with UV-blocking varnish the purple color can be preserved. I personally prefer working with Padauk since purpleheart loves to splinter, so I am going to try and get my hands on some for this project.
To make the box, I have many choices as to what kind of wood to use. I plan to paint the box a mid-century modern “sage green” color, so it would be a total waste to paint over a choice piece of walnut for this. Plywood is a possible contender; the box doesn’t need to be a specific type of wood to resonate properly, and the rare African hardwood is probably going to eat up a lot of my budget anyway. Depending on what I can find at the lumber store, it looks like I’m going with plywood for now.
Fabrication
While I enjoy woodworking, as an engineer that deals with almost entirely metal, woodworking is something I very rarely get to do. This piece is essentially just a bunch of wooden rectangles put together, which is something I feel very comfortable doing in a wood shop. To make keys that are the necessary dimensions, I will need to:
- Cut the keys to the proper width on a table saw
- Cut the keys to the proper lengths on a miter saw
- Plane the keys down to the proper thickness (½”) on a planer
- Cut a bevel on the corners of the keys with a router (for aesthetic purposes)
These are all basic operations that I feel comfortable doing, but I am sure that my skills are rusty and I may need to practice on some scrap wood before I’m ready to cut up the African Padauk. The box is, well, a box. I feel confident in my abilities to cut wood into a rectangle and glue them together. The one thing that I know is going to give me a lot of grief is cutting out the star shapes in the front of the box. I am going to have to defer to Josh in the IdeaForge Makerspace to guide me on how best to make these shapes. I will likely have to chisel some of it out, which is something I have never done before.
Tuning the keys
To make the xylophone keys actually sound like musical pitches and not just hitting a piece of wood, they have to be tuned. Entire books can be (and have been) written about how this works, so instead of explaining it here I will link to a good article that explains it well [5]. Essentially, I have to carve out an arch on the underside of the bar in order to change the resonant frequency of certain modes of vibration across the bar. Instrument makers like Yamaha have this really dialed in, with expert tuning technicians with decades of experience to make their bars sound incredibly good. For me, someone who has essentially never done this before, I’m going to probably end up with bars that may be in tune but just don’t sound as good as the concert quality instruments. I’m okay with that!
Project Timeline
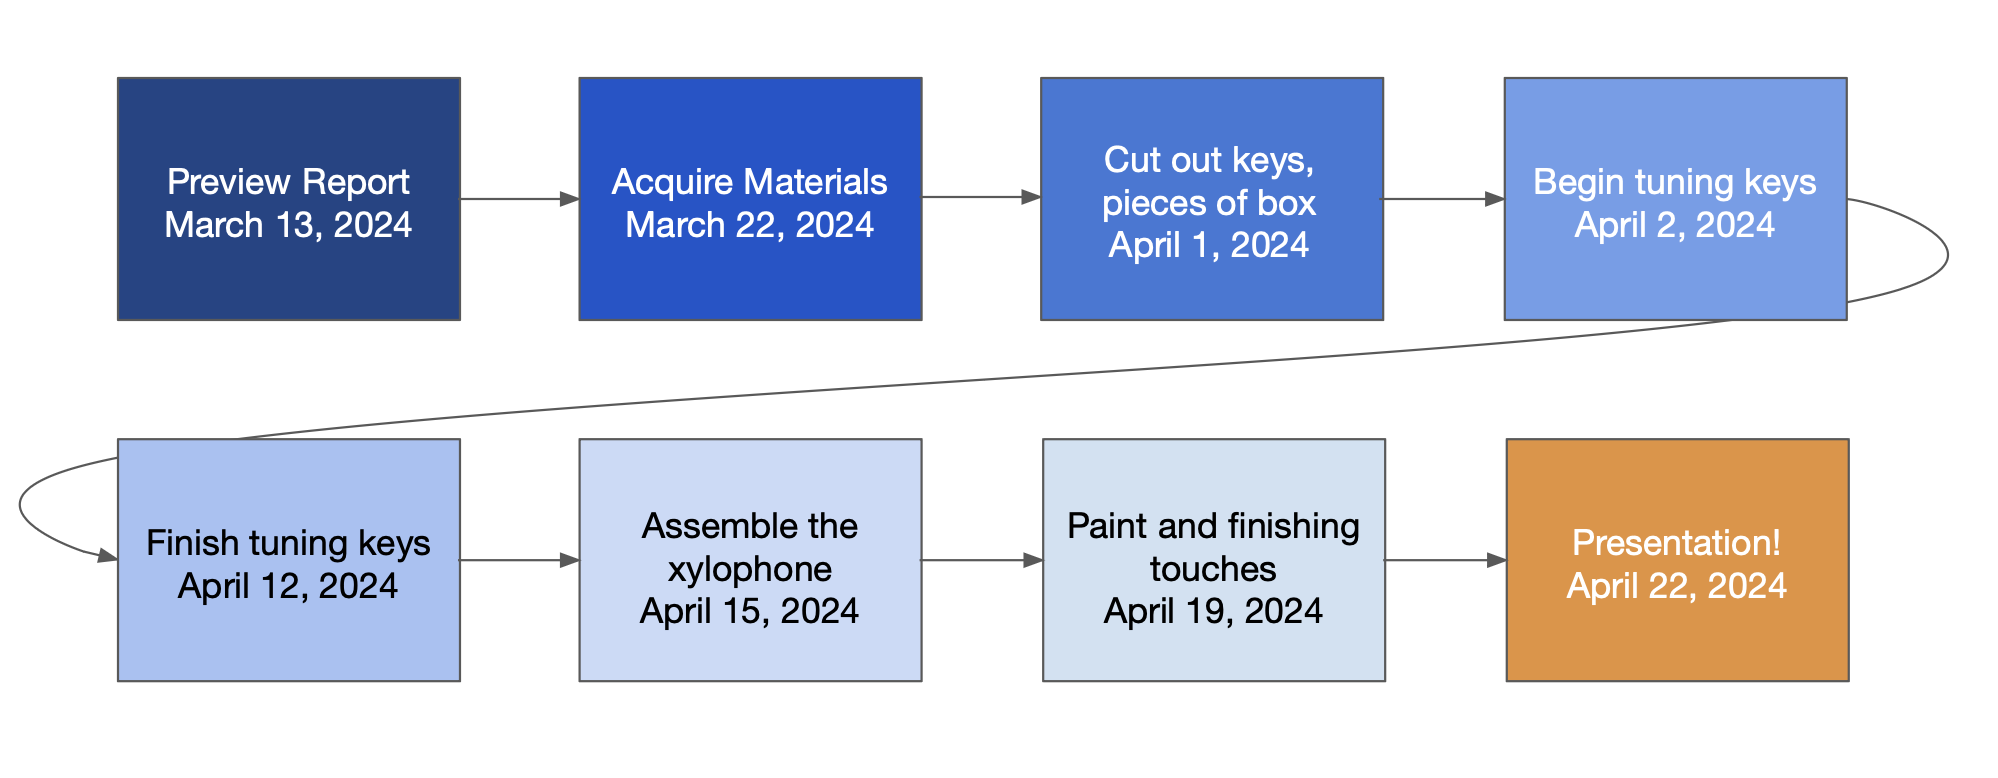
I think that I should have ample time to complete this project if I budget my time accordingly. The one hiccup is that the month of April is the lead-up to the Senior Design Expo, so I will need to work carefully to make sure that I can juggle these projects simultaneously. I made sure to allot 10 days for tuning the keys, as I know that this is going to be the most intensive and tricky part of the project. I will need to spend countless hours sanding down the arches under the keys to get them in tune, and I need to carefully check the pitch of each key periodically to make sure I don’t go too far.
I am very excited to attempt this project, and if I plan carefully and work effectively then I think it will turn out great!
[1]. Sarons. Retrieved from https://commons.wikimedia.org/wiki/File:Traditional_indonesian_instruments.jpg [2]. Yamaha YX-135 Xylophone. Retrieved from https://usa.yamaha.com/products/musical_instruments/percussion/xylophones/yx-135/specs.html [3]. My Personal Aesthetics and Project Inspirations. Joshua Sweeney. https://www.aesdes.org/2024/02/29/my-personal-aest…ect-inspirations/ [4]. Main Project Plans and Alternatives. Joshua Sweeney. https://www.aesdes.org/2024/03/06/main-project-pla…d-alternatives-5/ [5]. Tuning a Marimba Bar and Resonator. Jeff LaFavre. https://www.lafavre.us/tuning-marimba.htm
2 Comments. Leave new
Hey Josh! I think this is a really cool project and I think the sarons for the inspiration are really cool. How do you plan on making the notes completely accurate for the xylophone? Good luck on the project!
Hi Garrett, good question. It’s a very complicated process that I’ve tried before with limited success. Basically, as you sand an arch into the underside of the bar, it makes the note flatter (lowers the frequency). So, the idea is to start with a bar that’s too sharp and gradually lower the pitch. It’s pretty much a guess-and-check process, so I’ll sand a little bit at a time and check with a tuner. The more difficult part is tuning the overtones that are present in the sound the bars make when they vibrate, which really make a huge difference on the quality of the sound. My basic understanding is this: when you remove material from the center of the bar, you are tuning the fundamental frequency. As you move outward from the center (in both directions), you are tuning higher and higher overtones. How in-depth I want to get with this really depends on my patience, which is why I’m limiting the project to 8 bars anyway.