
I’ve been working on creating a planter box with a drawer that is in the modern farmhouse aesthetic. Since the design report, I first redrew my sketches to more exact dimensions and then listed out the size boards that I was going to need. I also created a top, side, and front view of the drawer because this was the most challenging part to size correctly. I then went to Home Depot to select the boards I wanted to use and ended up going with pine because I liked the patterning on them the most and I thought it best fit the modern farmhouse aesthetic. The boards were primarily 1”x4” boards that were 8 ft long. I also found some 12” drawer slides that would be bottom mounted to the drawer.
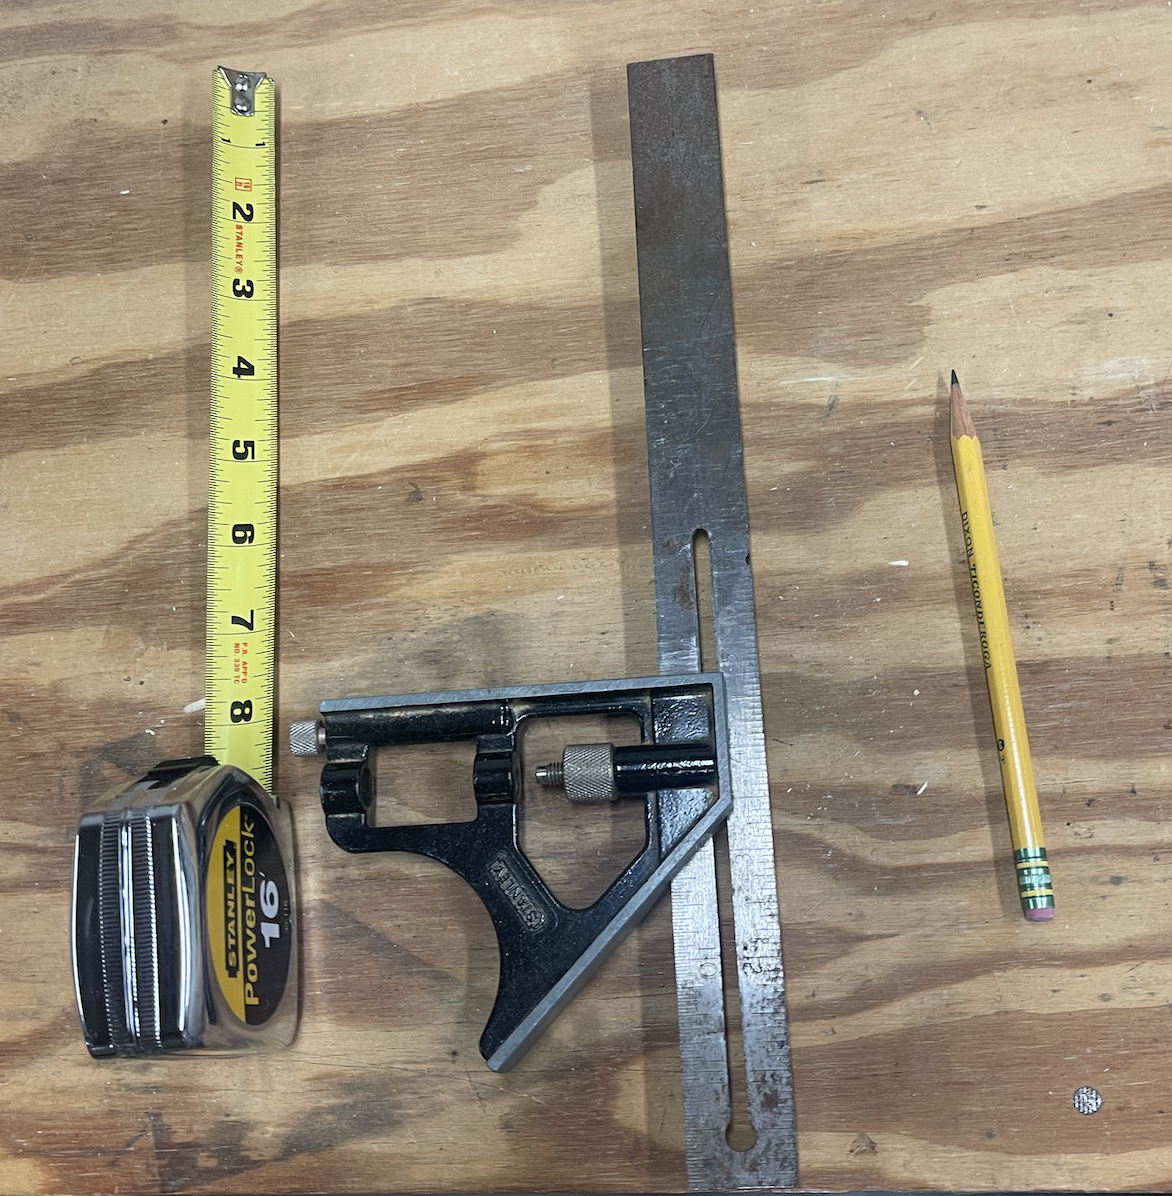
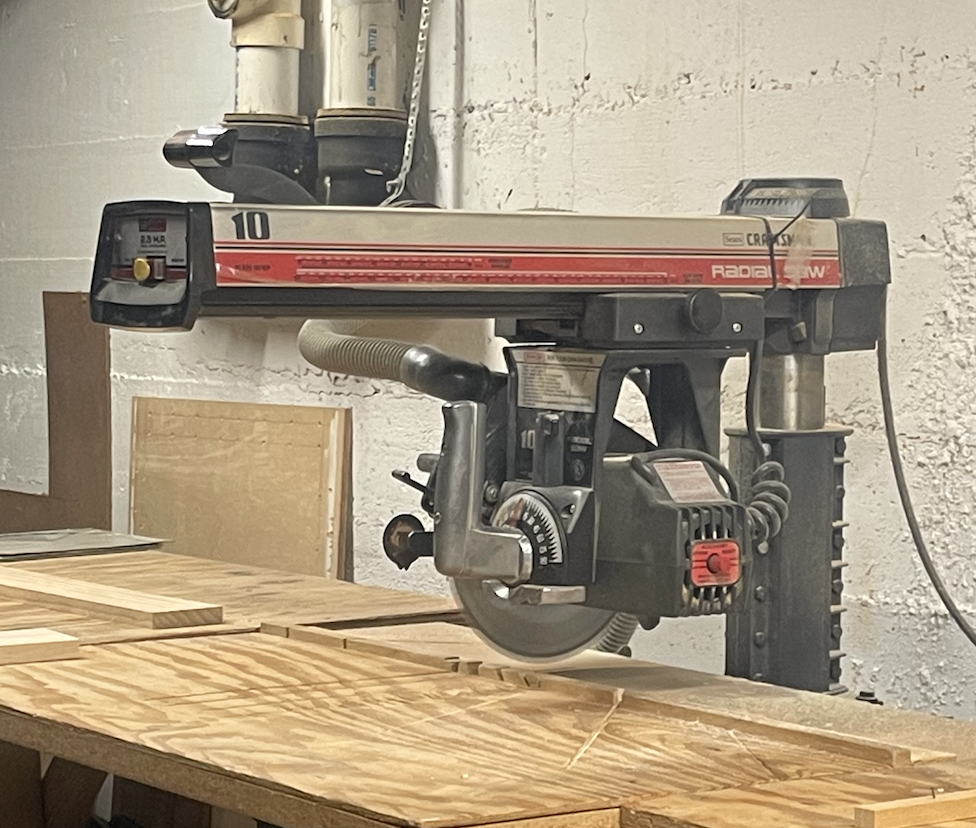
To start assembling, I first focused on creating the drawer because I thought this would be the hardest part since I’d never done this before. I double measured everything and had to resize some of the drawer components to fit inside of the drawer frame. After confirming my measurements, I measured out the boards and cut them out with a radial arm saw. A picture of some of the tools I used can be seen below.
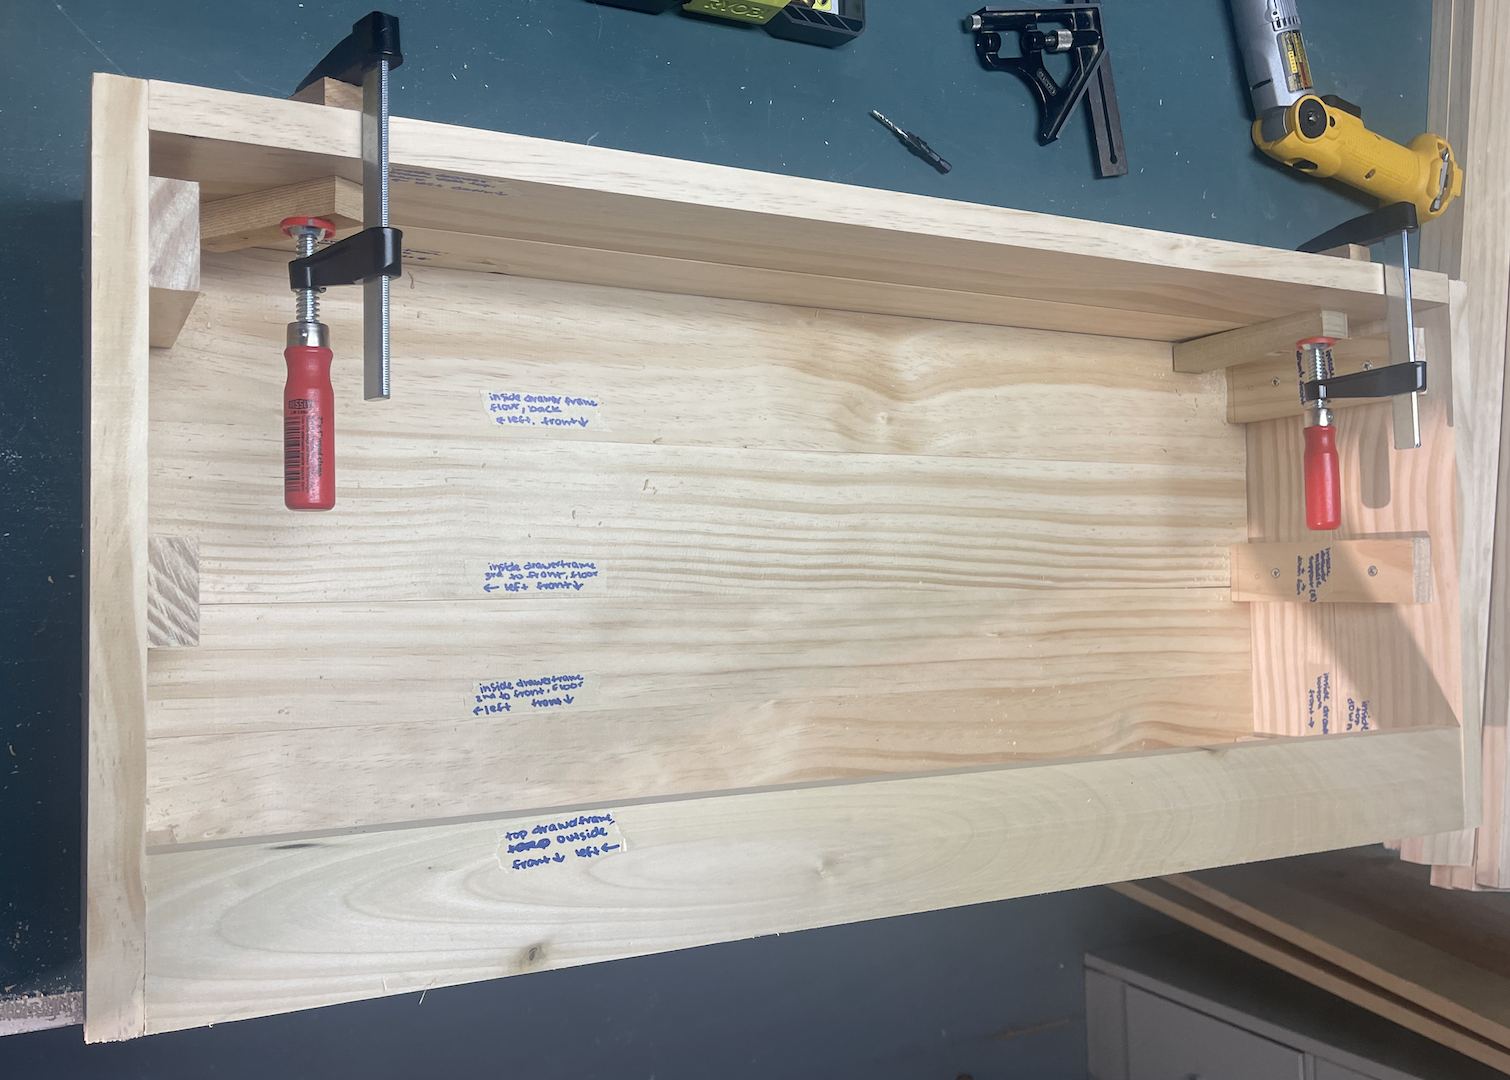
After cutting out the wood to make the drawer I dry-fitted everything together. Then, I used clamps to hold pieces of wood together while I drilled holes in the wood and then put screws in them. I ended up mainly using number 6 screws so that it wouldn’t split the board that was only ¾” thick. The drawer slides were the hardest to get correct because I wanted the drawer to be even and slide easily. To make it in the accurate location, I measured a bunch of the drawer slide dimensions and marked where I should screw them in place. Pictures of assembling the drawer can be seen below.
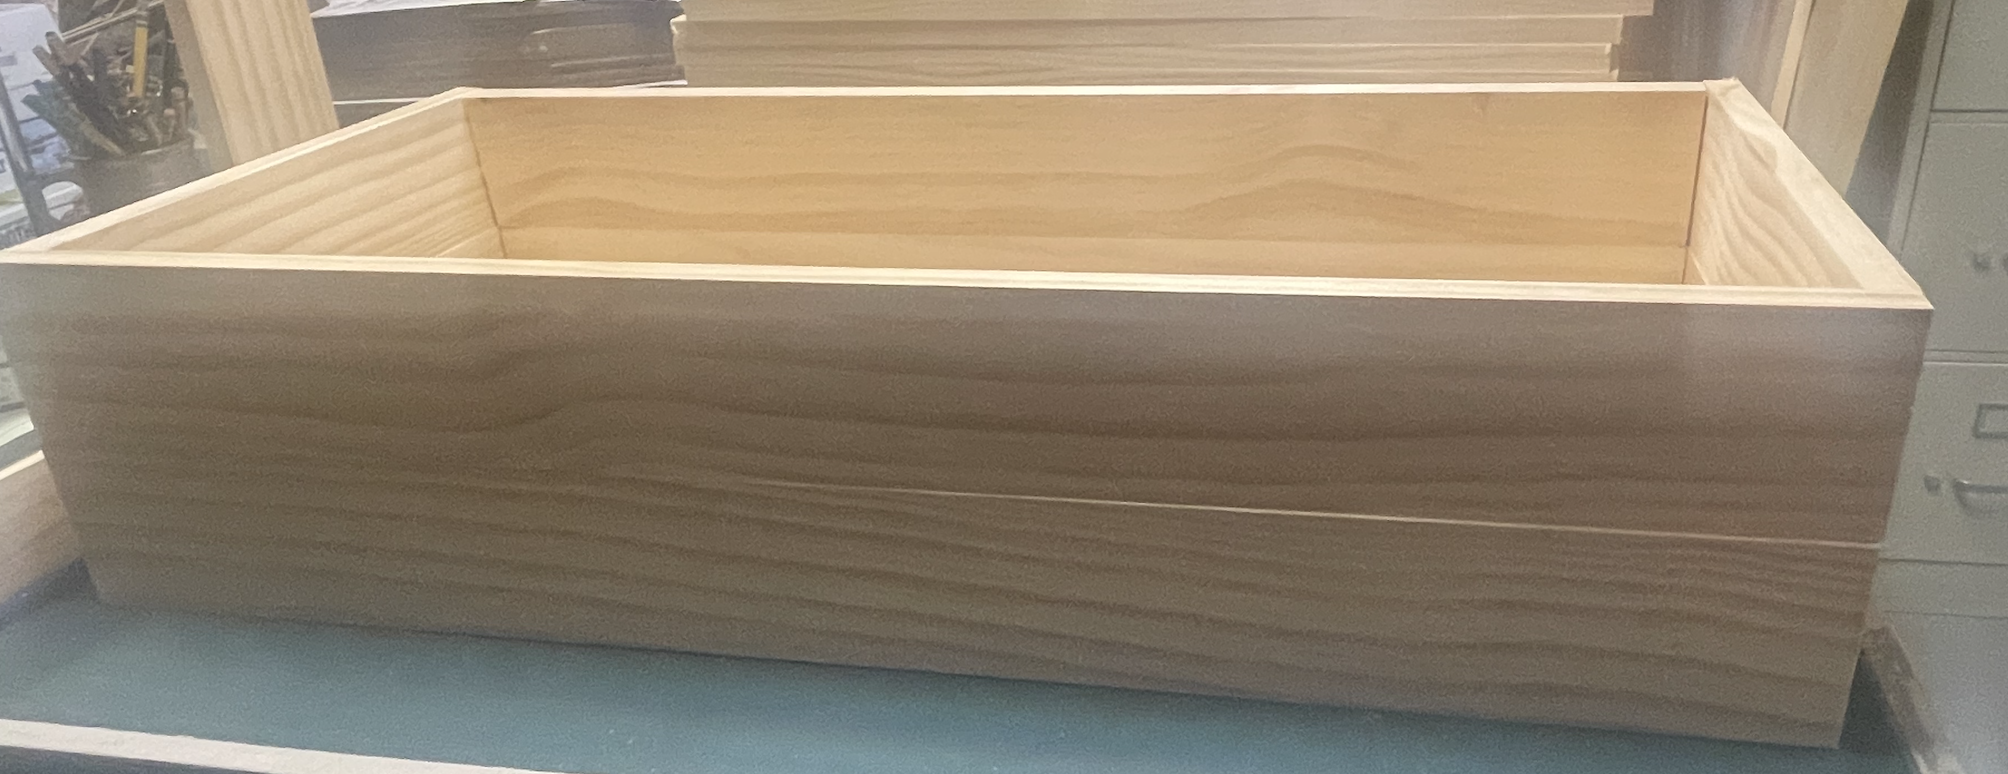
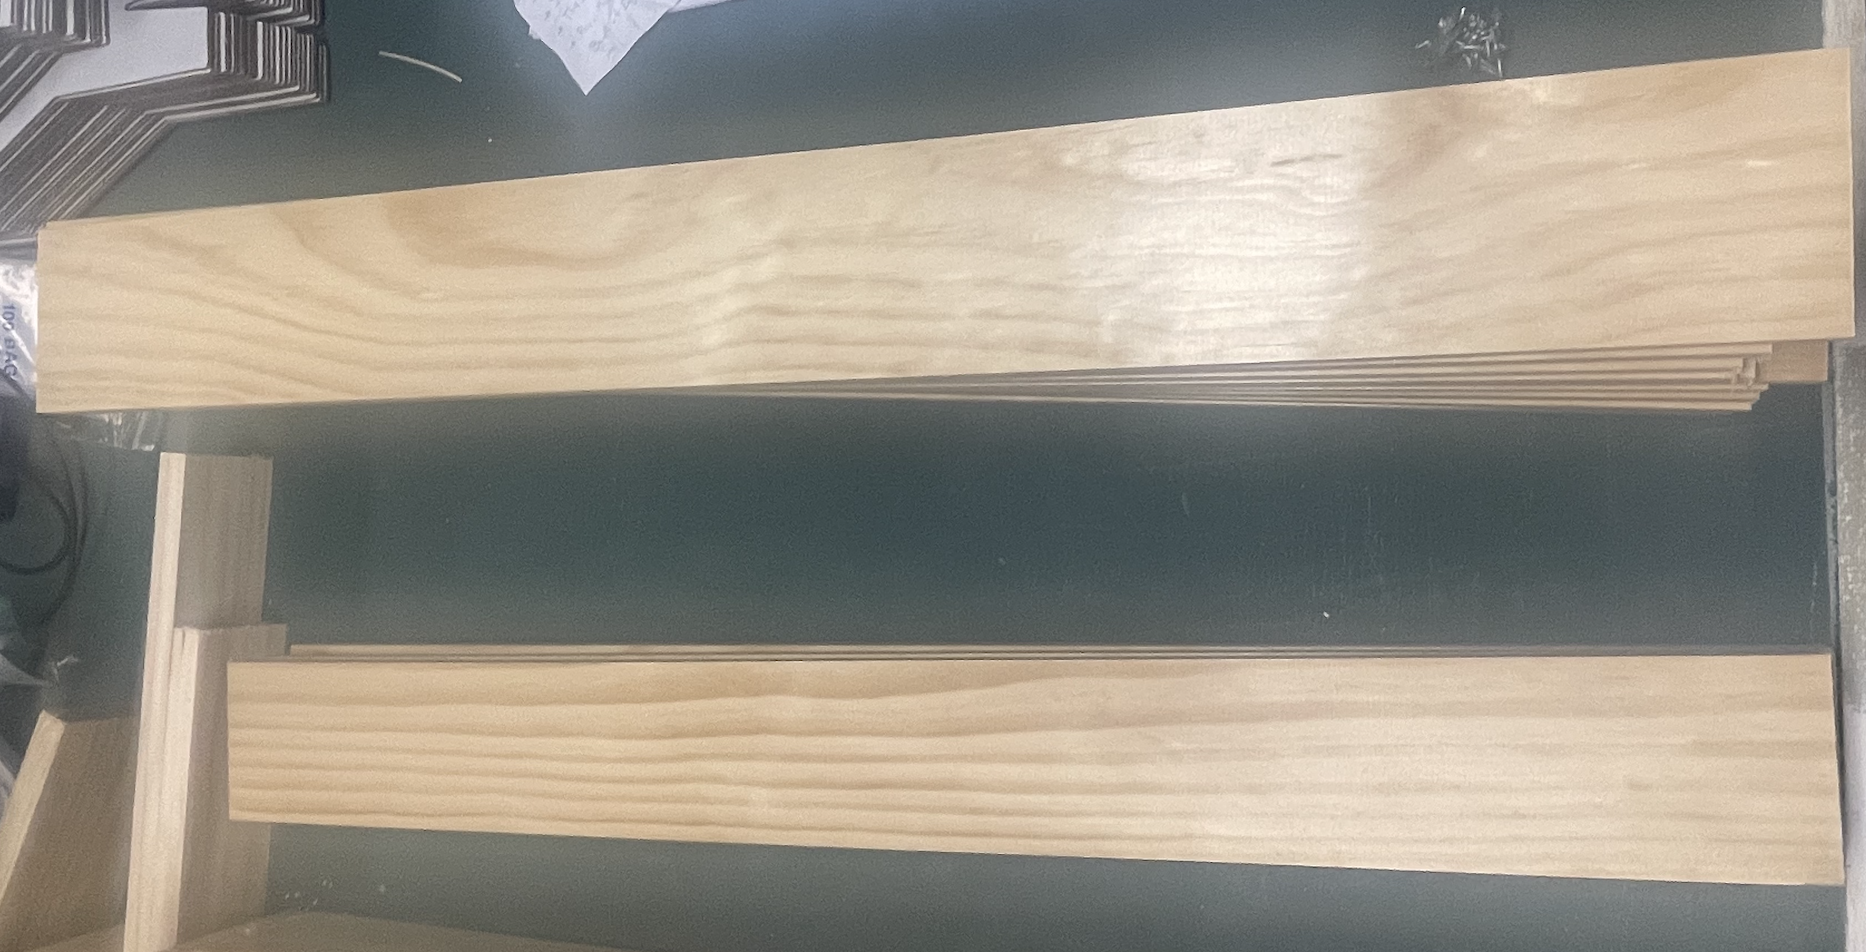
After making the drawer, I measured and cut out the rest of the wood that I would be needing to make my planter box. I wanted the top box to protrude out slightly less than the bottom box, so I double checked my measurements to make sure the correct size pieces were cut. A picture of some of these wood pieces can be seen below.
Then, I clamped pieces together when necessary and drilled holes and screwed the pieces together. This part went much faster than making the drawer, since it just required making a couple new boxes. I then attached the boxes to a back frame that would hold the planter together and then added side supports to the top box that added a nice farmhouse aesthetic element as well as made the top more structurally sound. After the planter was assembled, I used a wood glue sealant to seal up any cracks in between boards. The planter can be seen below.
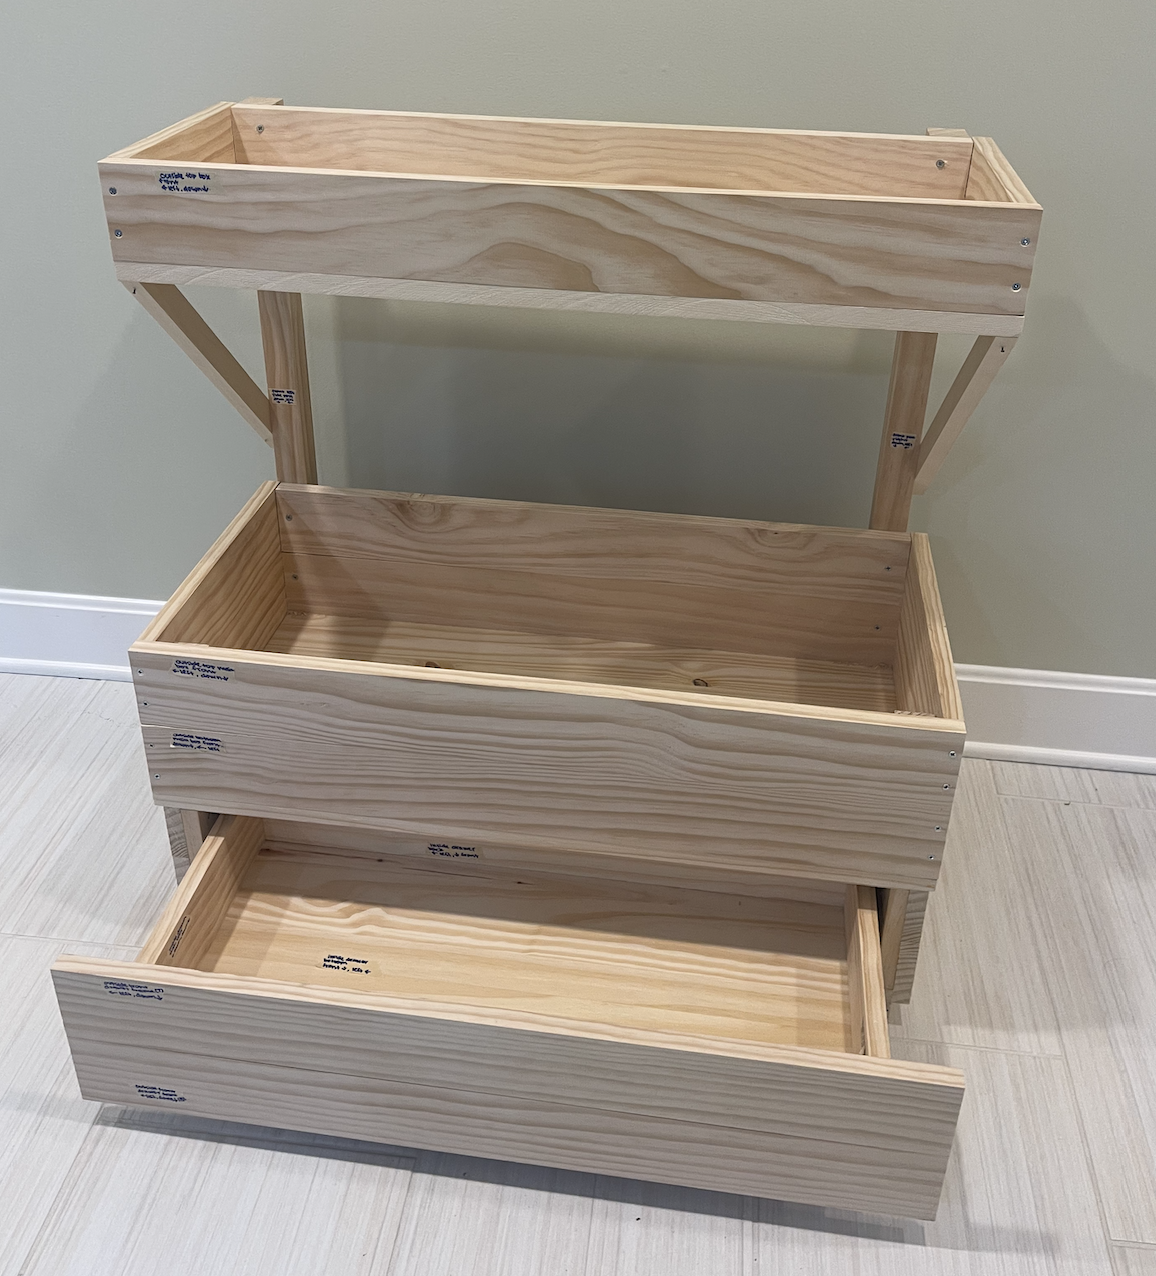
My next steps are going to be to add a handle to the drawer, stain the planter, and then finish it with a waterproof finish!
2 Comments. Leave new
This looks like such a practical yet aesthetically pleasing project! I like how you added the drawer, what do you plan on putting in there? Also, do you plan on adding drainage holes to the boxes if you haven’t already? I cant wait to see the final product!
Hey Kyra,
This is looking great! Are you planning to stain the wood? Is the drawer sliding well?