
Joshua Beijer
Progress
The past week I have been focusing on the spinner part of my design. For my first revision, I cut a single layer of 1/8 in a plywood sheet. I cut a few extra rings in case any would break. My next step was lining up the holes and drilling them. This process was very difficult, resulting in multiple split rings and non-aligned holes.
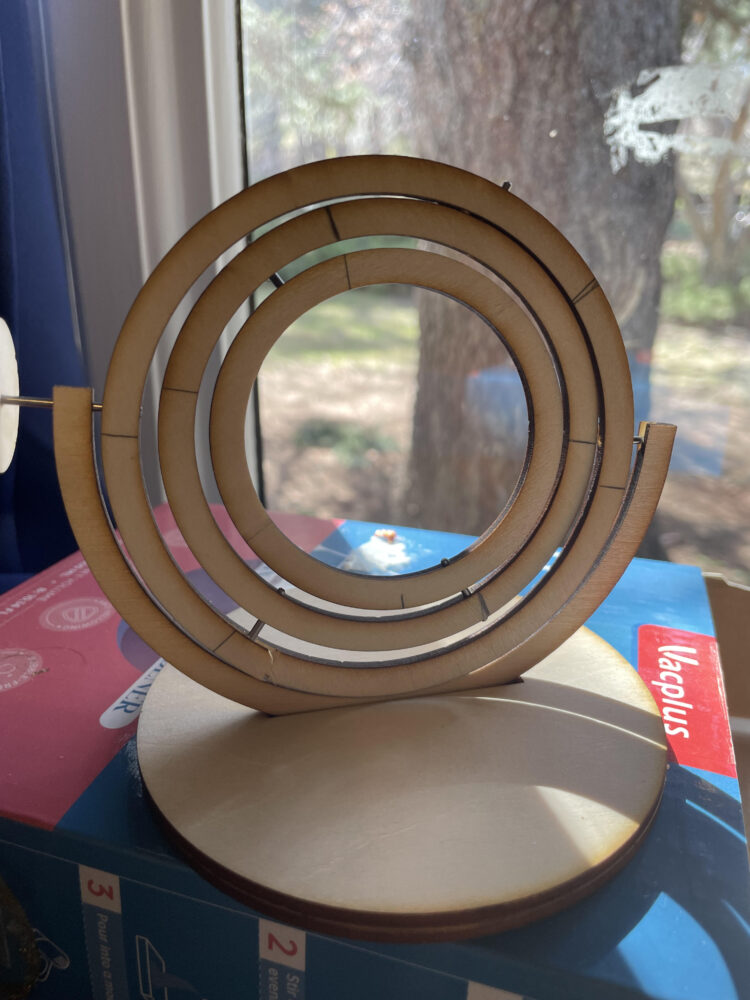
Spinner Revision 1
I like the look of the burned wood and the basic form. However, because of the alignment, the rings did not spin nicely. The main problems were positioning the holes and making sure they were tangent to the ring. The base is held together with wood glue.
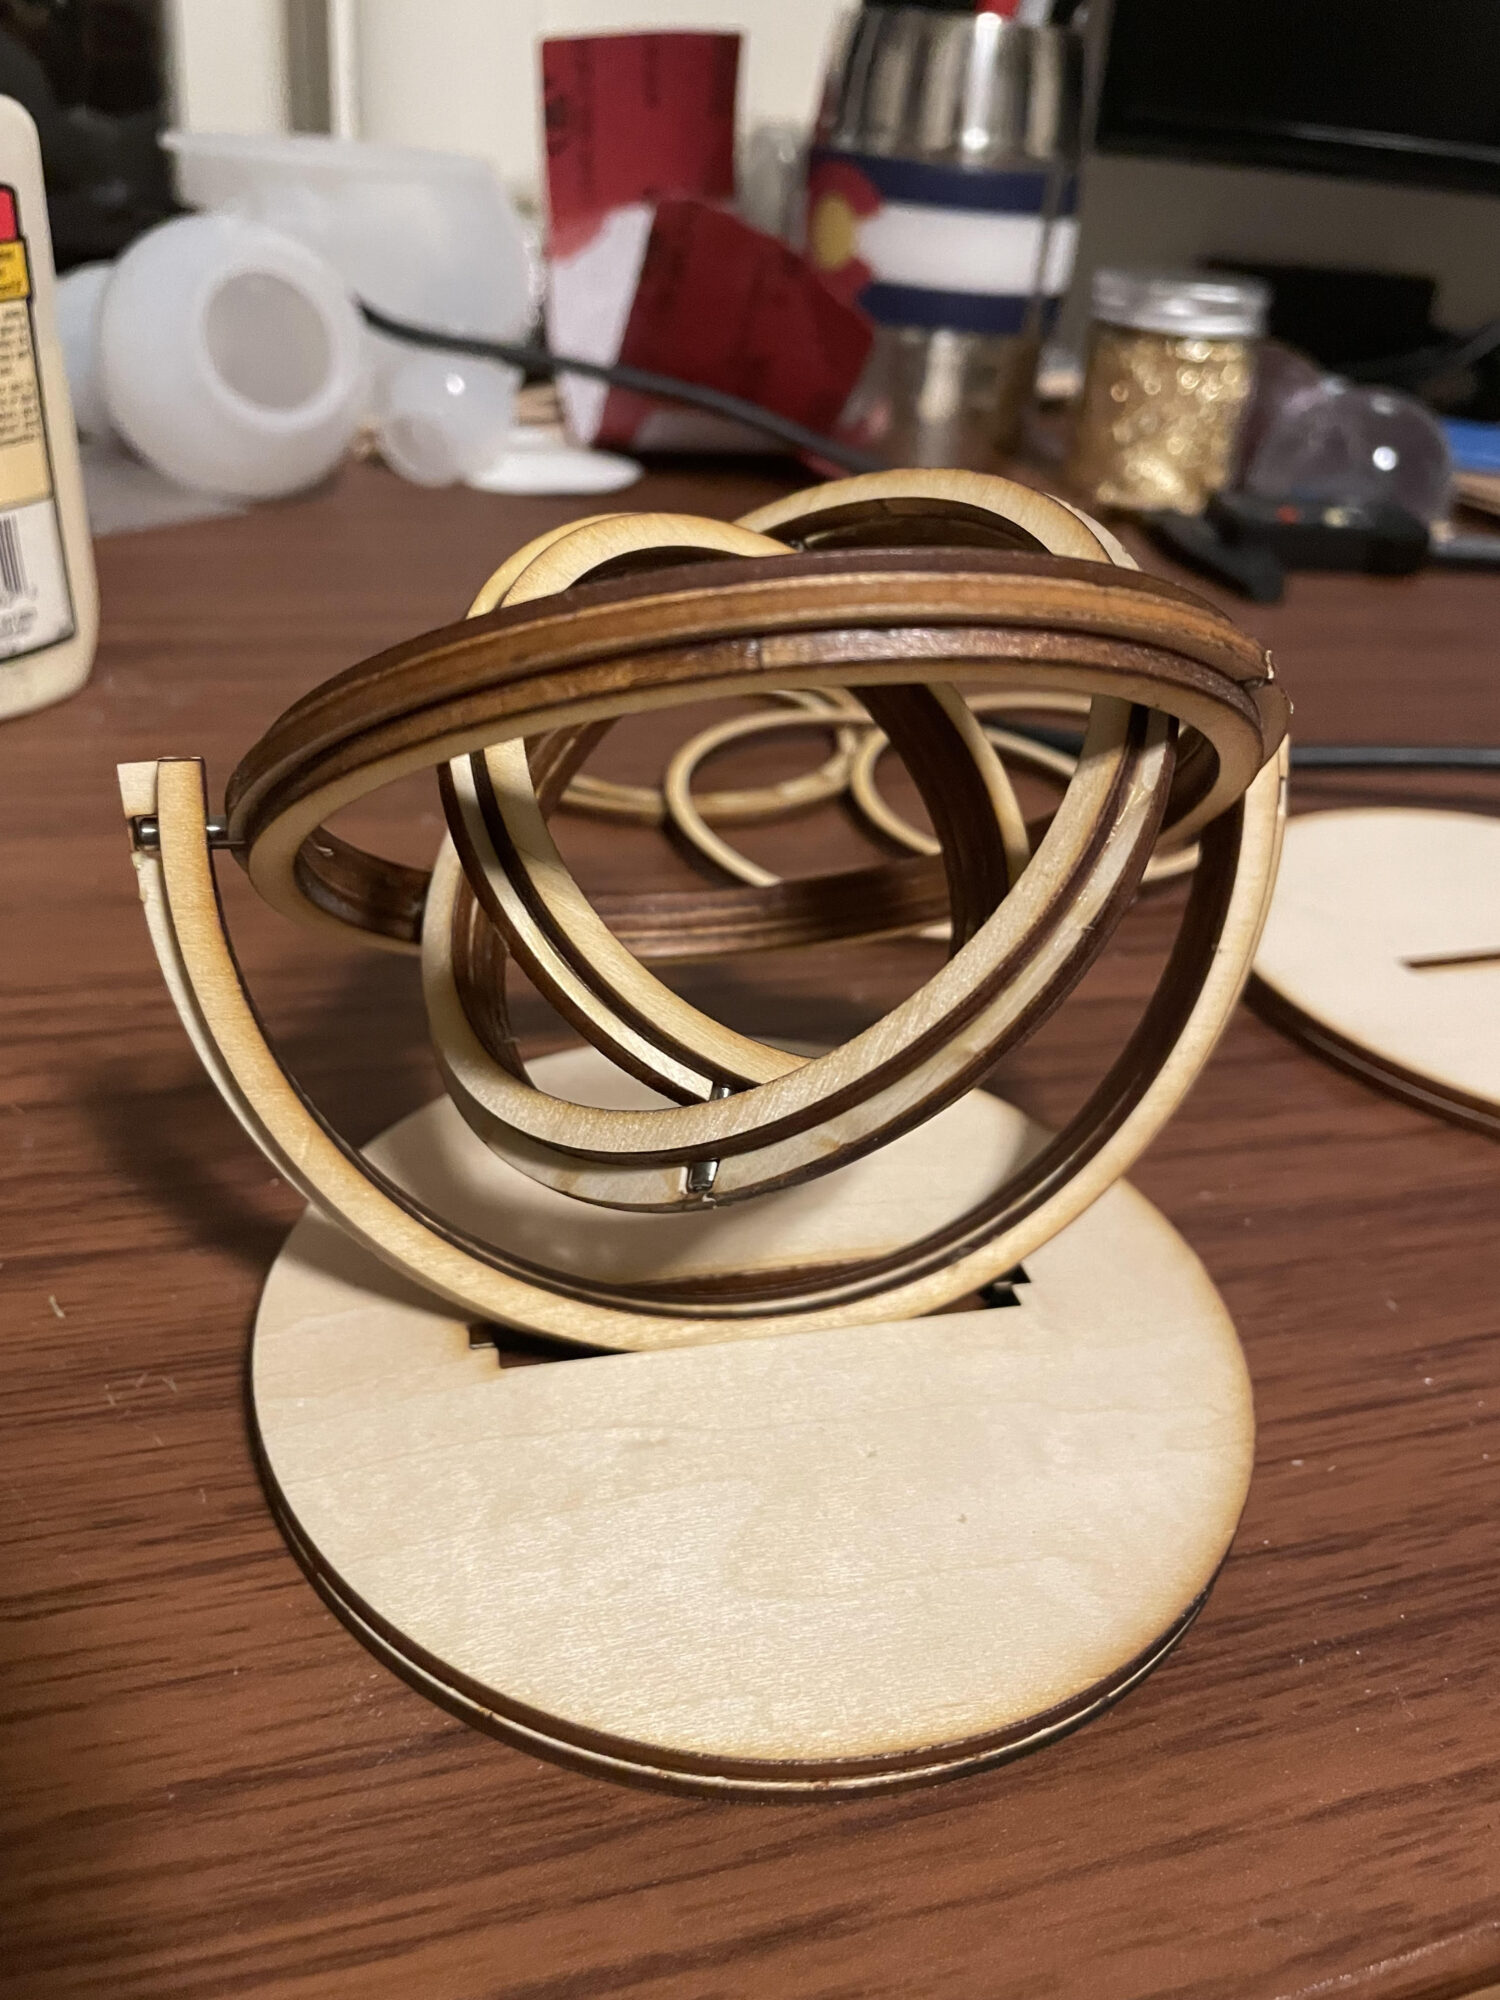
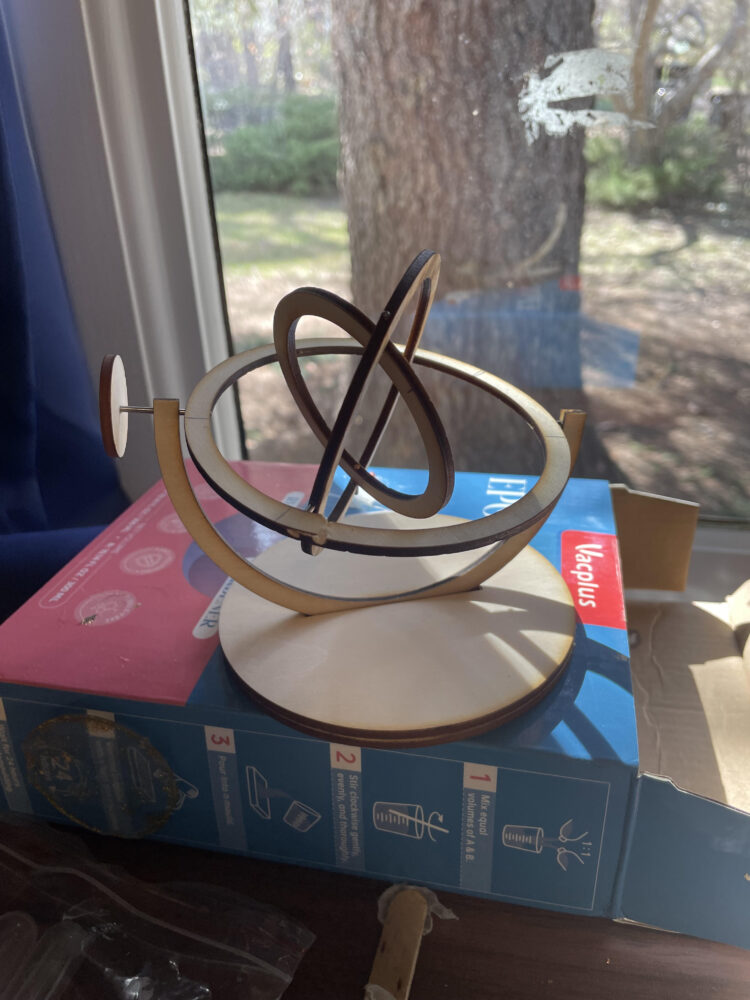
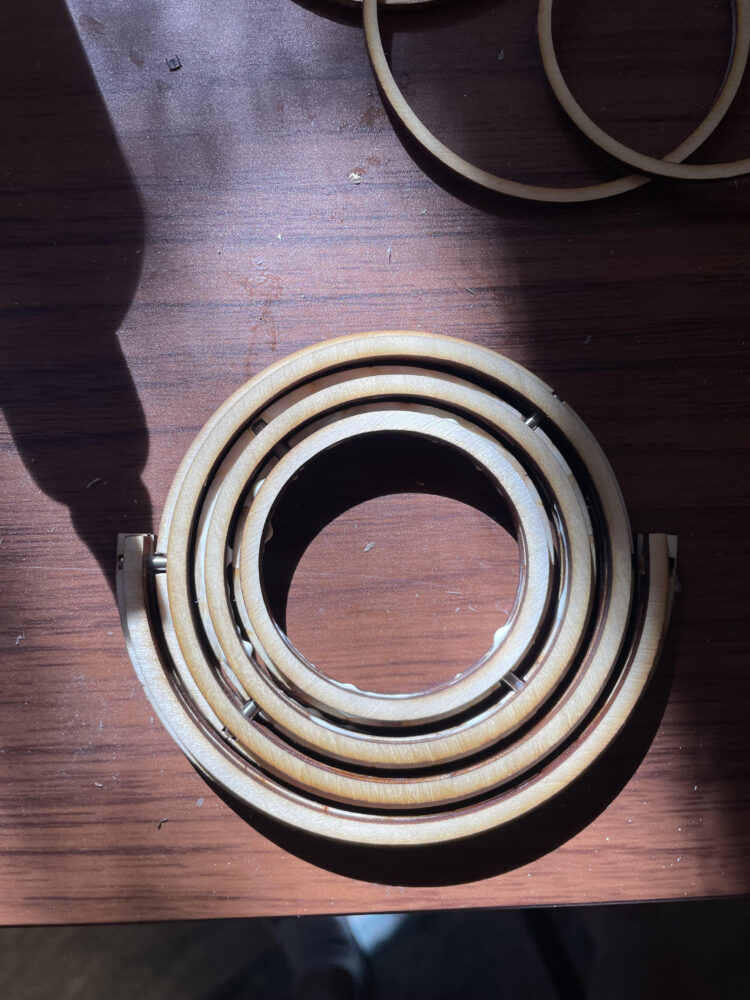
For the second revision, I added the hole placement to the rings and increased the size of the pins. In order to keep the pins in place, I added side rings that were smaller than the middle rings. I held them together with wood glue, sandwiching the pins in place. The base was again held together with wood glue as well.

Spinner Revision 2
This revision spins fairly well, especially after I added lubricant to the pins. I like the thicker look of the rings created with the layering. The cut in the base is too large for the rings and will need to be made smaller in future versions. This version also does not have a way to easily spin the spinner. I will need to add this back into future versions or modify the existing prototype. for this. It is difficult to see in the pictures, but one side of the wood is left blemished after the laser-cutting process. The layered design helps conceal this and may eliminate the need for wood stain.
If the reader of this post feels so inclined, feel free to comment about whether you think I should stain the wood or leave it as is.
If I decide that I like the finish of the wood, I will probably use the revision 2 spinner as my final spinner design with modifications to the base and handle. The resin skull is still causing me difficulties. If these troubles persist after my next attempt, I will be pivoting to another centerpiece of the spinner.
5 Comments. Leave new
The pins are just sandwiched in the wood because I was not able to find bearings small enough.
Hey Josh! This project looks awesome its coming out great! It looks like it will be a fun little fidget desk item. In response to your question I think that staining the wood would improve the look of the finished product.
Thank you for the input Alex!
Hey Josh!
This is a great looking project! It’s awesome that you already have two revisions down and a clear direction. For the wood, I do think a stain would help make the rings look uniform if that is the aesthetic you’re going for. I was wondering, are the pins you’re talking about set into bearings for the spinning?
The pins are just sandwiched in the wood because I was not able to find bearings small enough.