
I’m machining a metal Catan set : r/Catan
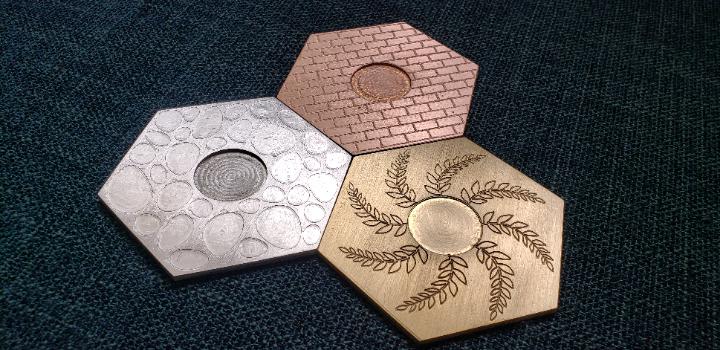
Since my last post I redesigned some of the hexes for better machinability. One of the main issues were the interior holes cut into the hex. I originally had planned on having 2 holes, one for the epoxy and a smaller one made out of the waste material that would act as a number piece. The issue was that the water jet would be unable make both of those interior cuts without a risk of failure.
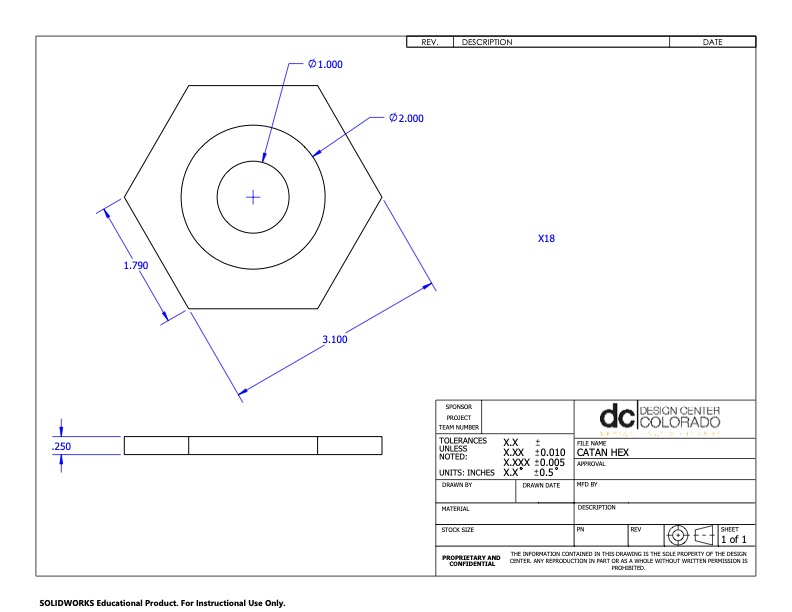
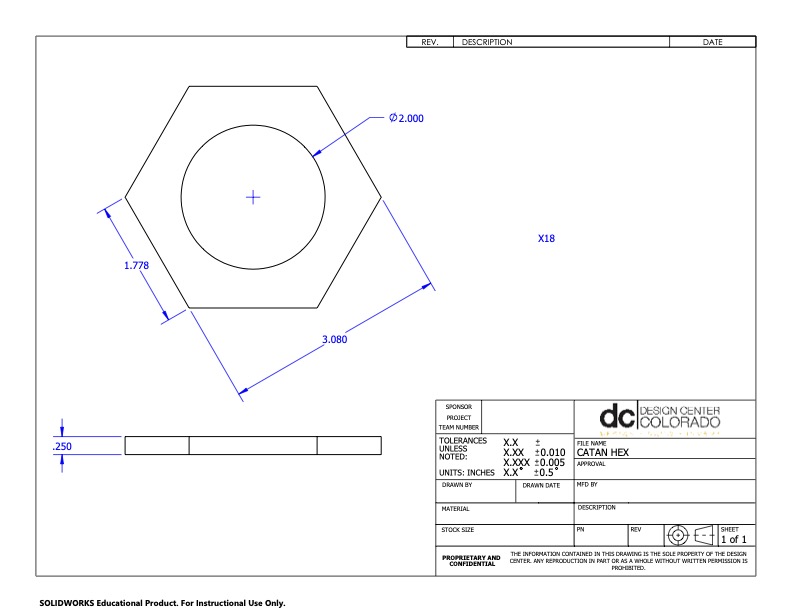
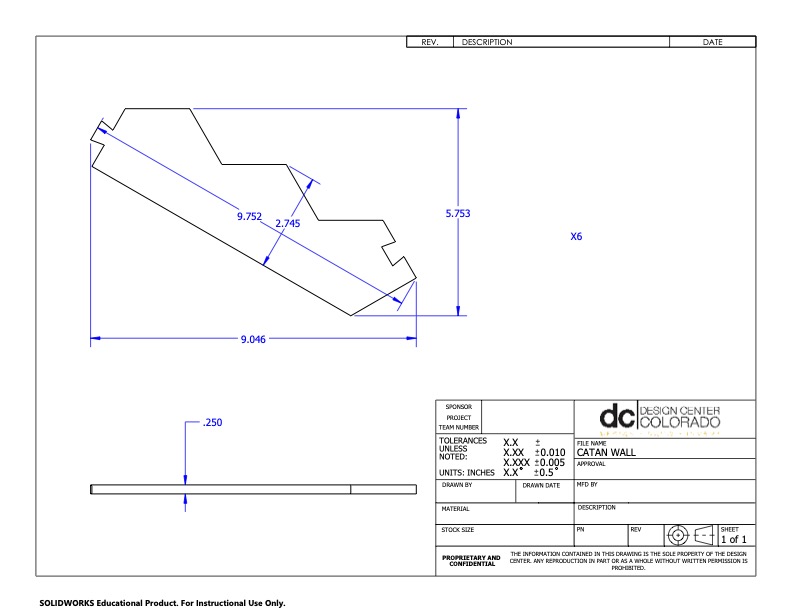
Another change was reducing the size of each hexagons diameter by 20 thou. This was a preventative measure as the water jet at the IDEA Forge is not as accurate as expected and may be off by around 20 thou for outside features. These changes were also applied to the wall pieces where the sharp edges were filleted to comply with machinability concerns.
One of the largest mistakes this far into the project was my material sourcing. While looking online for the metal sheet I found a great deal on 3 sheets of 12x12x1/4 6061 aluminum. I purchased it and was planning on machining the pieces out of the 3 sheets. The issue was that the machine shop refused to use it because it wasn’t one continues piece and would require 3 operations instead of one. After a week of negotiation I was able to do a material exchange for a larger sheet of 1/8 inch aluminum. This was actually a large financial loss but worked out because I was finally able to make the cut.

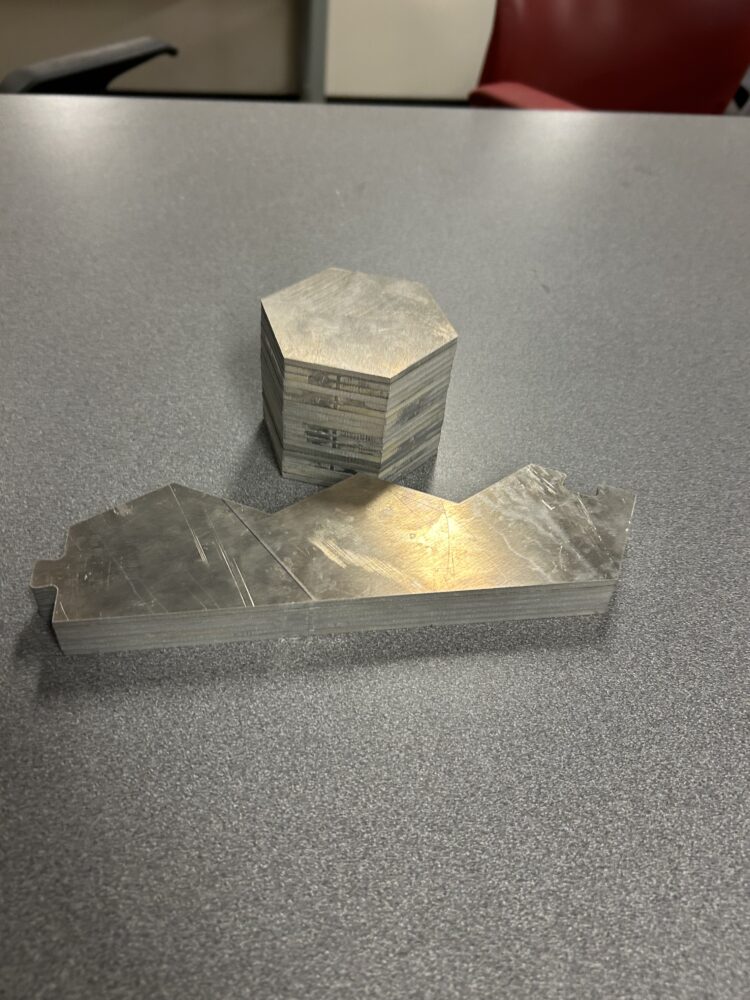
With all of these changes made and another week of pleading the machine shop to make the product I finally got a slot for the water jet and submitted my files. The next day the machining was complete and I got the 1/8th inch cutout of my 25 pieces. The pieces are held on by small metal tabs so I could just rotate the pieces until they fatigue and fall out. This works great for making the interior features but leaves some pretty gnarly burrs.

I spent a few hours with a file and Dremel cleaning up the pieces so they would fit together. I also tried to fix any sharp edges that may be a safety concern.
Next steps is to add the epoxy resin and sand down the surfaces.
2 Comments. Leave new
What are the designs that you plan on putting on these? And how long will it take to engrave all of that. Either way I like the idea!
Hey Fin, I’m glad you were able to get those pieces cut out, it seems like you’re making great progress! Are you planning on adding any color or design to the tiles, anything that would look cool but still match the minimalist aesthetic?