
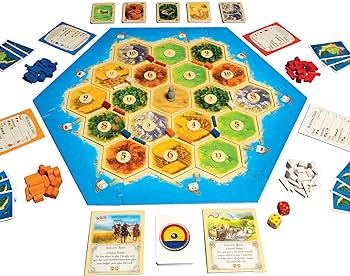
Hello everyone, Since the last post I have completed the epoxy and sanding. Since this is one of the final posts I’ll go through and summarize the entire process up to this point, covering the What and Why of the project. The main idea of the project was to revamp the classic Catan board with a minimalist aesthetic. Below is a photo of the original game which uses a bunch of vibrant colors and in my opinion, cluttered graphics.
Amazon.com
I love playing Catan and when I was looking to buy an expansion pack I was shocked at how expensive they were, $40+ for just some pieces of cardboard. This sparked the idea of creating my own board and changing to an aesthetic that I personally prefer. The vision was to make a minimalist aluminum board that seemed futuristic and clean. I ran through a few initial ideas before starting such as laser engraving designs onto each hex or 3D printing topography but these didn’t quite fit the aesthetic the way I wanted them to. I settled on the idea of brushed aluminum hexes with epoxy centers to signal the type of resource. To create the geometries I opted for the Water Jet at the machine shop and mocked up some CAD renders and drawings.

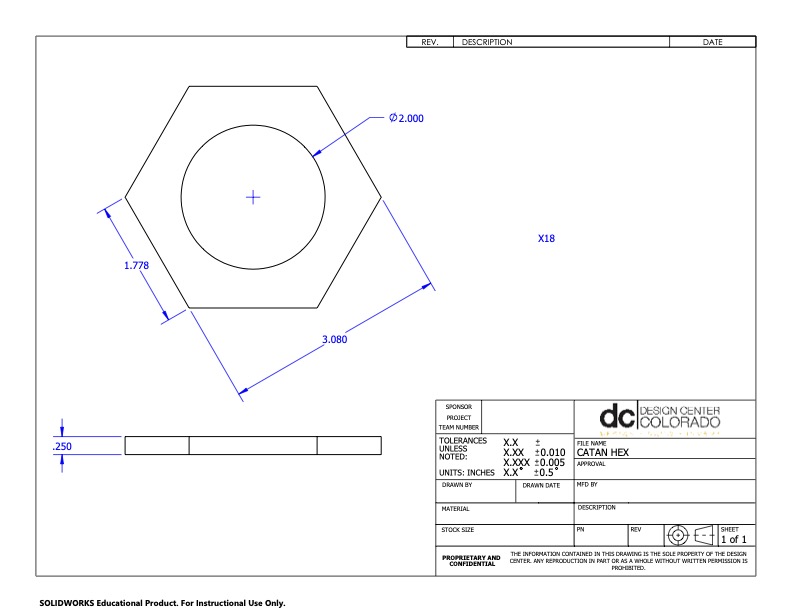
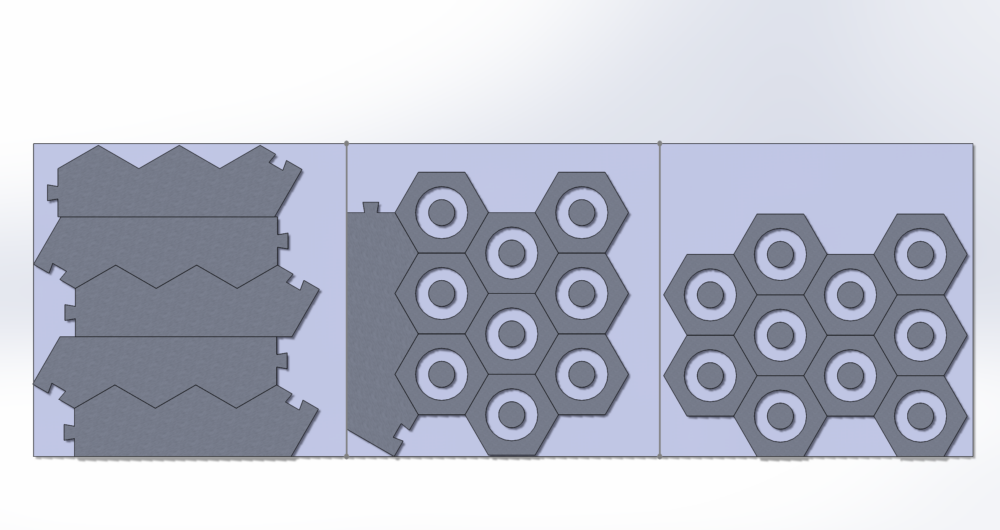
I sourced some quarter inch thick sheets of aluminum 6061 and created the necessary .dxf and .stl files necessary for the fabrication. This was a frustrating part of the project as the material I bought was declined by the shop employees and the drawings needed to be revised multiple times. Although there were countless issues and design changes I eventually got the go ahead and received the pieces cut from eighth inch aluminum.

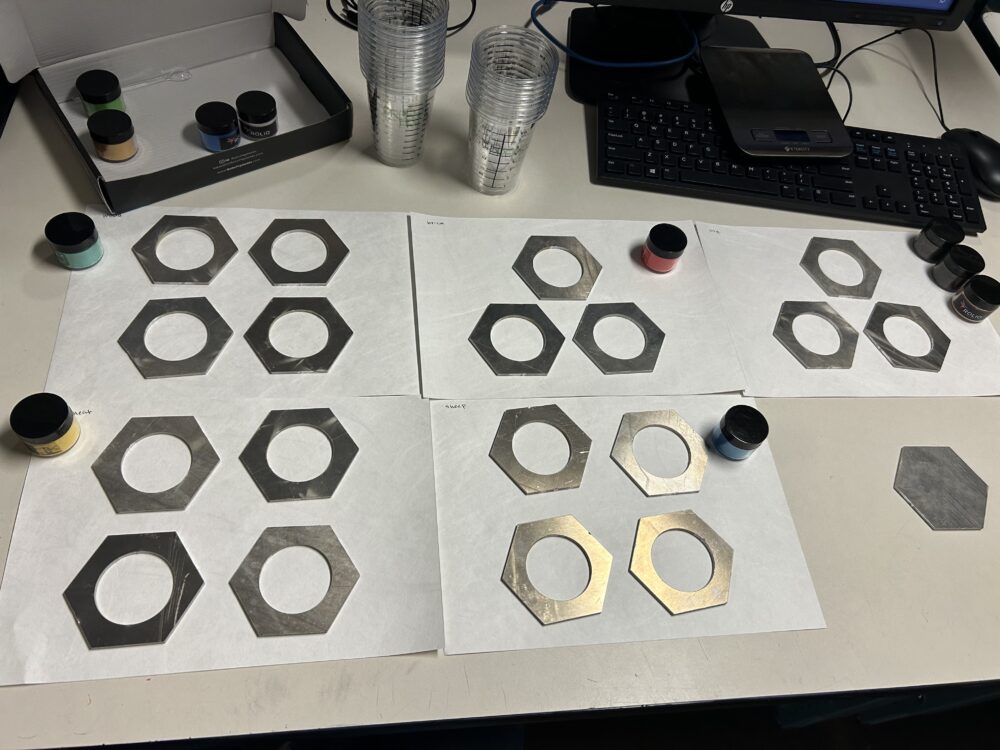
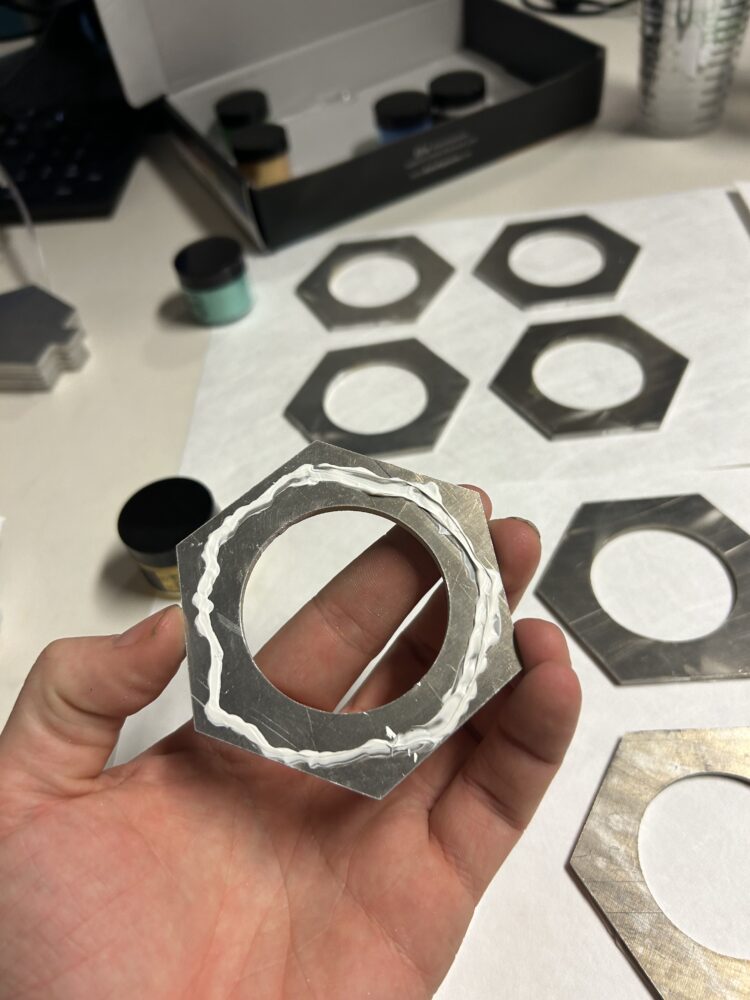
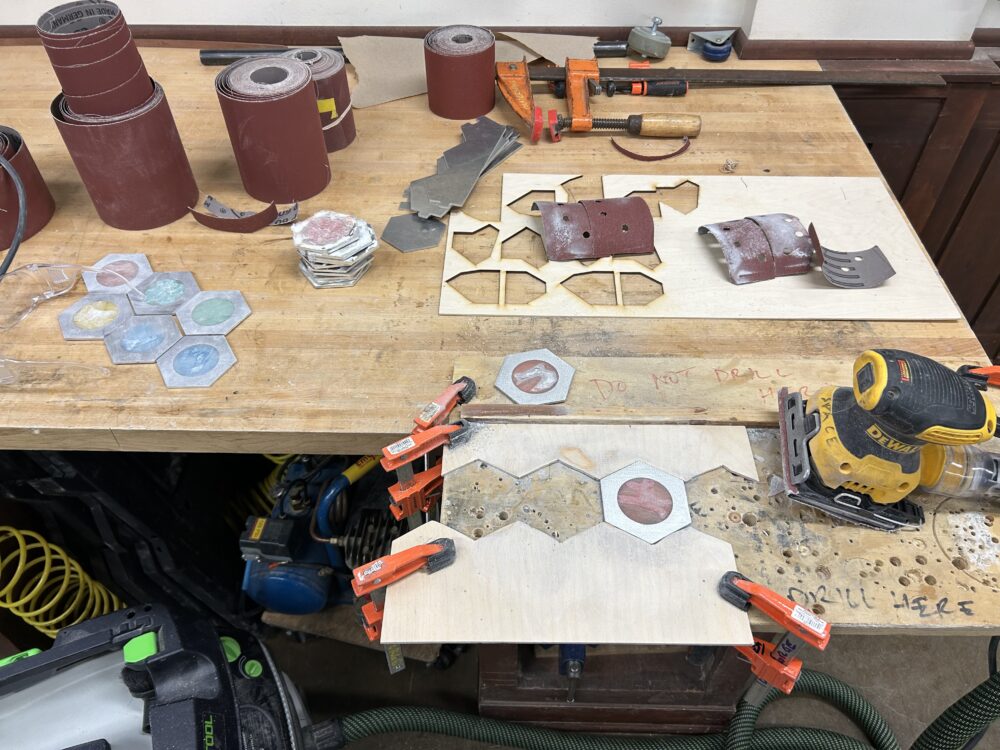
I was honestly not too happy with the results due to some deep gashes in the raw material and massive burrs left from the tabs. I spent a few hours removing all the burrs with a file and Dremel. Although rough around the edges the pieces fit together well enough and could still be fixed up to my standards. The next step was the epoxy resin centers. I really wanted these to pop while keeping a uniform appearance between the different colors so I selected some metallic dyes to mix with the epoxy. Pat in the electronics shop was massively helpful in this process and helped me set up and plan this crucial step. I purchased some Tyvek paper, Caulk, and Dixie cups and prepped the pieces according to the color/resource. The idea was that the waterproof Tyvek and Caulk would seal the epoxy in the center and allow a perfect curing process.
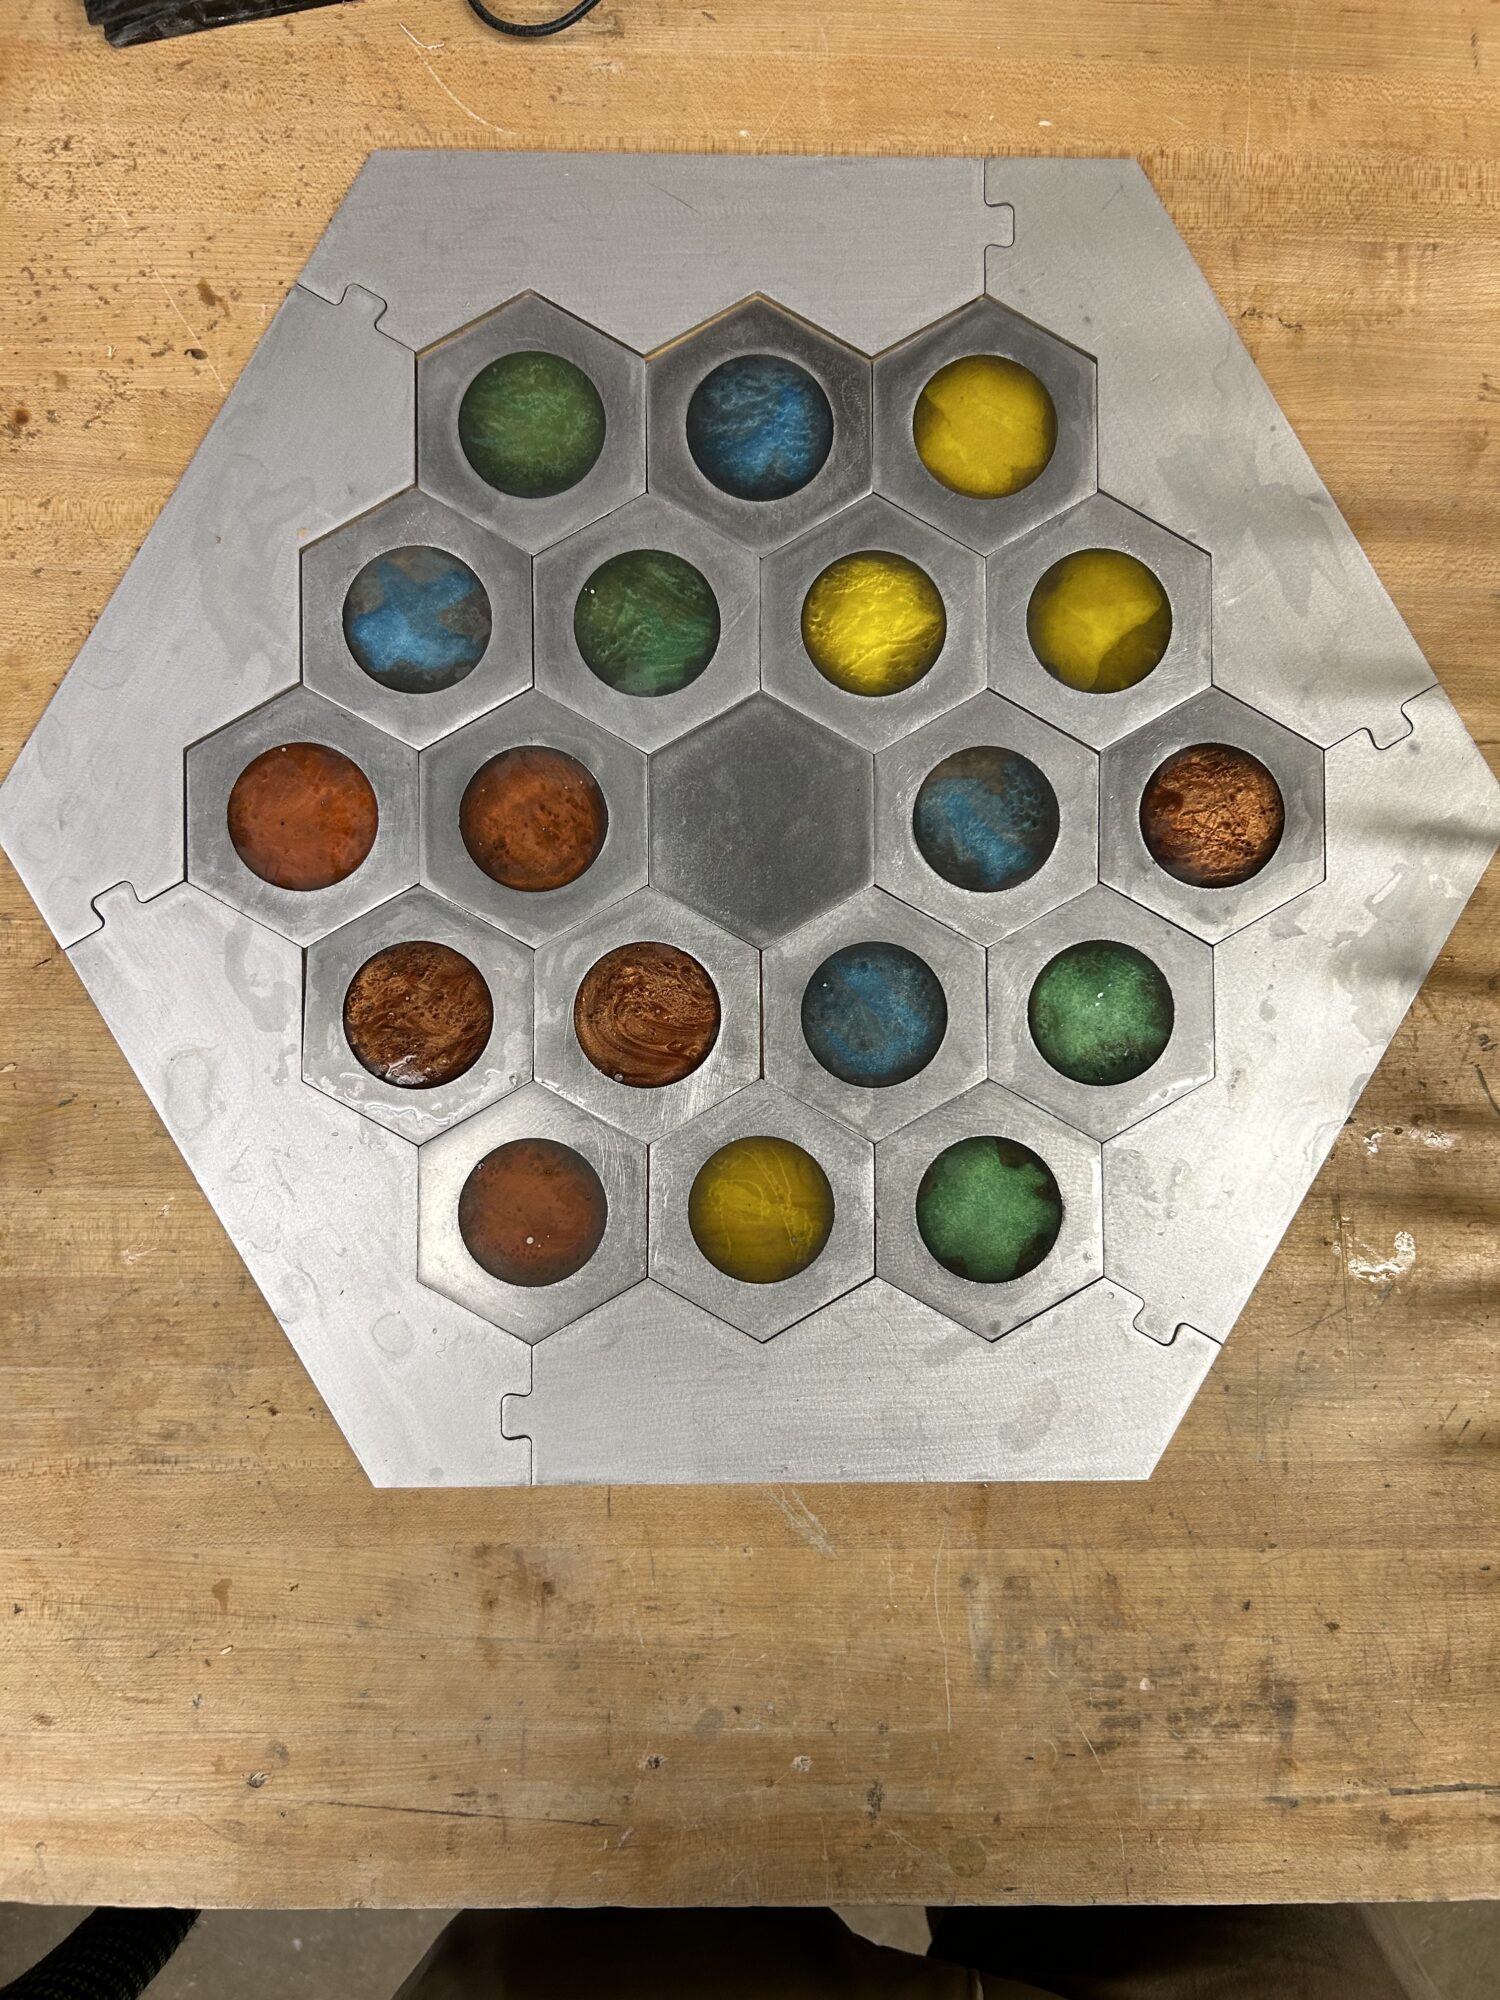
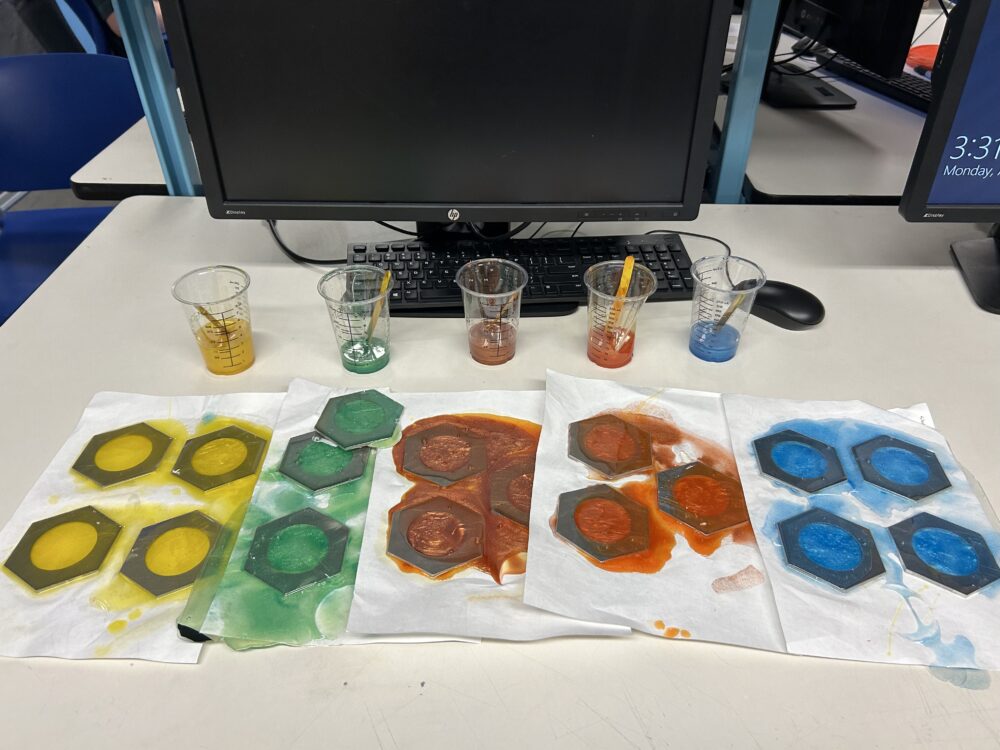
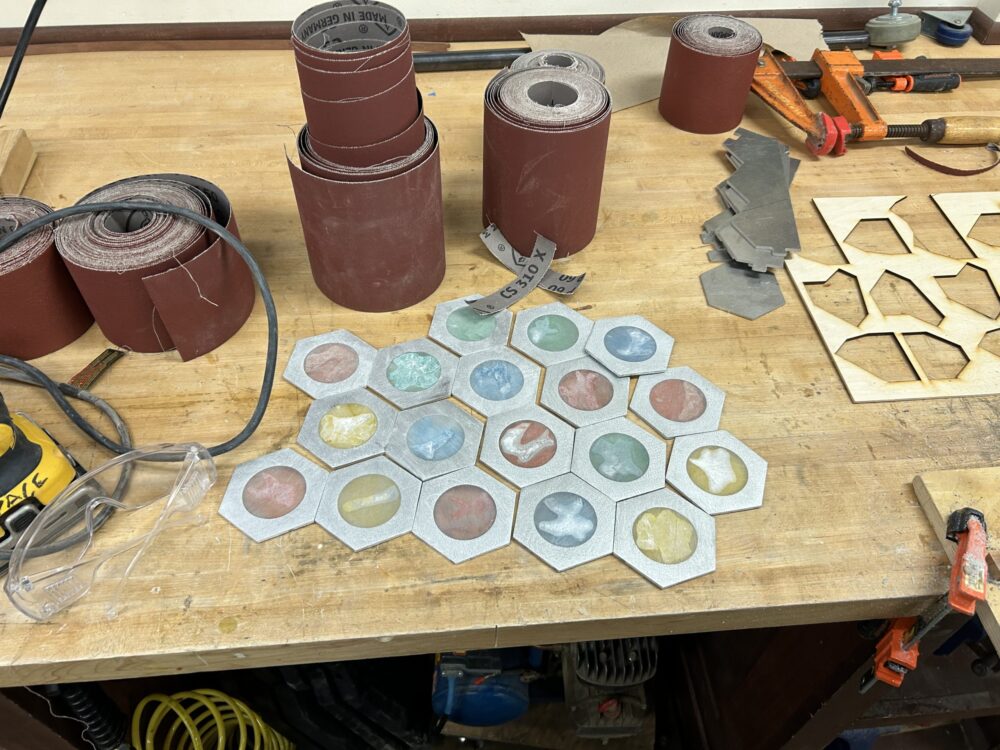
The process went well and I was able to mix the pigments and 2 part epoxy without any difficulty. I made sure to take my time as this was the first time I had used epoxy. Unfortunately disaster struck during the curing process but I will cover that more in my next post. I ended up with my 18 epoxy filled hexagons and was ready to sand.
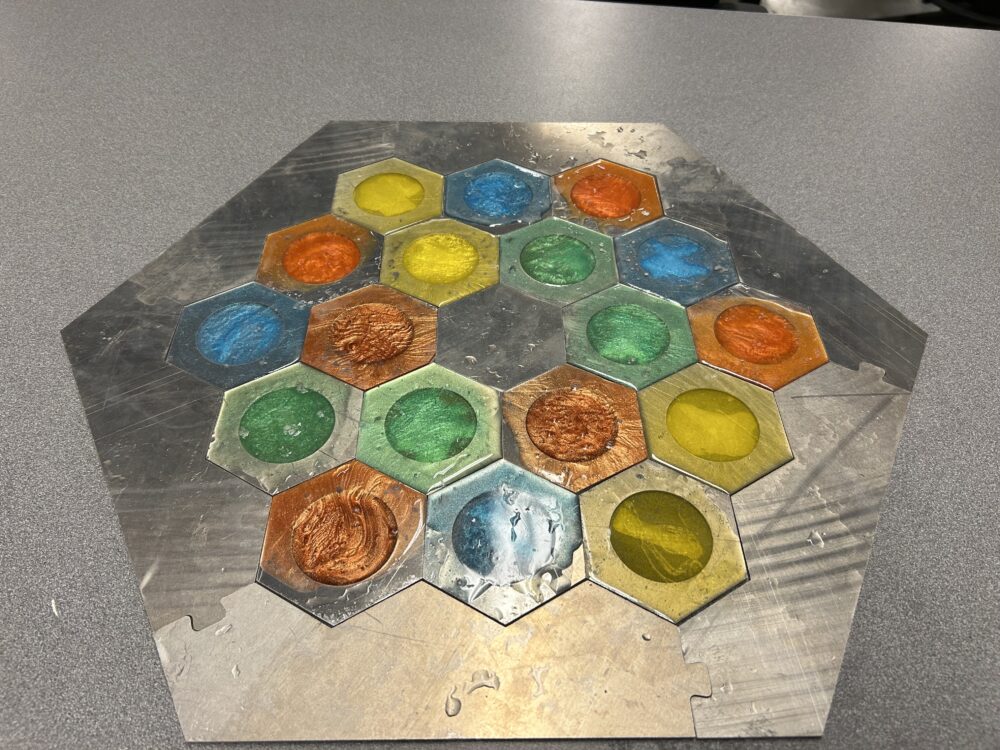
The plan was to sand off the excess epoxy and leave a flush surface between the two materials. This ended up being an arduous and extremely time consuming process but through blood sweat and tears (literally), I was able to complete this final step.
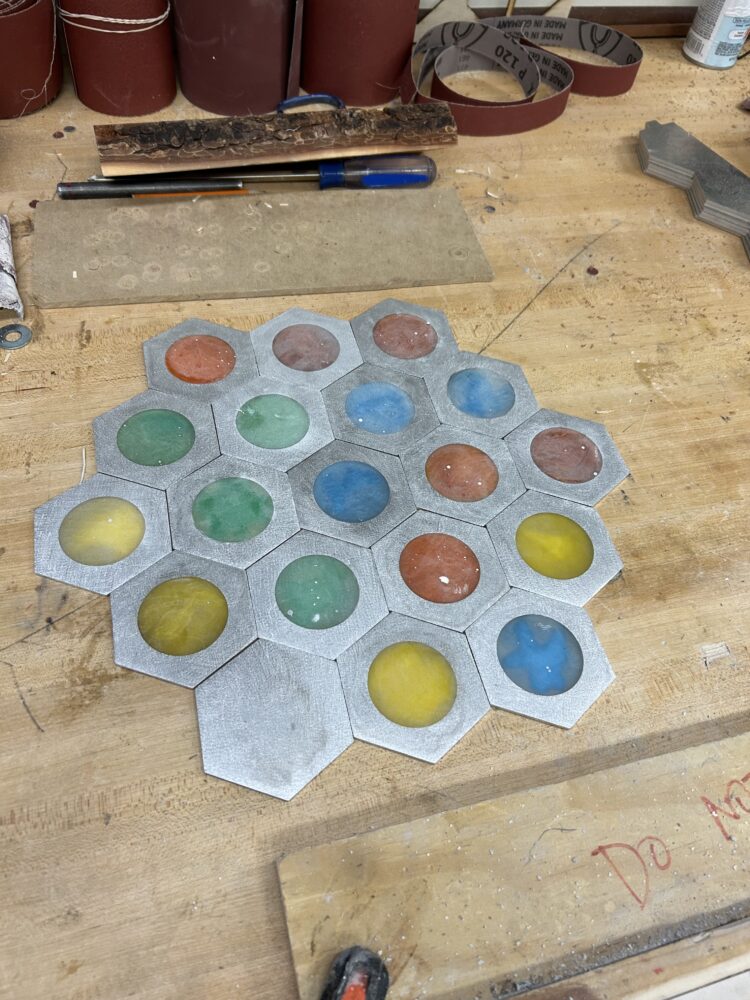
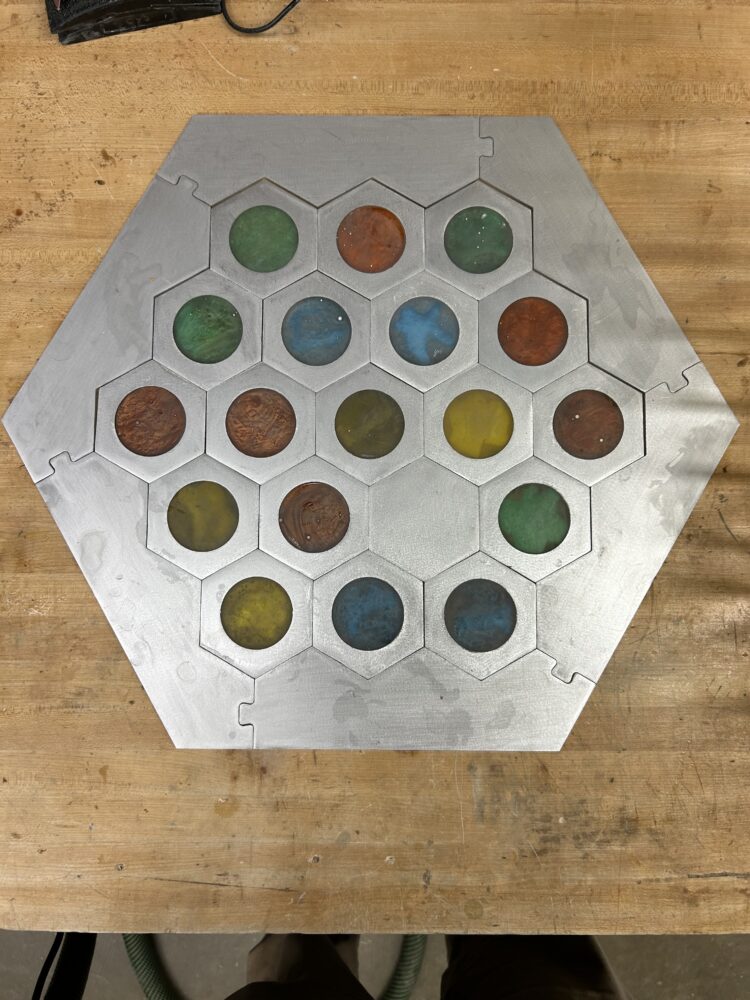

I ended up going through 5 stages of sanding and by the end I was pretty happy with both the finish on the epoxy and aluminum. I also plan to add some clear coat to make sure the epoxy stays shiny and clear. I think that compared to the original Catan board my project is very tones down and simple, the colors did not turn out quite as expected but I love the brushed aluminum look and was able to remove most of the scrapes and imperfections. The aluminum looks different at some angles rather than others so not the uniform gradient I had originally envisioned but pretty close to my vision in terms of texture. Please let me know what you guys think and if there are any further improvements or recommendations. Thanks.
3 Comments. Leave new
Hi Fin I loved this project and I think it’s such a creative idea for making a Catan board. I think it is so cool to make it out of metal. I am wondering if it was wood it would be just as cool.
Hi Fin, these are awesome! Among my friends, there has always been talk of redesigning the case for Catan, and this is right along those lines. Side question, have you considered making a custom box for your new Catan? As most of us know, the stock box is very difficult to use. Back to your project, I love epoxy projects and think they always look awesome! Did you have to redo any of your parts or did you run into any trouble with the epoxy? Final question, do you have a plan to denote the ports on the border? I’d imagine there are many ways to do this, but does not appear to be done yet. Overall, awesome job, can’t wait to see it at expo!
These turned out incredibly! As witness to a few stages of your sanding project, I am really impressed by how much you able to improve the finish and also really make the colors pop. The initial aluminum material swap was probably frustrating but I think the board looks great and still robust with the 1/8″ thickness. Really great job!!