
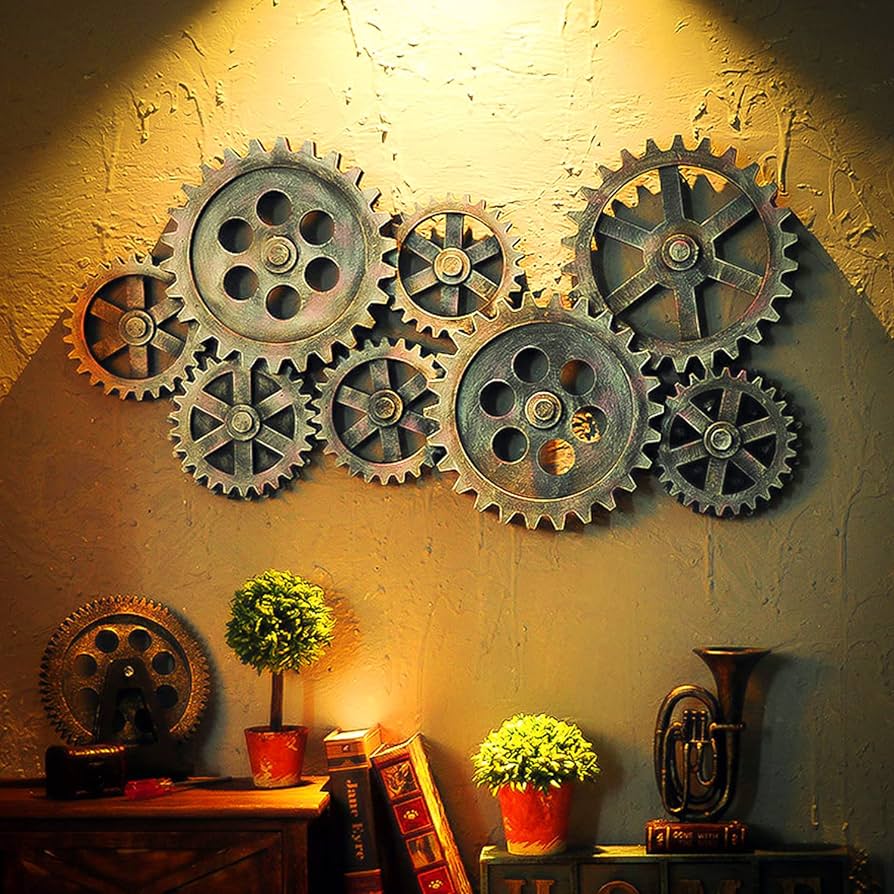
I first came across this general design when I was researching alternatives for my project. My initial idea was to create a large series of gears but it was hard to do any aesthetic with this other than steampunk (which I do not care for personally). I wanted to branch out and give it some more character, and in my research I came across some interesting gear designs that turned the course of my project. Below is one of the first examples I noticed, and figured I could recreate these in a way that was interesting to me.
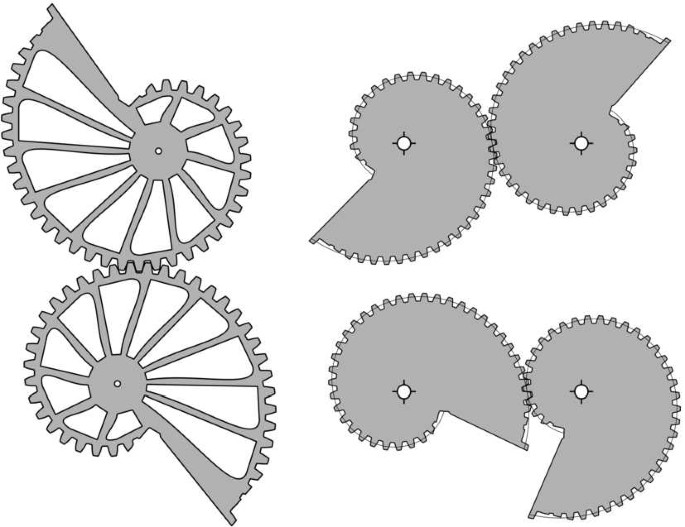
[4] Weird Gears by SpringerLink
I wanted this project to be based on an amalgamation of aesthetics that I think make up my own. I want some skate, some surf, some nature, and some engineer aesthetics to be mixed together in this. My goal was to make this something that I could put up on my wall and feel is a part of me, and something I am proud to have made and display. This should be an interactive art piece, so I want a good finish on it and a dynamic movement that would keep people entertained. Luckily, this gear shape actually works which is very interesting. As one gear gets smaller the other gets larger, and one should be able to turn the other. I considered adding a hold point to guide movement by the user, but I think that this would offset the balance of these and cause them to rest in a weird position. My hope was that they could be left in any position and rest there, but the outcome would prove me right or wrong here.
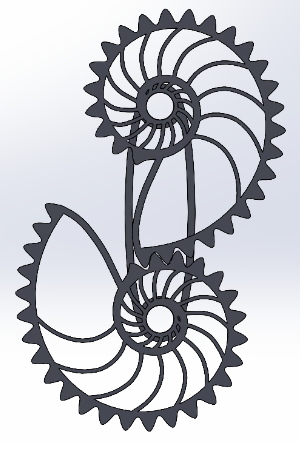
I think that I achieved an engineered aesthetic with the gears, skate bearings from my skateboard, nautilus shape for a kind of surf aesthetic, and wood medium as a natural aesthetic. My final design would change slightly from the image above, as I wanted the back to look more like it should be mounted on a wall than could. I changed to a look similar to a plaque for this piece, and I think it makes the piece look a lot better.
I decided that I would make these gears using hardwood, with one a darker shade than the other. The material would be a walnut and an oak to achieve this. The baseplate is a difficult piece to figure out, though, as it would be weird to have it the same shade as one of the two gears. I went with another wood entirely, thus breaking it away from the same kind of look and allowing the gears to be themselves. Using a laser cutter for the gears would allow me to get a cool burnt look around the edges, and after some debate, I decided to leave it that way because I think it adds to the aesthetic. To finish the surfaces of my pieces I want to use a lacquer or stain to really bring out the natural woodgrain of these pieces rather than hide them, as I think it really adds to it overall and the kind of juxtaposition between steampunk and raw nature, giving me more of what I want and less of what I do not.
4 Comments. Leave new
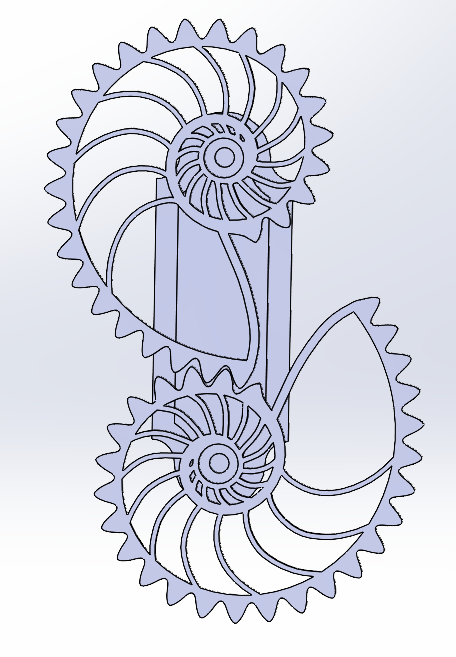
Hi Noah, The Cad models are looking great and I am excited to see your final iteration! When I first looked at your project I noticed that it was normal gears, I like the fact that you made them creative and designed them in the shape of shells! I am curious what you plant to do next, or if there was anything else you wish you could have done.
I look forward to explaining more in the next post, I ran into some serious issues with my plan to create these but I think I made the most of it. I’m glad you got to follow along with it a bit, the one thing I wish I had done is create some kind of mechanism to hold the ball bearings in place because I’m running into some issues now that I did not anticipate, otherwise I’m pretty happy with it.
Hi Noah, I remember seeing some posts in the idea development stages and I think your project turned out well! Although you didn’t include your final iteration I can see your vision and I like how you incorporated the shell shape for your gears, it really fits your skate/surf aesthetic. I am interested to see how this design will look like on laser cut wood. Good Job!
I’m glad you got to follow along Emilee, I didn’t want to include the final project images here because they require some explanation and I feel like I should hold off for the next post. I think they came together pretty well but there are some changes I would have made earlier on to ease the manufacturing process.