
My final design is a Bauhaus end table, made out an old school desk. For context I was looking to do an end table for my room as my final project, originally I was going to try a gothic style end table, but the designs I was coming up with weren’t very aesthetically pleasing, or were feasible to complete within the time limit. During the alternate aesthetics post I considered changing to an industrial or steampunk inspired design made from galvanized steel pipes with a wooden table top. I drew, and used SolidWorks to model multiple designs. I enjoyed them, but when I looked at the price of galvanized steel I realized it was way out of my budget (unless I wanted a very basic boring table). However, recently for my Component Design class my team needed a cheap plastic chair to put on a kart. I found an old school desk for free on facebook marketplace and so I picked it up for this purpose. The chair and frame below will be used for component design, but I was unsure of what to do with the rest of the desk. This had me thinking back to the upcycling project, and I was already exploring ways to use the rest of this, perfectly good, steel. As I looked at the desk the rounded square desktop and pipe legs reminded me of the Bauhaus aesthetic, so I did some research and transformed this desk top into a Bauhaus end table.
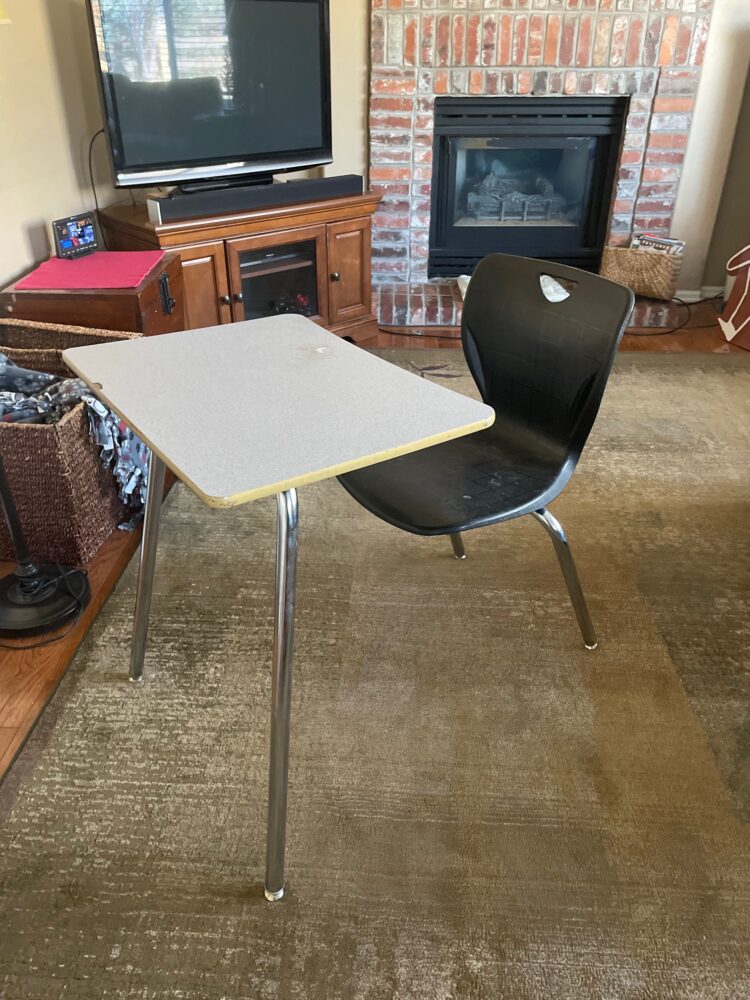
Figure 1: The old school desk in question
I looked for Bauhaus designs with two elements, a non wood color scheme, and a drawer. I wanted a non wood color scheme because I wanted to reuse the desk top. It’s a particle board with laminate on top, so no real wood grain or aestetic value for keeping it.
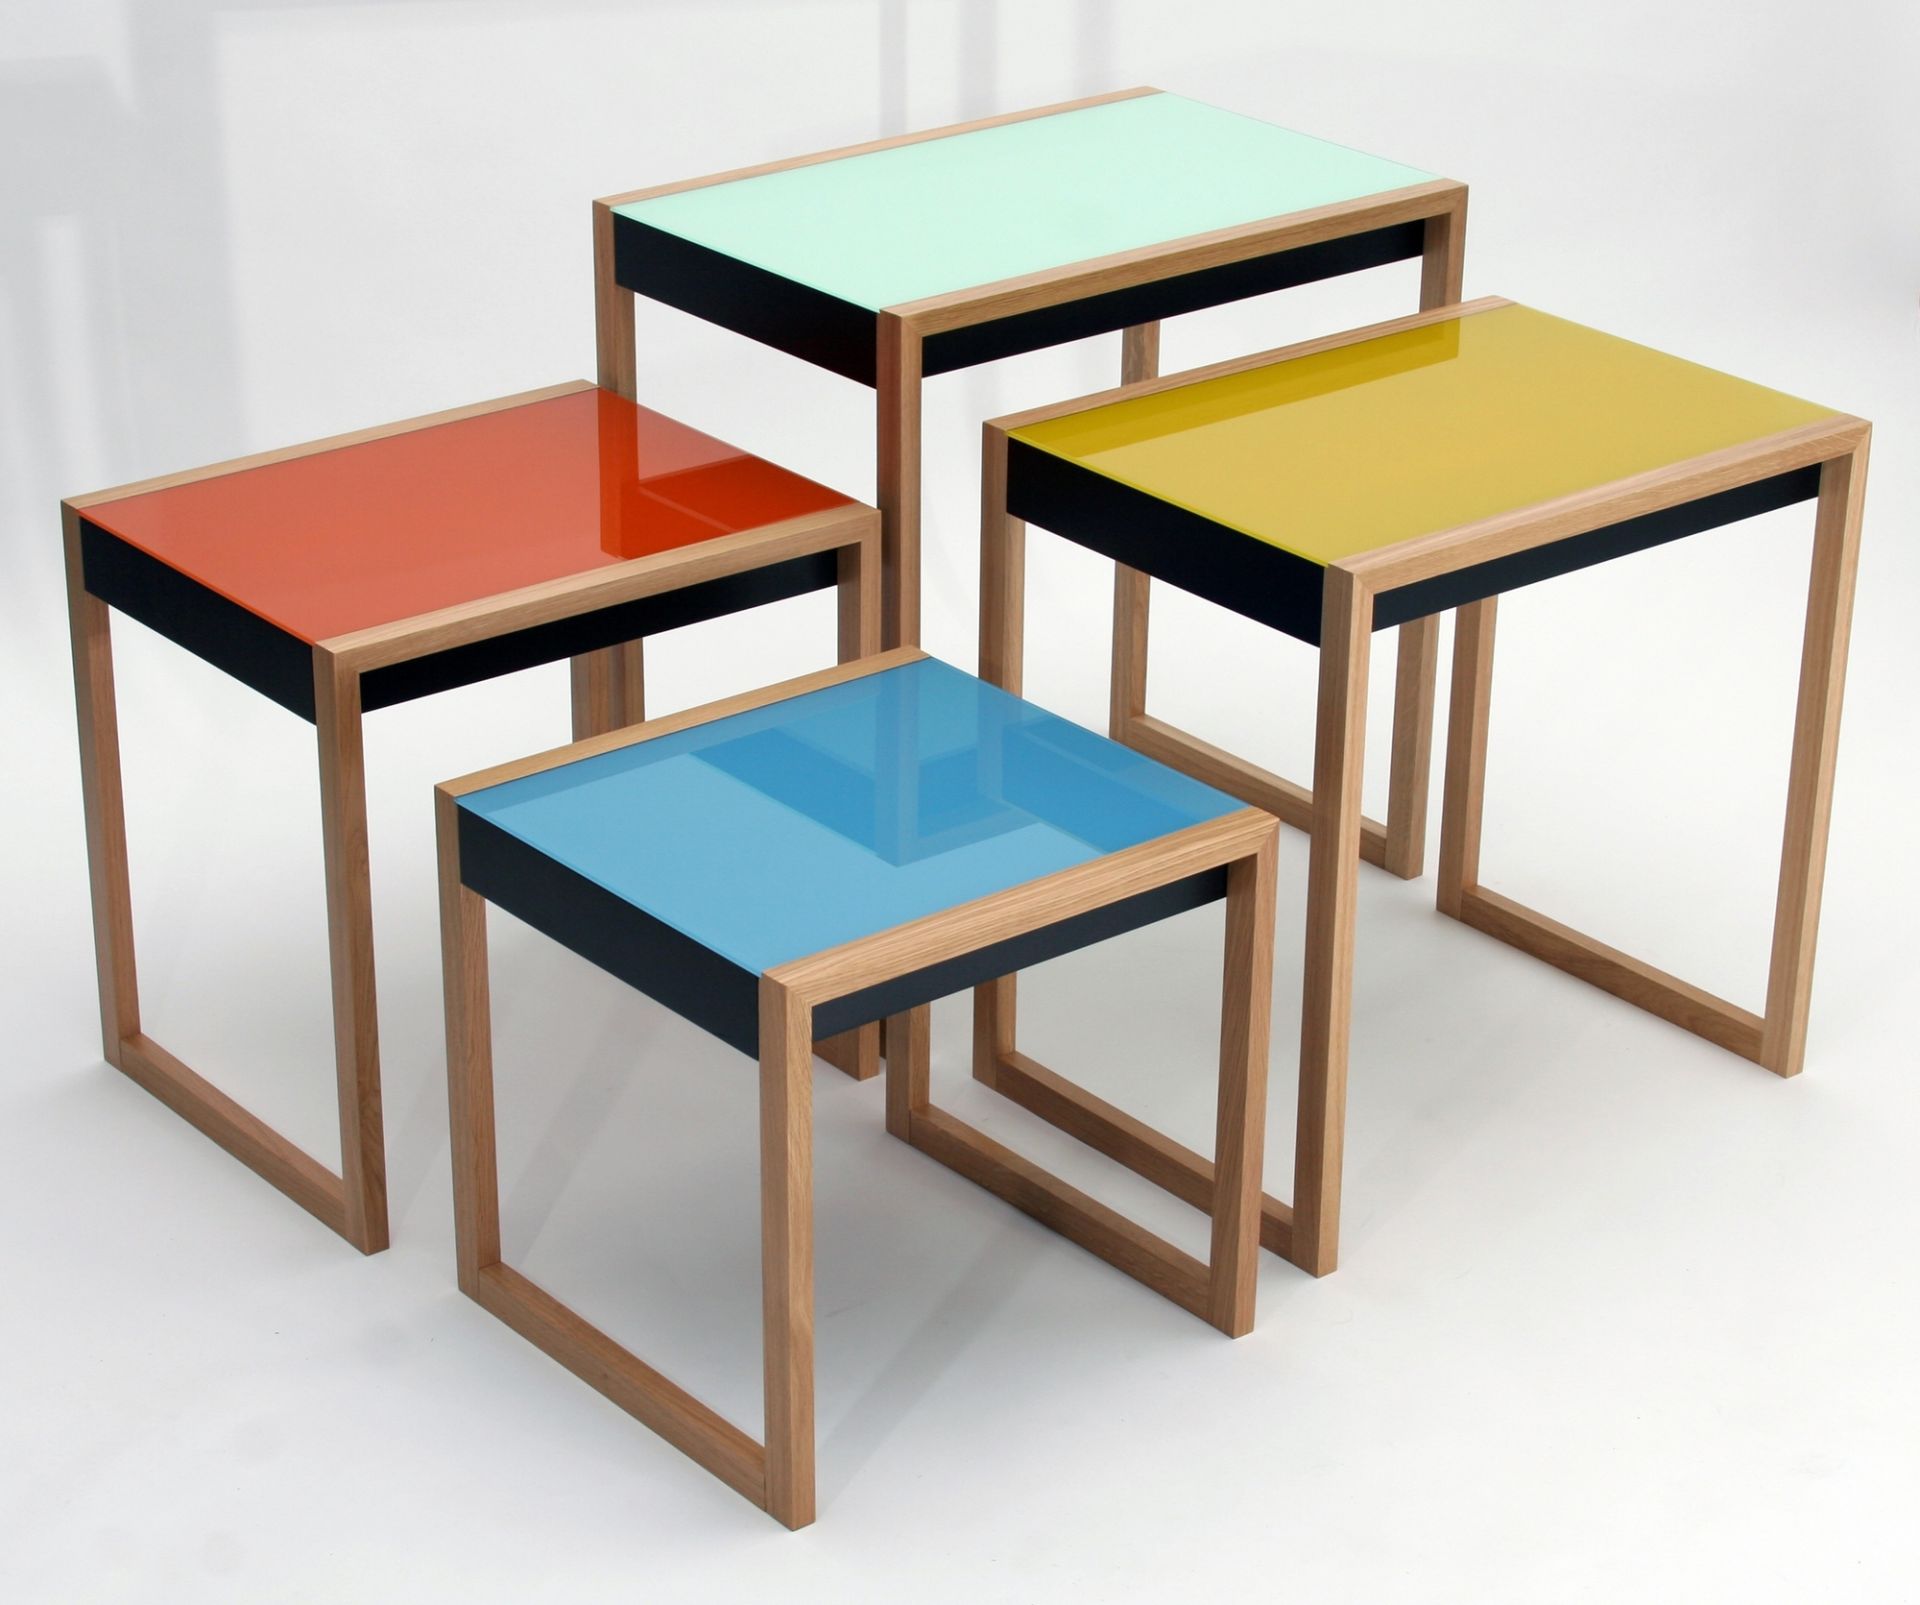
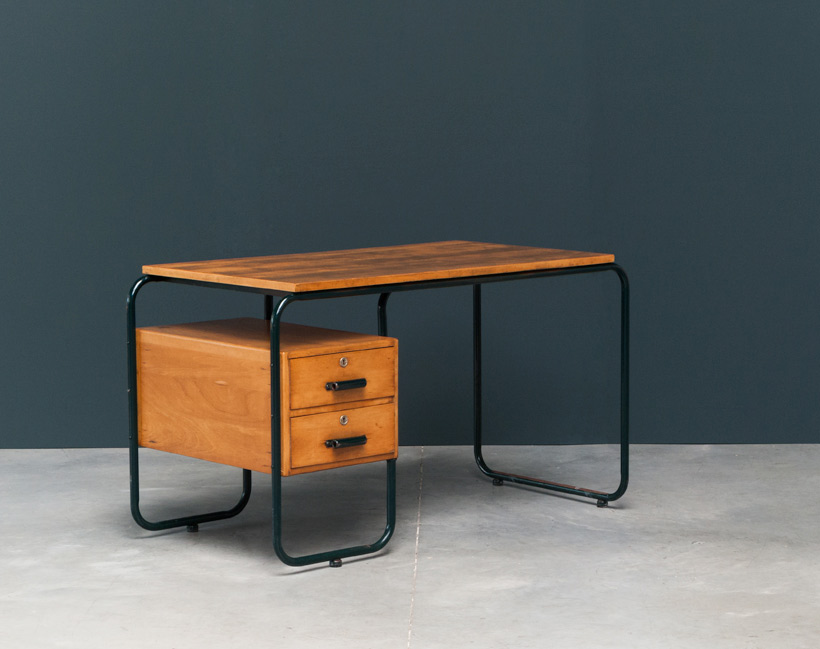
Figure 2: Bauhaus reference images.
These are some reference Bauhaus tables I found online. I Liked the color schemes of the stackable ables on the left hand side. The red one with black sides is the design I mimicked because I thought that it would pop, and work work with the silver tubes on the rest of the desk. For my dynamic element I wanted a “floating” drawer similar to the right image. The drawer is in progress at the moment, with attaching the front face and then a paint job being my next steps. Luckily I have full confidence that I’ll be able to take you guys through the construction process and show you the final product in next weeks post.
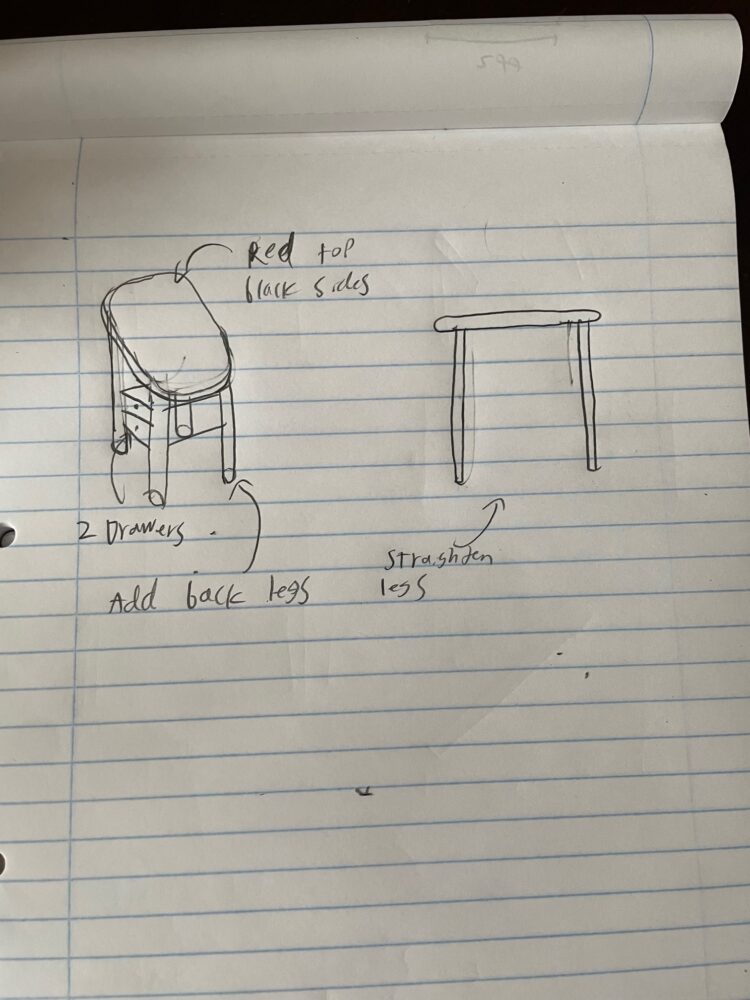
Figure 3: Early sketch.
Here is some early phase sketch ideas about what I want the final table to look like. As mentioned the floating drawer was my dynamic element. The main things. I was trying to achieve with this project was for it to be clean. In my eyes this means clear edges, clear paint lines, straight cuts, the drawer runs smooth, and the table stands up straight.
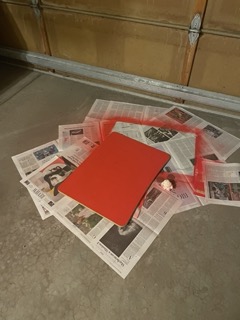
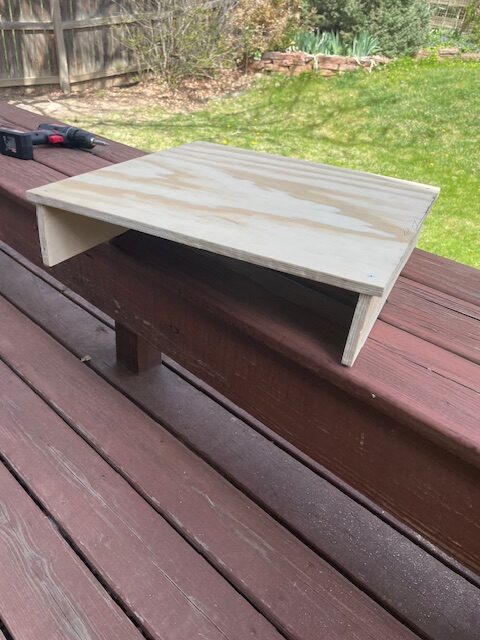
This was the desk top, and one of the most prominent features of this table. I put about 4 full coats of paint on this to really give it a pop, and a very clean finish.
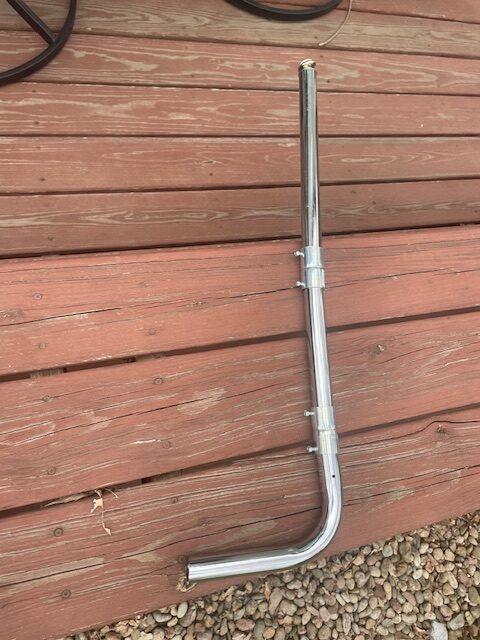
The reconstructed legs gave me some of the biggest issues over the course of this project. The set screws in the conduit holders gave my reconstructed legs some crooked segments. I tried many different levels of tightness, configurations, and even drilling holed through the leg and drilling the set screw through. None of these quite worked, and I eventually just had to bend the legs into a shape I could live with, and that felt straight enough.

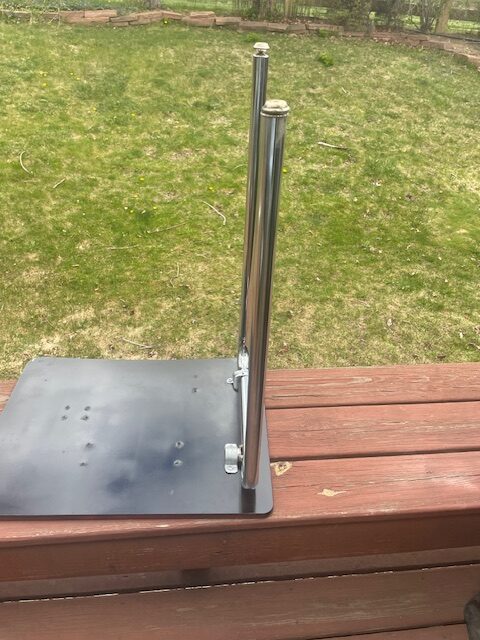
Another issue I had was that my legs didn’t seem to want to mount straight up. Originally the desk’s front legs were at the angle shown on the left, which was perfectly alright because there was support in the other direction. However for my table this was not going to work and I needed it to be straight up and down. I ended up using a low tech solution on this. Because the top crossbar of the legs isn’t visible, I hit the areas angling the legs with a hammer until they were straight enough for me.

Here is the desk after I attached all of the legs. One was maybe 1/4″ longer than the other, causing it to be very unstable. It took about three tries to get this issue fixed but it was worth it in the end.
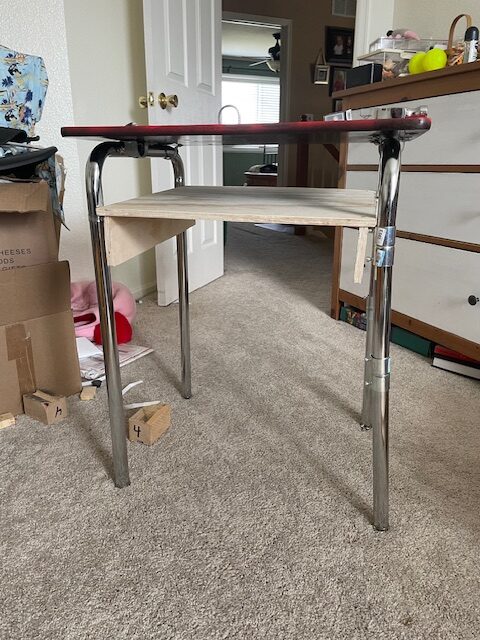
Here is where I’m at not. This is the frame for the drawer which is currently under construction. After the drawer I am going to give it all the same color scheme as the top. Overall I am happy with how this project has been going so far, but I will be able to provide a more comprehensive comparison to my origional goals when it is completely completed next week.
Figure 2 Images:
[1] Einrichten Design, https://www.einrichten-design.com/en_us/bauhaus-nesting-tables-set-of-4-klein-and-more.html [2] Furniture Love, https://www.furniture-love.com/vintage/furniture/785/bauhaus-tubular-steel-and-wooden-desk.html
Sources:
“Bauhaus.” Wikipedia, Wikimedia Foundation, 11 Mar. 2024, en.wikipedia.org/wiki/Bauhaus.
“Buying Guides.” School Outfitters – Furnishing Great Places to Learn., www.schooloutfitters.com/catalog/gttk_article.php/cPath/CAT202_CAT203#:~:text=Frame%20%E2%80%93%20Most%20all%20desk%20frames,but%20more%20likely%20to%20crack. Accessed 13 Mar. 2024.
“A DIY Guide to Painting Laminate Furniture: Benjamin Moore.” A DIY Guide to Painting Laminate Furniture | Benjamin Moore, www.benjaminmoore.com/en-us/interior-exterior-paints-stains/how-to-advice/interiors/painting-laminate-furniture#:~:text=Can%20you%20paint%20laminate%3F,coffee%20tables%2C%20bookshelves%20and%20dressers. Accessed 13 Mar. 2024.
2 Comments. Leave new
Brandon – I think the red you chose really pops and displays the Bauhaus aesthetic. Even with the legs being slightly crooked they sort of add a bit more character to the piece compared to if they were perfectly straight.
This is such a cool project. You’ve upcycled a desk into another, cooler desk. I really enjoy the Bauhaus style for how simple and practical it is, and I think you nailed it. The metal legs, now that you’ve straightened them, work really well in this style and I’m really interested to see how the drawer turns out. I work at Home Depot, so I know how tough conduit couplers are to work with and I think your solution works well and is about as good as you can get with them. Nice job!