
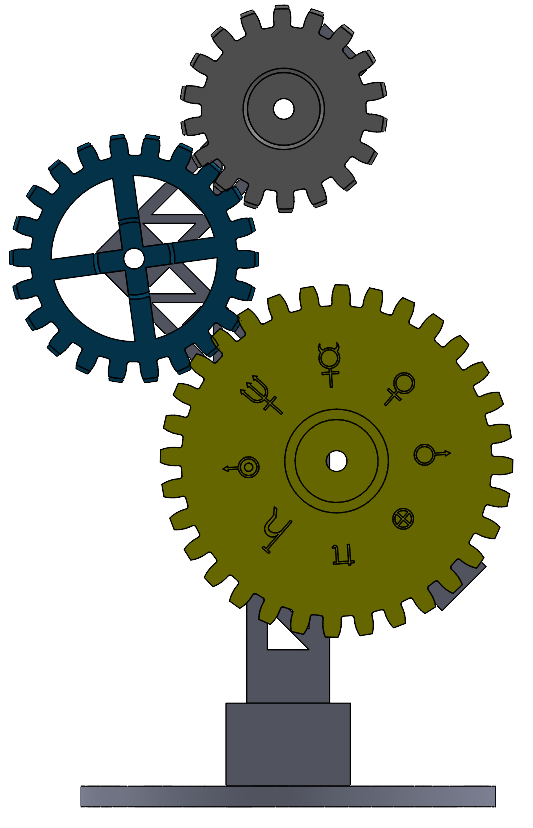
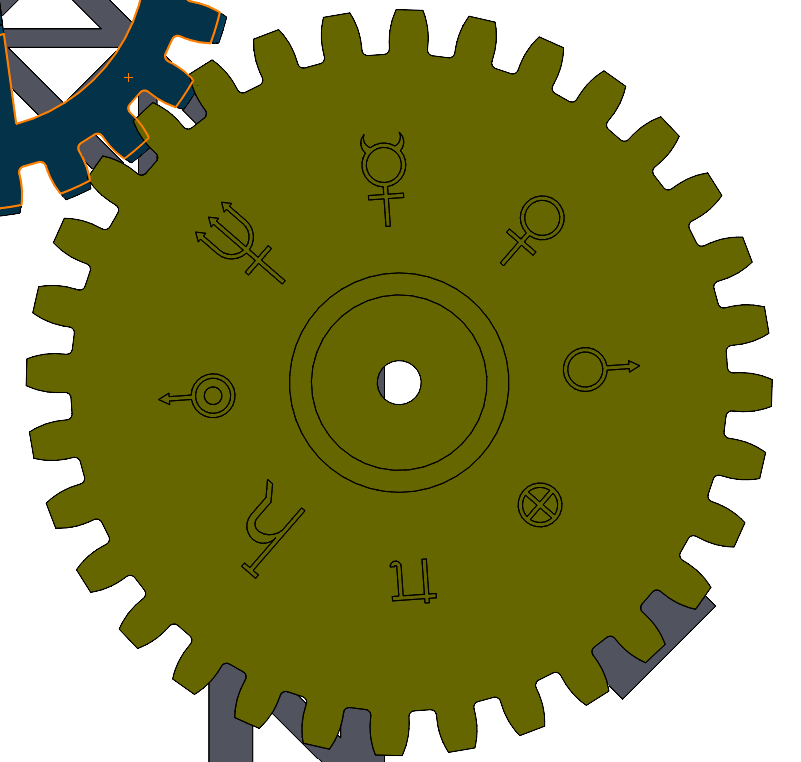
Since the design review, I have focused on finishing my CAD model for the project and printing the parts. The CAD modeling took a fairly long amount of time, since getting some of the more organic features in the gear symbols was difficult without any references other than pictures of the symbols themselves. I also needed to make sure that the symbols were correctly oriented with an even spacing that would make the final product look cleaner and more polished. To do this, I divided the surface of the gear into eight slices and evenly distributed the symbols along the surface according to my original sketch.
 3D printing the parts was a smooth process since my CAD was designed to allow the parts to be printed easily without support structure or other special considerations. I decided to print all of the parts in white to save print time and avoid having to run multiple different filaments. White was a good choice since I planned on painting the pieces to get the colors that I wanted. Using paint instead of colored filament allowed me to make pieces that have more vibrant colors, and I was not limited in my color choice by the filaments I could find. I was also able to use a matte gray for the Moon gear to give it a more dusty appearance, which is much more similar to the actual appearance of the Moon.
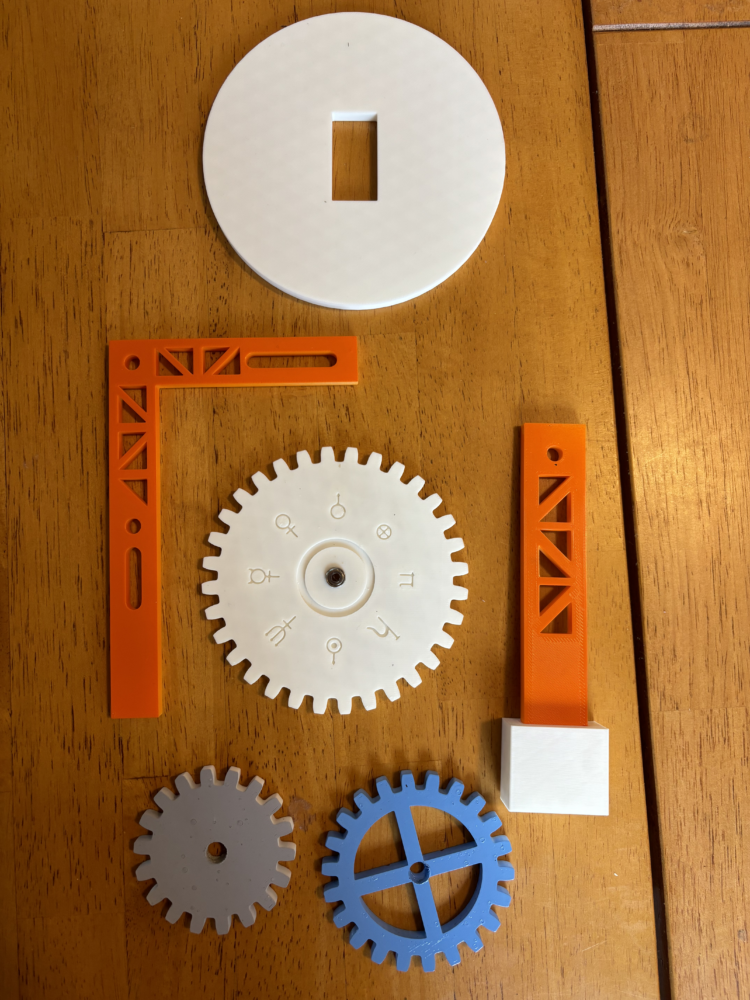
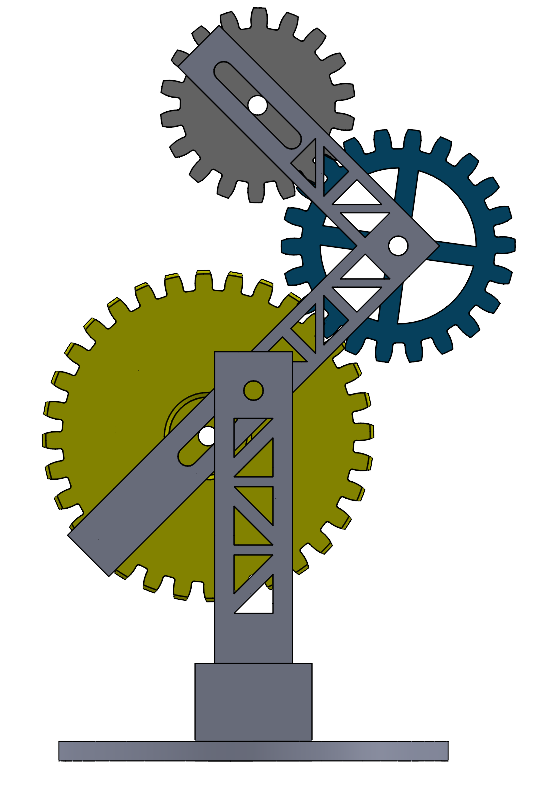
 To design my piece for assembly, I used slots for two of the gears so that they can be moved into the correct position to mesh into one gear train. This eliminated the need for very tight tolerances, especially since I was unsure of the print quality I would be able to get with the gears. This will make the assembly process much more straightforward, since I have designed some adjustability into my parts.
I also wanted to be able to minimize fastener use in the base to make the final product look cleaner. To do this, I designed the upright support to fit snugly into the bottom block with an interference fit. The fit is very tight, which will make the overall assembly much more stable and balanced. The circular base was designed so that the bottom block fits snugly right into it. As a result, the entire bottom portion of the project does not require fasteners, which makes it look like a cleaner, more streamlined product.
To finish the project, I will need to find the remaining hardware I need to bolt the gears into place but still allow them to rotate. I plan to use bearings inset into the gears to do this.