
Progress Report: Minimalist Interchangable Photo Collage
By: Michael Gray
Previous Blog Posts
For my project, I will be designing and manufacturing an art piece: The Minimalist Interchangable Photo Collage. I have made several previous blog posts relating to this project, so if you would like some more context, please see them below using the provided links below.
Post 7: Main Project Aesthetics
Post 9: Top 5 Specifications and Constraints
Progress Pt. 1 – Acquired Parts and Materials
Since my design preview report, I have purchased and acquired many of the parts and materials needed for my project!
I quickly finalized the Biblical metaphors that I wanted to put on display in my project, and each of the photos can be seen below with the refrences for the Bible verses that mention them. Please note that these metaphors are all used multiple times in the Bible, and I have simply selected the verses that speak most deeply to me.
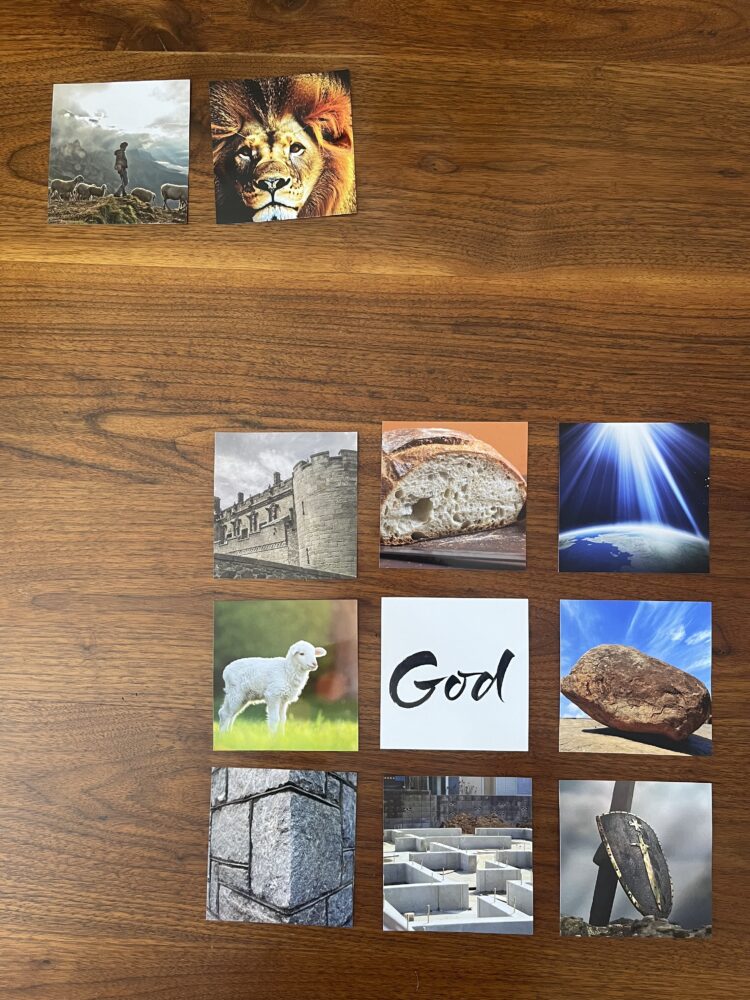
4″x4″ photos from Shutterfly are pictured above.
Shepherd (top left) – Psalm 23:1, John 10:11
Lion (next to previous) – Revelation 5:5
(Moving through the collage, left to right, top to bottom)
Fortress – Psalm 18:1, Psalm 91:2
Bread – John 6:35
Light – John 1:5, Psalm 27:1
Lamb – John 1:29, Revelation 5:6
God – Deuteronomy 7:9
Rock – Psalm 18:2
Cornerstone – Ephesians 2:20, Acts 4:11
Foundation – Matthew 7:24-27
Shield – Proverbs 30:5, Genesis 15:1, Psalm 18:1
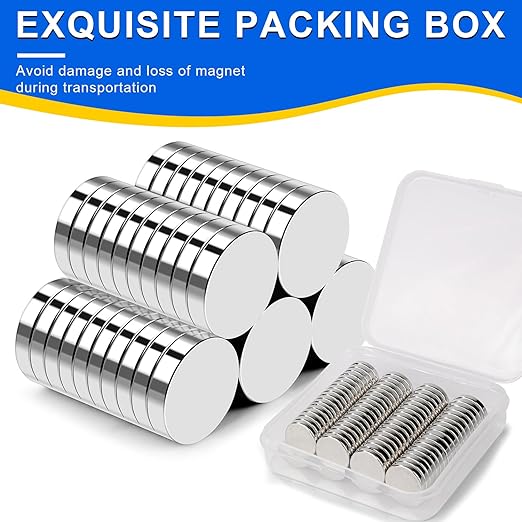
I also acquired the magnets [1] and glue [2], seen below.

Finally, I have many cardboard boxes on hand from the various items that I have ordered from Amazon. I plan to use these boxes to make the cardboard backings for each of the picture-mini-frame assemblies.
I have not yet acquired the acrylic, as I can easily purchase it from the ITLL at CU Boulder when I am reacy to manufacture, and I have not purchased any PLA, as I will be using the free, white PLA, also located in the ITLL.
Progress Pt. 2 – Prototyping and CAD
I have made major headway on my project in terms of modleing my designed parts in computer aided design (CAD). I have modeled the backing (which will hang on the wall, and have the mini-frames magnetically attach to it) in eight parts, the cardboard for each mini-frame, the photos, the acrylic for each mini-frame, and the mini frames themselves. Additionally, I made two small prototypes which I glued magnets into, ensuring that the firstly, glue would hold the magnets to a PLA surface, and secondly, that I had made the holes for the magnets the right diameter and depth for a perfect fit.
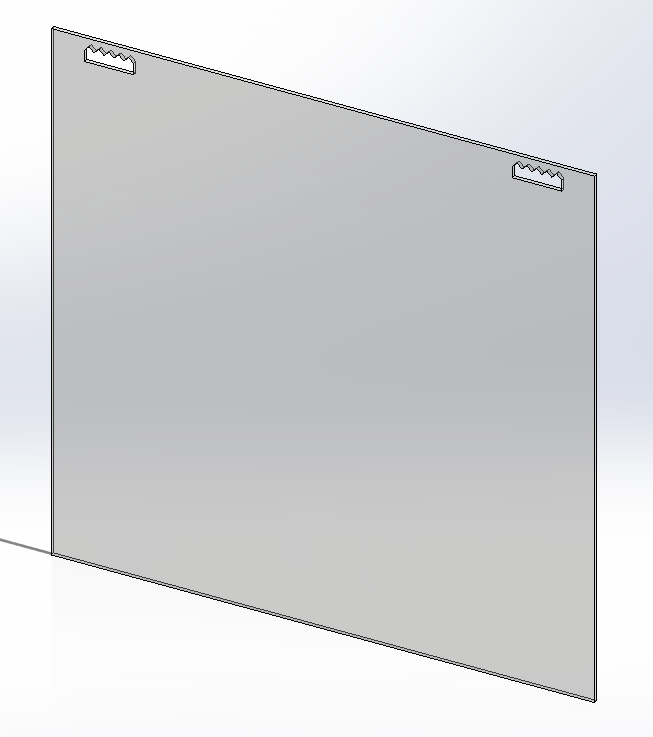
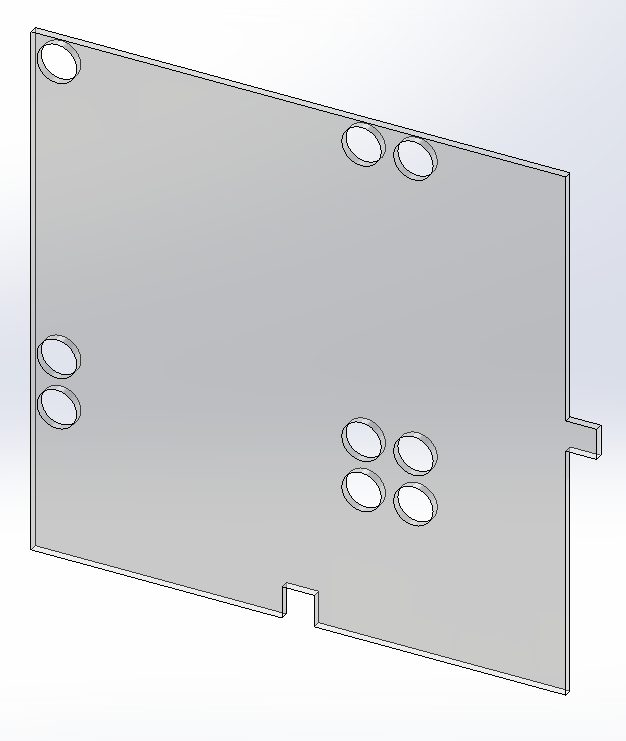
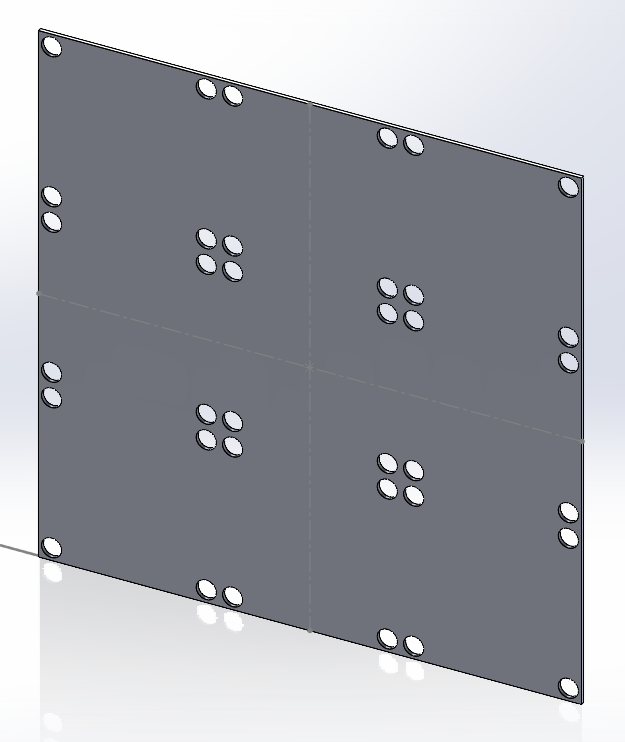
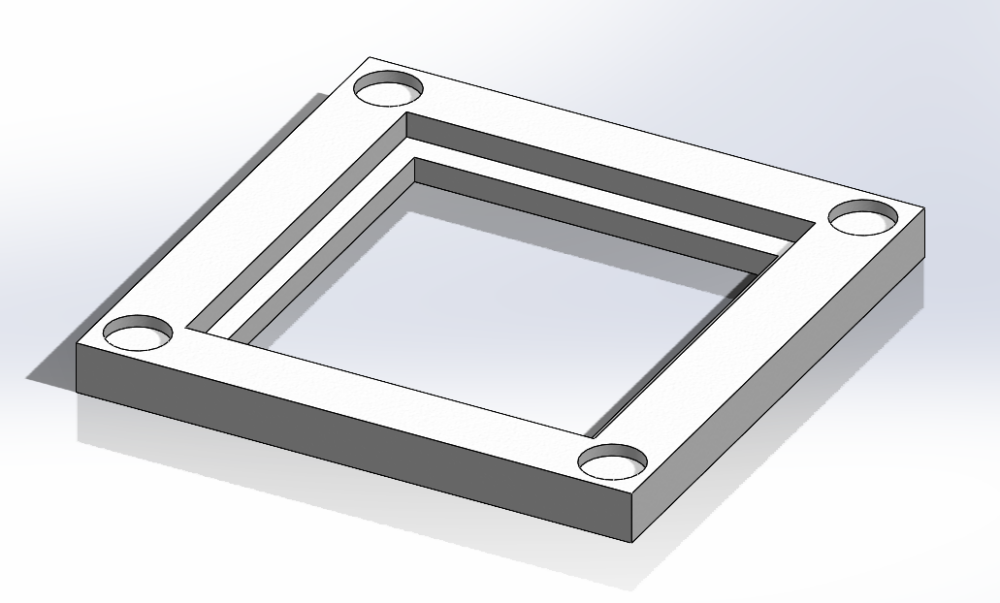
CAD of backing lower piece, backing upper piece (single), and backing upper pieces assembled. Notice the holes in the upper pieces. After the upper pieces are glued to the lower piece, the magnets will be fit and glued into each of the holes.
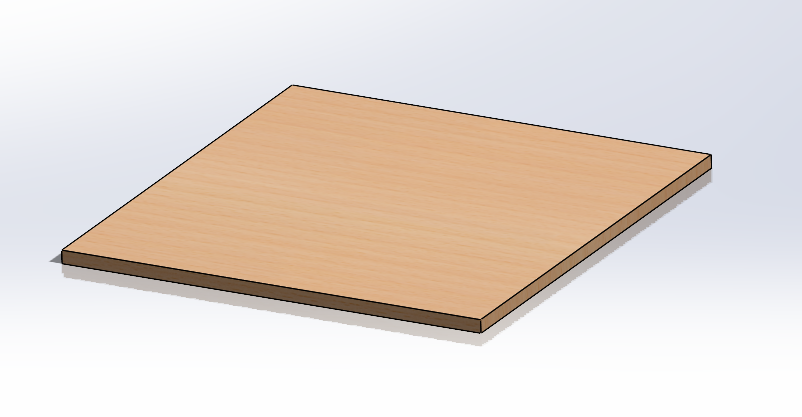
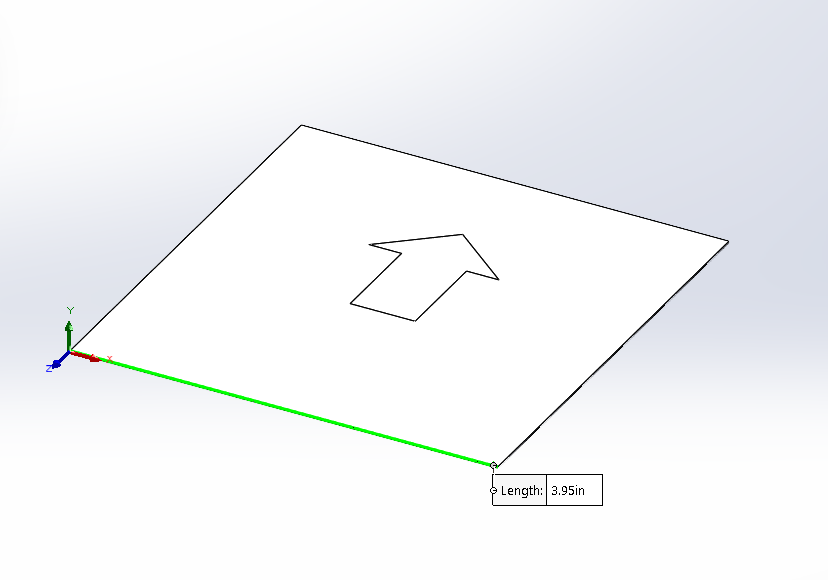
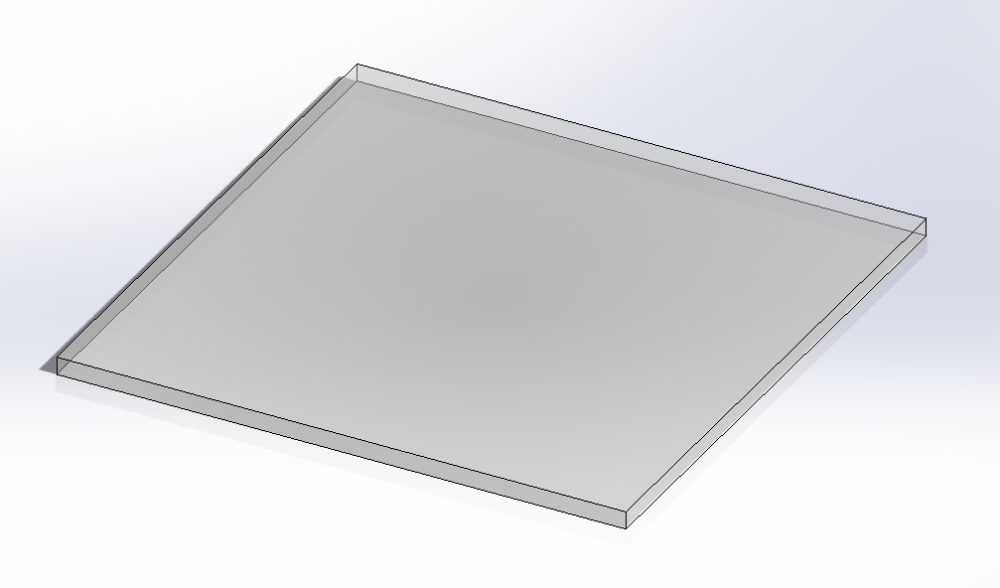
CAD of cardboard (to hold in the photo), photo, and acrylic which are all part of the mini-frame assembly.
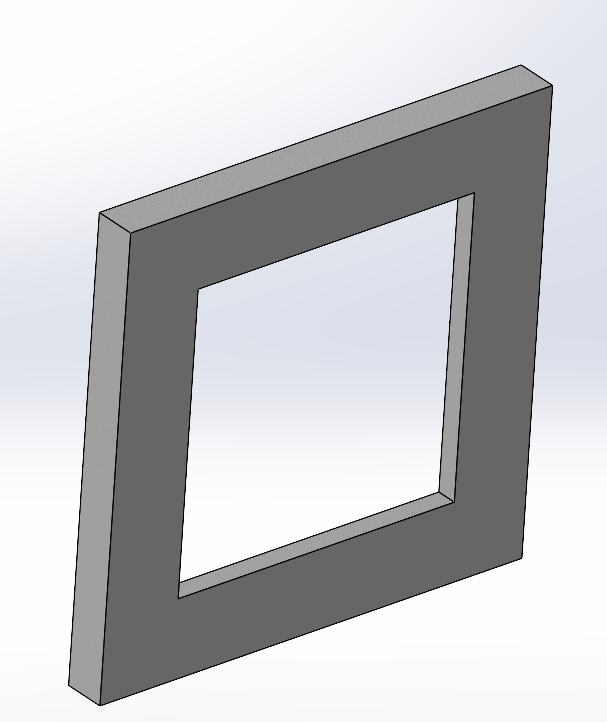
CAD of front and rear isometric views of mini-frame.
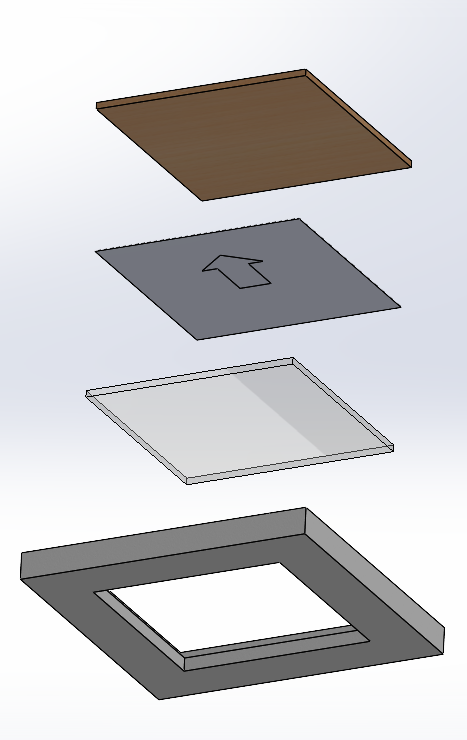

Mini frame assembly exploded views, including (bottom to top) mini frame, acrylic, photo, and cardboard.
Refrences:
- https://www.amazon.com/gp/product/B0CCXT3M7Z/ref=ppx_yo_dt_b_search_asin_title?ie=UTF8&psc=1
- https://www.amazon.com/gp/product/B0916KZ598/ref=ppx_yo_dt_b_search_asin_title?ie=UTF8&th=1
1 Comment. Leave new
Nice post Michael! Very organized and well documented. I like your inclusion of CAD as well. I’m curious what the bible verses are! I think your representation of them with images is cool. One question I had is what printer are you using, and what slicer settings?