
Timeline
The figure below shows the entire timeline for this project.

Prototyping (Testing)
The first things I had to do was prototype the shape of the table, cuts on the wood, and colors/techniques used with the epoxy. The pictures below show two of my favorite color combinations that I want to use for the table. I created these by making tiny little molds, sealing the corners with silicone caulking, pouring/mixing the resin, and then adding color. The resin takes 48 hours to cure, and then I could practice sanding and polishing the pieces. The picture with the drill shows the polishing wheel I used as well as the samples that I practiced with. Make sure to check out the video too becuase the photos of the resin and colors just dont do it justice.


Fabrication
Preparing the Wood
The first steps in preparing the wood were to cut it to length and in the shape that I wanted it, plane it to a contant thickness, remove bark, sand down, and fill and gaps in the wood with resin before doing the main pour. The images below show the pieces of wood after I did all of that. Several operations were done in the machine shop at the ITLL as well as at my house. The only thing left now was to put one coat of resin over each piece of wood in order to seal all of the wood before the main pour.


Preparation For Main Pour
The couple of things that I had to do in preparation for my main pour were to figure out the main color I wanted to do, seal the wood, and prep the wood and the mold together. The first picture you see below are two practice squares of resin used to test powder pigments used for coloring. In the top square I used a bronze powder along with a translucent green and blue dyes. The bronze powder completely overtook the green and blue color. I instantly knew I didnt want this because I wanted the color of the resin to be ocean like. The bottom square was a mix of white and purple powder pigments along with blue and green translucent dyes. I really liked how the purple and white shined in the blue, but the overall blue color was too dark for me. So I knew I wanted to do a lighter color.


In the picture above and to the right you can see the final layer of epoxy poured over the wood in order to seal it so there would be no bubbles that would come out when I did the main pour. The finish looks very mice. But I had to sand it to level it and so that it could mechanically attach to the main pour.
After the wood was prepared I practiced some more with coloring the resin. Below you see the two colors that I decided I liked and the ones that I would most likely use on the main project. The left picture below was created by pouring a resin in that was tinted with green and blue translucent dye. Then the purple/white mica powder resin in the left picture was poured into the translucent. This multiple color pour created the exact look that I am going for. I decided I wanted my table to have the look of the blue/green square in the picture below and to the left.


Once I knew what color I wanted to do, I needed to prep the wood and the mold together. Please check out my previous posts throughout the semester in order to see how I built the mold and prepped the wood in the machine shop and at home. In order to proceed, I leveled the mold and shimmed it with folders in order to get everything as level as possible. Then I placed the wood in the molds to check their positions. I then took them out and mixed a little bit of epoxy resin and poured it over the bottom of the mold andplaced the wood in. I then placed other wood and clamps in order to keep the wood in the same position as well as to squeeze resin from beneath the wood. I let the epoxy cure so that the bottom was entirely sealed (so there are no leaks during the main pour) and the wood was in place. I removed the clams and other wood.

Main Pour
It was time for the main pour. I heated up the containers with the resin so that they would be les viscous. This will help reduce the number of bubbles trapped in the resin when it cures. This is very important throughout the whole table making process because you can ruin a table by having too many bubbles in the resin once it cures. It is more critical when you do translucent projects, but should always be avioded as good practice. This was why I completely sealed the wood before the pour. This was so that there was no chance of air bubbles escaping from the wood and infiltrating the resin. I made sure to san down all of the cured resin before the main pour in order to provide a mechanical bond between the previously poured resin and the soon to be poured resin.


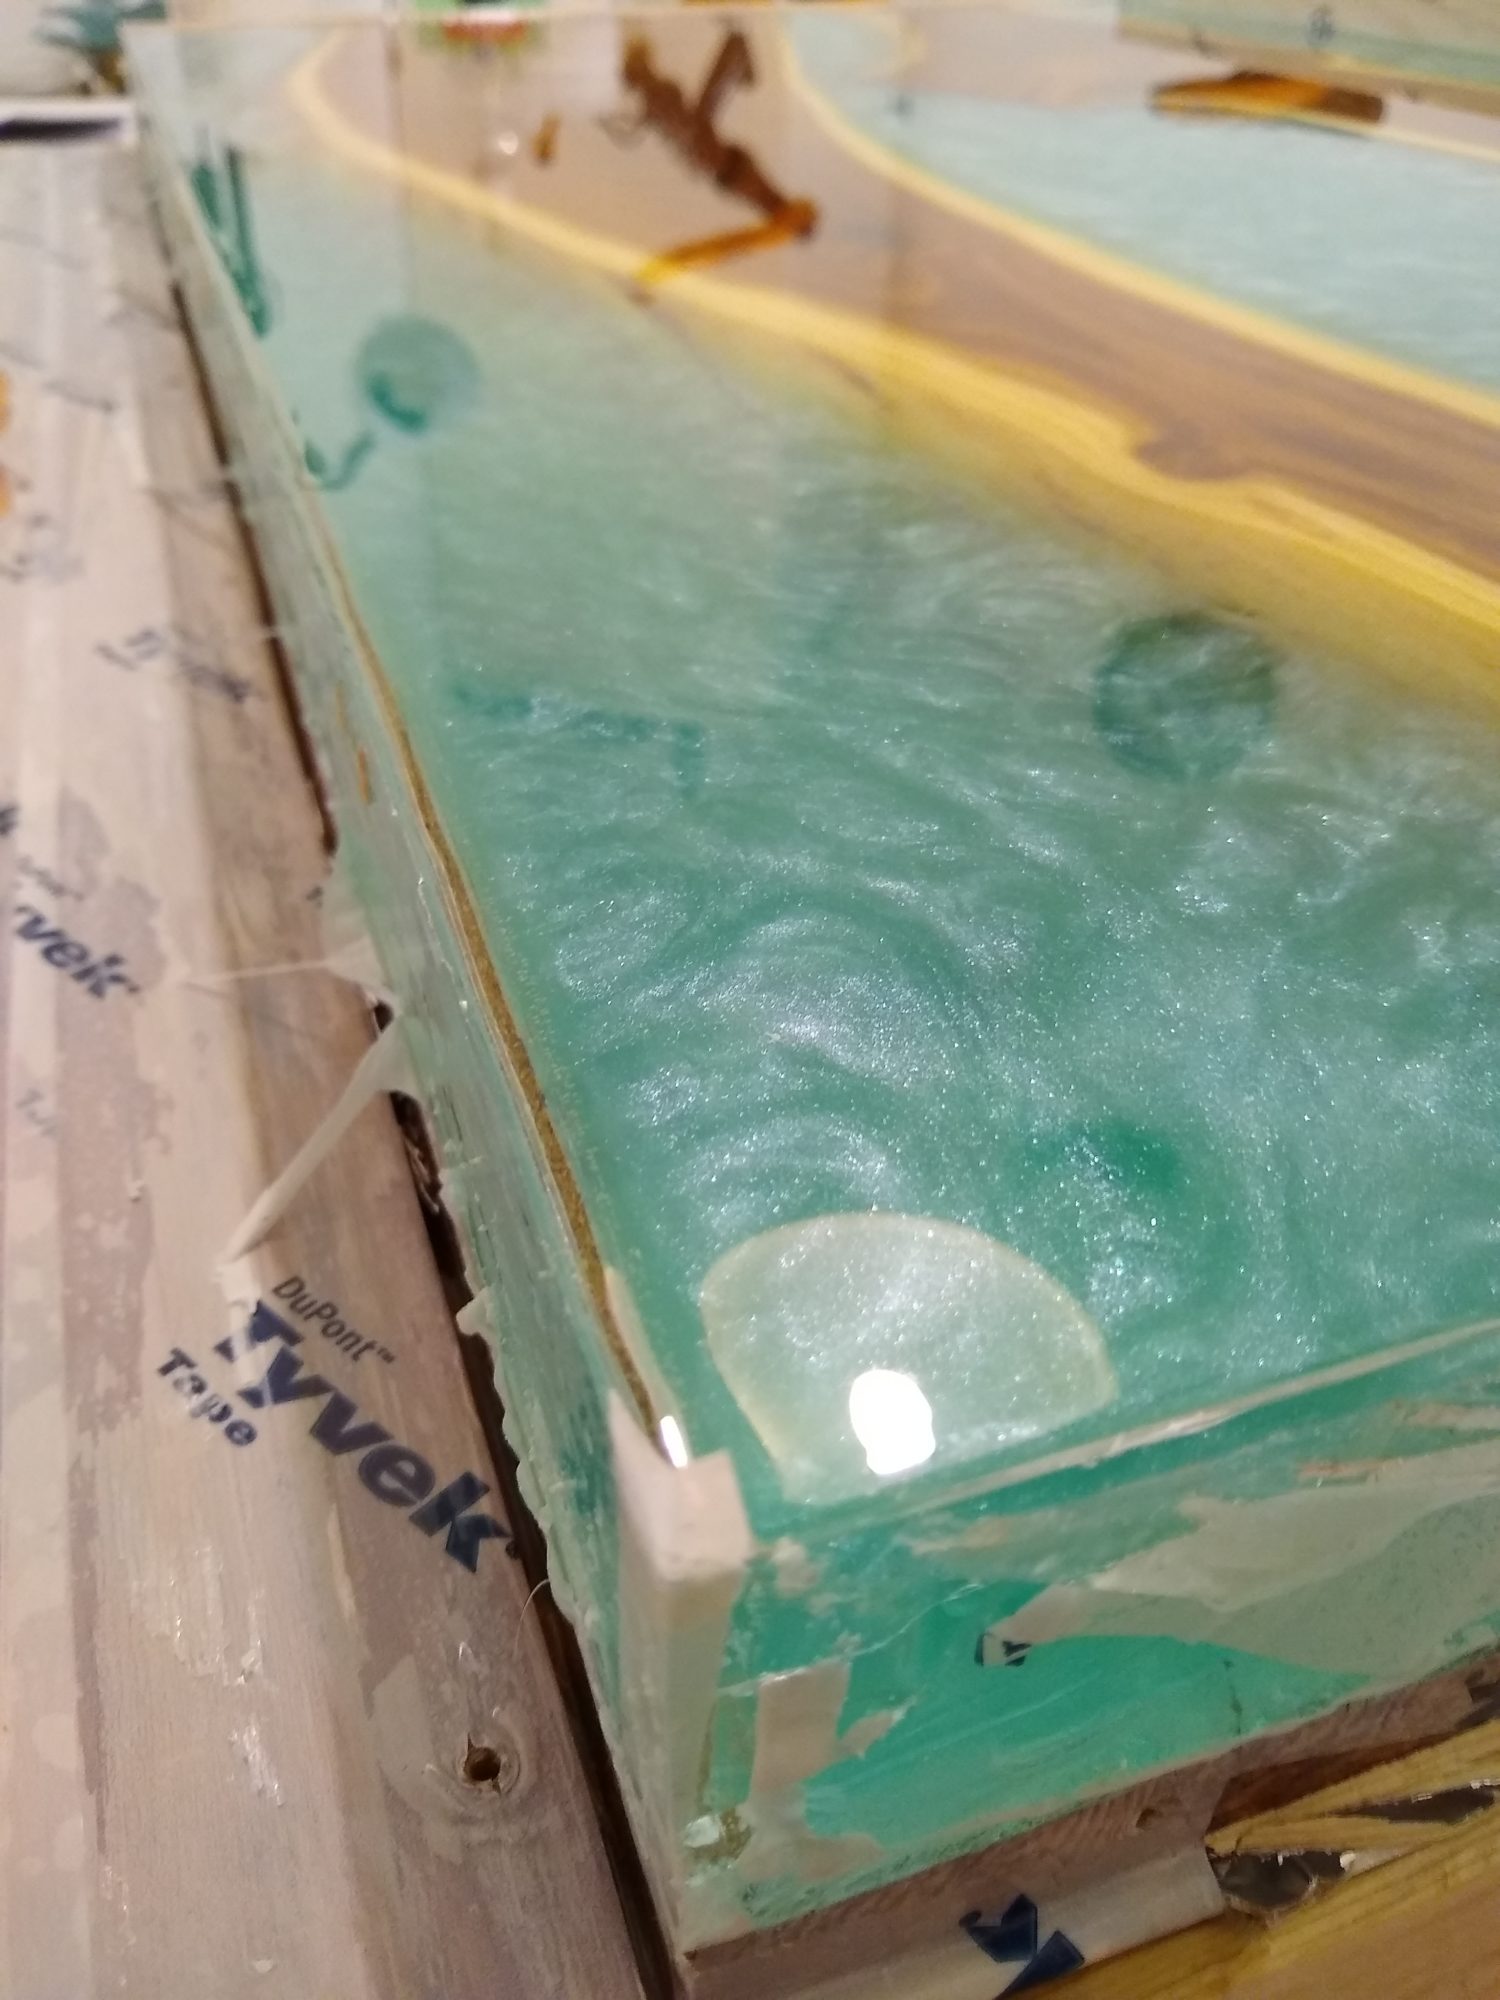
After the resin was heated up, I mixed the entire amount that I thought I need. I calcuated this useing an online calculator that converted volume in inches to Liters. I mixed up about 4.5 liters, carefully paying attention to not creating many bubbles in the resin. When mixing resin you always mix first in one container and then pour it into another container to mix that way you eliminate the chance of any unmixed resin. If you leave unmixed resin in your table, then parts will never harden and your table could be ruined. I split the resin into two in order to make the blue/green translucent part and the purple/white part to pour in after. In the first picture above and to the left you see when I poured in the transluscent part, but had not poured in the other.
At this point I realized that I did not mix enough epoxy for the table. I used about half of the epoxy I mixed and only filled up the talbe about a quarter of the way up. I still had extra so I mixed more and finished pouring the translucent part and then added the purple/white afterwards in order to look like oceans. I ran out of epoxy and was not able to fill it up to the top of the wood. Initially I was really bummed about this, but quickly realized it actually looked more like an ocean meeting land becuase the land (or wood) sits above the water (or resin).


Clear Pour
I ordered more resin and sealed certain portions of the table that became unsealed when the resin cured and moved. Once this dries, I will sand the top of the wood, clean the entire surface ensuring that no dust particles are left behind. It is critical in this process of pouring epoxy resin to ensure that you have a dustfree environment, or make it as dust free as possible. If dust lands in your resin (and it will if you are not careful or dont cover it) it will stay there forever. It also looks bad. So just try to aviod that at all costs. I then poured a clear coat over the entire thing in order to make up for the resin that I didnt have for the main pour.
Tabletop
The two pictures below show where I am at with the tabletop right now. It is almost completely finished.


Functional Goals Achieved (Beginning vs End)
My functional goals at the beginning were to build a beautiful table that I could use in my house. I was able to almost finish the table top due to the COVID-19 situation. There are only a few steps left that I need to do, but the table top is not ready to be used yet as one so I did not achieve my original functional goal. I will achieve it though once I get access to machine shops.
Artistic Goals Achieved (Beginning vs End)
My artistic goal from the beginning was to have this table resemble the ocean waters and more specifically something similar to the ocean in Cancun, Mexico. As you can see in the comparison pictures below, I was able to achieve the aesthetic that I was looking for. They look very similar!


https://www.tripsavvy.com/cancun-travel-guide-1588615 (Cancun, Mexico)
Whats Next?
Once the resin cures, I will take the table out of the mold and take it to a friends house in order to use a table saw and router to clean up the edges. The table will look so much cleaner and will be ready for the final coats of epoxy. I will do 2-3 seal coats and finish it off with one final flood coat over the whole table that will dripp off of the edges and give the table a nice finish. After this, The only thing left will be to add the legs.
Finishing the Tabletop
After the resin cures, I will take the table out of the mold and take it to a friends house in order to use a table saw and router to clean up the edges. The table will look so much cleaner and will be ready for sanding the final coats of epoxy. I will sand the wood from 60-400 grit and the epoxy from 60-1200 grit. Then will do 2-3 seal coats and finish it off with one final flood coat over the whole table that will dripp off of the edges and give the table a nice finish. Once this is done, all of the woodworking is done and then I must move on to the metal machine shop in order to create the legs of my Rustin Ocean River Table.
Machining and Attaching the Legs
The final step is to machine the telescoping aluminum tubes in order to create the legs. This requires me to drill multiple holes in all of the aluminum tubes. Once that is done I will attach them to the table and the project will be complete. I will do this next semester if the COVID-19 situation permits.

Class Presentation Video
4 Comments. Leave new
George,
I think your project came out great, especially given the circumstances. It is obvious that you put a ton of time and effort in to it. I think it absolutely nails the point of this class and project and the chosen aesthetics are very strong. Great work and I hope it serves you well.
George, this is amazing! The final product turned out so incredible, but I was also very impressed by your process. I feel like you really captured what design and engineering is like: prototyping, looping, and continually refining. What do you see yourself creating in the future with epoxy resin? Are there other aesthetics you could see yourself pursuing?
Hey George! Your final project and presentation turned out so amazing. I’m very impressed with your motivation to continue such a difficult project, but clearly your hard work paid off! The color of the resin is even better than I had expected from your original plan, and I really believe the little grooves between the wood and resin add a great texture to the overall aesthetic. This looks like a professional piece of work and you should be really proud of how well it turned out. Great job George 🙂
George, this came out looking amazing! Major kudos for getting this done despite all that’s going on, I’ve been following your work throughout the semester and am really happy it turned out so well for you. I hope you’ll post the completely finished version as well! Is there anything you would have done differently given the opportunity? What did the final dimensions end up being? How heavy would you guess it is? Excellent work, your thorough research and time spent really shows in the final product.