
Overall my project went very well. I was able to build a fully functional project that I will definitely use for the foreseeable future. Although my design did go through various changes due to construction issues, it still turned out great. The only aspects I head real issues with were in the alignment of the bottom bearing and the final staining of the wood.

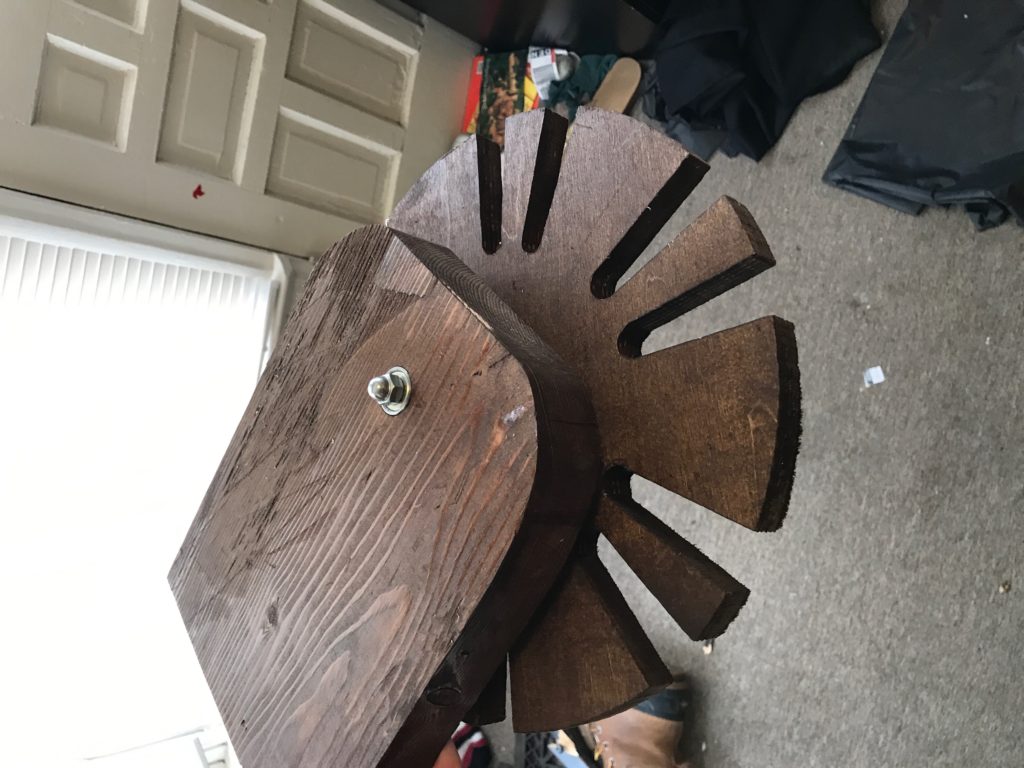
When using a drill press, the accuracy is not quite up to par with that of a mill in a machine shop. In a machine shop, you can zero edges to make sure your holes, cuts, etc are exactly where you want them. With a drill press this is not the case. By fixing my pieces and making multiple cuts without changing anything, I was able to align the upper bearing and the through holes. However, when I had to flip the wood and make the other bearing housing, the alignment was slightly off, causing unwanted friction between the bolt and the bearing.
I chose not to fully sand down some parts of the word which resulted in rough jagged surfaces. I kept these surfaces in order to give the final product a true home made feel however, this cause the stain to leave discoloring throughout the part. Going back I should have sanded everything thoroughly.
While I did not attend the main expo, the ATLAS expo was a great way to present my project. It was different from many of the other projects which were themed around computer science, however people still found interest in my project.
Moving forward I would like to make custom L brackets in order to mount my project to my closet wall and to make some additional cuts into the main mounting piece in order to adhere to my aesthetic further. I would also be interested in fixing the alignment of the bottom bearing if possible.
Overall, I learned a lot of designing products and how to design for something more than just the functionality of a product. i would definitely recommend the class to other students but wish I had more free time during my semester to design an even better product. Thanks, Prof Hertzberg.
5 Comments. Leave new
This turned out really great! I like the finish you used on the wood. I also really like the aesthetic that you went with. Do you have a video of the belt and tie rack filled and in motion? Because that might be nice to include. Very great job!
The finish on your wood looks incredibly classy! Good work creating something both functional and aesthetically pleasing. It looks like it spins successfully and smoothly too. I would love to see final images with ties included!
This turned out well! I wish you would have made your own mounting device(L brackets/supports of some sort), It really could have topped off your organic aesthetic. The wood is a nice start, but I believe you could have taken it a step further without doing too much extra work. I hope you end up keeping this rack for the rest of time!
This project turned out great! Really excited to see how it looks mounted to a wall. Like I said, you should find a way to mount it onto the wall without using a bracket. It would look even more organic if mounted that way.
Have you thought about putting another layer of paint/sealant on it to ensure it will last even longer?
I think this turned out really well! I like the dark finish you put on it and I also like the cut outs on the spinning piece of wood. Great job!