

Timeline
Fabrication
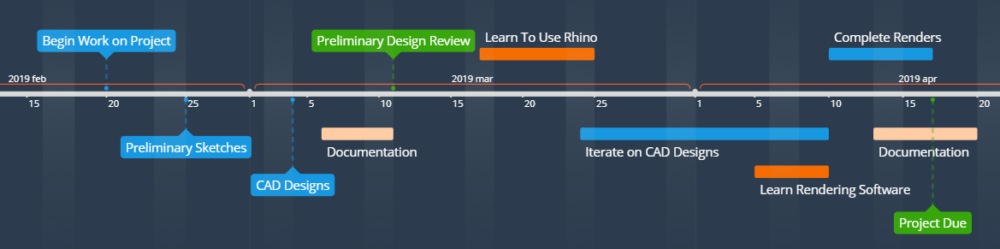
I initially had the following timeline in mind for my fabrication:

After COVID hit, I realized that I would not be able to fabricate my project in any way that would look half decent as I was relying heavily on the lathe and laser cutter, and my family have nothing more than a basic toolbox at home.
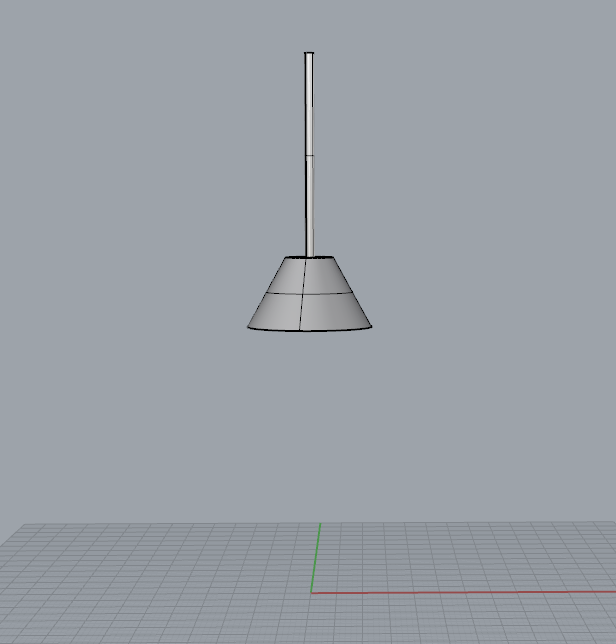
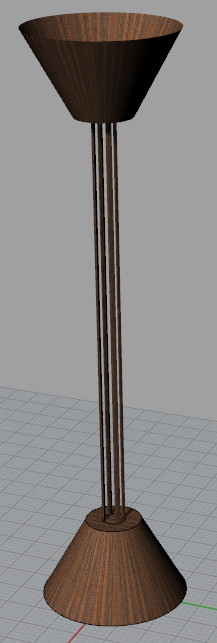
I have a couple of friends that are really talented 3D modelers, so I took inspiration from them and decided to turn in a render as my final deliverable. With their assistance, I improved my Rhino skills greatly, and iterated on my designs.


My friends aren’t particularly well versed in rendering, and it wasn’t something I saw in the work trade, so I decided to teach myself with some online materials. I eventually ended up rendering my project in three different softwares: Rhino, Fusion 360, and Sketchup
Rhino
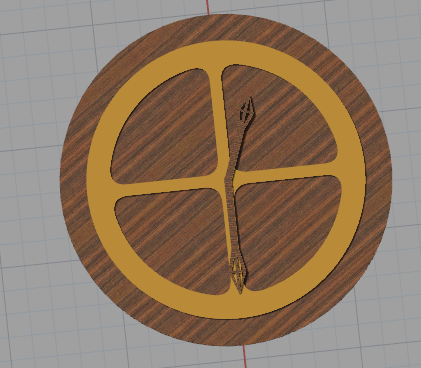
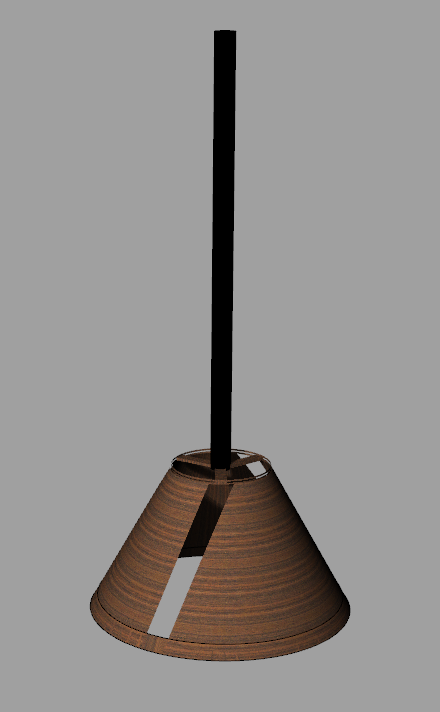
Rendering in Rhino was the easiest of the three for me. If you already made your piece in rhino, getting a rendering simply consists of changing the material on the object. I liked the way that Rhino represented wood grain better than the other two programs, but it wasn’t the most realistic rendering all things considered.
Fusion 360
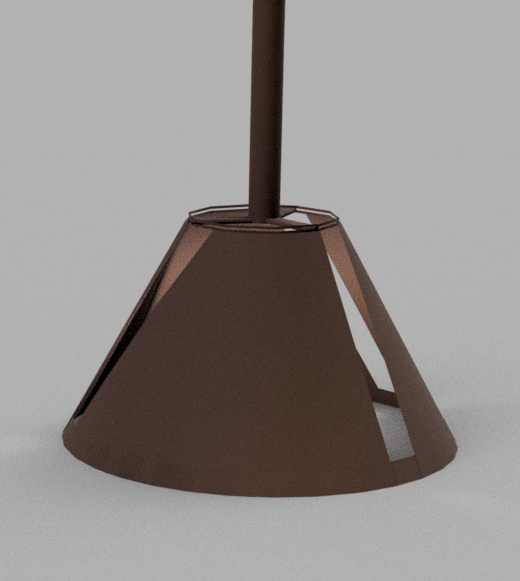
Fusion 360 allowed actual rendering in comparison to the other two programs, which simply applied textures. I also spent some time figuring out how to make a ‘lightbulb’ of sorts to showcase how light would pour out of the lamps. The UI required a bit of a learning curve, but I’m glad I spent the time learning how to use it.


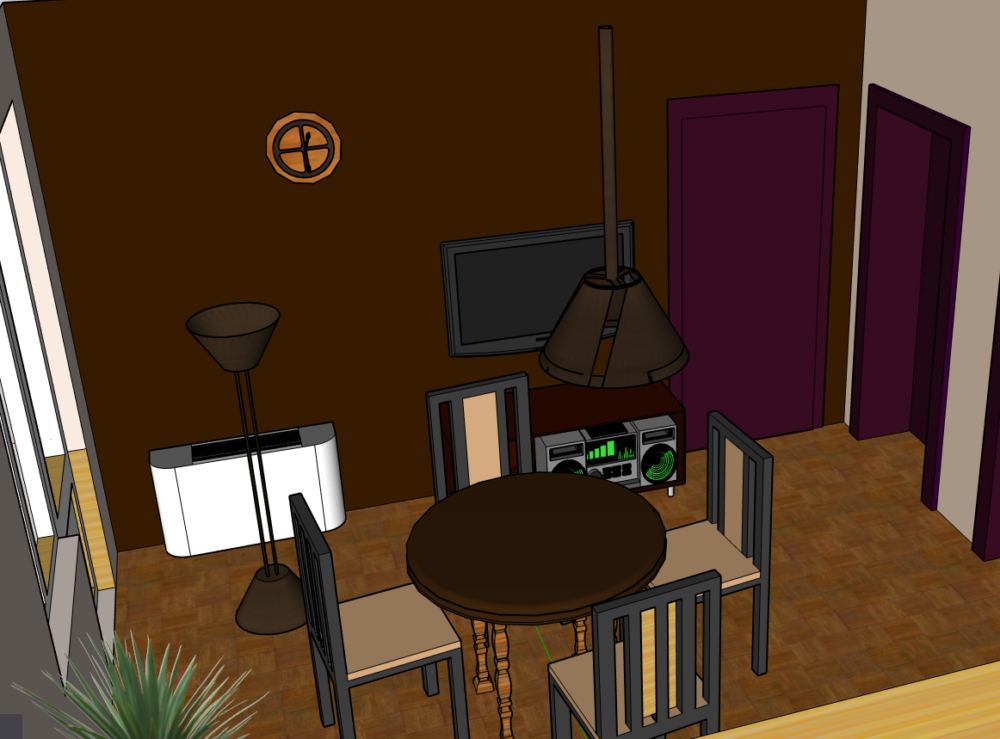
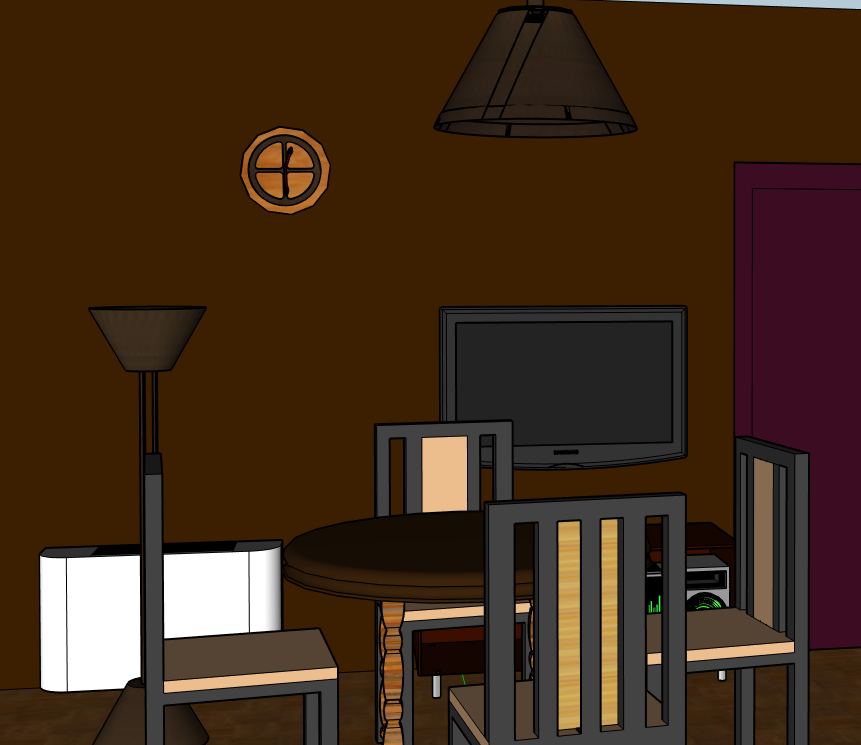
Sketchup
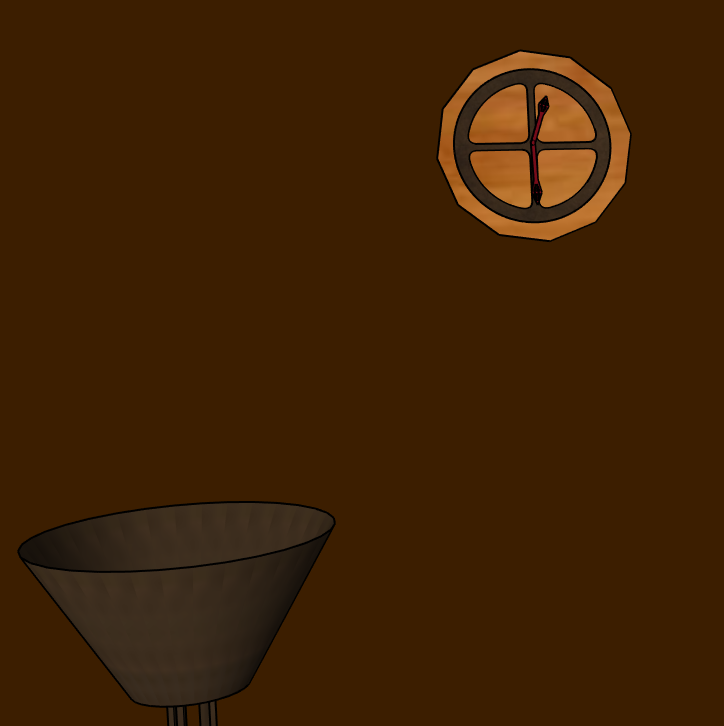
Sketchup probably had the worst looking rendering of all of the programs, but it allowed me to easily import a room to showcase my project in. Sketchup put lines through my files, which was annoying and hurt the visuals, but being able to see my projects to scale in a room with modernist furniture helped me visualize my designs quite a bit.
Conclusion
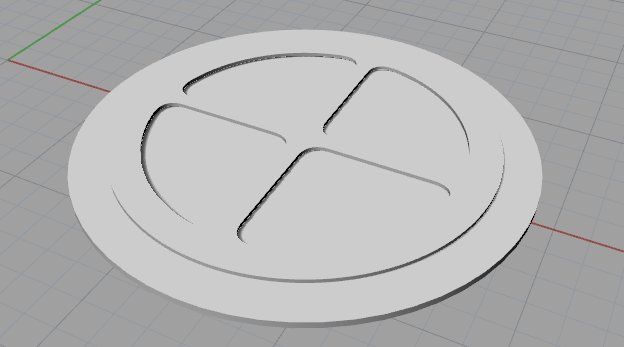
In the end, I’m not supremely proud of my final product, but I’m glad for the things I learned while making it. Rhino and Fusion 360 are very big in the art and design world, so this class, and the shutdown, gave me a great excuse to learn them better. I would have liked to spend that time learning to laser cut and use a lathe, but I think I made the best out of the circumstances. I think that I achieved my aesthetic goals, particularly with the clock.
Video
1 Comment. Leave new
This is a cool project! I too used this as an opportunity to improve my CAD skills and learn rendering. Although you’re not completely satisfied with the outcome, I think that you did a really good job in terms of mixing your own styles and interests with a chosen aesthetic. I’m curious whether or not you plan on building this project once everything is opened back up again? And if so, would you try for the same aesthetics or would you modify some part of your project?
One thing that I found helpful about going digital is the fact that designs are more flexible and you can make changes until the last minute. I’m wondering where you would see yourself going in the future. Also as a suggestion for the future, Solidworks Visualize is free to download along with Solidworks from the ITLL. What is really cool about it is that you can add in emissive surfaces. This means that if made or downloaded a light bulb part file, you could actually set the surface appearance to emit light. You could then add a backdrop onto which a shadow could be cast. I had a really hard time learning visualize, like it took weeks of trial and error to get to the point where I was somewhat satisfied with the outcome. However, you may have better luck with this software at getting it to do what you were hoping.
Overall though I think that you did a great job with the design. The top and bottom symmetry is really nice and it creates a solid effect when looking it it.