
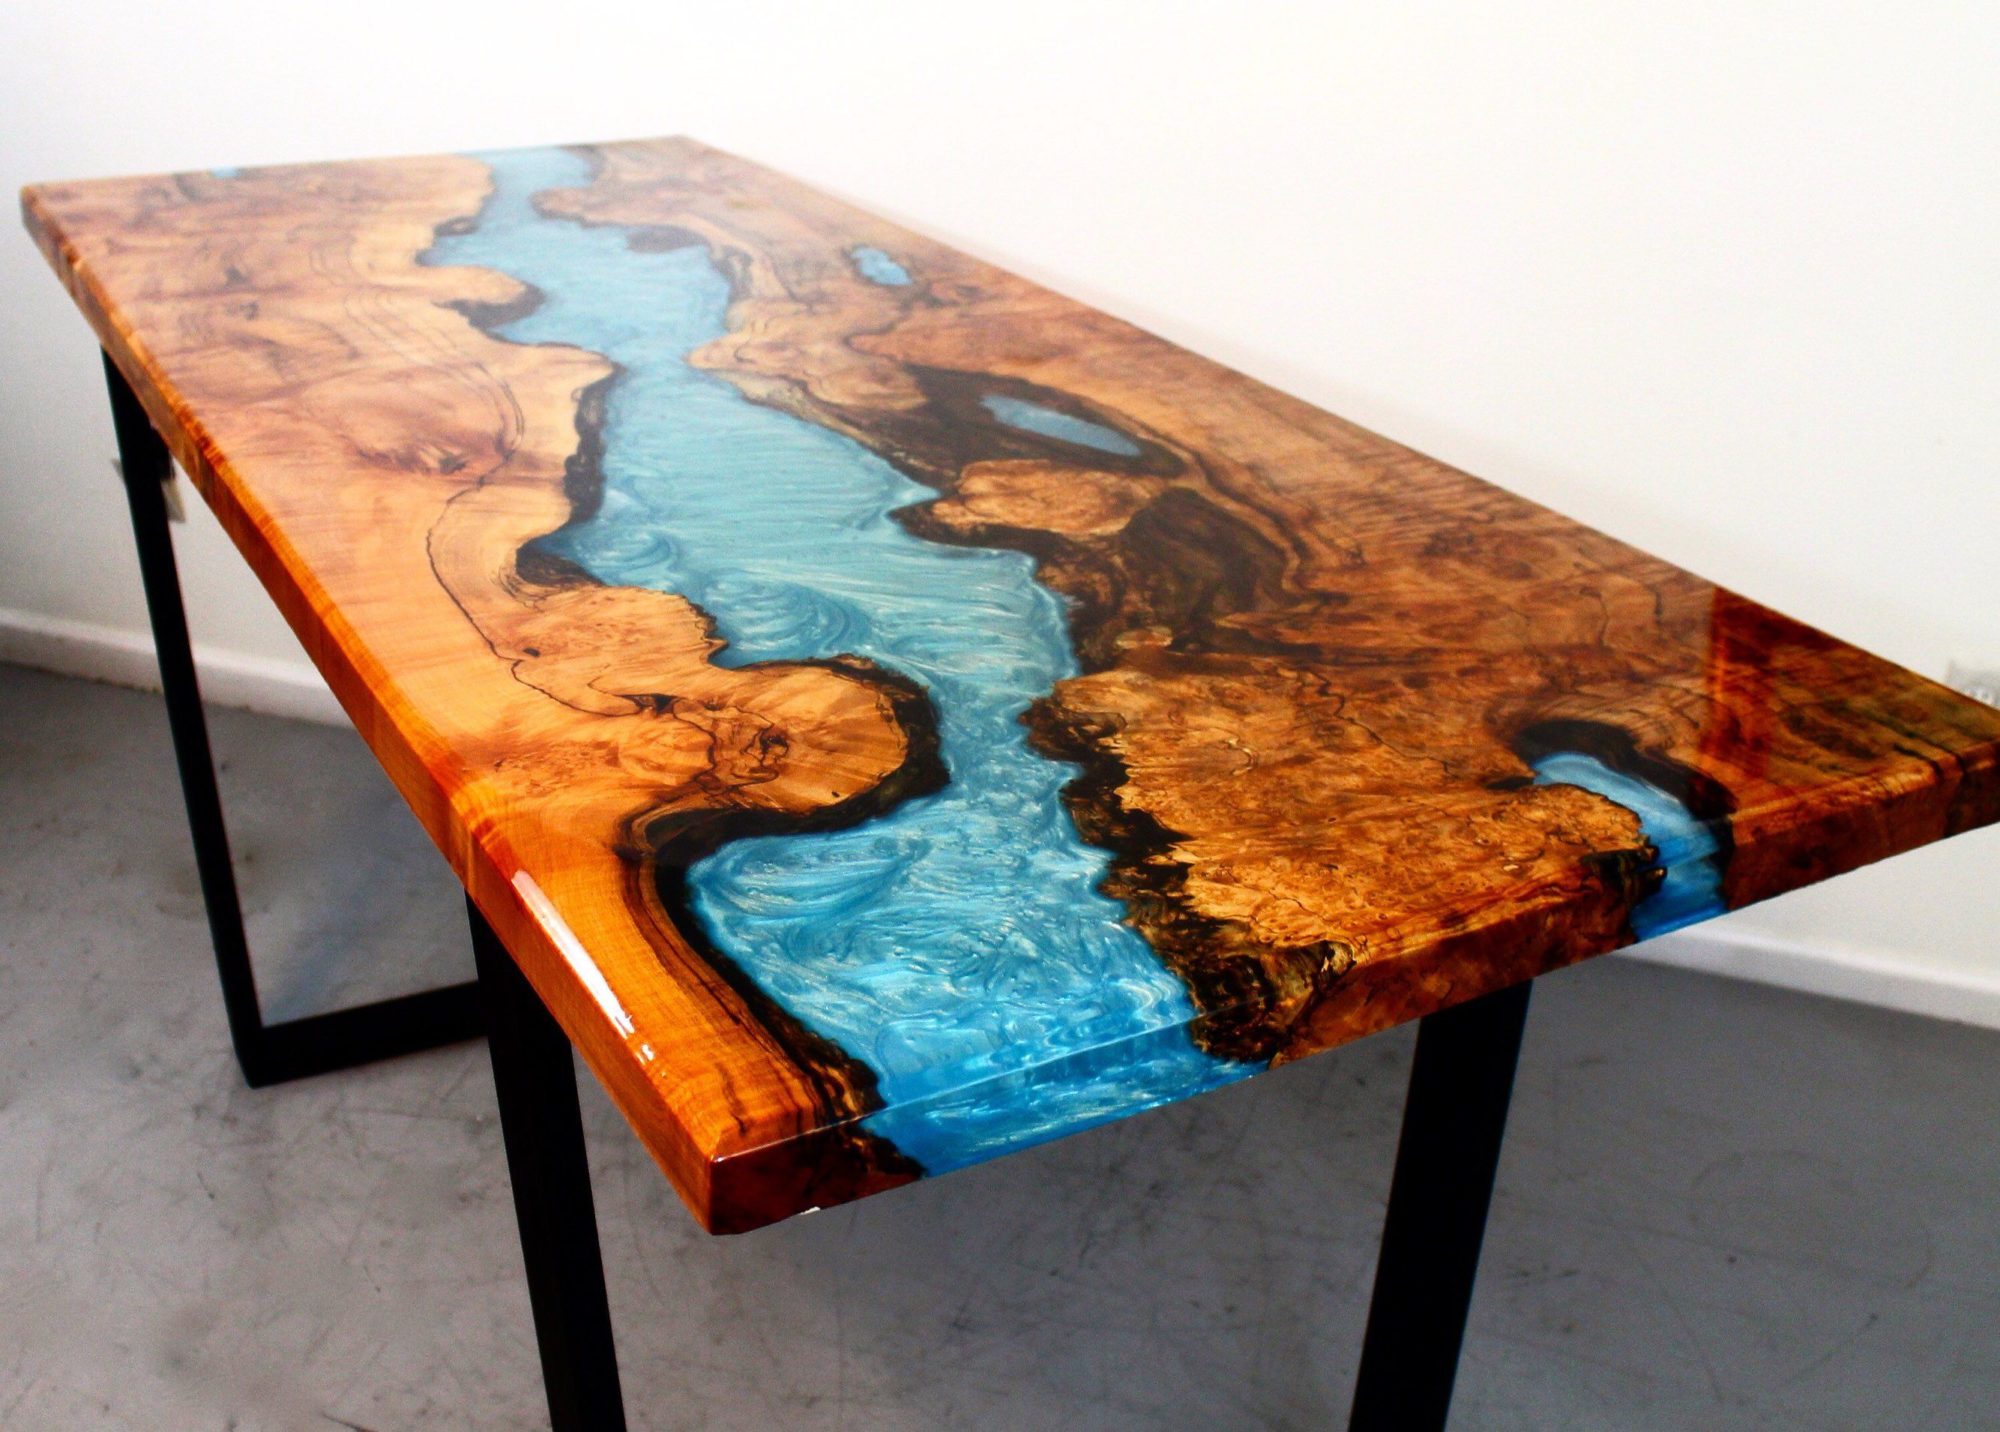
Project Outcome
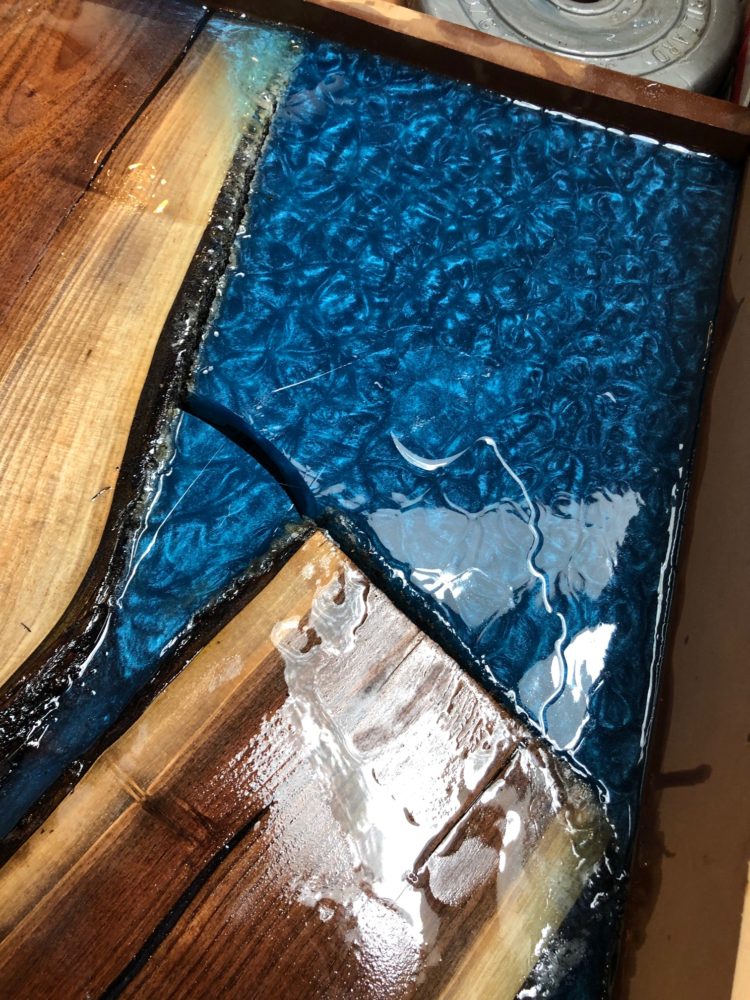
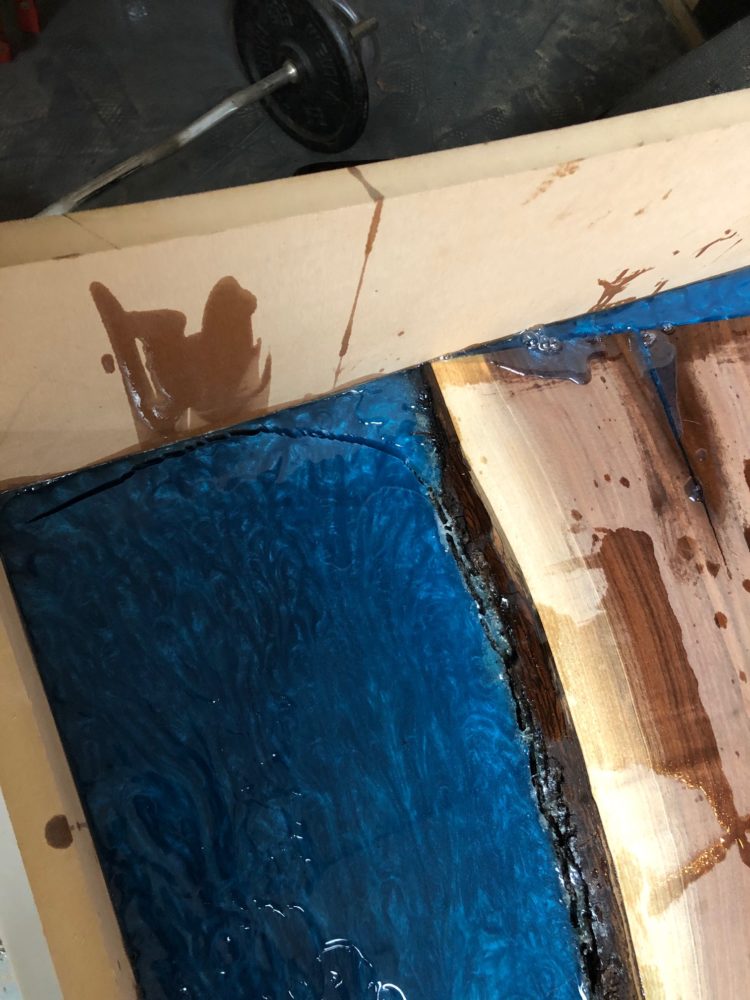
After I poured the resin and went over it with a heat gun, I let it cure overnight. I came outside the next morning and almost cried as I saw cracks formed in the resin. The issue that I did not think about is that the resin needed to be cured in room temperature, where I cured it in much colder temperatures. As it hardened in the cold, the resin became much less forgiving much quicker which resulted in the cracks. Everything was going smoothly until the end, I was very upset.
Challenges
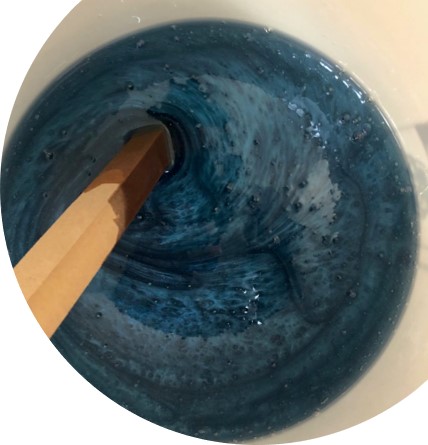
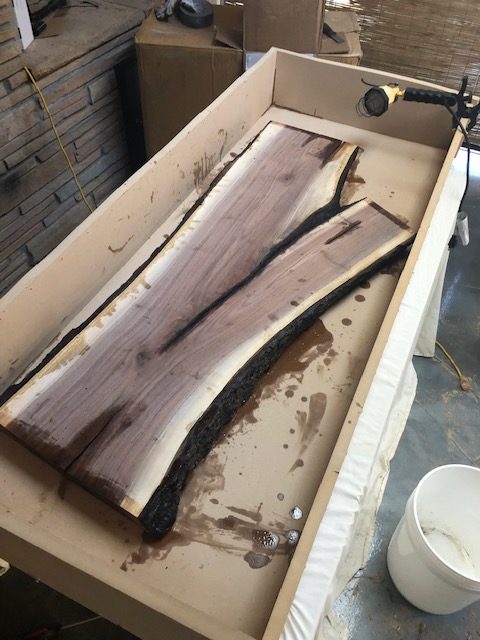
There were three main challenges that I faced during this project. The first challenge I had was making the mold. I did not have access to any sawing power tools, I usually rent from home depot but their rental service was closed, which I am pretty sure is not the case in Colorado, but in California it was all closed down. I used a hand saw, it was dreadful but I got a good workout, so that’s a plus. The second challenge I faced was mixing the resin. The resin came in two parts, the resin itself and the resin hardener. You mix them in a 1:1 ratio before you pour and the resin portion is very viscous, so when I went to mix a large amount, it took a lot of effort. Finally, the last challenge was removing the mold. I used silicone spray to coat the mold before I poured the resin in order for the resin not to stick during removal. I should have used duct tape which just peels of and creates a more uniform separation, the silicone spray did not help whatsoever when taking the mold apart.
Lessons Learned
My first lesson is what I just mentioned, to use duct tape instead of silicone spray. The second lesson learned is to make sure you know what you are doing before you do it pretty much. I should have doubled checked to see the curing temperature was room temperature and cured it in the appropriate environment, instead my table is ruined. The third lesson s to make sure all the materials are accounted for before starting. I would find myself ordering things online after only later realizing that I needed it which further postponed my project process.
Next Steps
I definitely don’t want to give up on this project. The wood is totally salvageable and the resin cracked around the wood which makes it easy to remove. Ideally I would retry this project but create a more traditional river table instead. I could also recycle the broken resin and place it into my next resin pour so I don’t have to use as much resin.
1 Comment. Leave new
Hey Paul, I really like your project idea and where you were going with it overall. I’ve always found resin tables to be really interesting and I think they add so much characteristic to a room. As a statement of meaning, I really liked the color of resin you decided to go with. I think the blue is really pretty and pleasing to the eye. I also thought your reason for choosing your aesthetic was really unique as you stated in your Final Project Report 1. As a neutral question, how do you plan to keep the curing temperature at room temperature in the future? Do you plan on letting it cure inside your house or using a heating system for the room you originally created it in outside? For a permissioned opinion, I think using a different piece of wood would better fit into your aesthetic that you mentioned in your first report. I think the wood you used doesn’t exactly resemble an aerial view of a cliffside. However, overall I think your project was cool and I’m sure it would’ve turned out much better than you had hoped if you had the resourced of the school or rental equipment.