
One minute I have a nice, clean, clutter-free dining area. The next I have a makeshift woodshop, complete with wood shavings and saw dust. Over the past week I have made some major strides in gathering the necessary equipment and kicking off the creation of my modern style accent table.
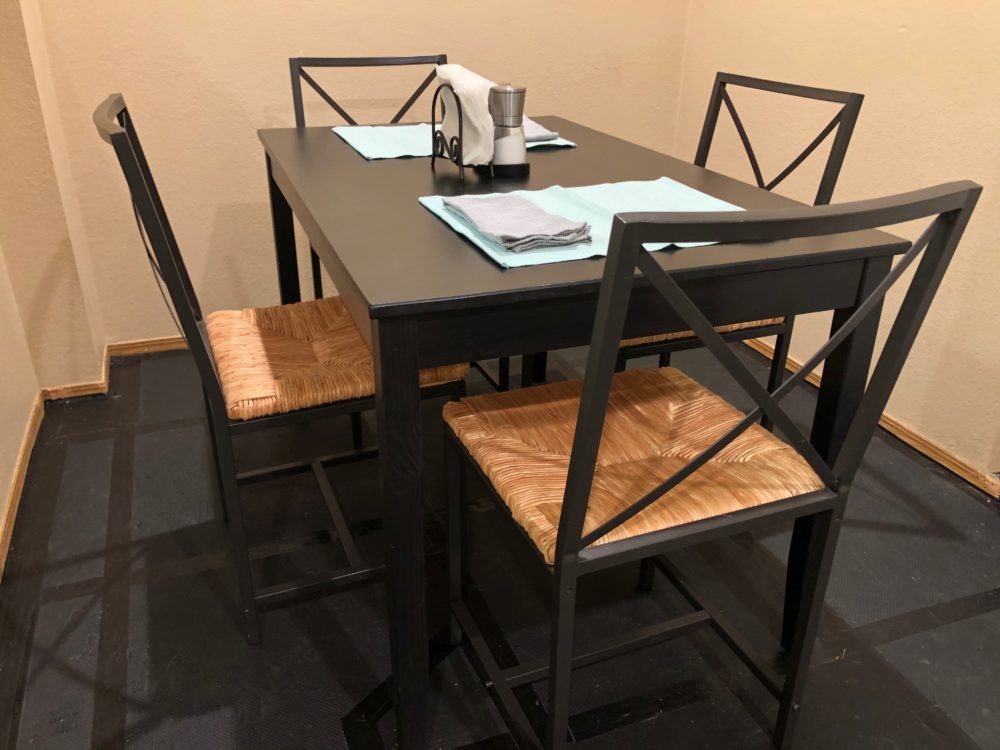
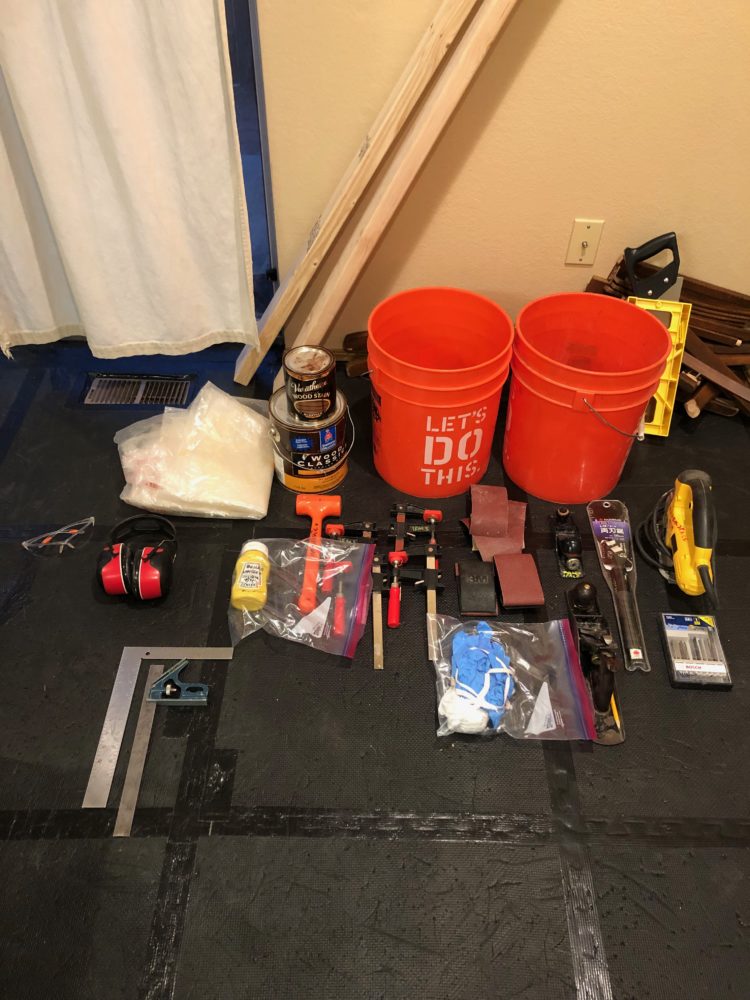
In my last post, A Modern Approach to Upcycling (https://www.aesdes.org/2021/02/02/a-modern-approach-to-upcycling/), I discussed my plans and aesthetic vision for the upcycled accent table I want to create for my dining area. This week I started to put my thoughts into action. Because I’m primarily working with wood materials and I’m trying to fabricate this table on a budget, I decided to schedule a consult with one of CU Boulder’s woodshop employees in hopes of being able to utilize their equipment and expertise for free. After talking with a very helpful and enthusiastic woodshop employee for nearly 45 minutes, I had a clear plan in mind and a laundry list of equipment to pick up from campus. Before I knew it I had two hand planes, a Japanese pull say, a jigsaw, two different wood finishes, sandpaper, sanding blocks,… – the list goes on! With equipment dispersed around my dining area, I was ready to get to work.
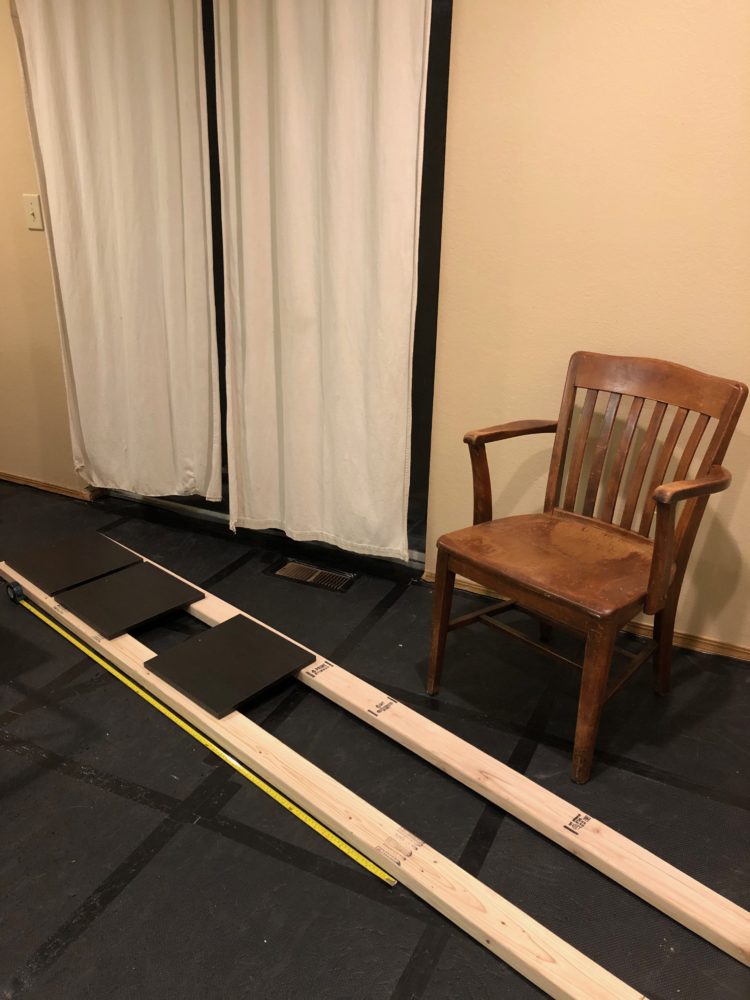
To start, I needed to disassemble some of the materials I gathered. A couple weeks ago, one of my neighbors put an old wooden chair out to be picked up on garbage day. Seeing this golden opportunity to gain some free wood for this project, I slyly brought the chair inside and adopted it as my own. What can I say, one man’s trash is another (wo)man’s treasure. After taking some measurements and sketching out some table designs, I knew that I wanted to convert the chair seat into part of the table top and turn some of the supporting chair elements into supports for the table legs. After some very careful and tedious disassembly, I had all of the chair elements I needed in raw form for me to start crafting.
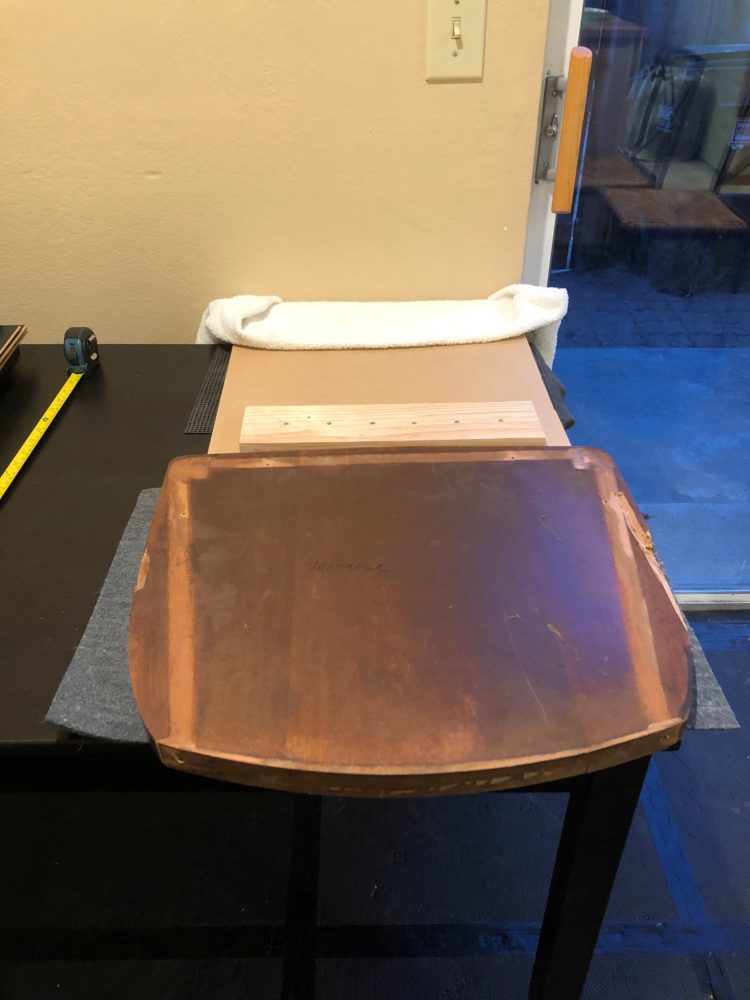
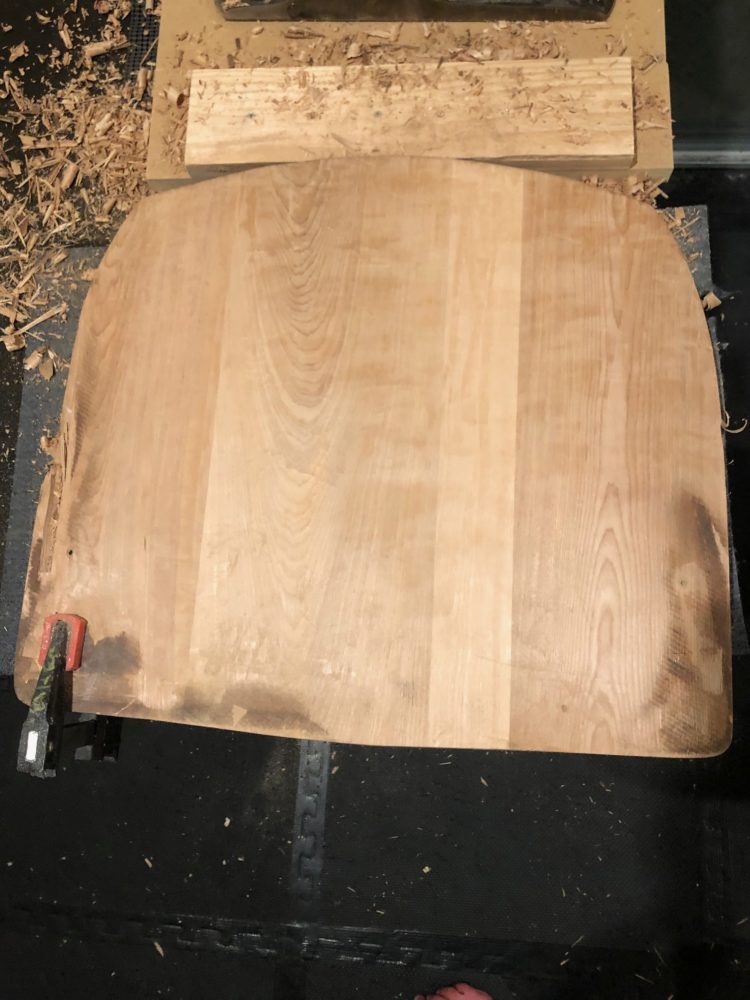
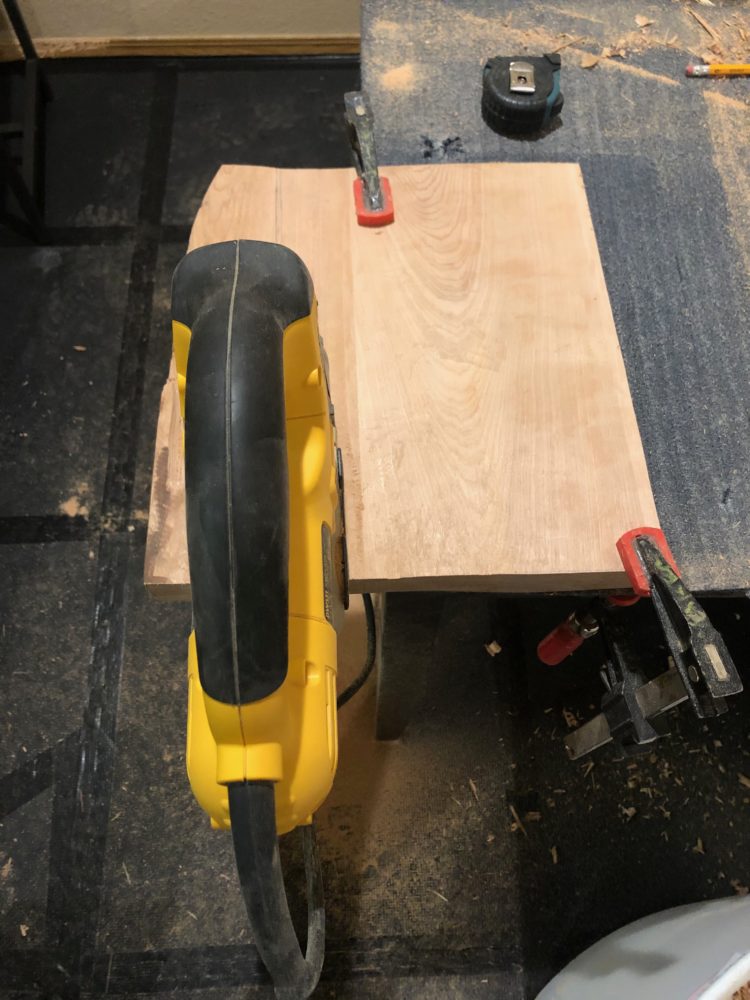
My next step was cutting all of the table top elements into the correct dimensions to create a flat and uniform surface. I already had three 13”x13”x5/8” wooden boards that I picked up from a thrift store down the road. Based on the final design I sketched out, I decided to cut the chair seat into additional 9”x13”x5/8” and 6”x13”x5/8” boards. The main issue was that the chair seat was over an inch thick in some places and less than 5/8” thick in others based on its ergonomic curvature. Luckily the bottom surface was uniform and flat across its entire area, so I decided to plane down the bottom surface just enough to remove its surface finish, with a plan to use the bottom surface for my table top. Based on suggestions from the woodshop, I then used the jigsaw to cut the boards to the desired lengths and widths. Then I started to plane down the thickest areas on the 9” piece to achieve a maximum thickness of 5/8”. Two hours of planing and a few blisters later, the 9” board was to my desired thickness.
I’m now letting my hands rest up a bit before planing the 6” piece to complete my table top. More fun to come in the construction of my chair-turned-to-table upcycle project ~ with a modern twist!
4 Comments. Leave new
Natalie,
This is a cool project. I haven’t read your other posts yet, so I’m going to go back and check them out now because I am curious about your vision for the final product. I am doing quite a lot of work with a plane and saws for my project. I haven’t ever used a hand plane before but your 2 hours of work and blisters is not making me too excited…
I’m wondering why they suggested using a jig saw for the cuts you are making? I’m no expert, but I have found it much more enjoyable to cut straight lines with a hand saw (or circular saw if you just can’t stand to use hand tools any more that you have to). Are the cuts you are making curved?
I should have posted a picture of my final design sketches to give a better idea of what I’m working towards, but I’ll be sure to include that in my next post. The final table top design will include the three square dark boards I got from the thrift store and the two rectangular boards I shaped out of the chair seat. These five boards will sit on top of two 5′ long pieces of 2×4. Two 3′ long pieces of 2×4 will then be used for the table legs, supported by extra supporting rods from the disassembled chair.
I attempted to cut the wood pieces with a hand saw at first, but was having a lot of trouble. I ended up drawing some straight guidelines on the wood and then carefully cutting along them with the jigsaw – they actually turned out pretty straight following this method! After a little sanding, all of the wood pieces are square for the most part and looking good.
Hi Natalie,
It is exciting to see you begin to make progress on your project! Its always fun starting a project and hopefully you don’t get sawdust everywhere! It looks like you are well on your way and I am very excited to see how it turns out. My project also used quite a bit of wood and I toyed with the idea of using a finish on it, do you have any plans to use a stain or a finish? Hopefully the rest of the project goes well!
I have two different stains – one dark/mahogany colored and one light/clear. The dark stain will go on the two boards I shaped from the chair seat, which will be used as part of the table top. The light stain will go on the pieces of 2×4 I’m using to support the table top and for the table legs. Hopefully staining all of my wood pieces will provide a nice dynamic in color tones while still looking like a coordinated unit.