
Part 1: What I Made
With this project, my intention was to apply the futuristic aesthetic that I have been exploring throughout the semester with my personal aesthetic.
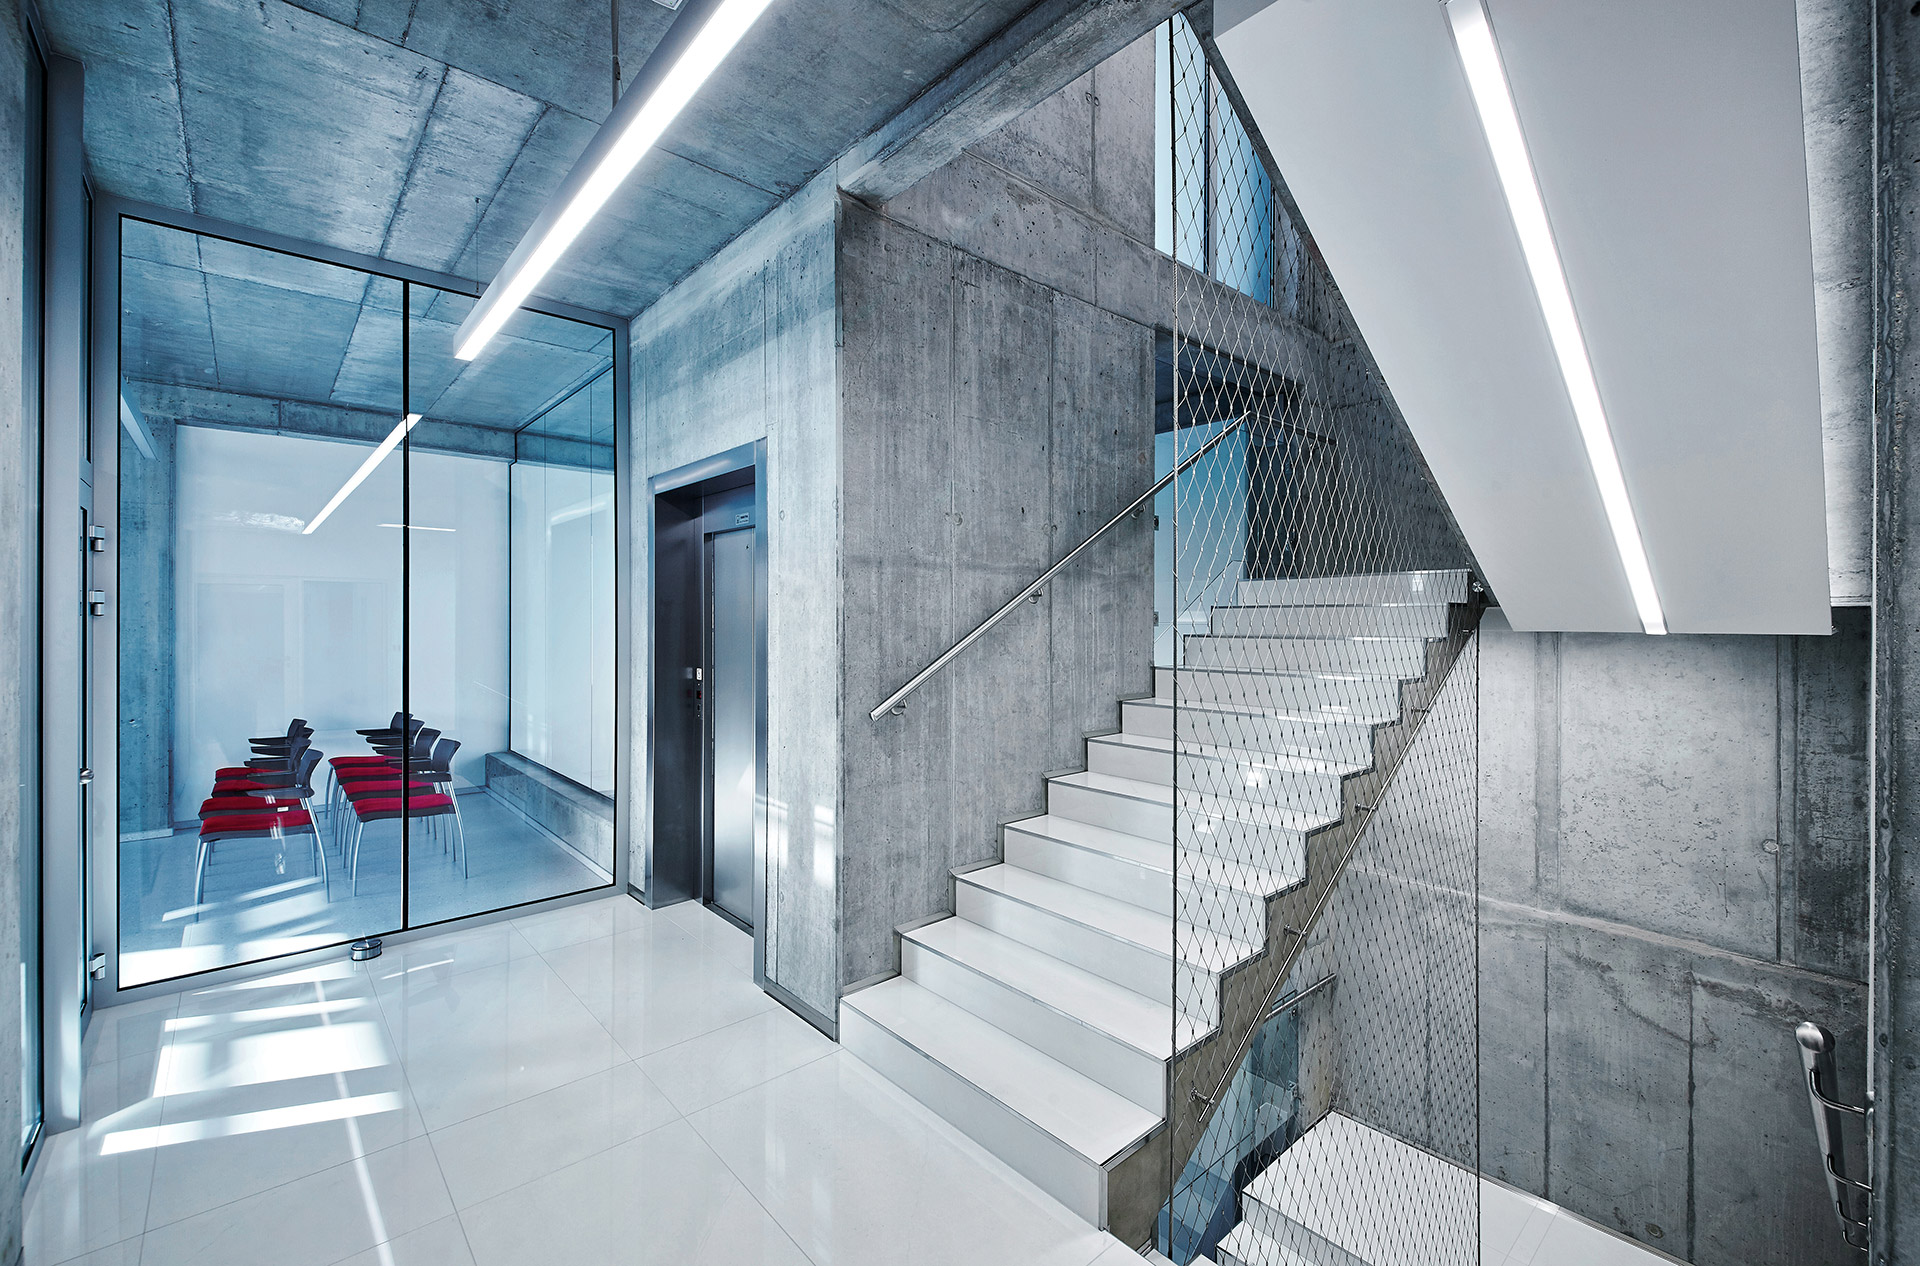
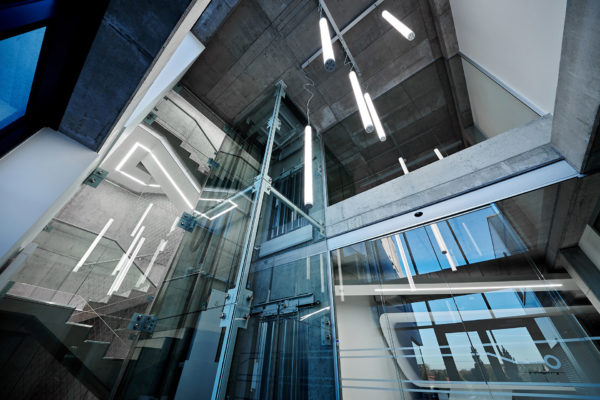
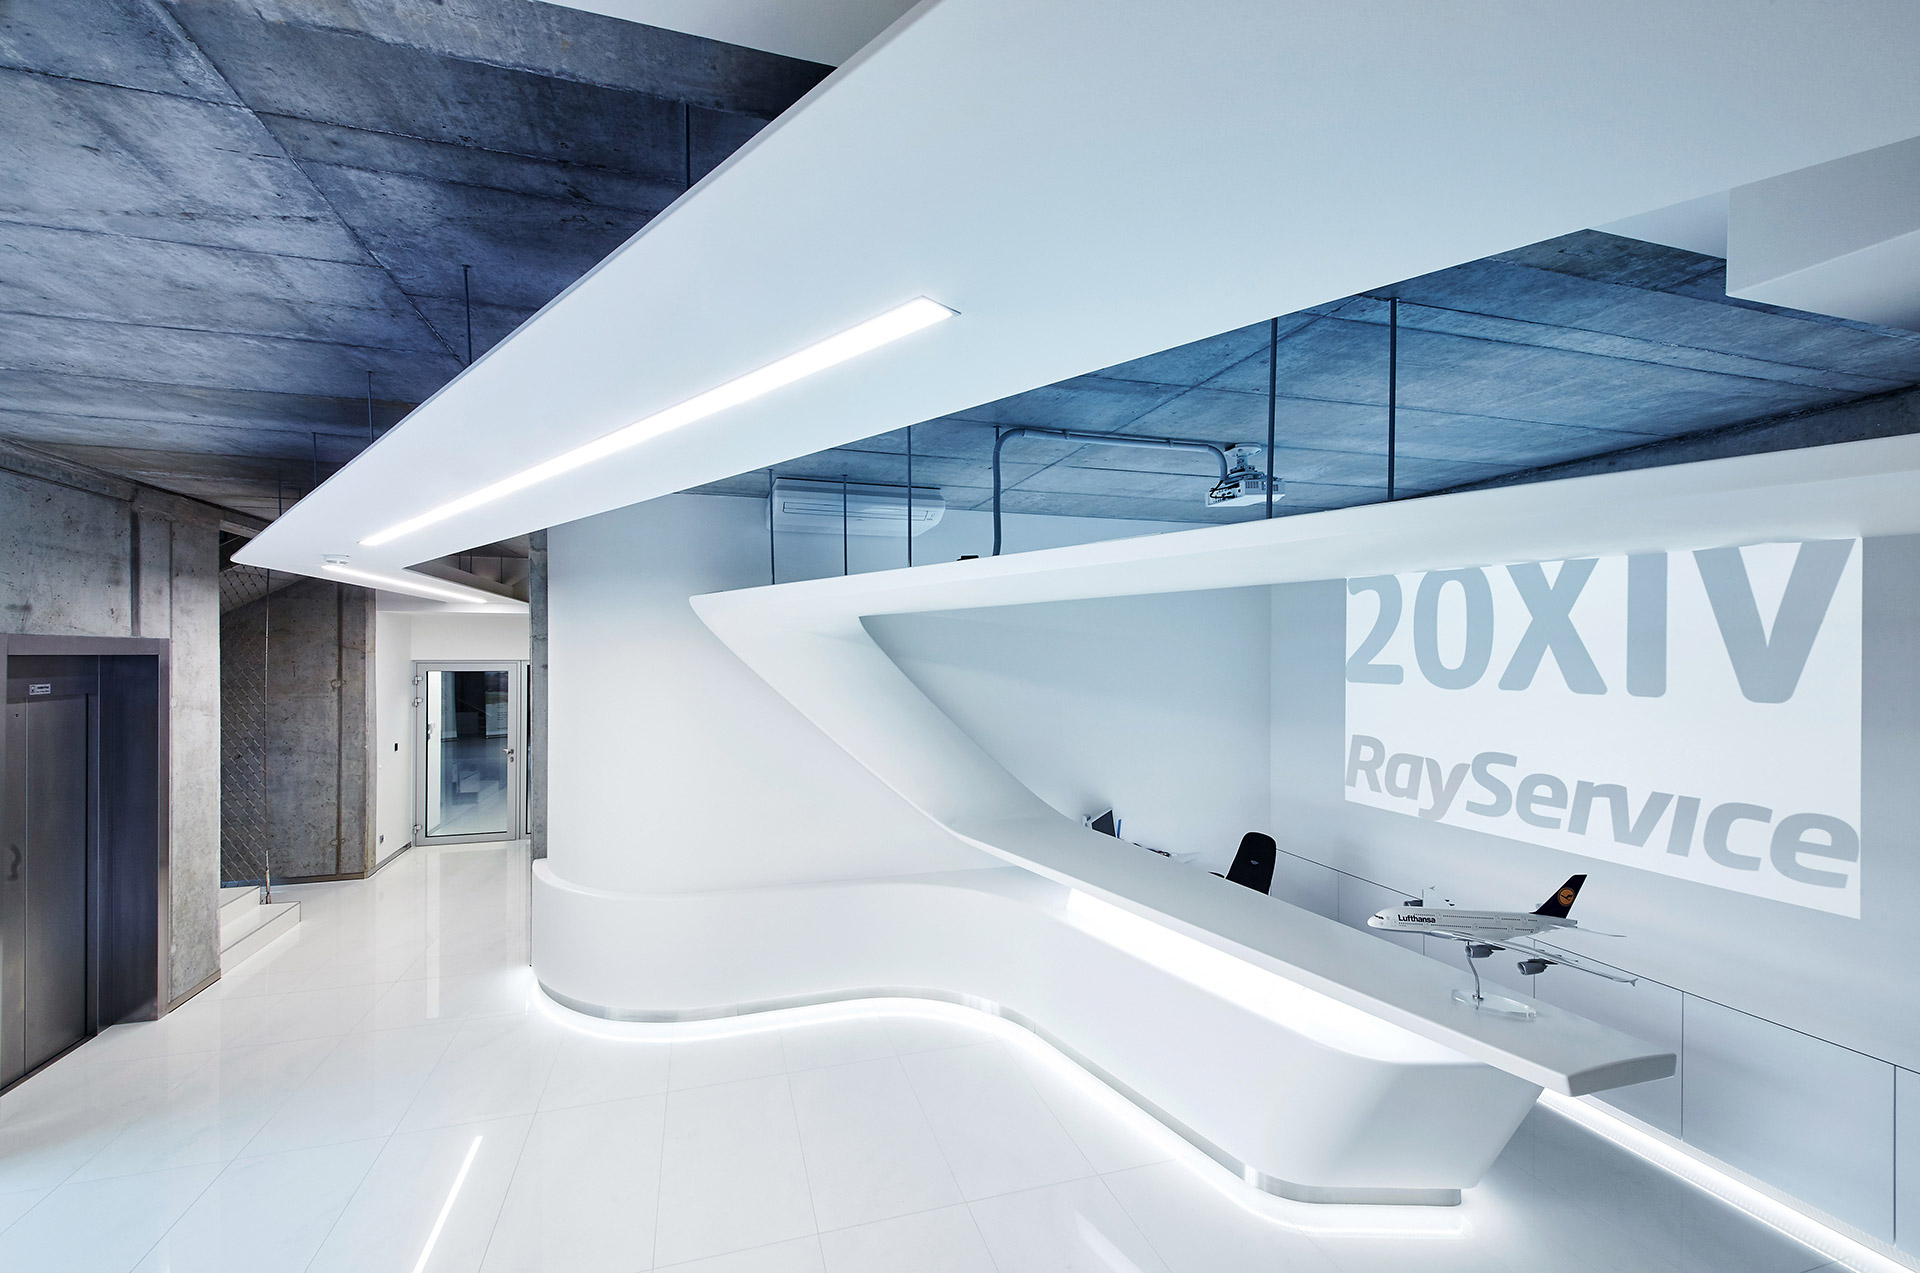
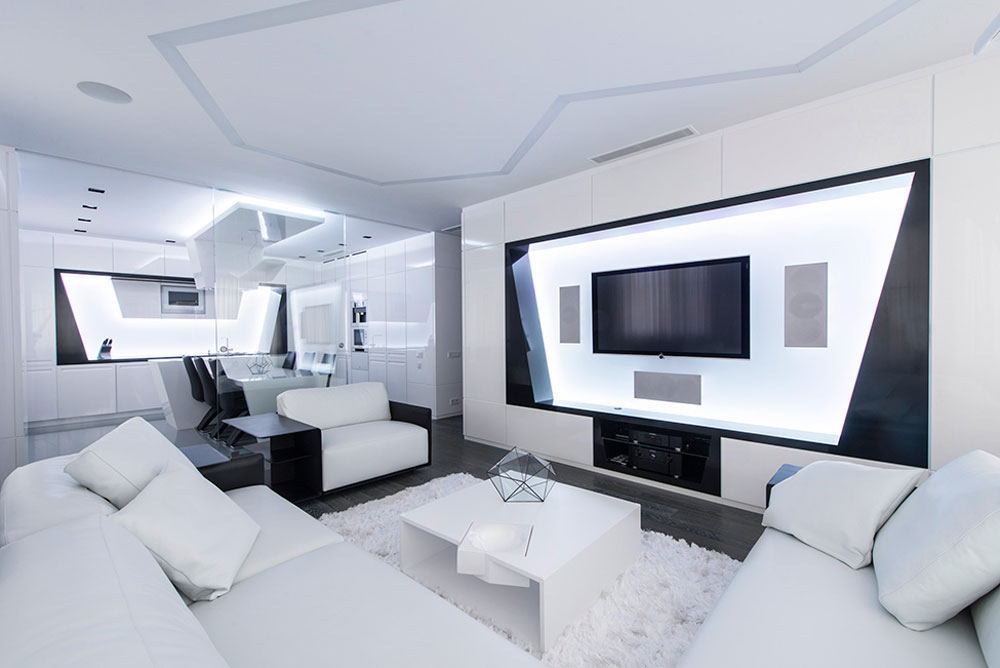
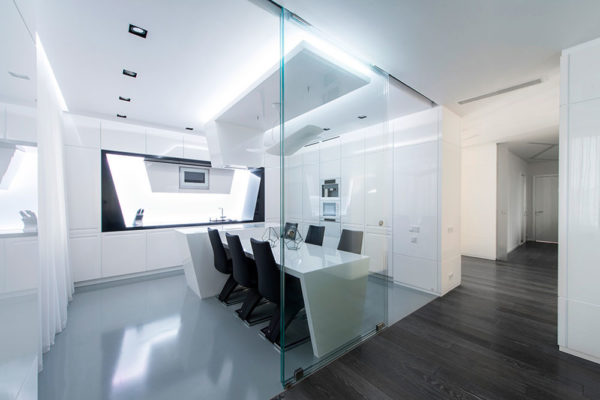
[ The Futuristic Aesthetic ]
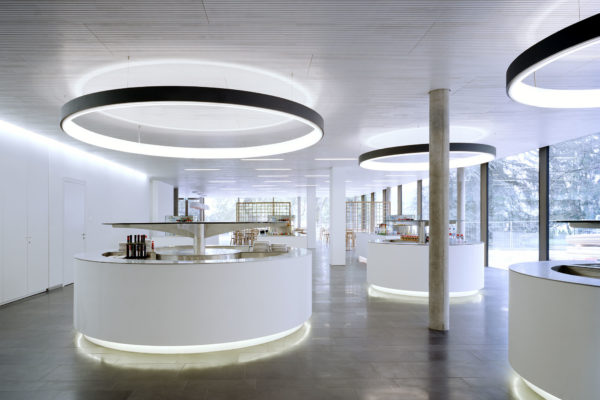
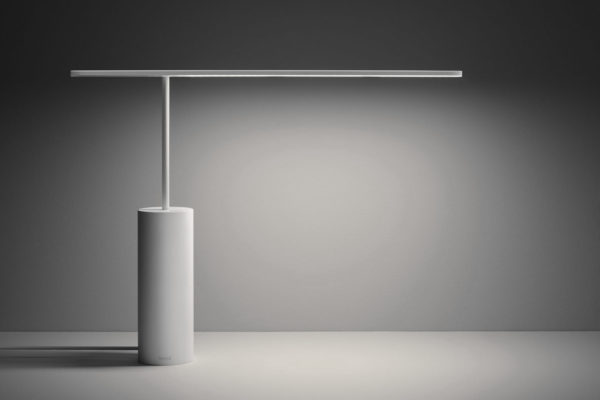
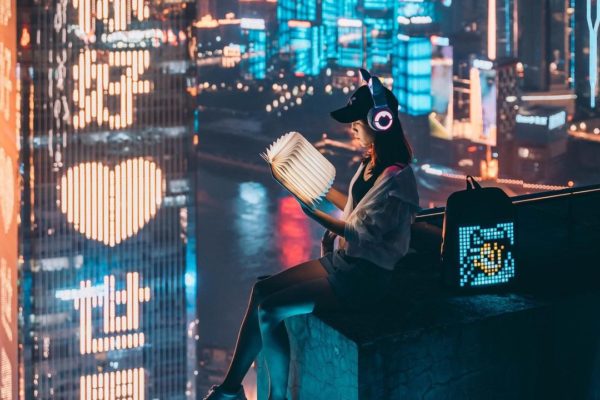
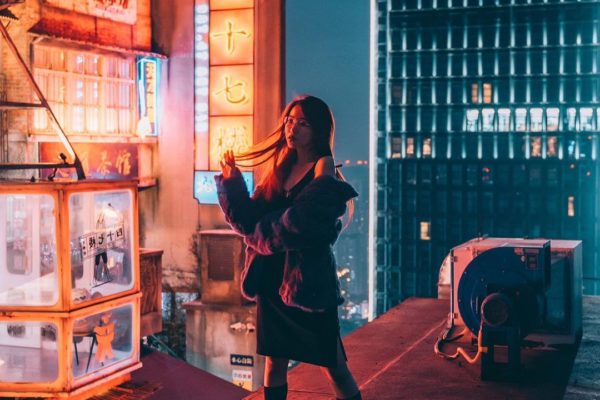
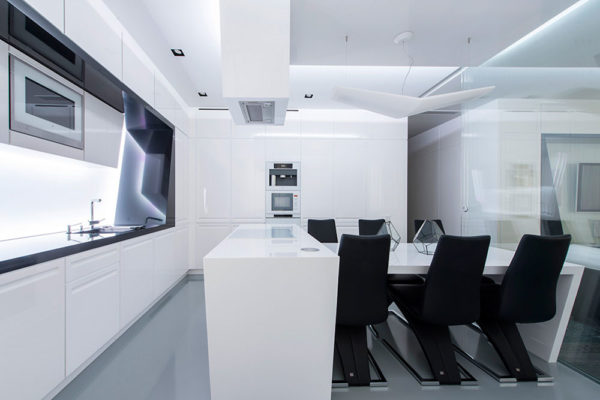
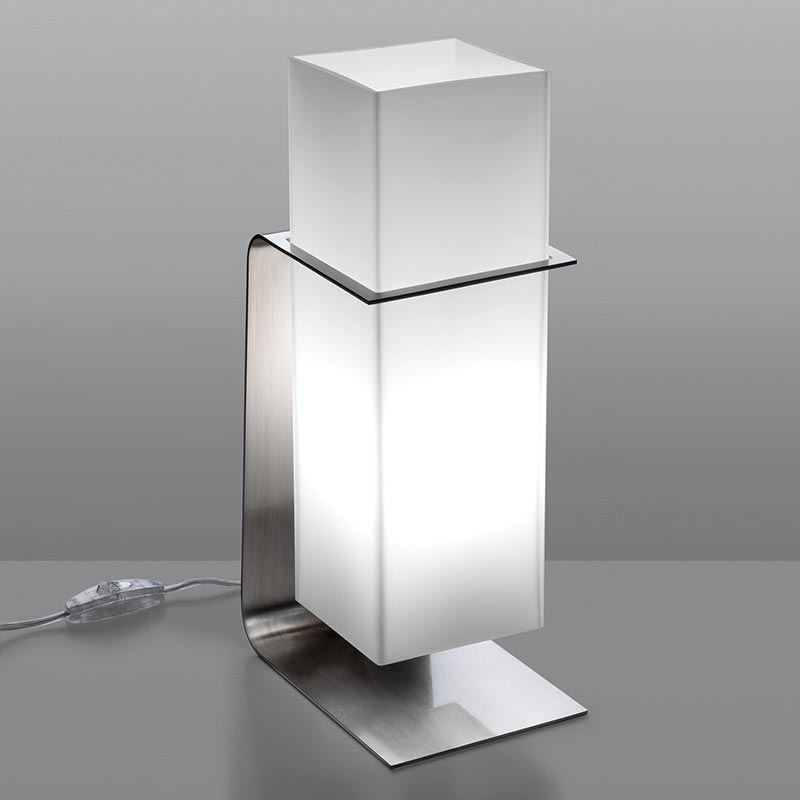
The futuristic aesthetic is something that I made up in a sense and is very subjective as to what it actually means or looks like. I see it drawing from minimalism but also adding some elements just to make it look cool, such as incorporated lighting, heavy use of white/black, incorporation of glass/metal drawing from an industrial look, and other elements to give the feeling that this is a photo/artifact from a couple hundred years in the future.
Here is a concept board of some of the photos I have used throughout the semester to demonstrate my intention of the aesthetic.


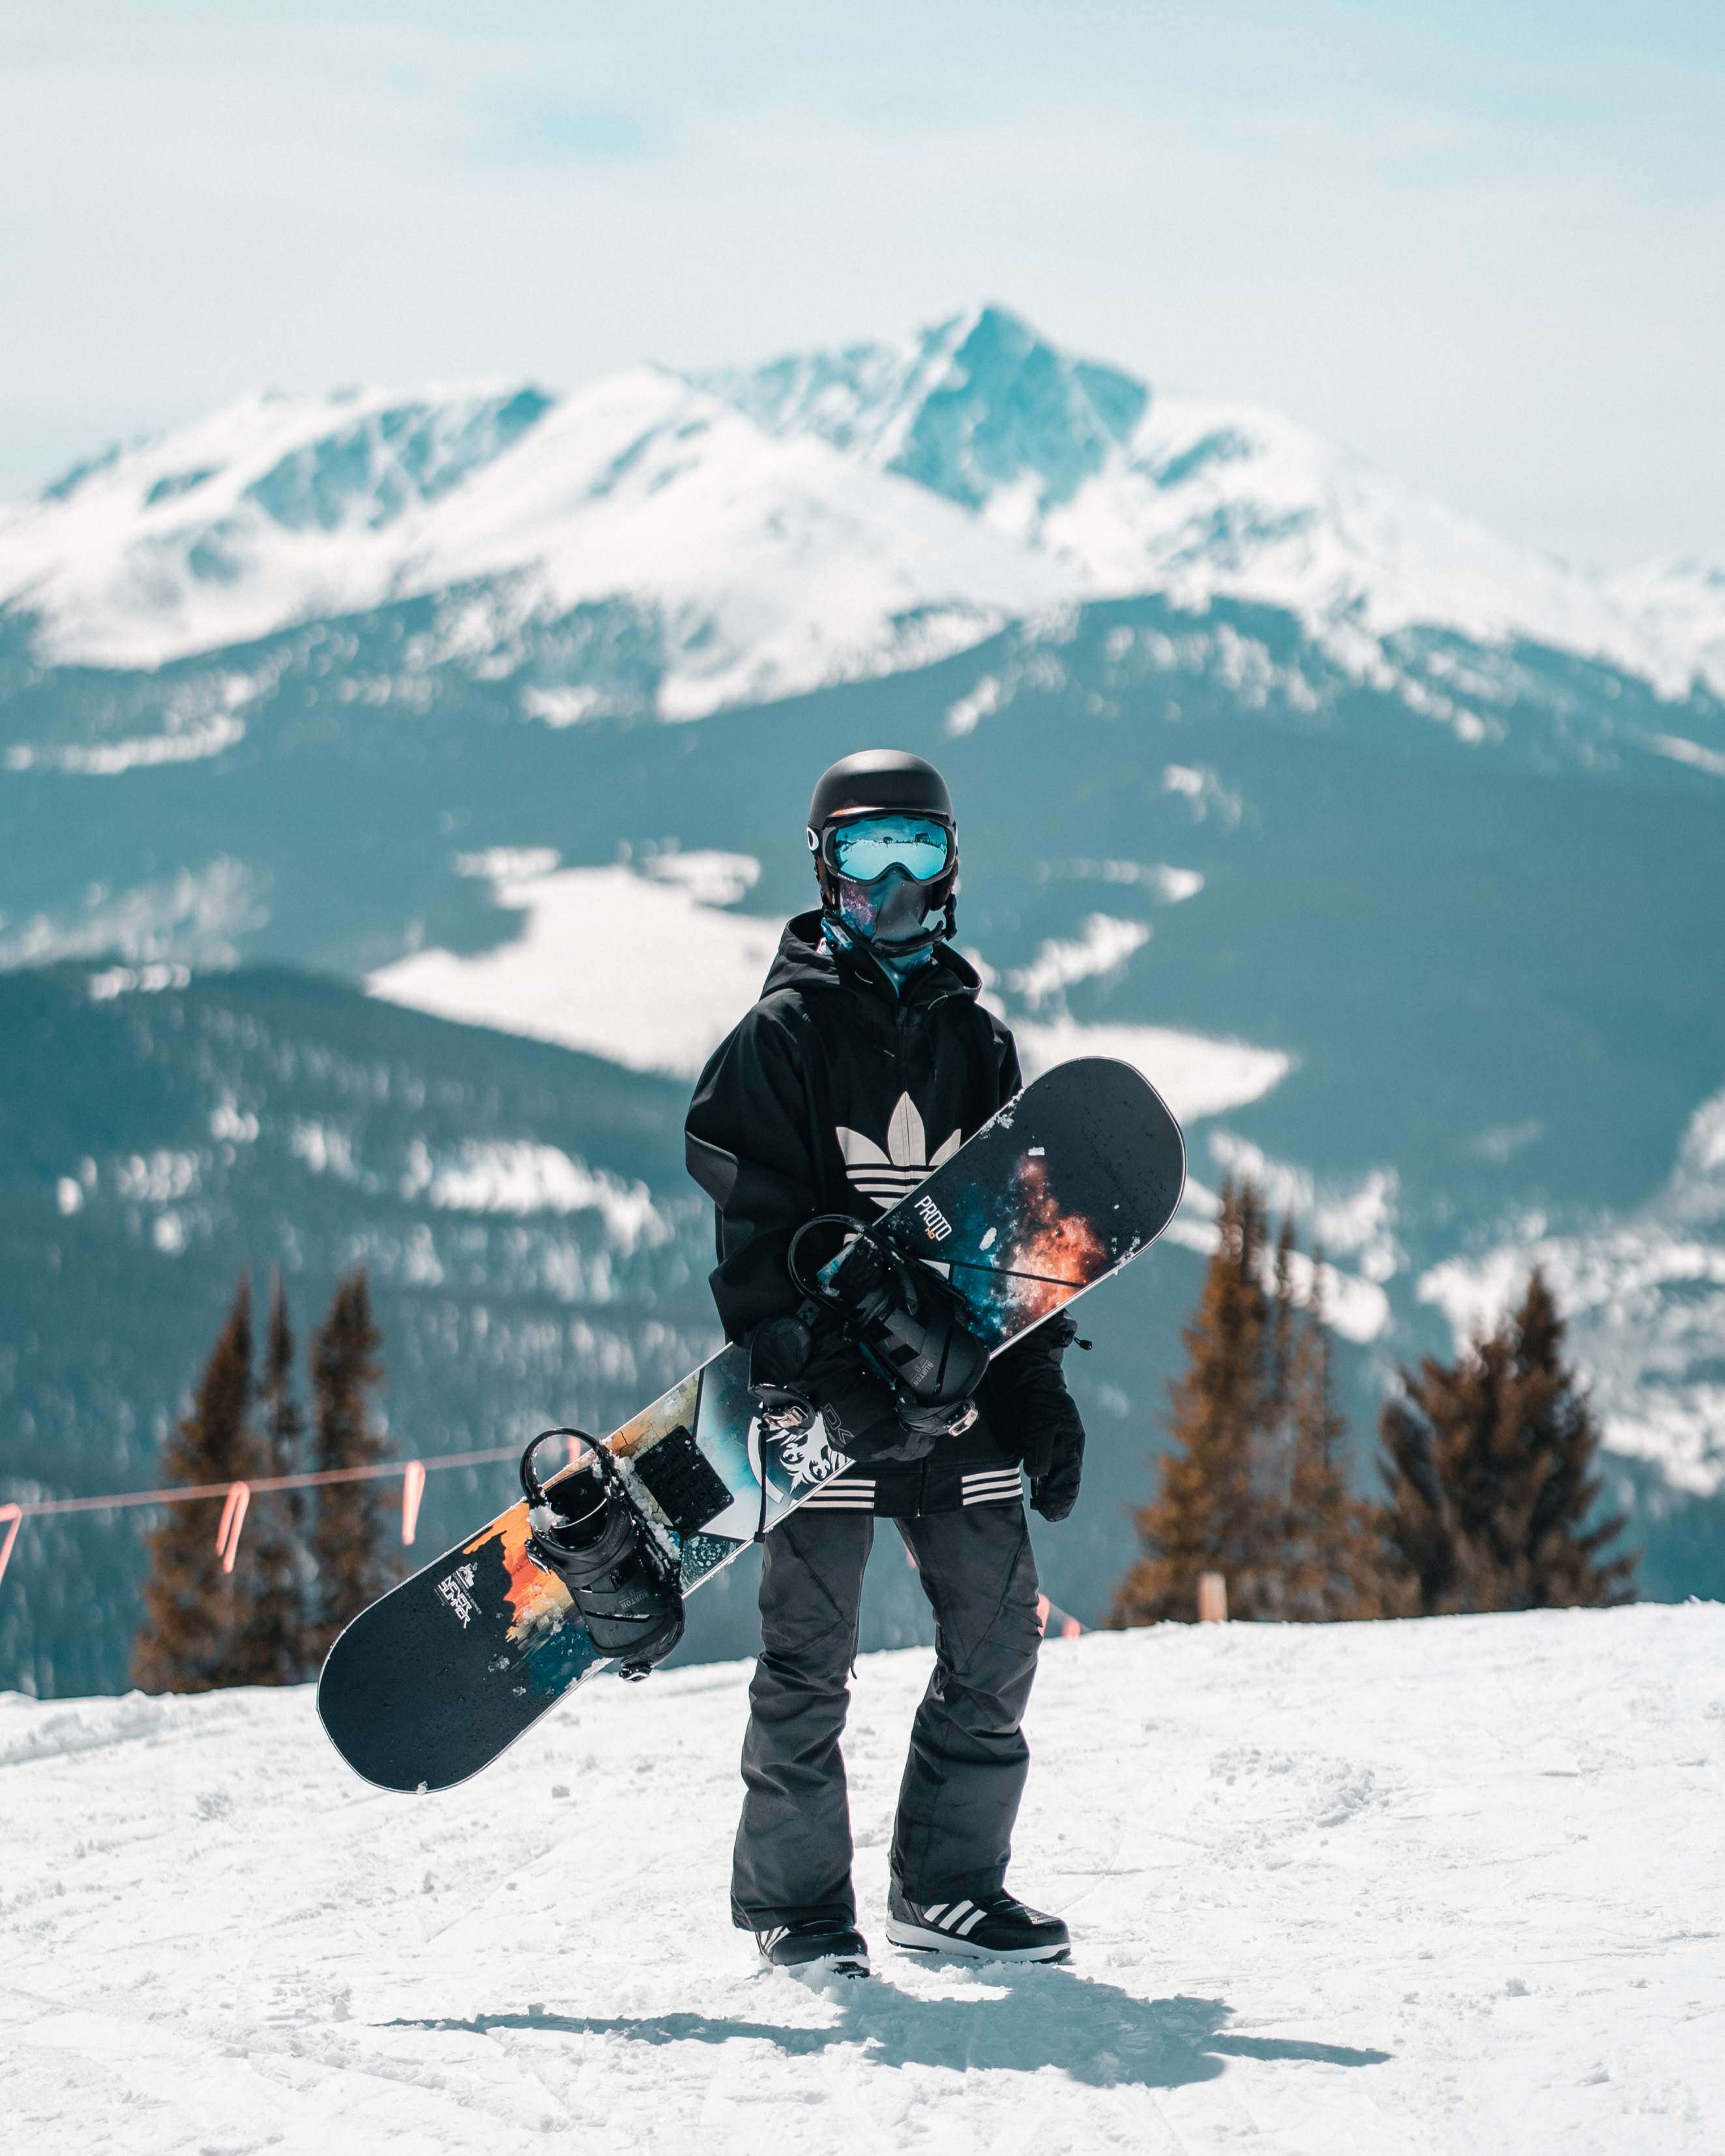
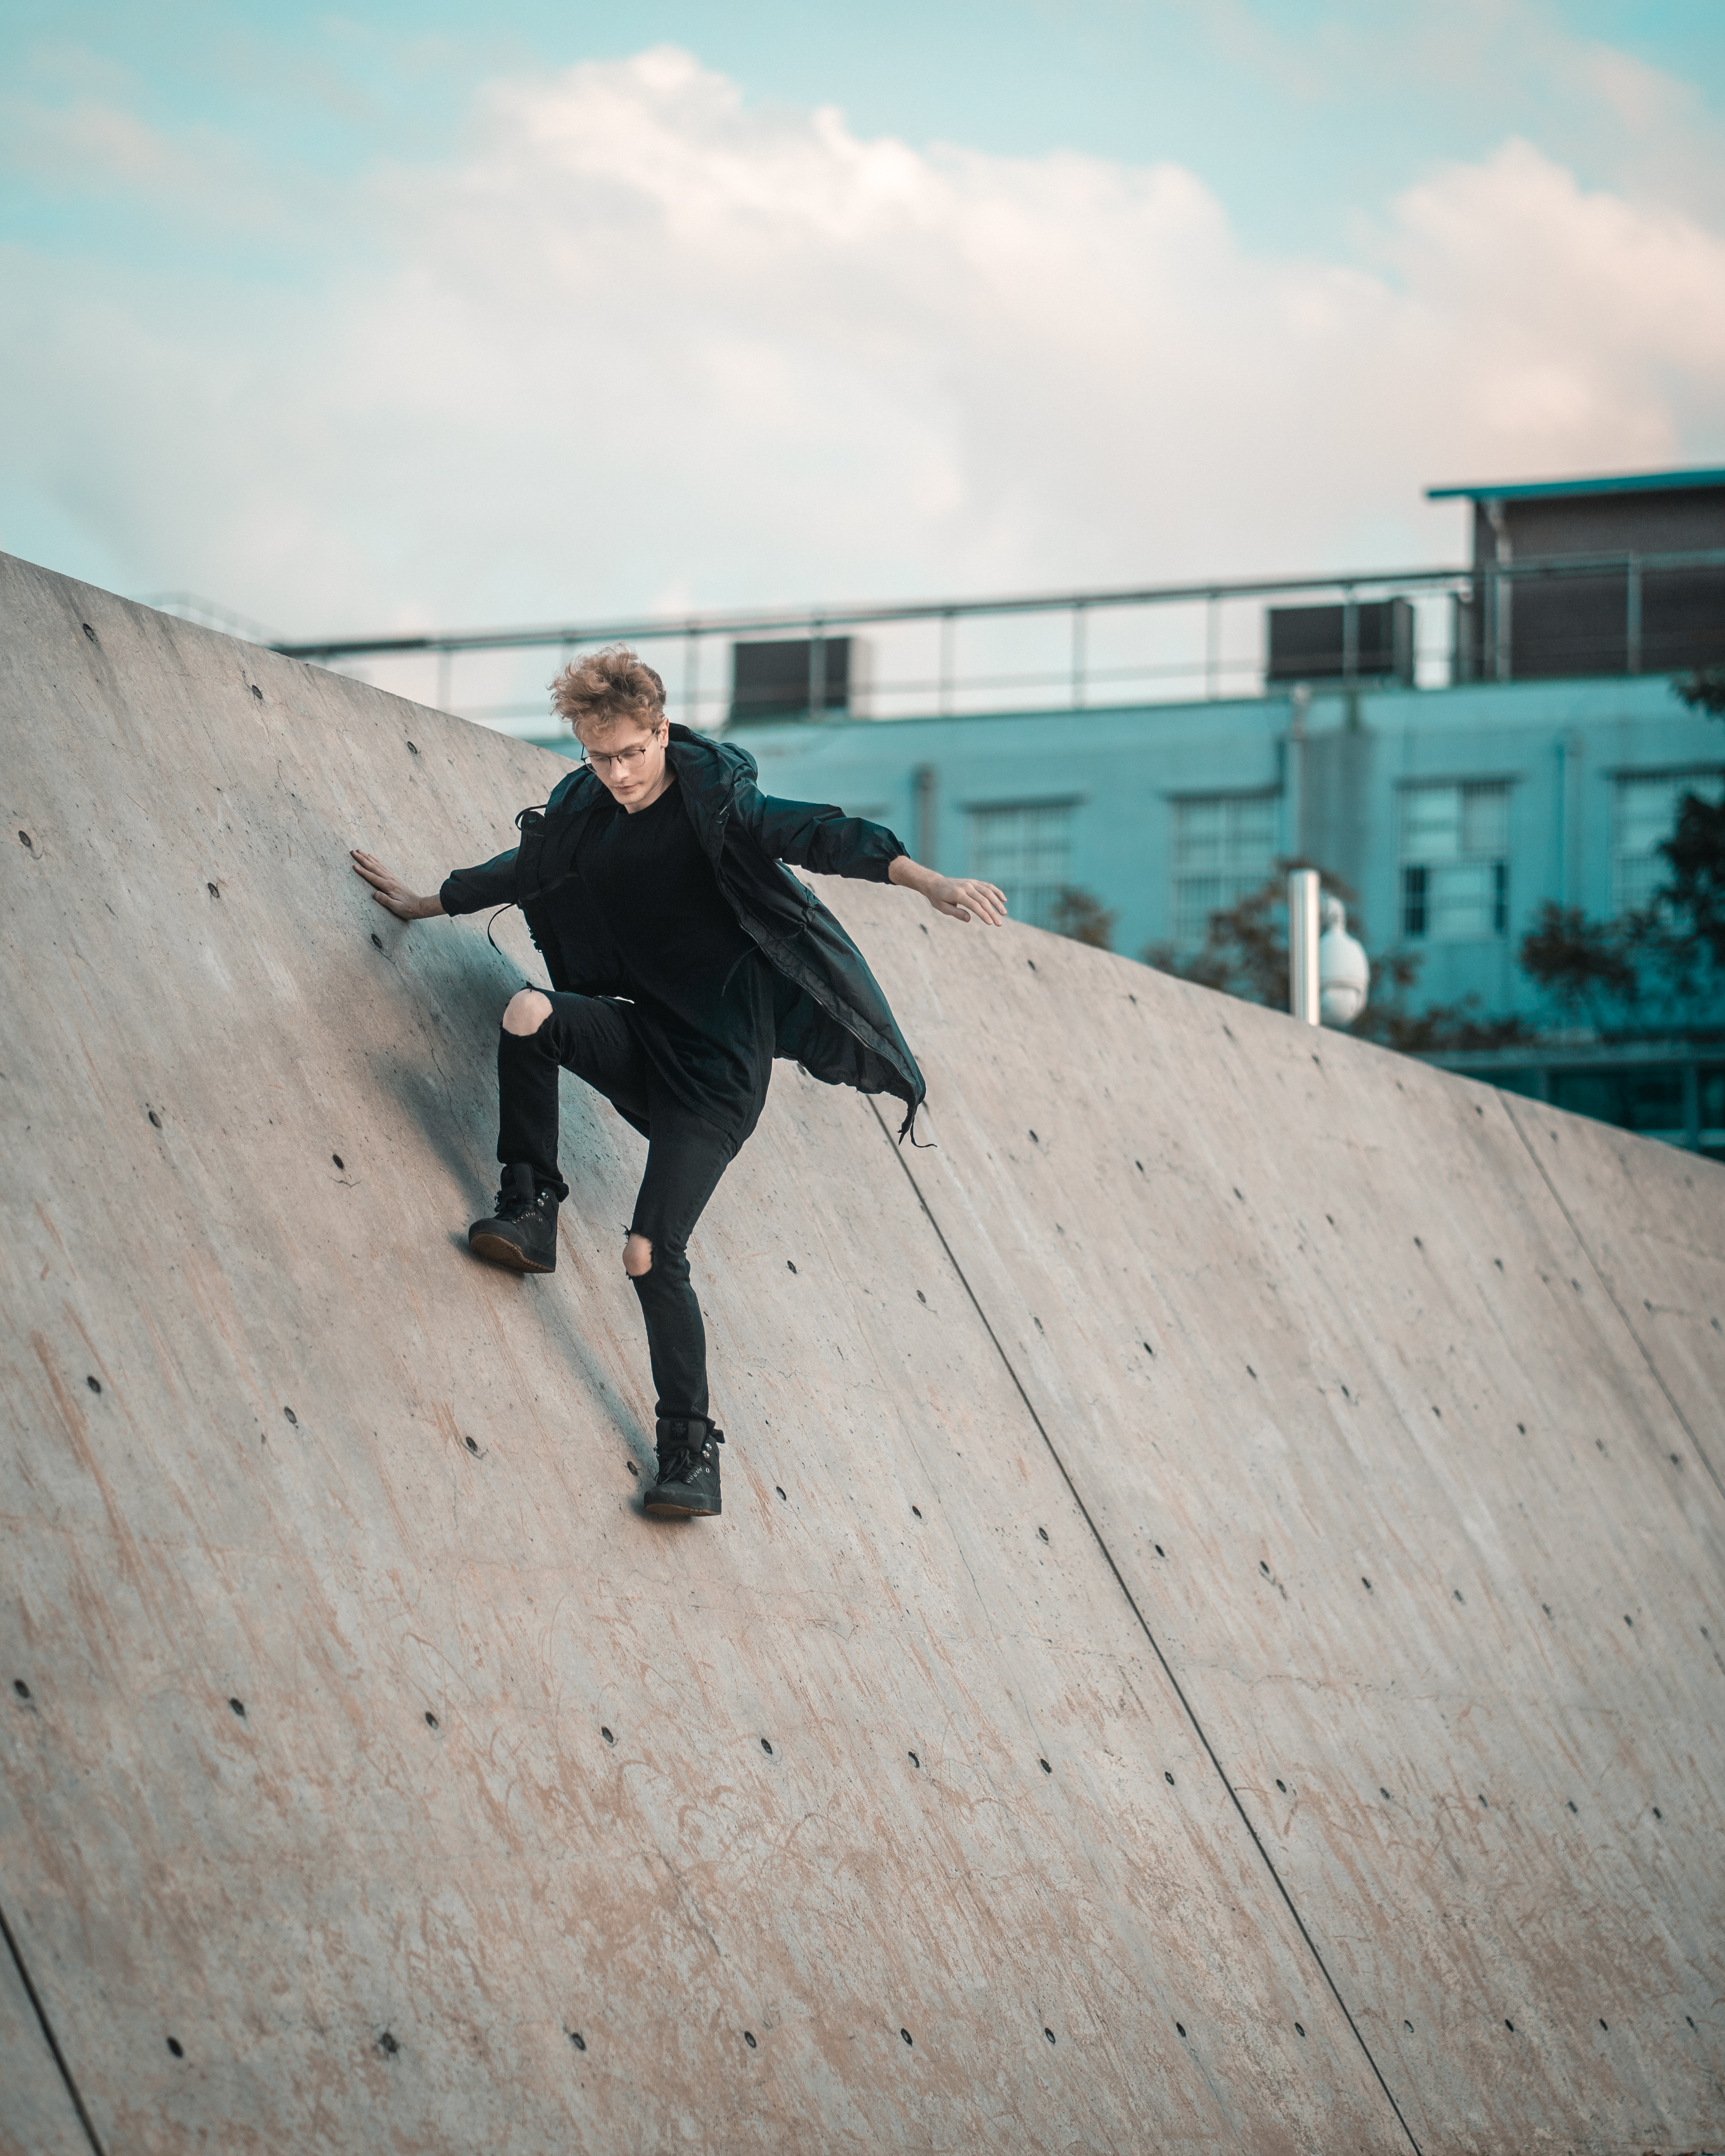
[ My Personal Aesthetic ]
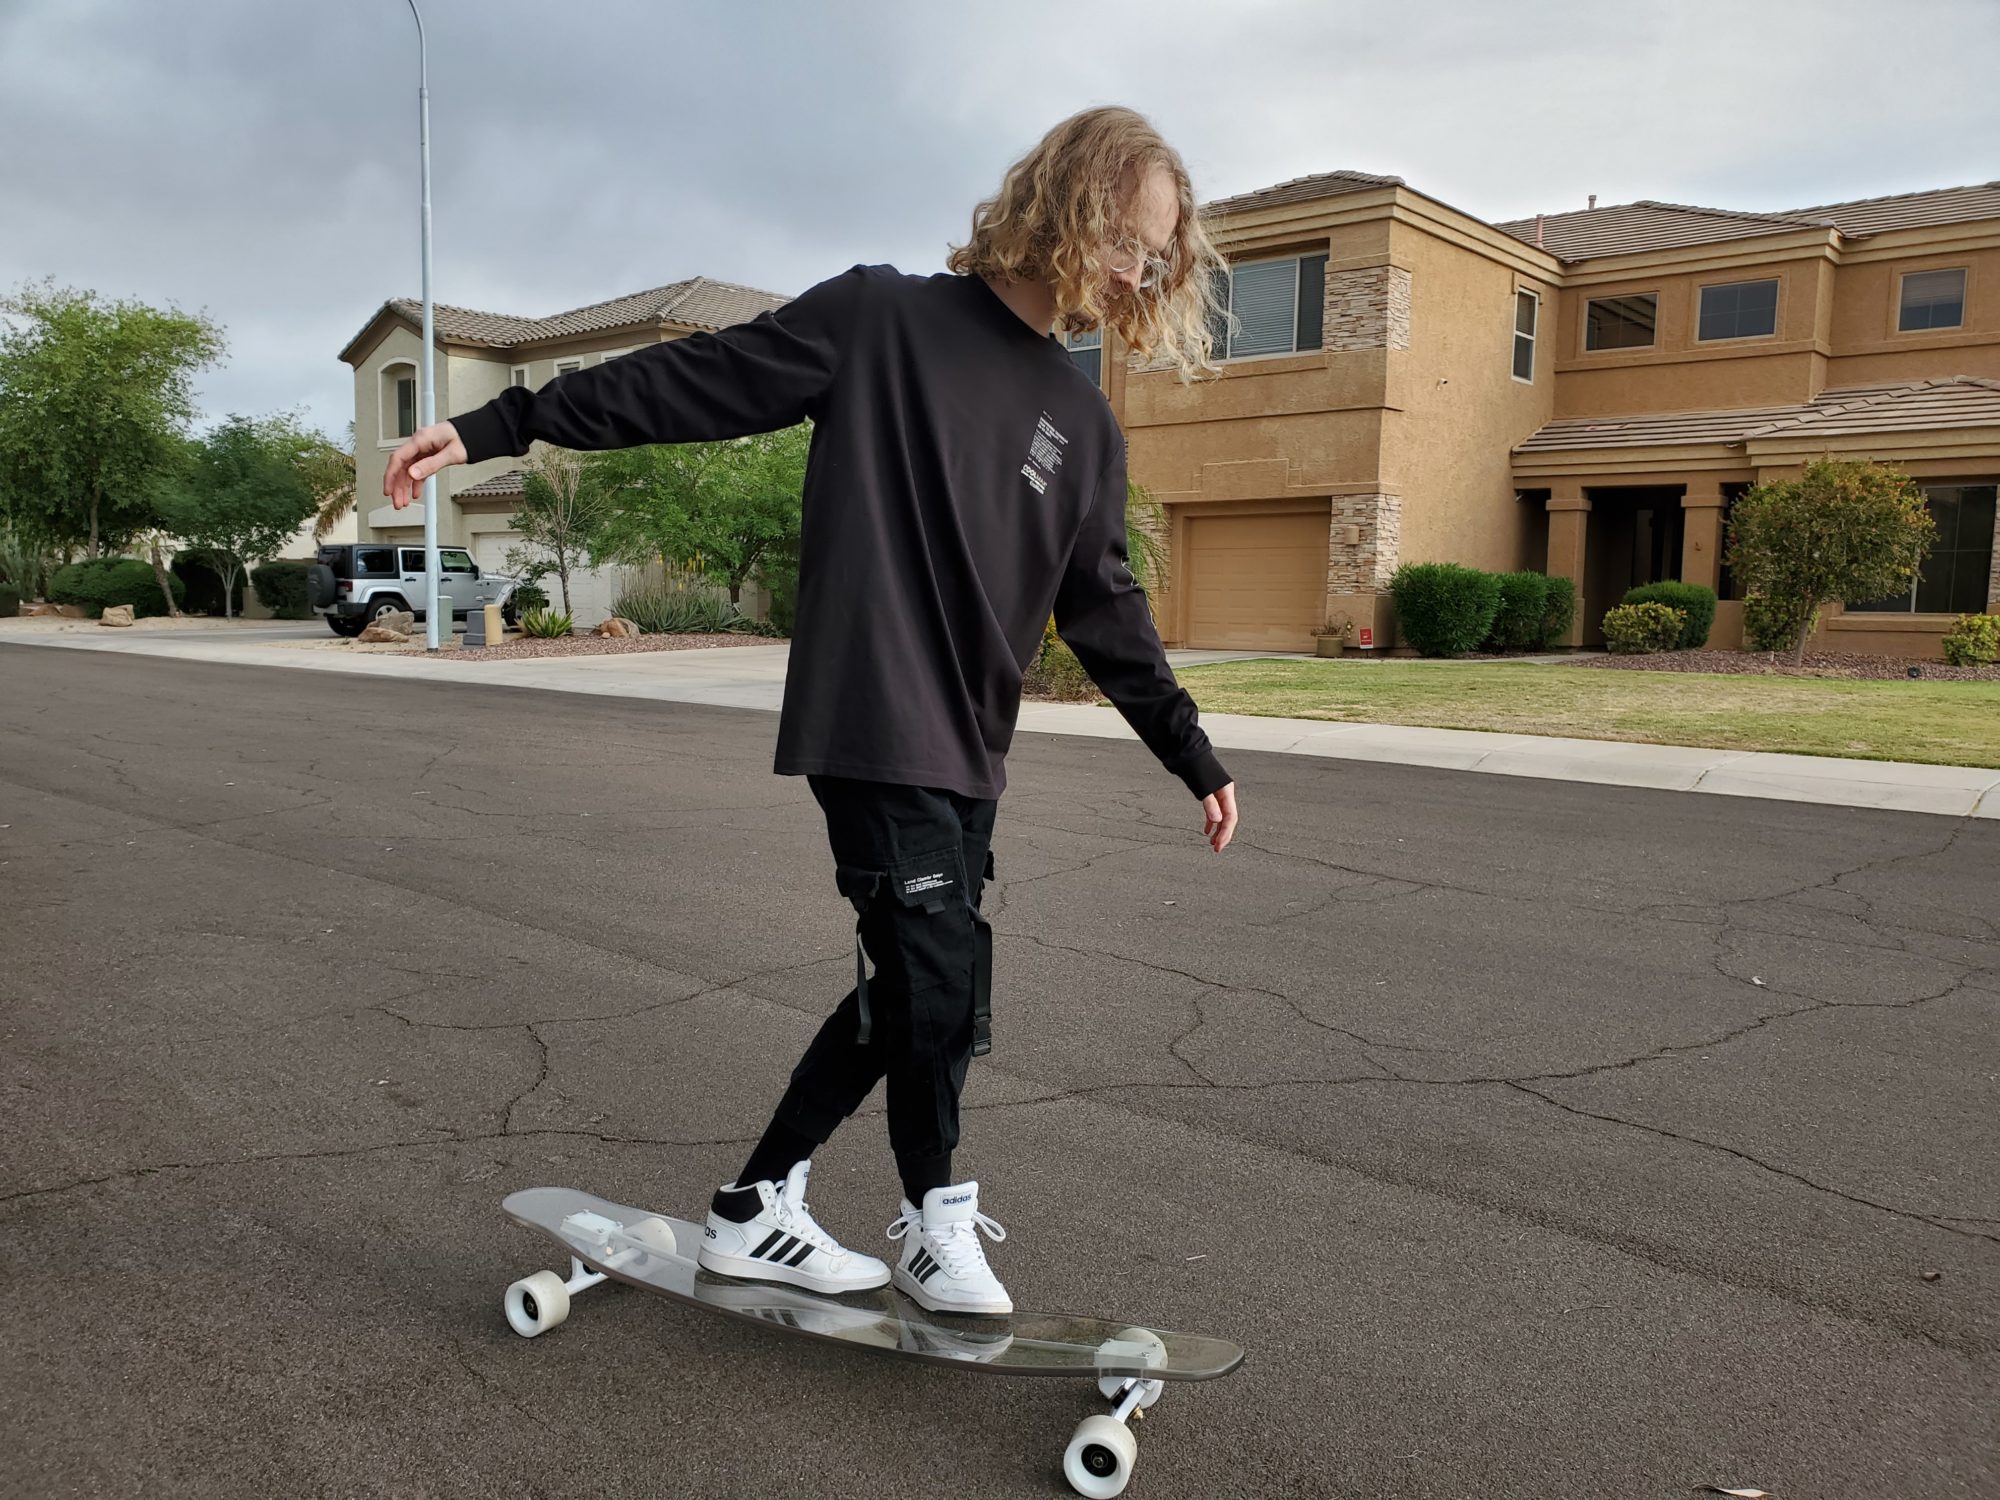
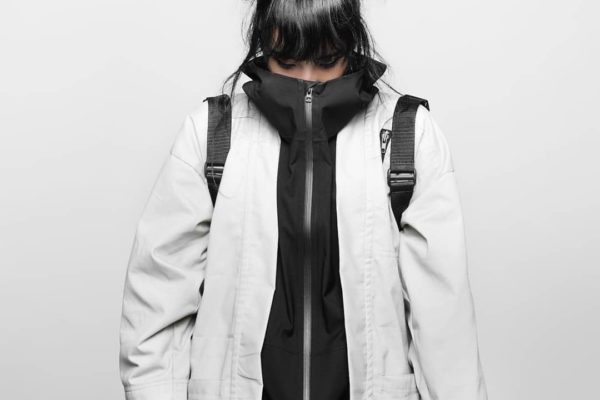
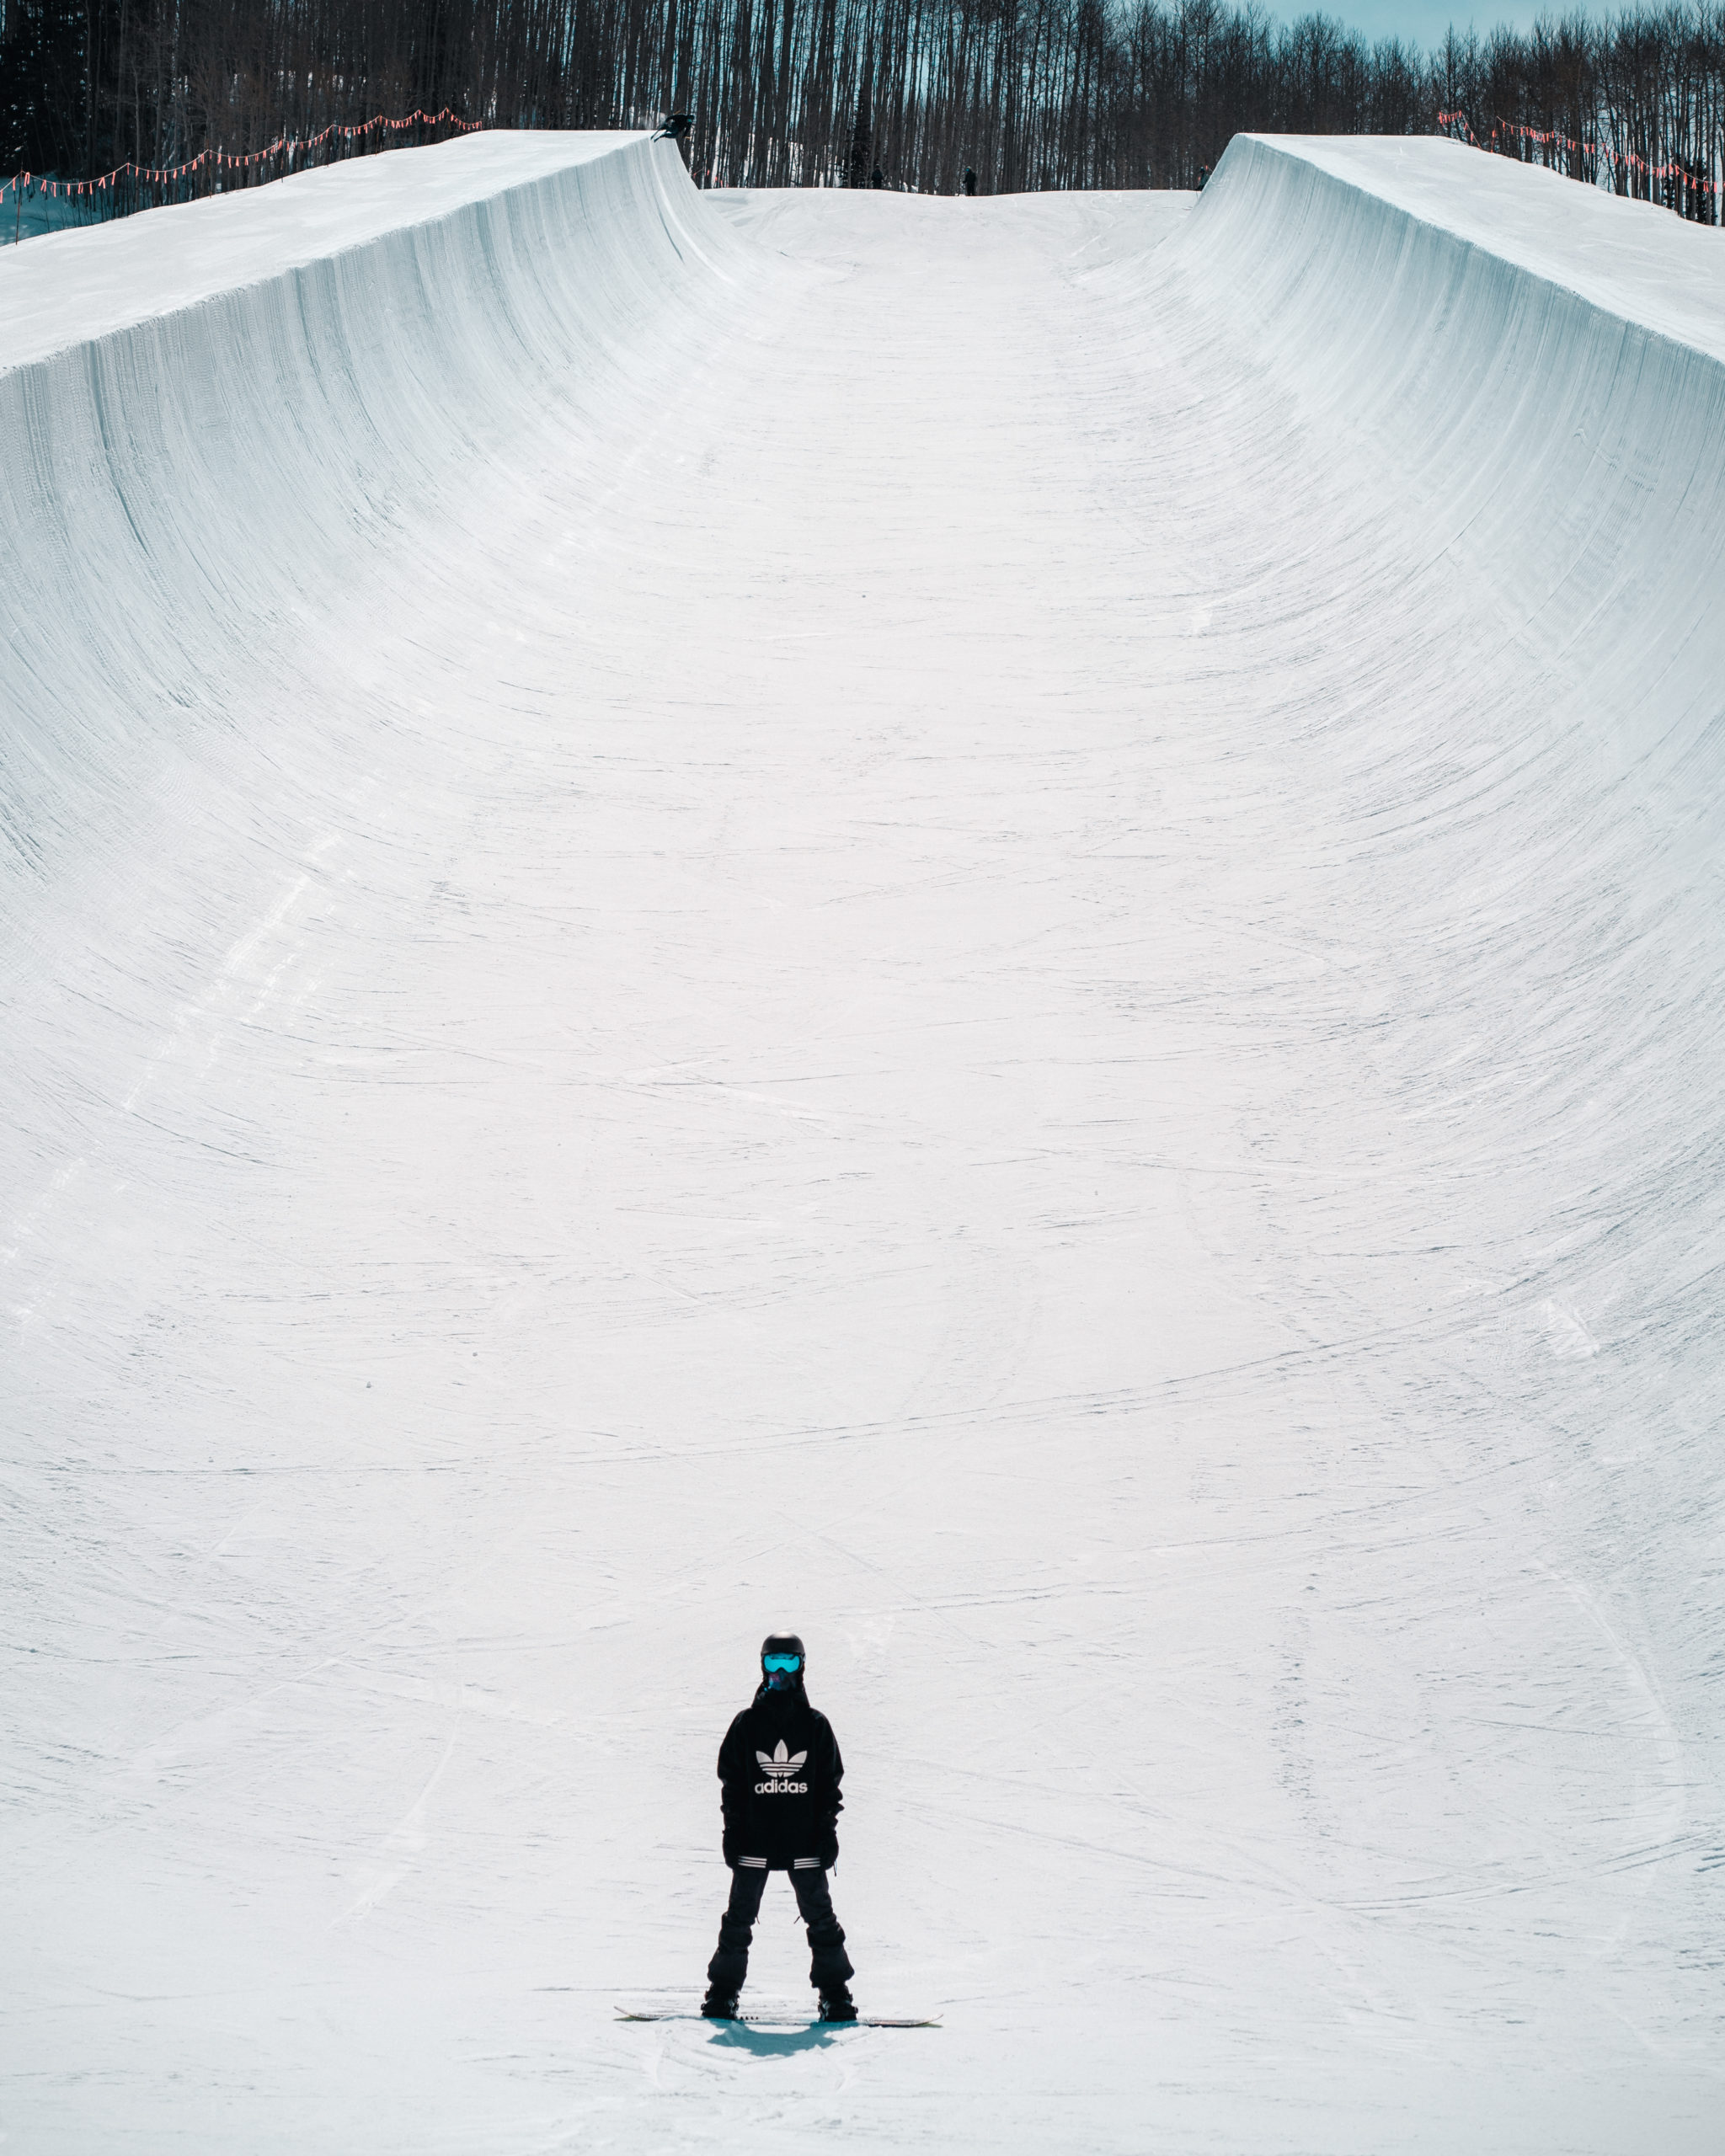
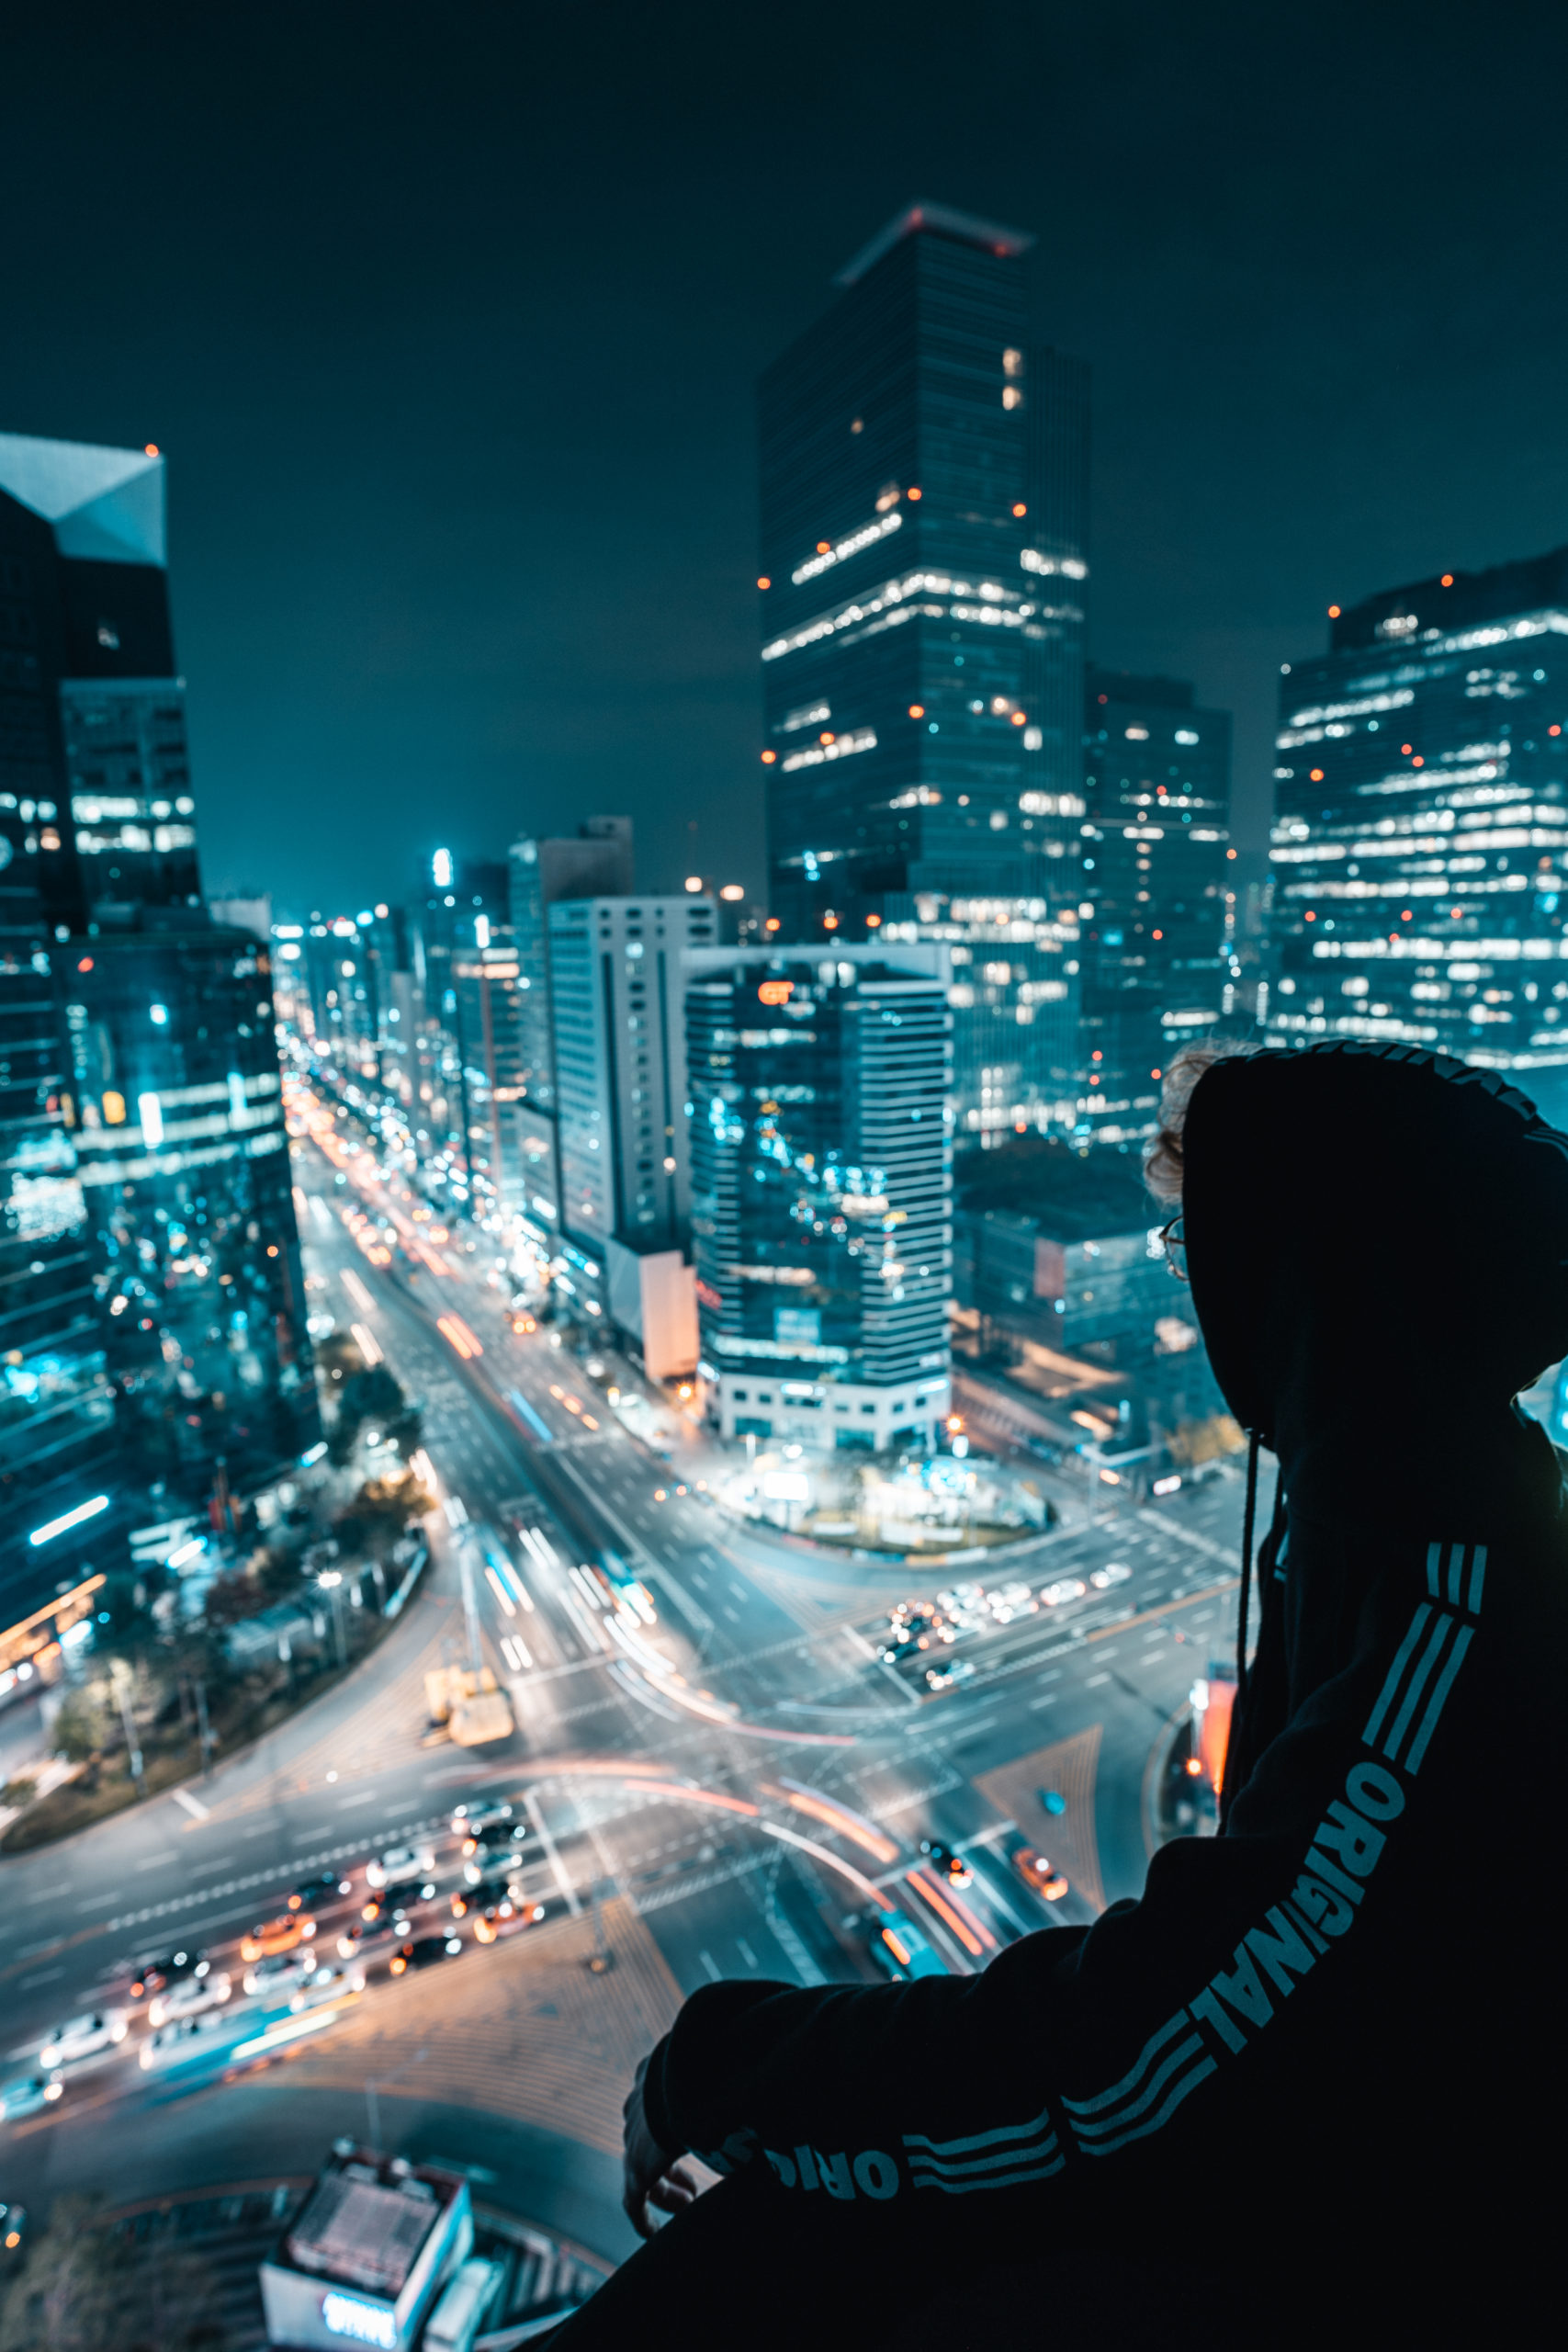
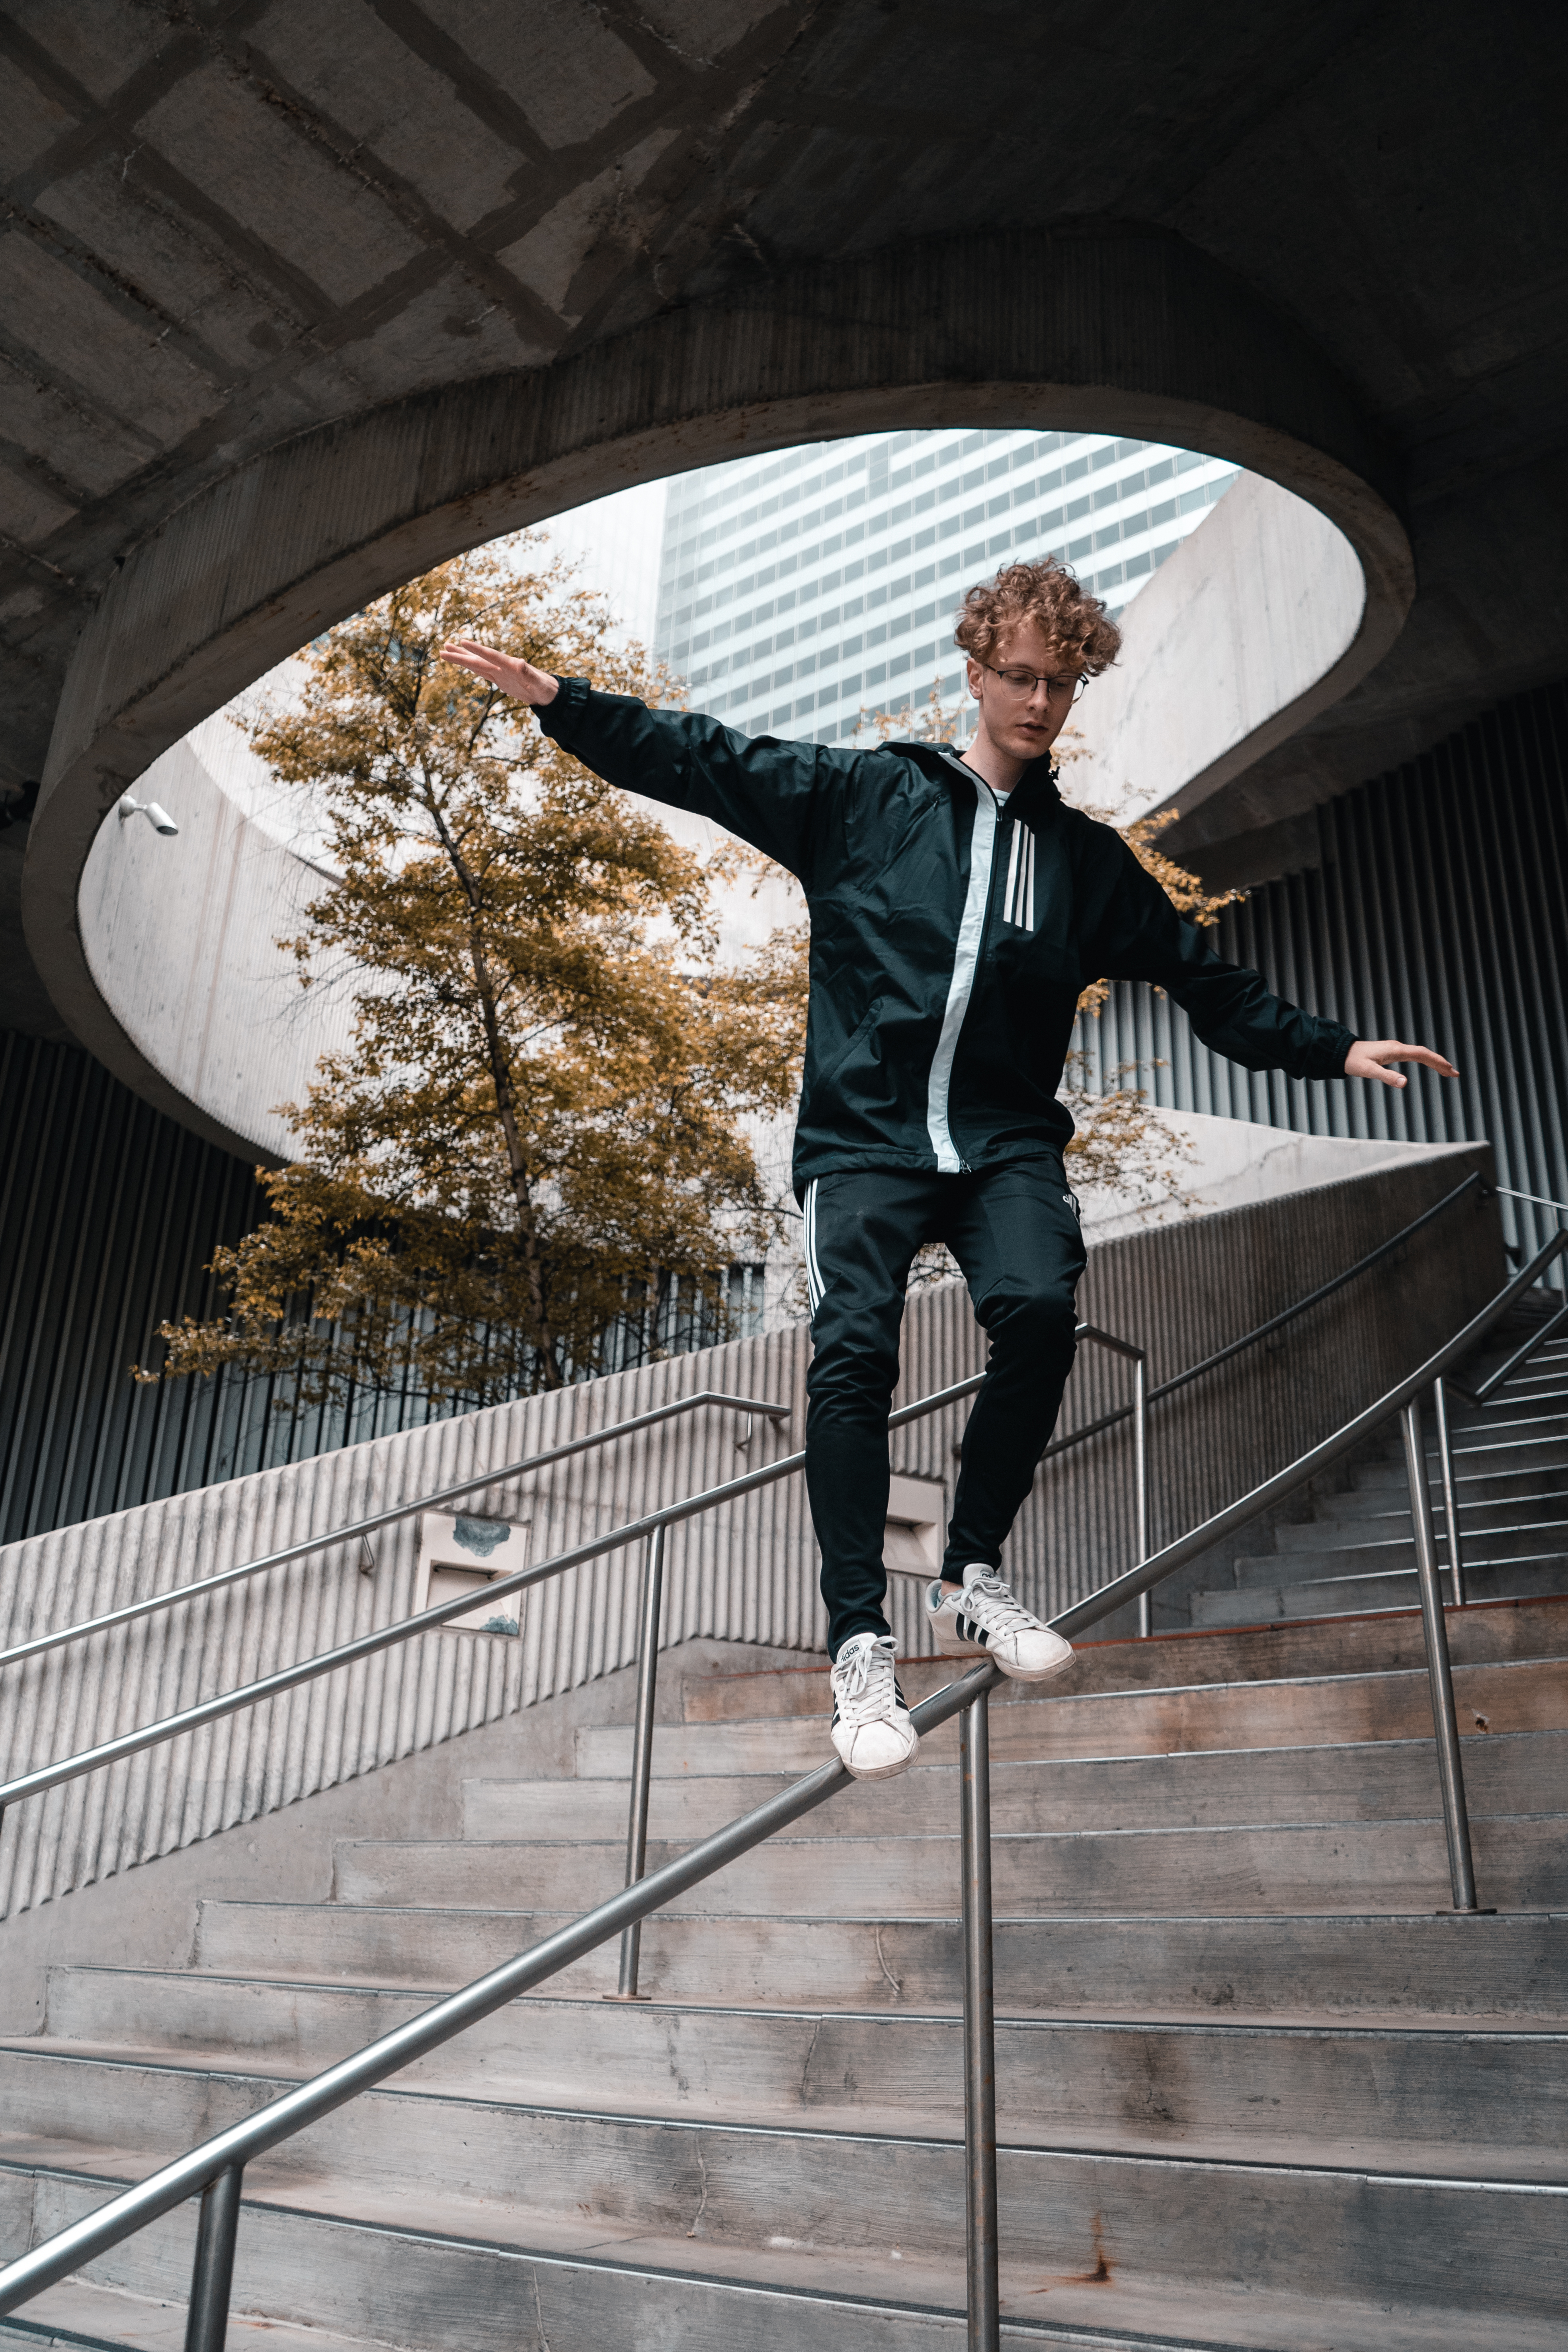
My style is heavily influenced by a mix of my hobbies of snowboarding, surfing, skateboarding, and photography. Anytime there’s something to jump on or climb on top of, I seem to always find myself doing that. Why just look at a wall when you can slide down it? For photography, it adds a dynamic element. Its also quite fun and adventurous.

[ The Combination ]
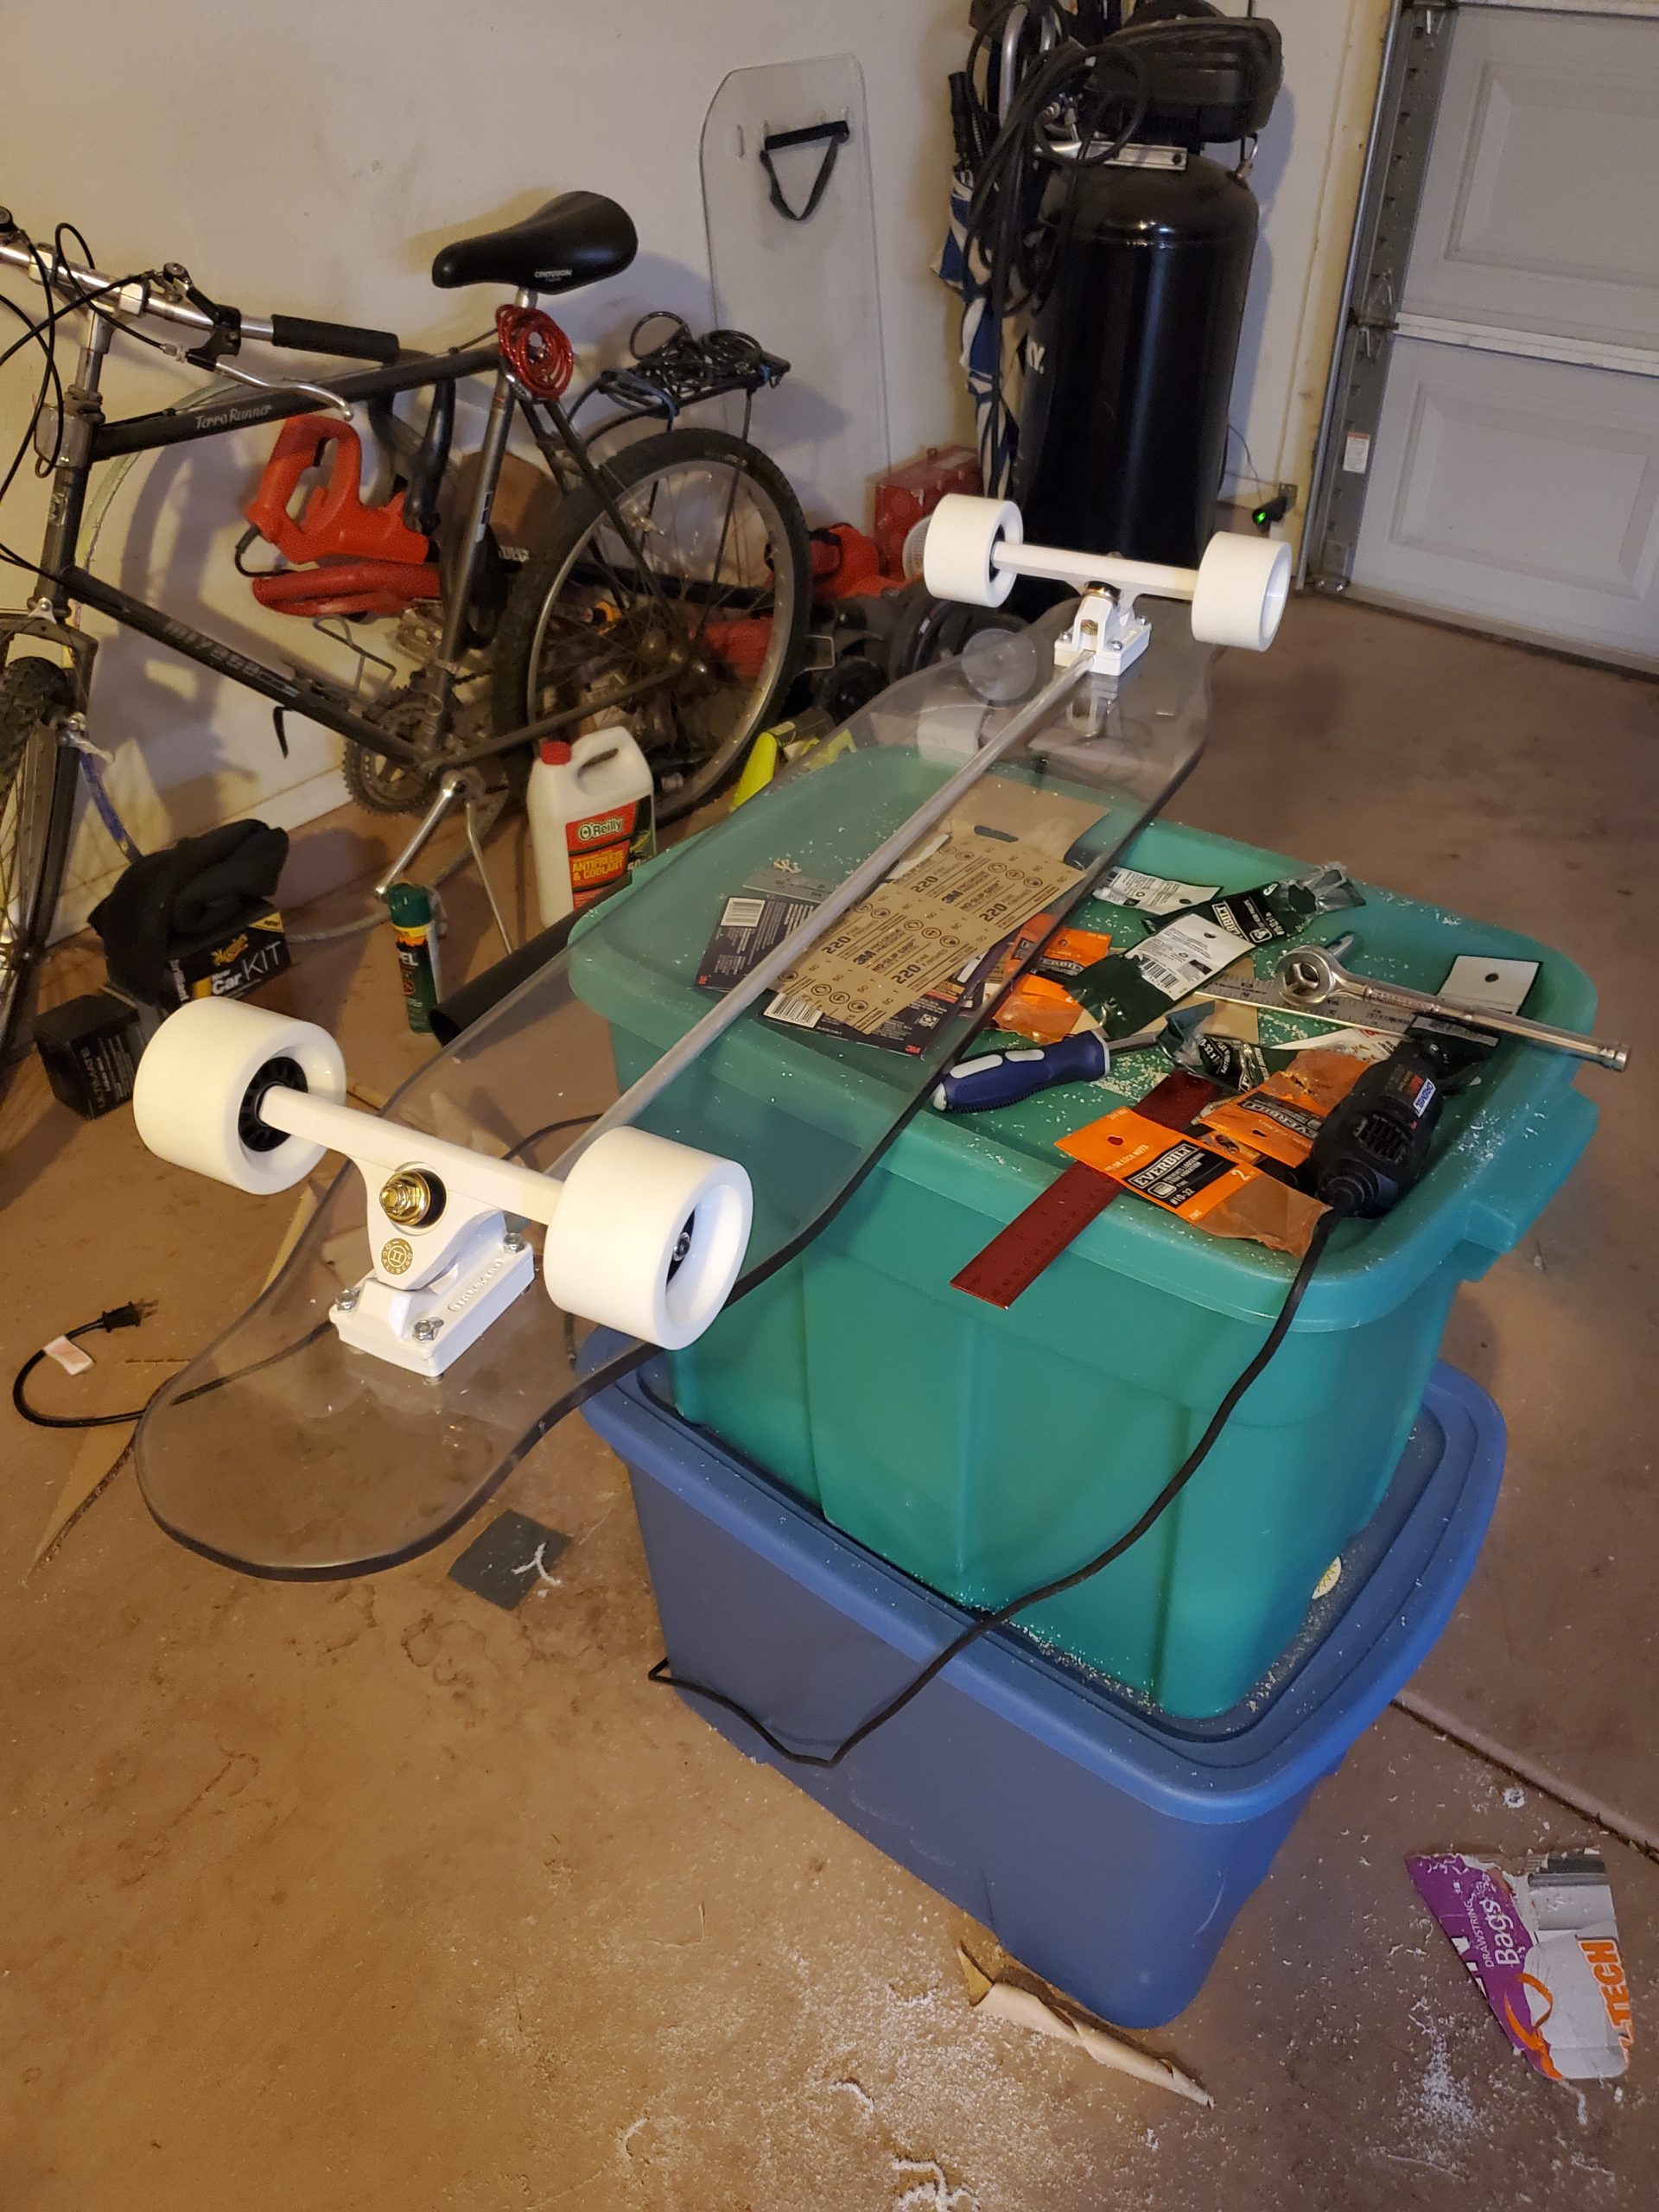
When thinking about how to combine these two aesthetics, a clear longboard is something that came to mind right away. I decided to run with that idea and make a futuristic longboard. Here’s what I came up with:
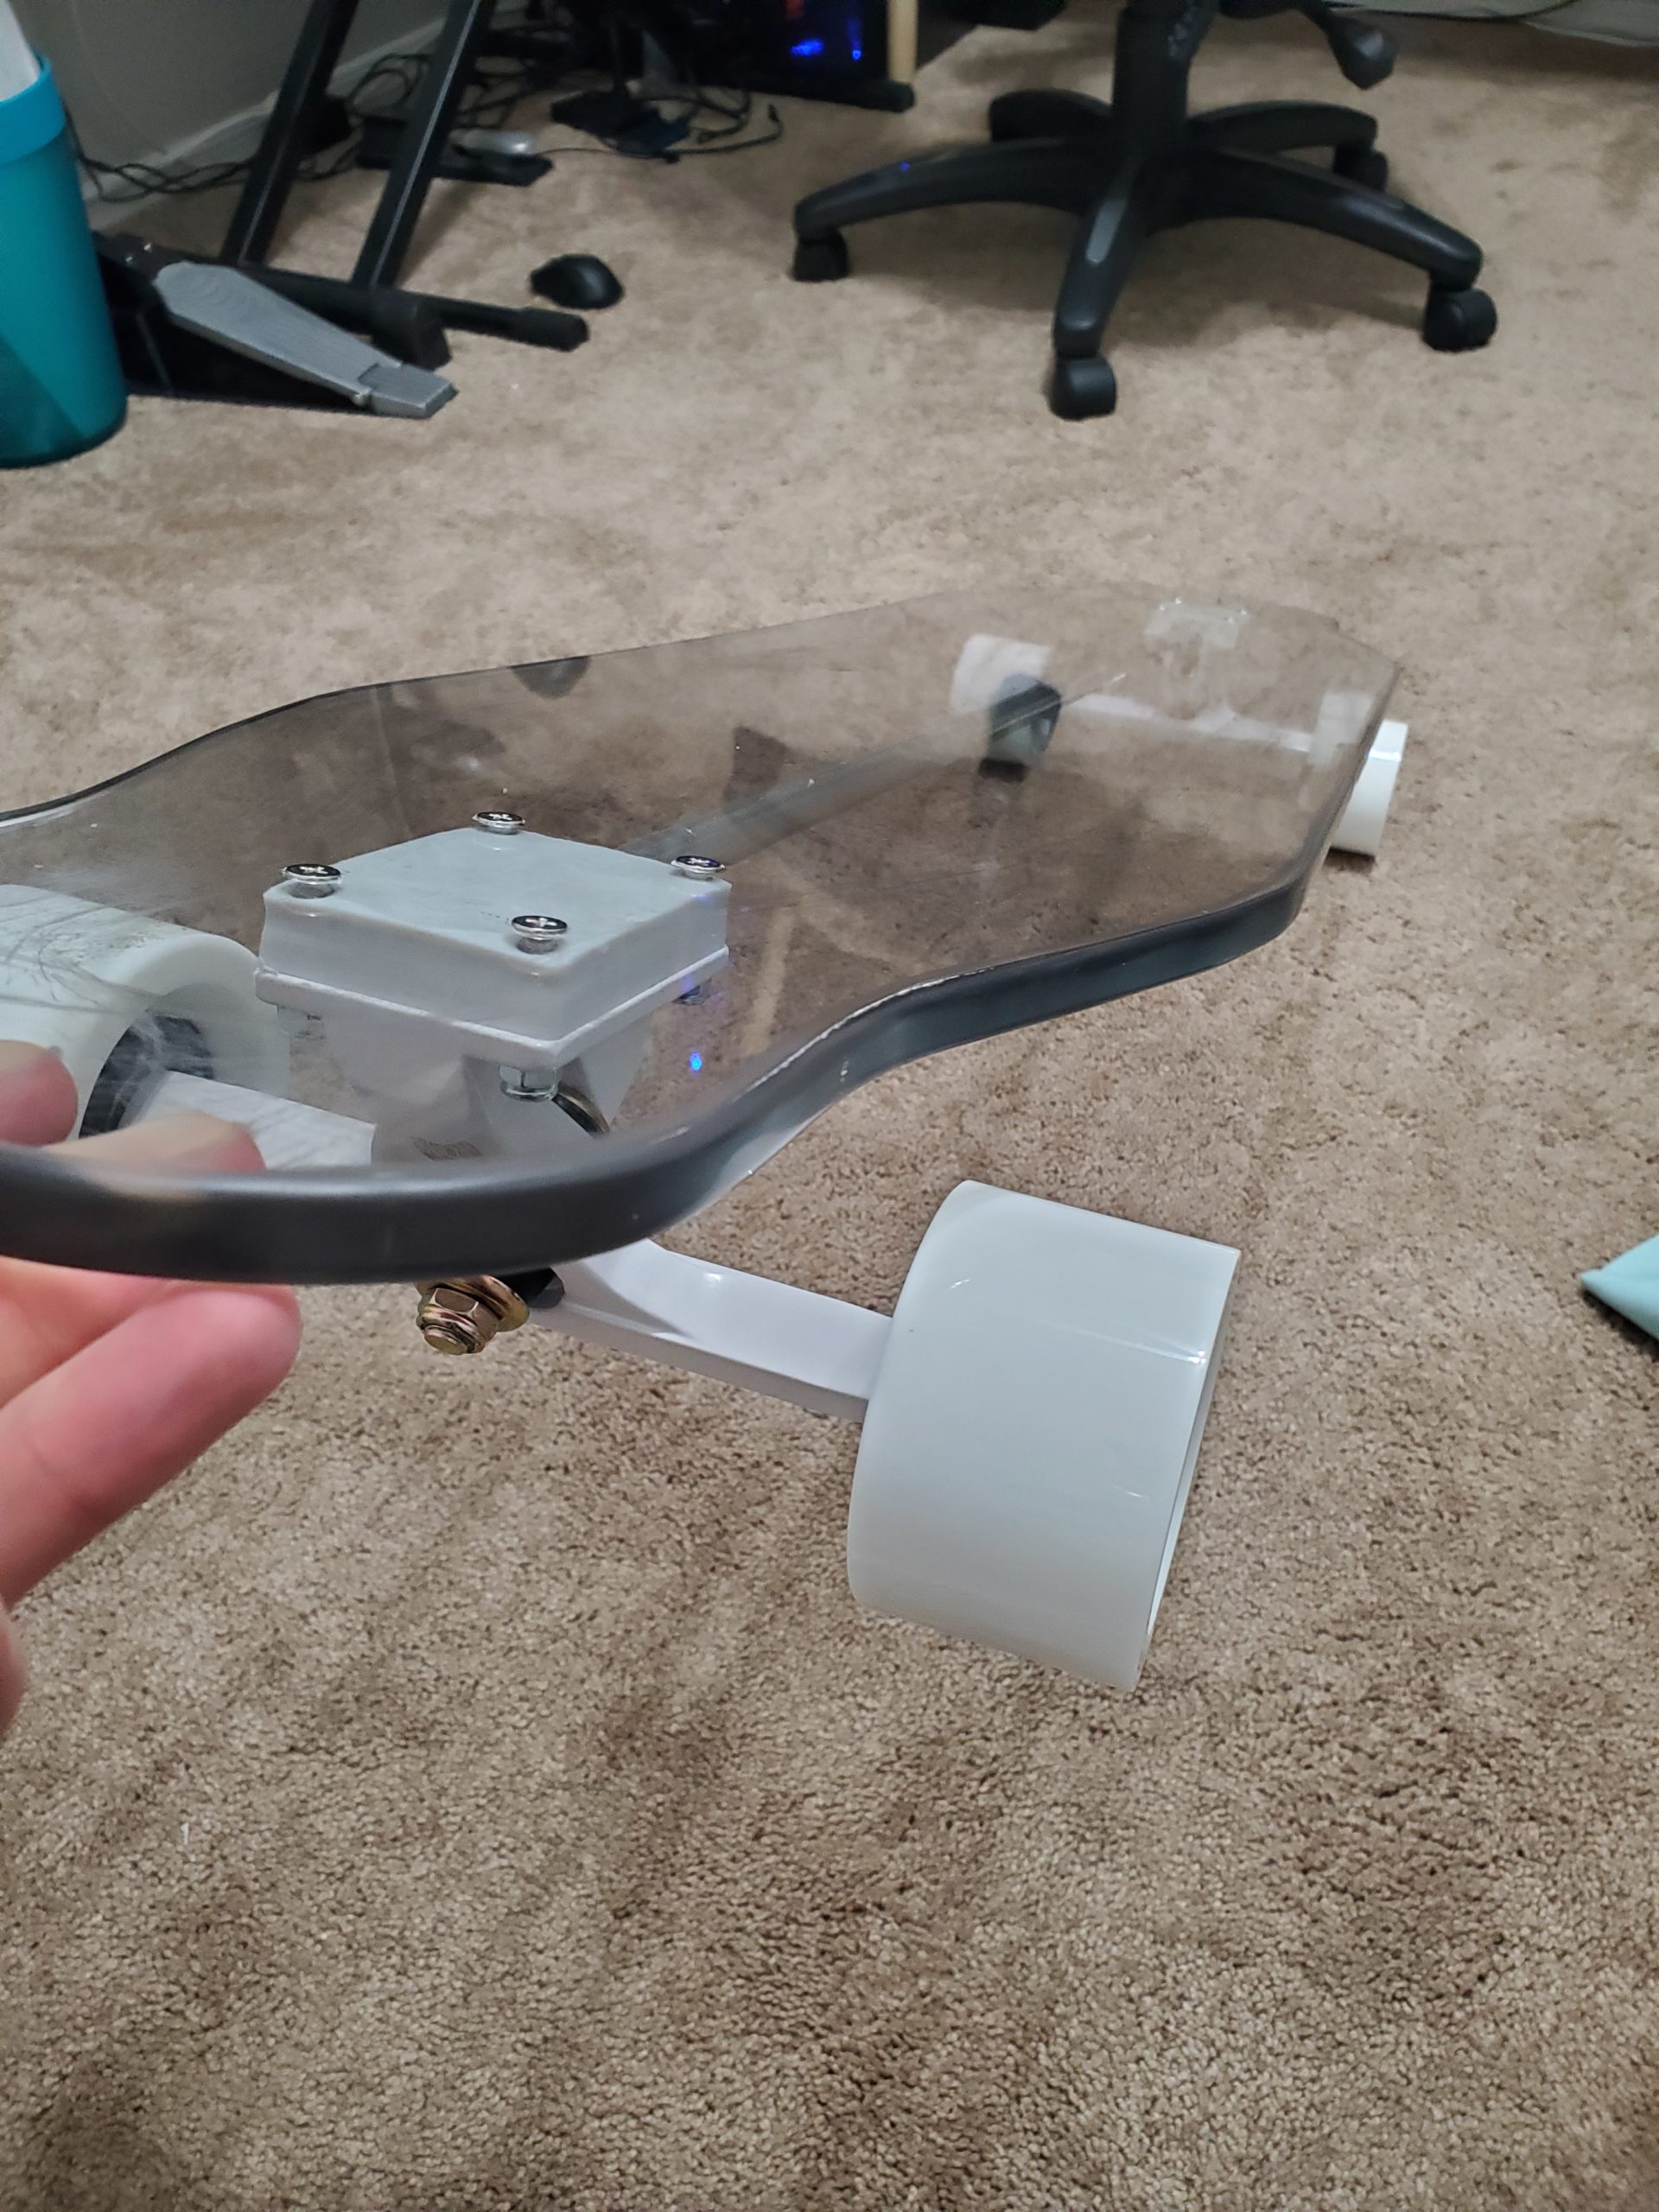

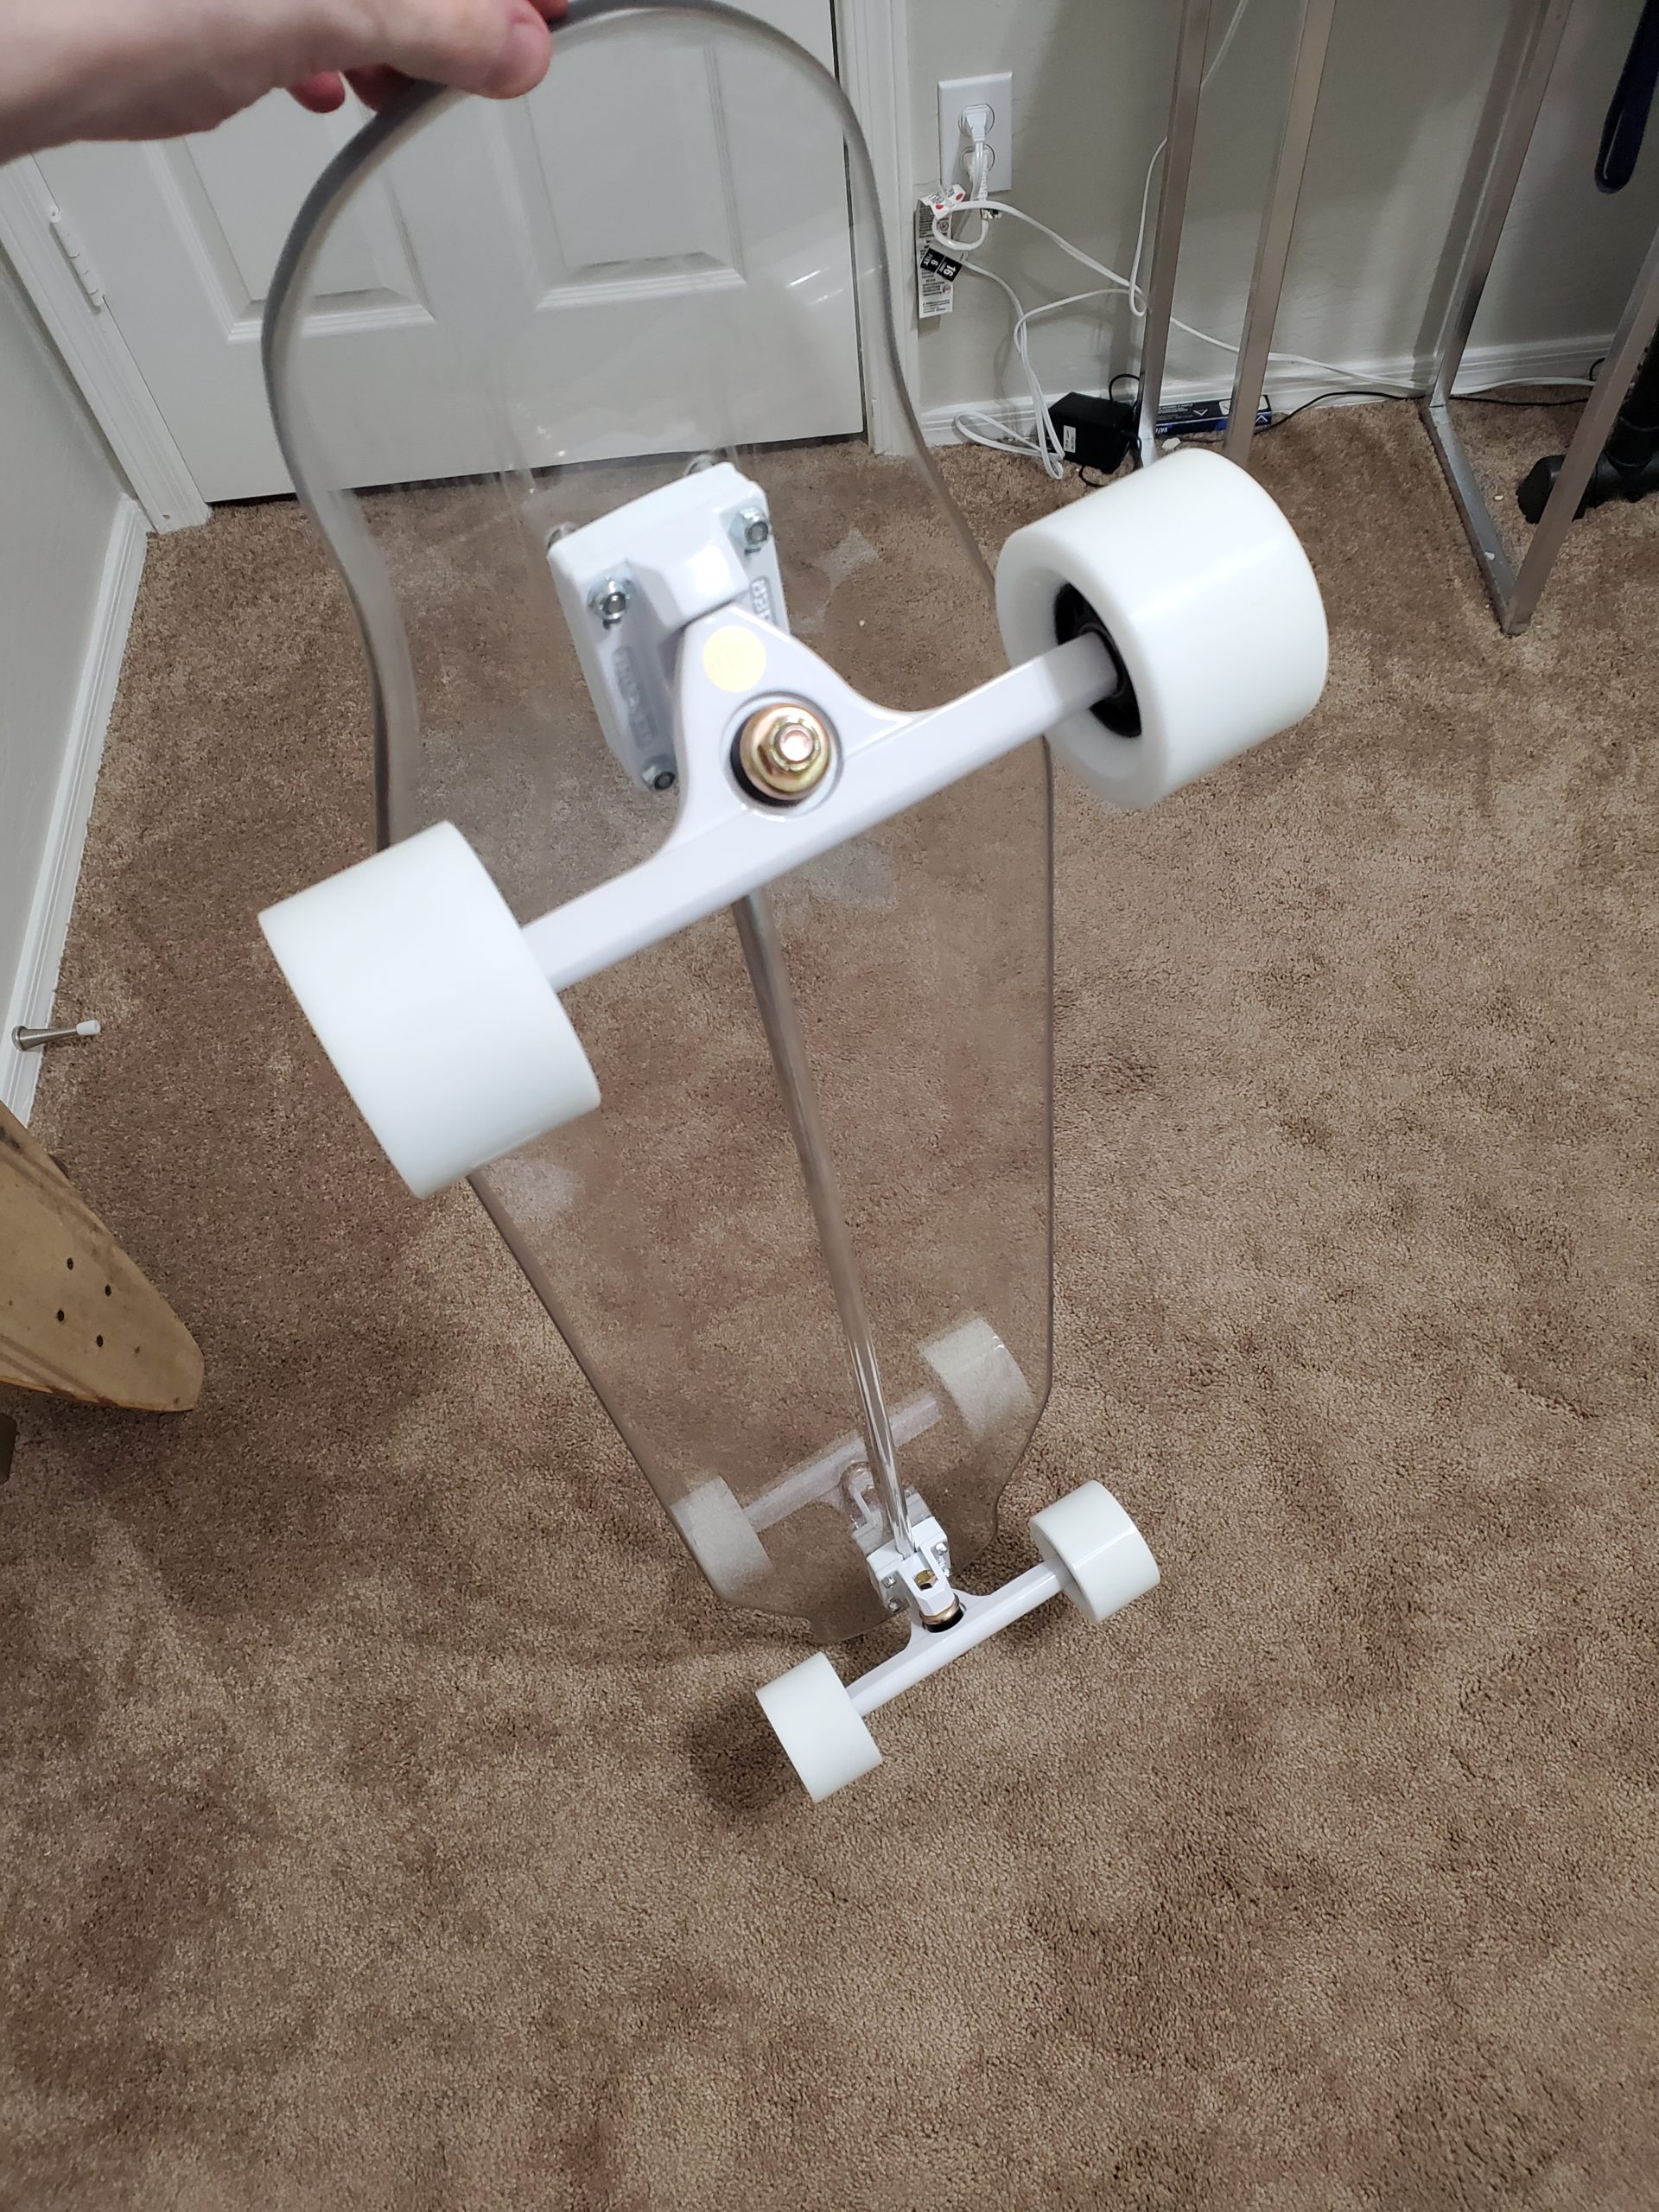
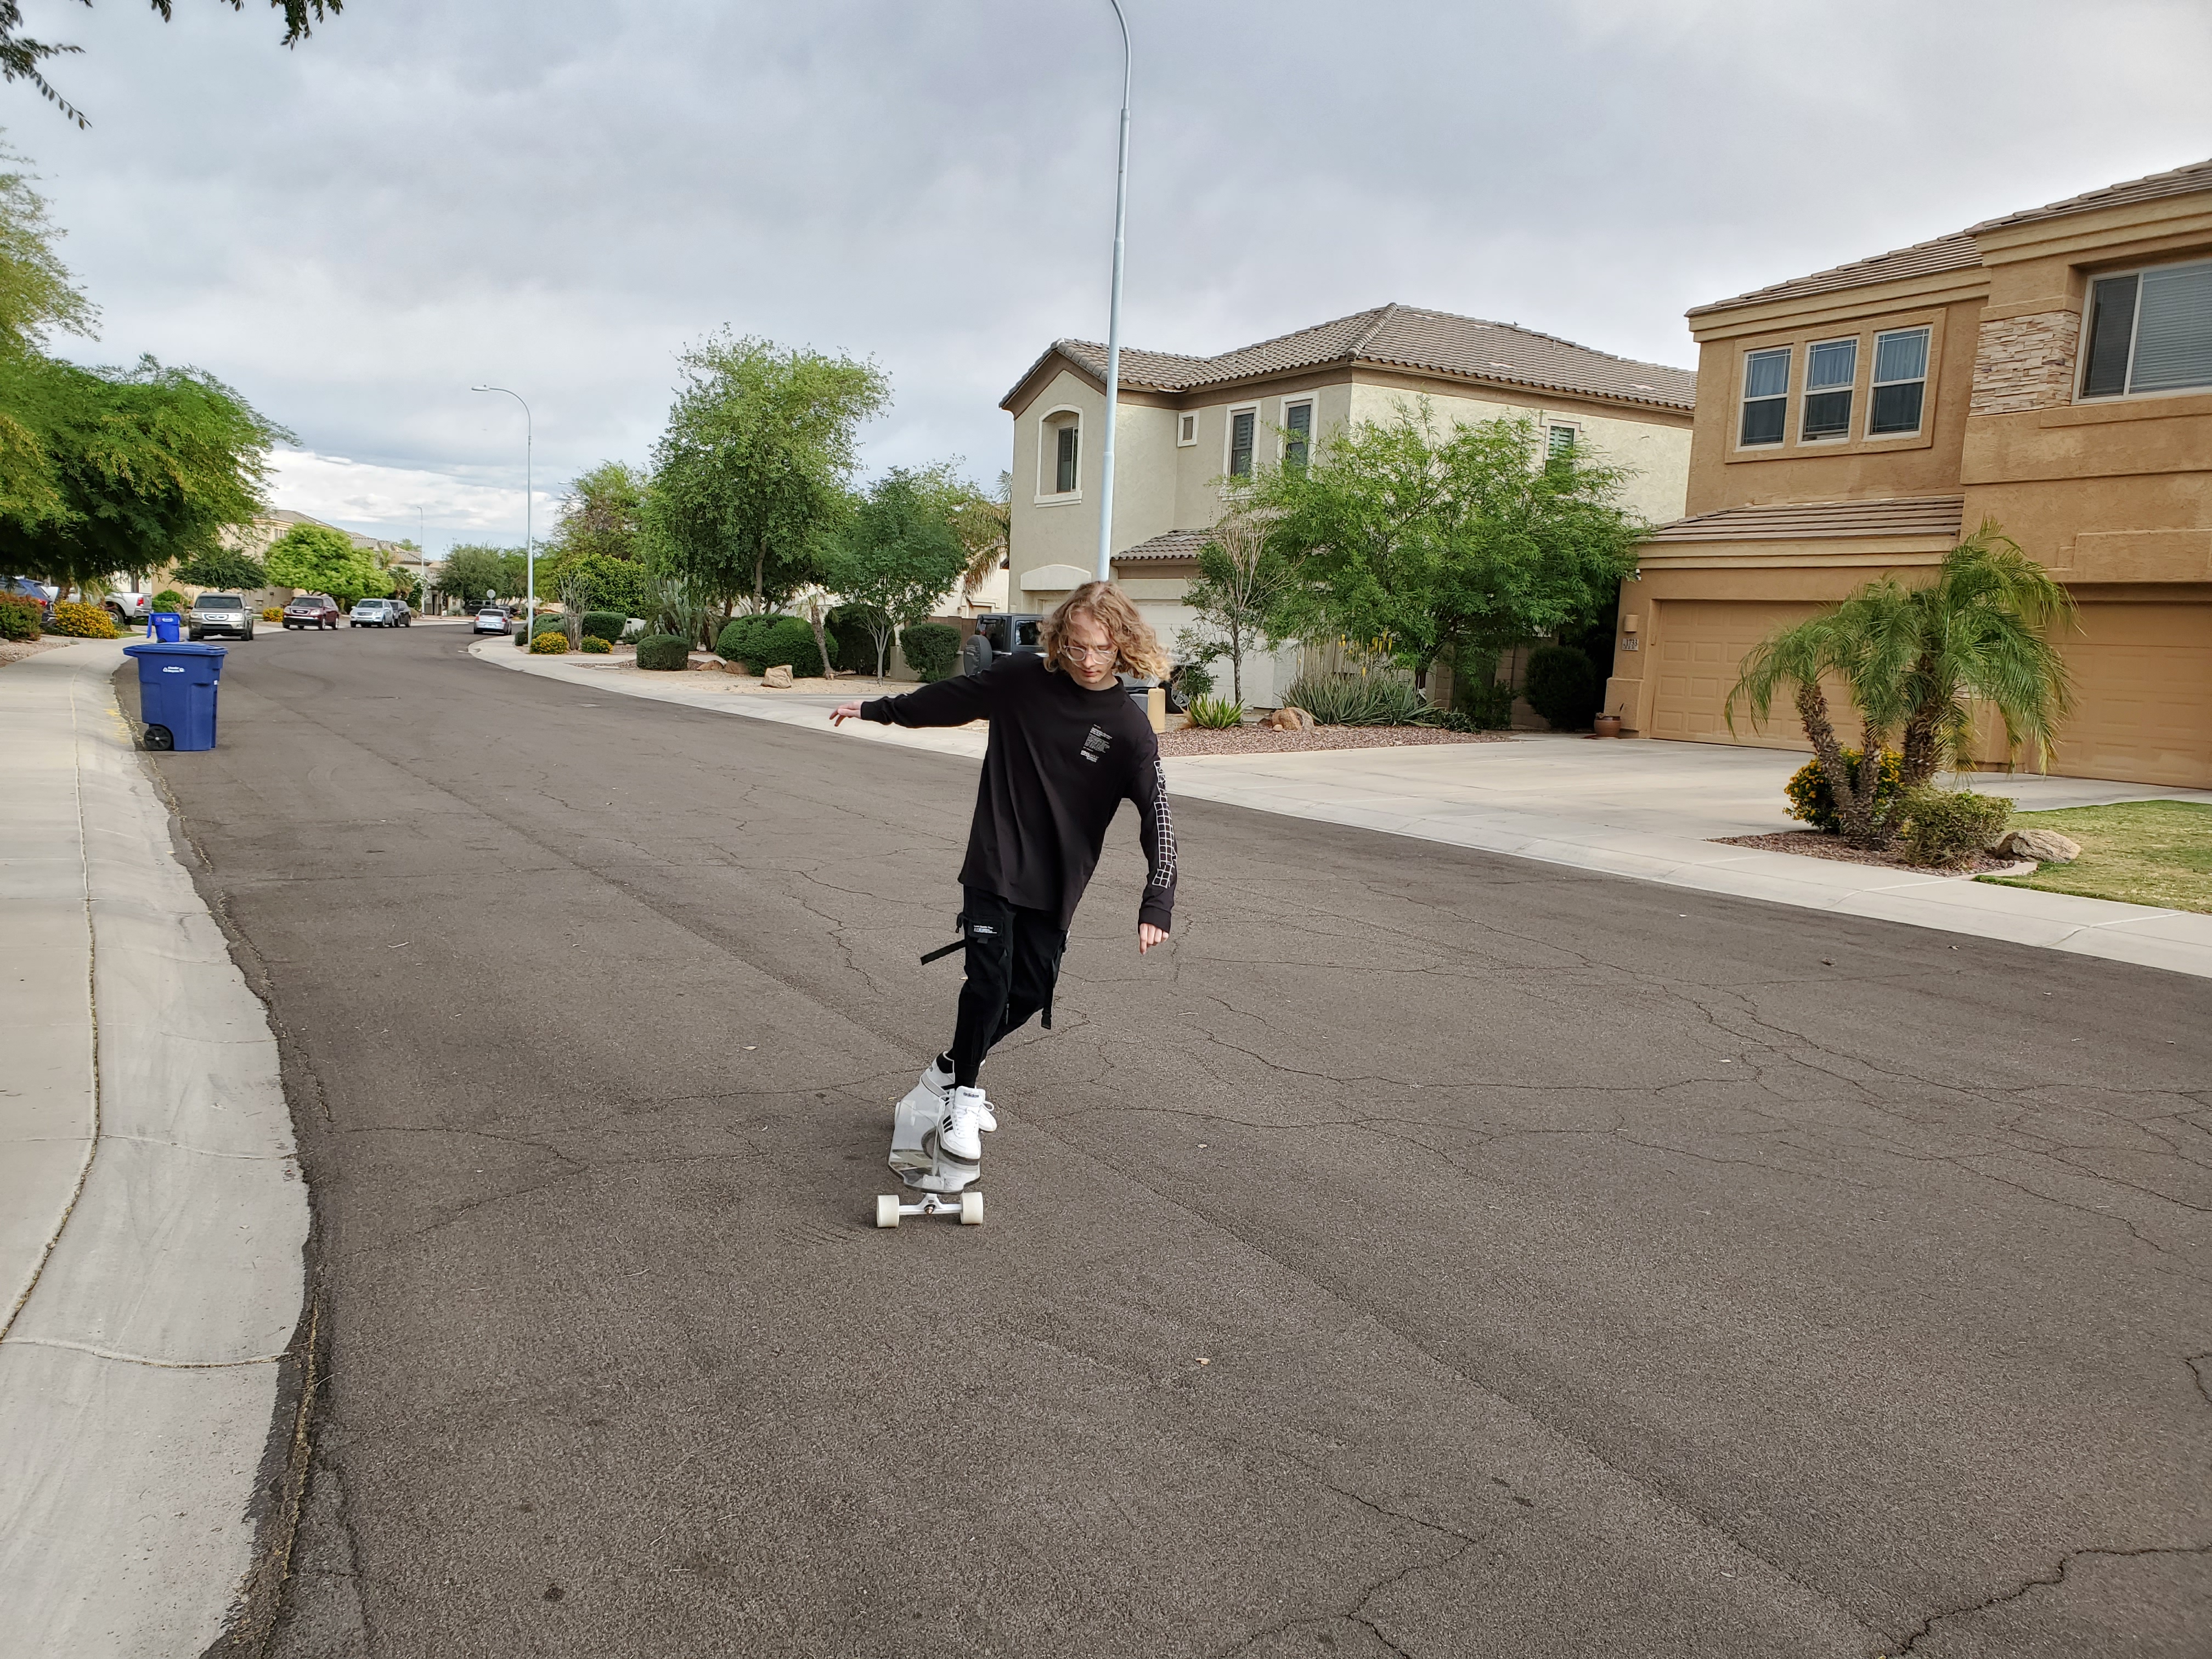
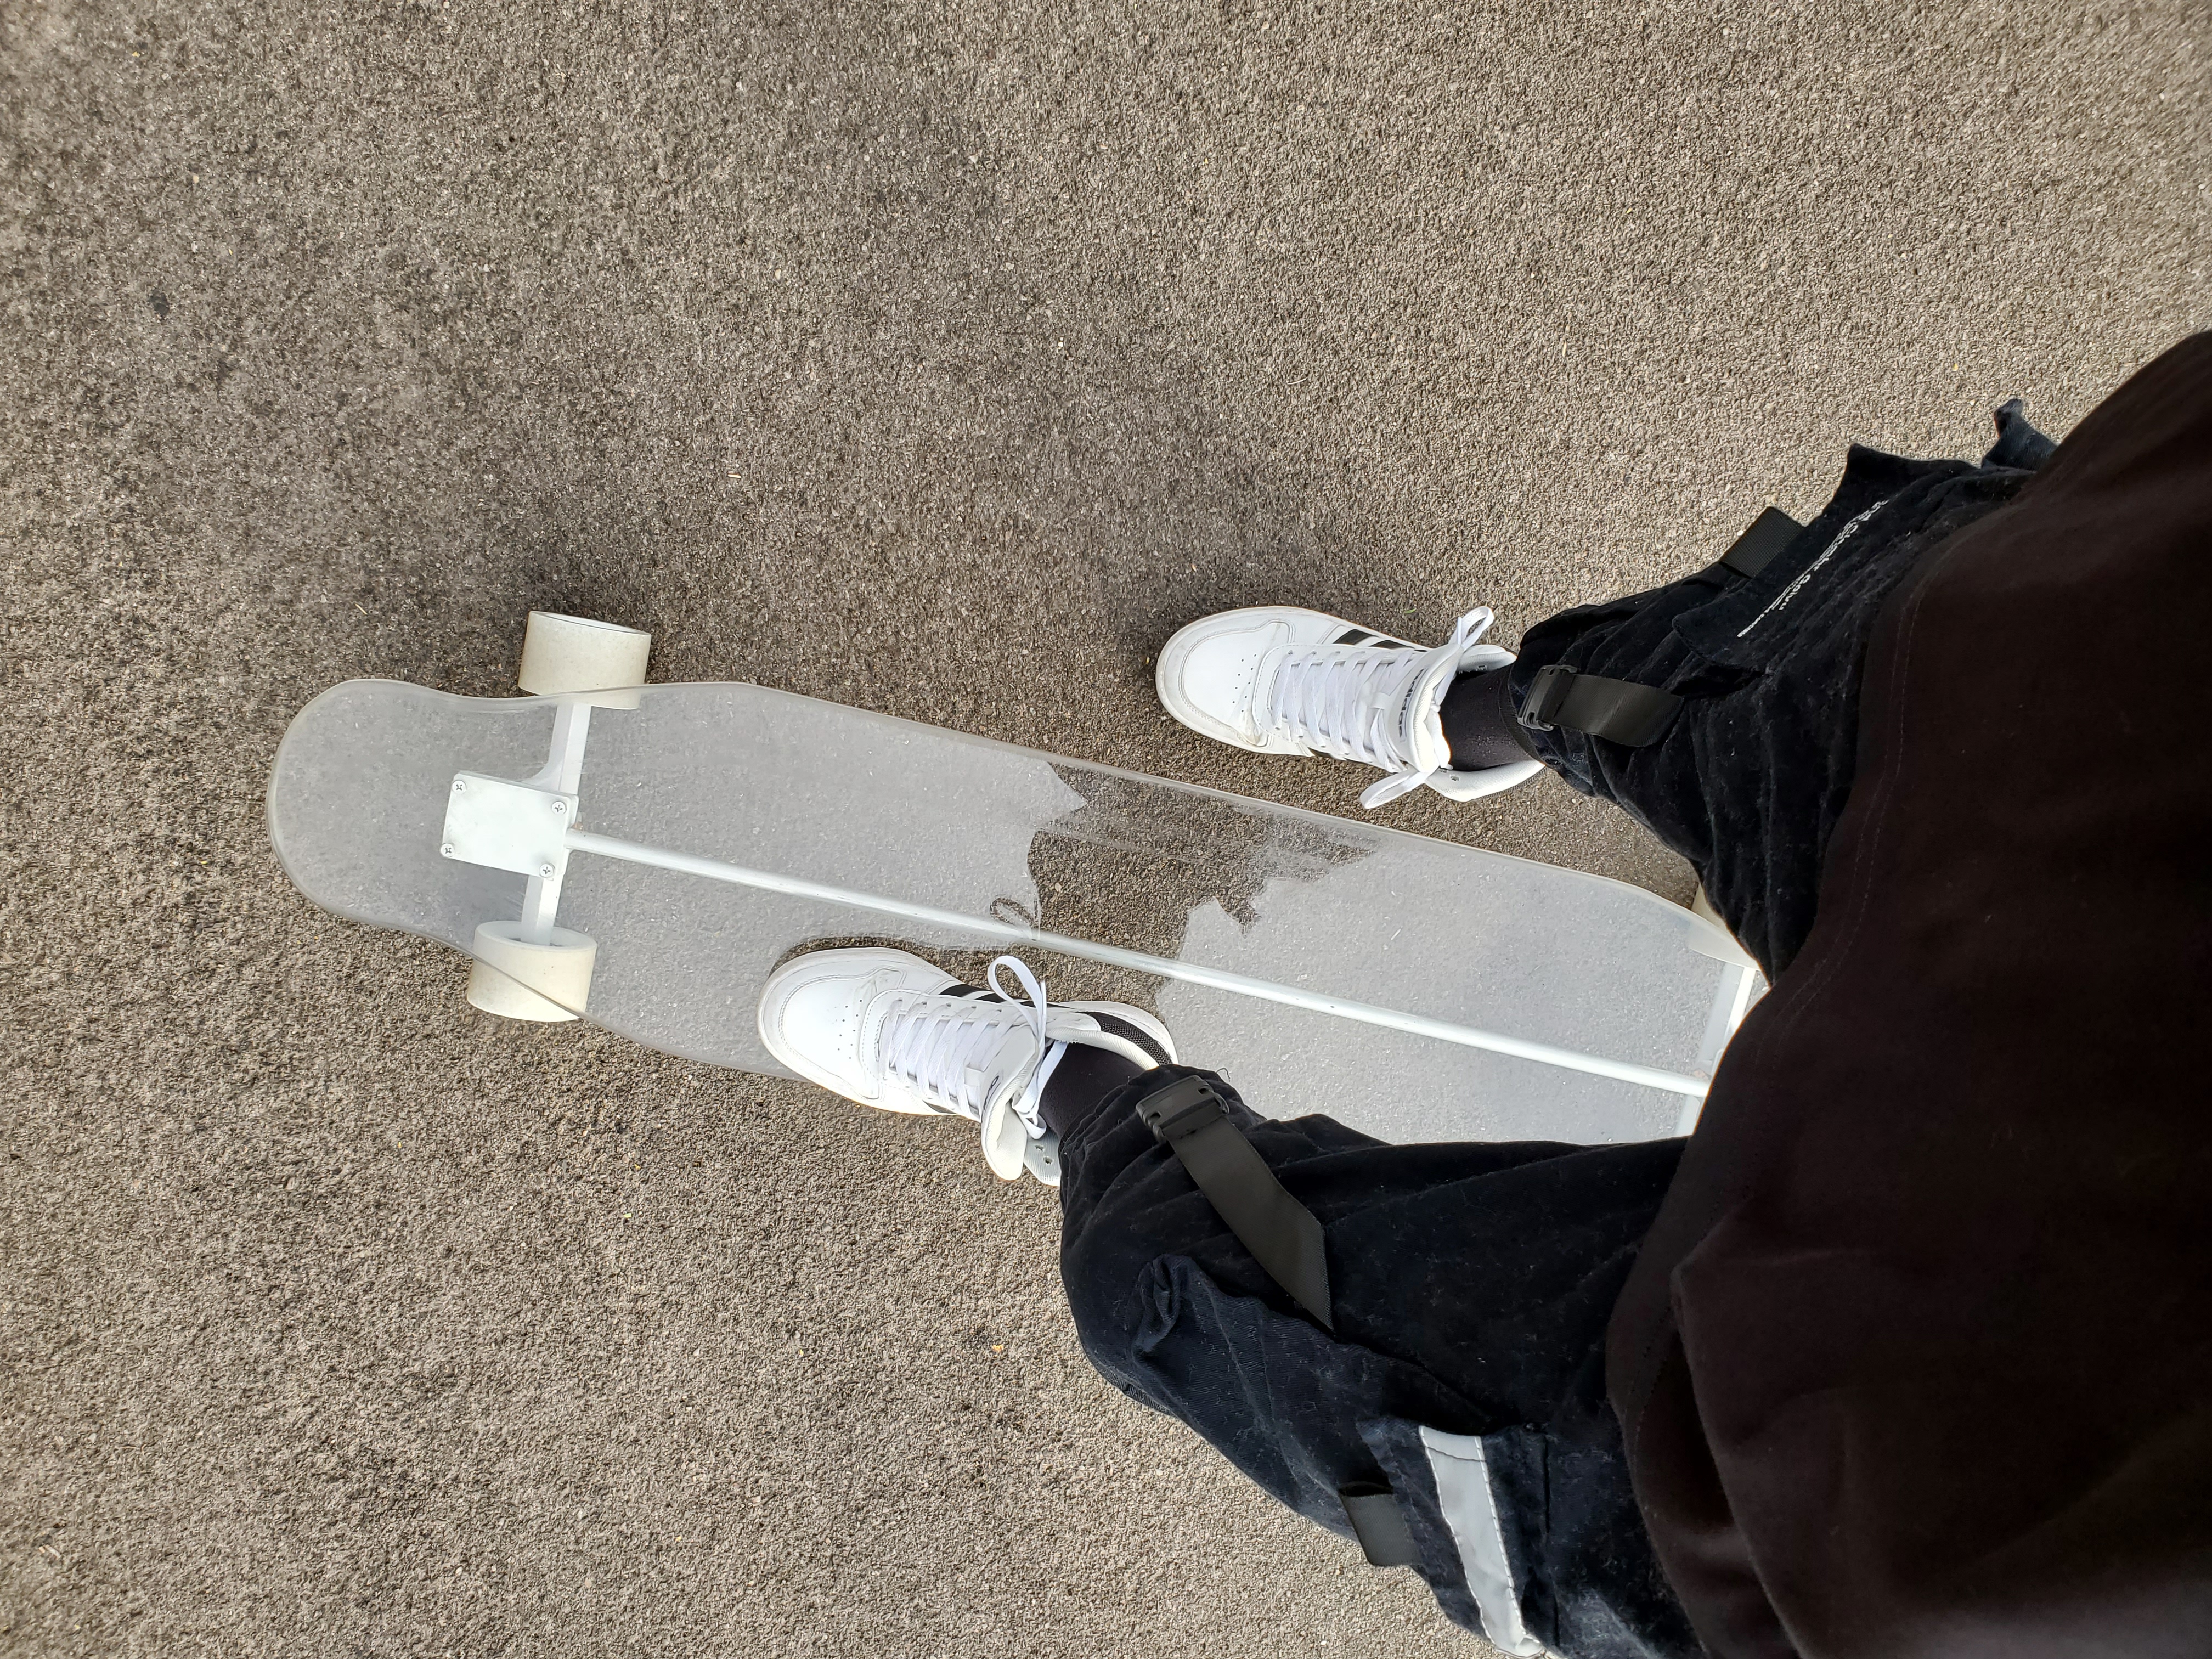
I’m really happy with how the board turned out. Its rideable and it looks great. The metal rod in the center is both functional (it stiffens the board so it doesn’t bend it half when you step on it) and also fits the aesthetics very well. The white trucks, wheels, and risers play into the design well. The rounded edges of the deck are very smooth and do not look homemade. You can tell its made by hand, but it looks quite professional and not like I cut it with a jigsaw on some storage totes in my garage.
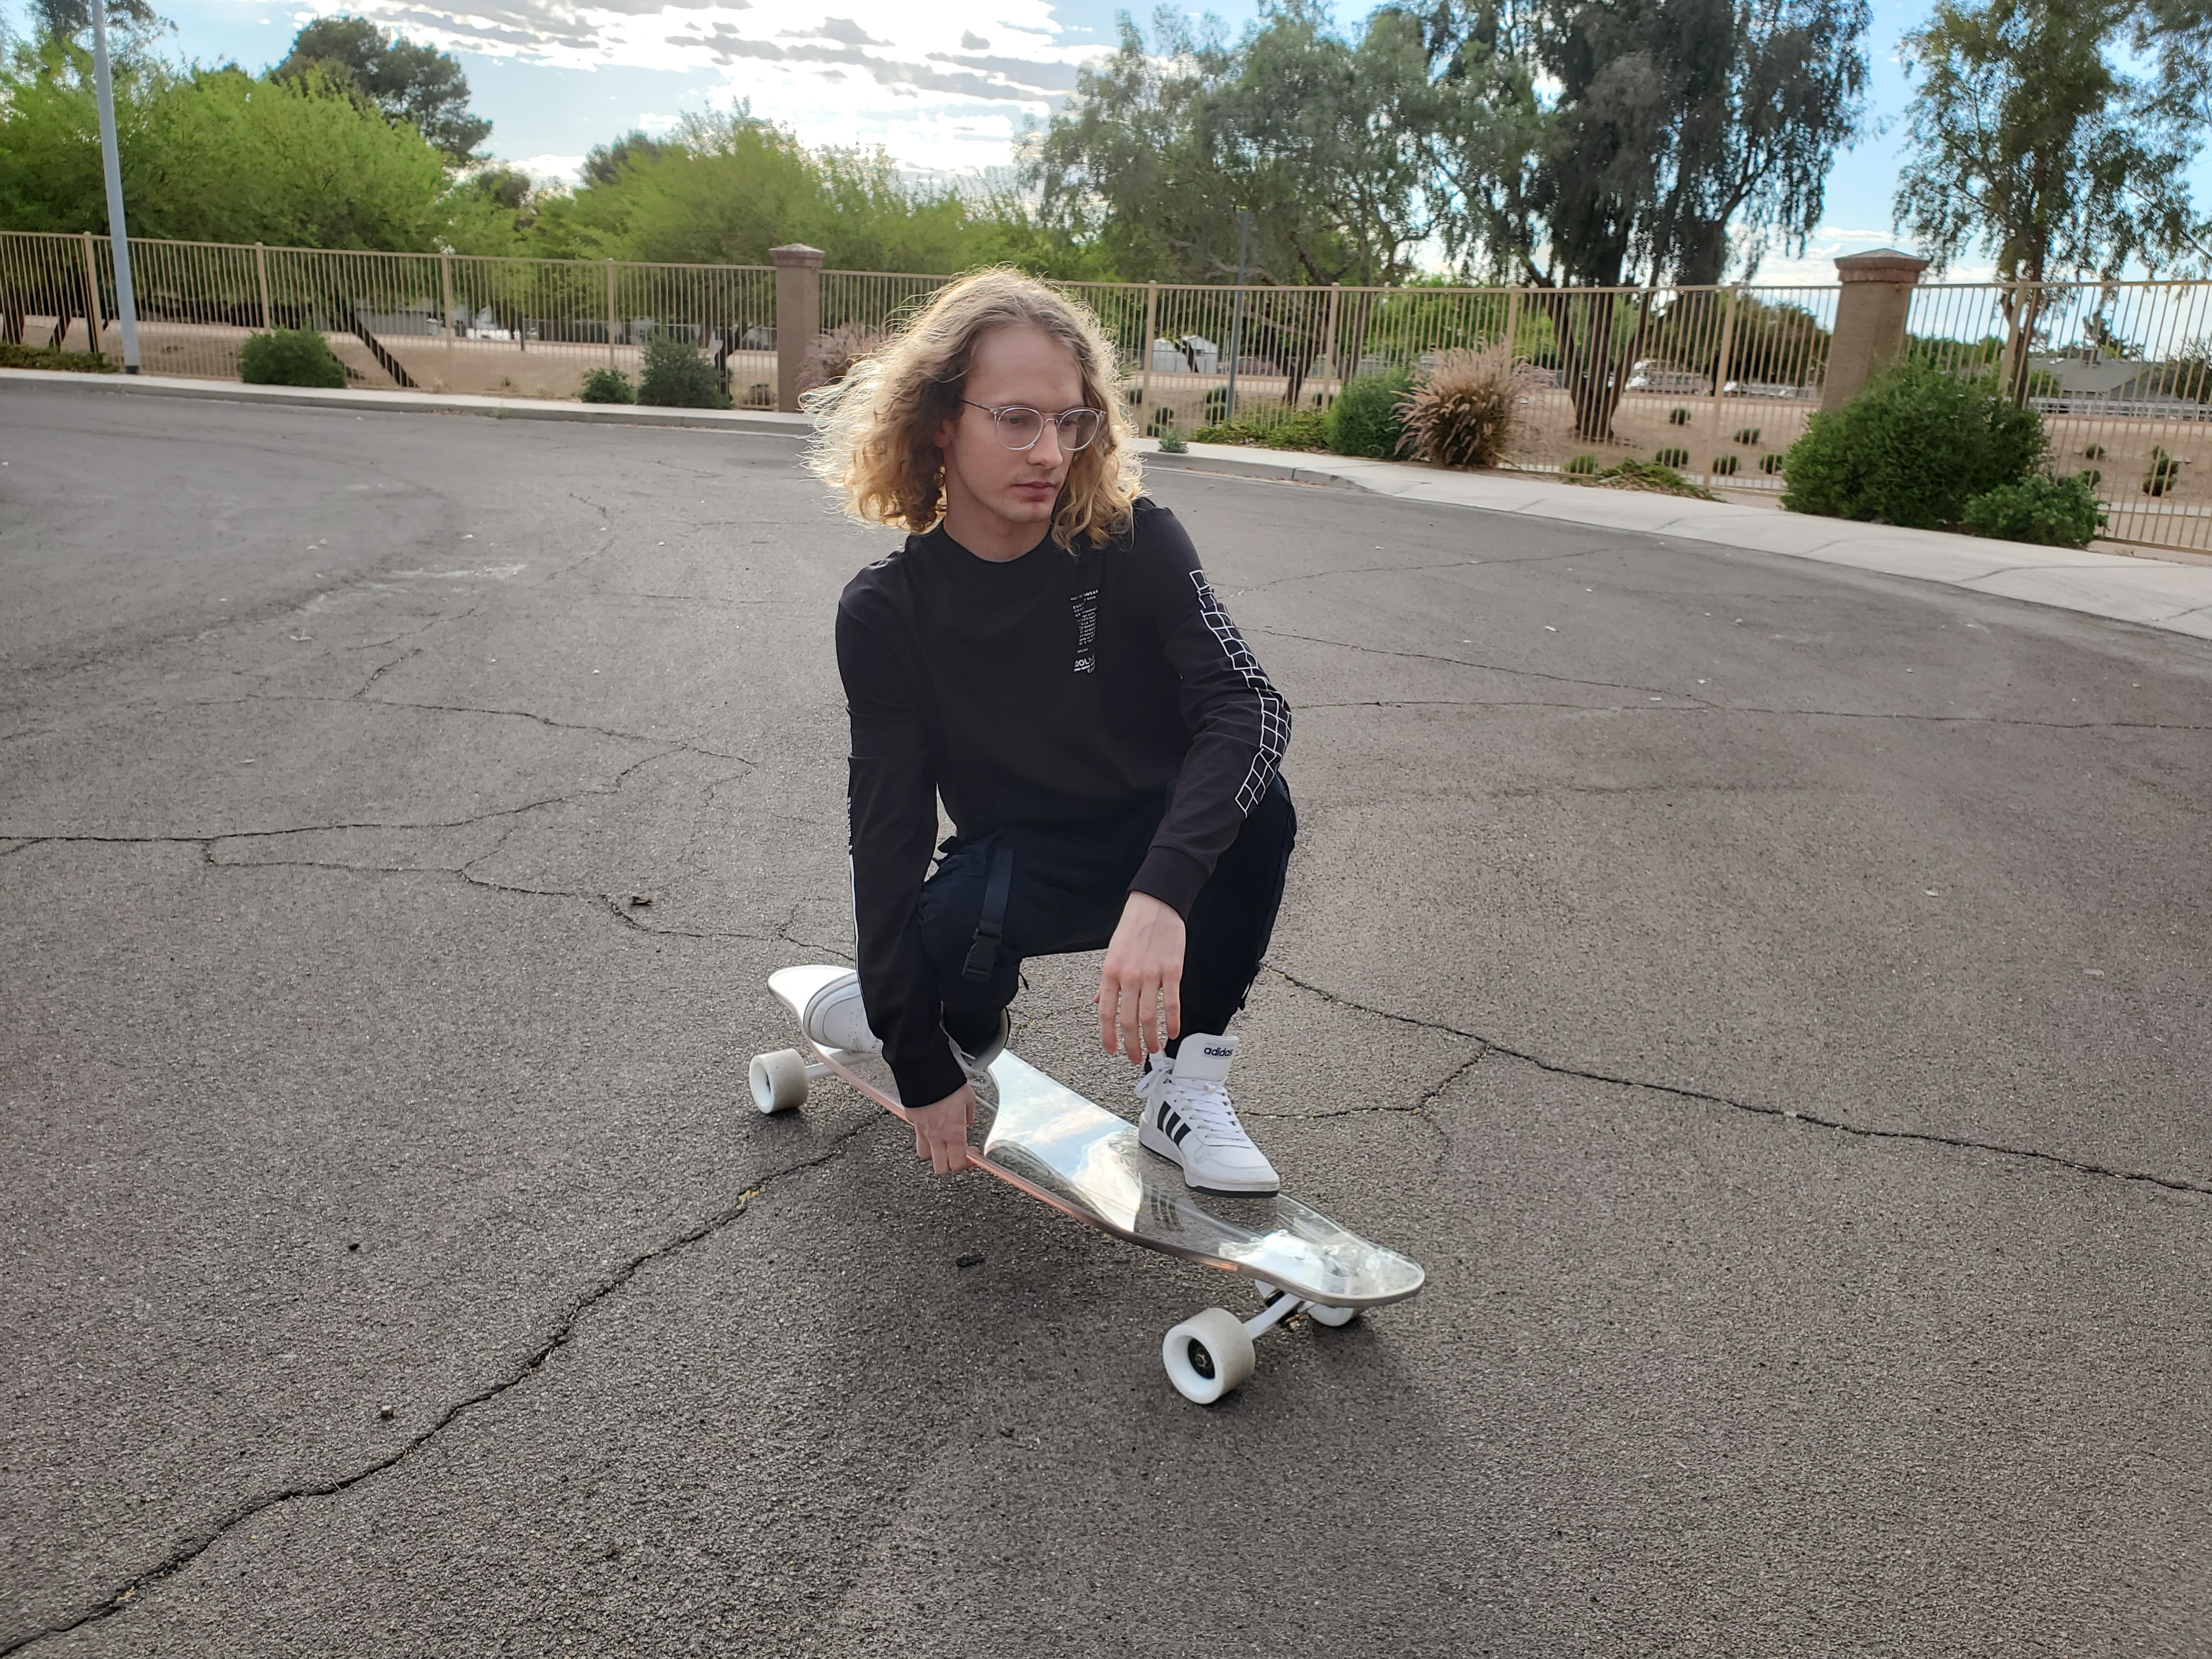
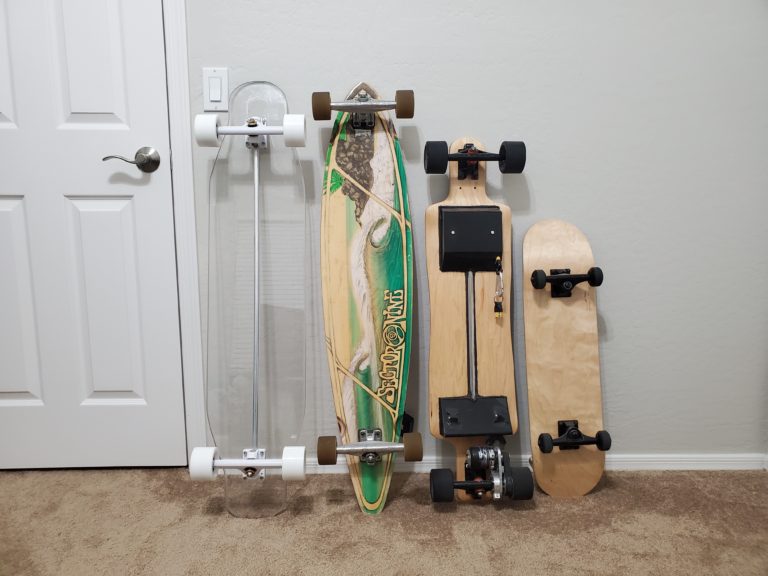
It makes an excellent additional to my collection.
Part 2: How I Made It
This took quite a bit longer than expected, as things usually go. Here are the steps I took to make the board.
[ The Deck ]
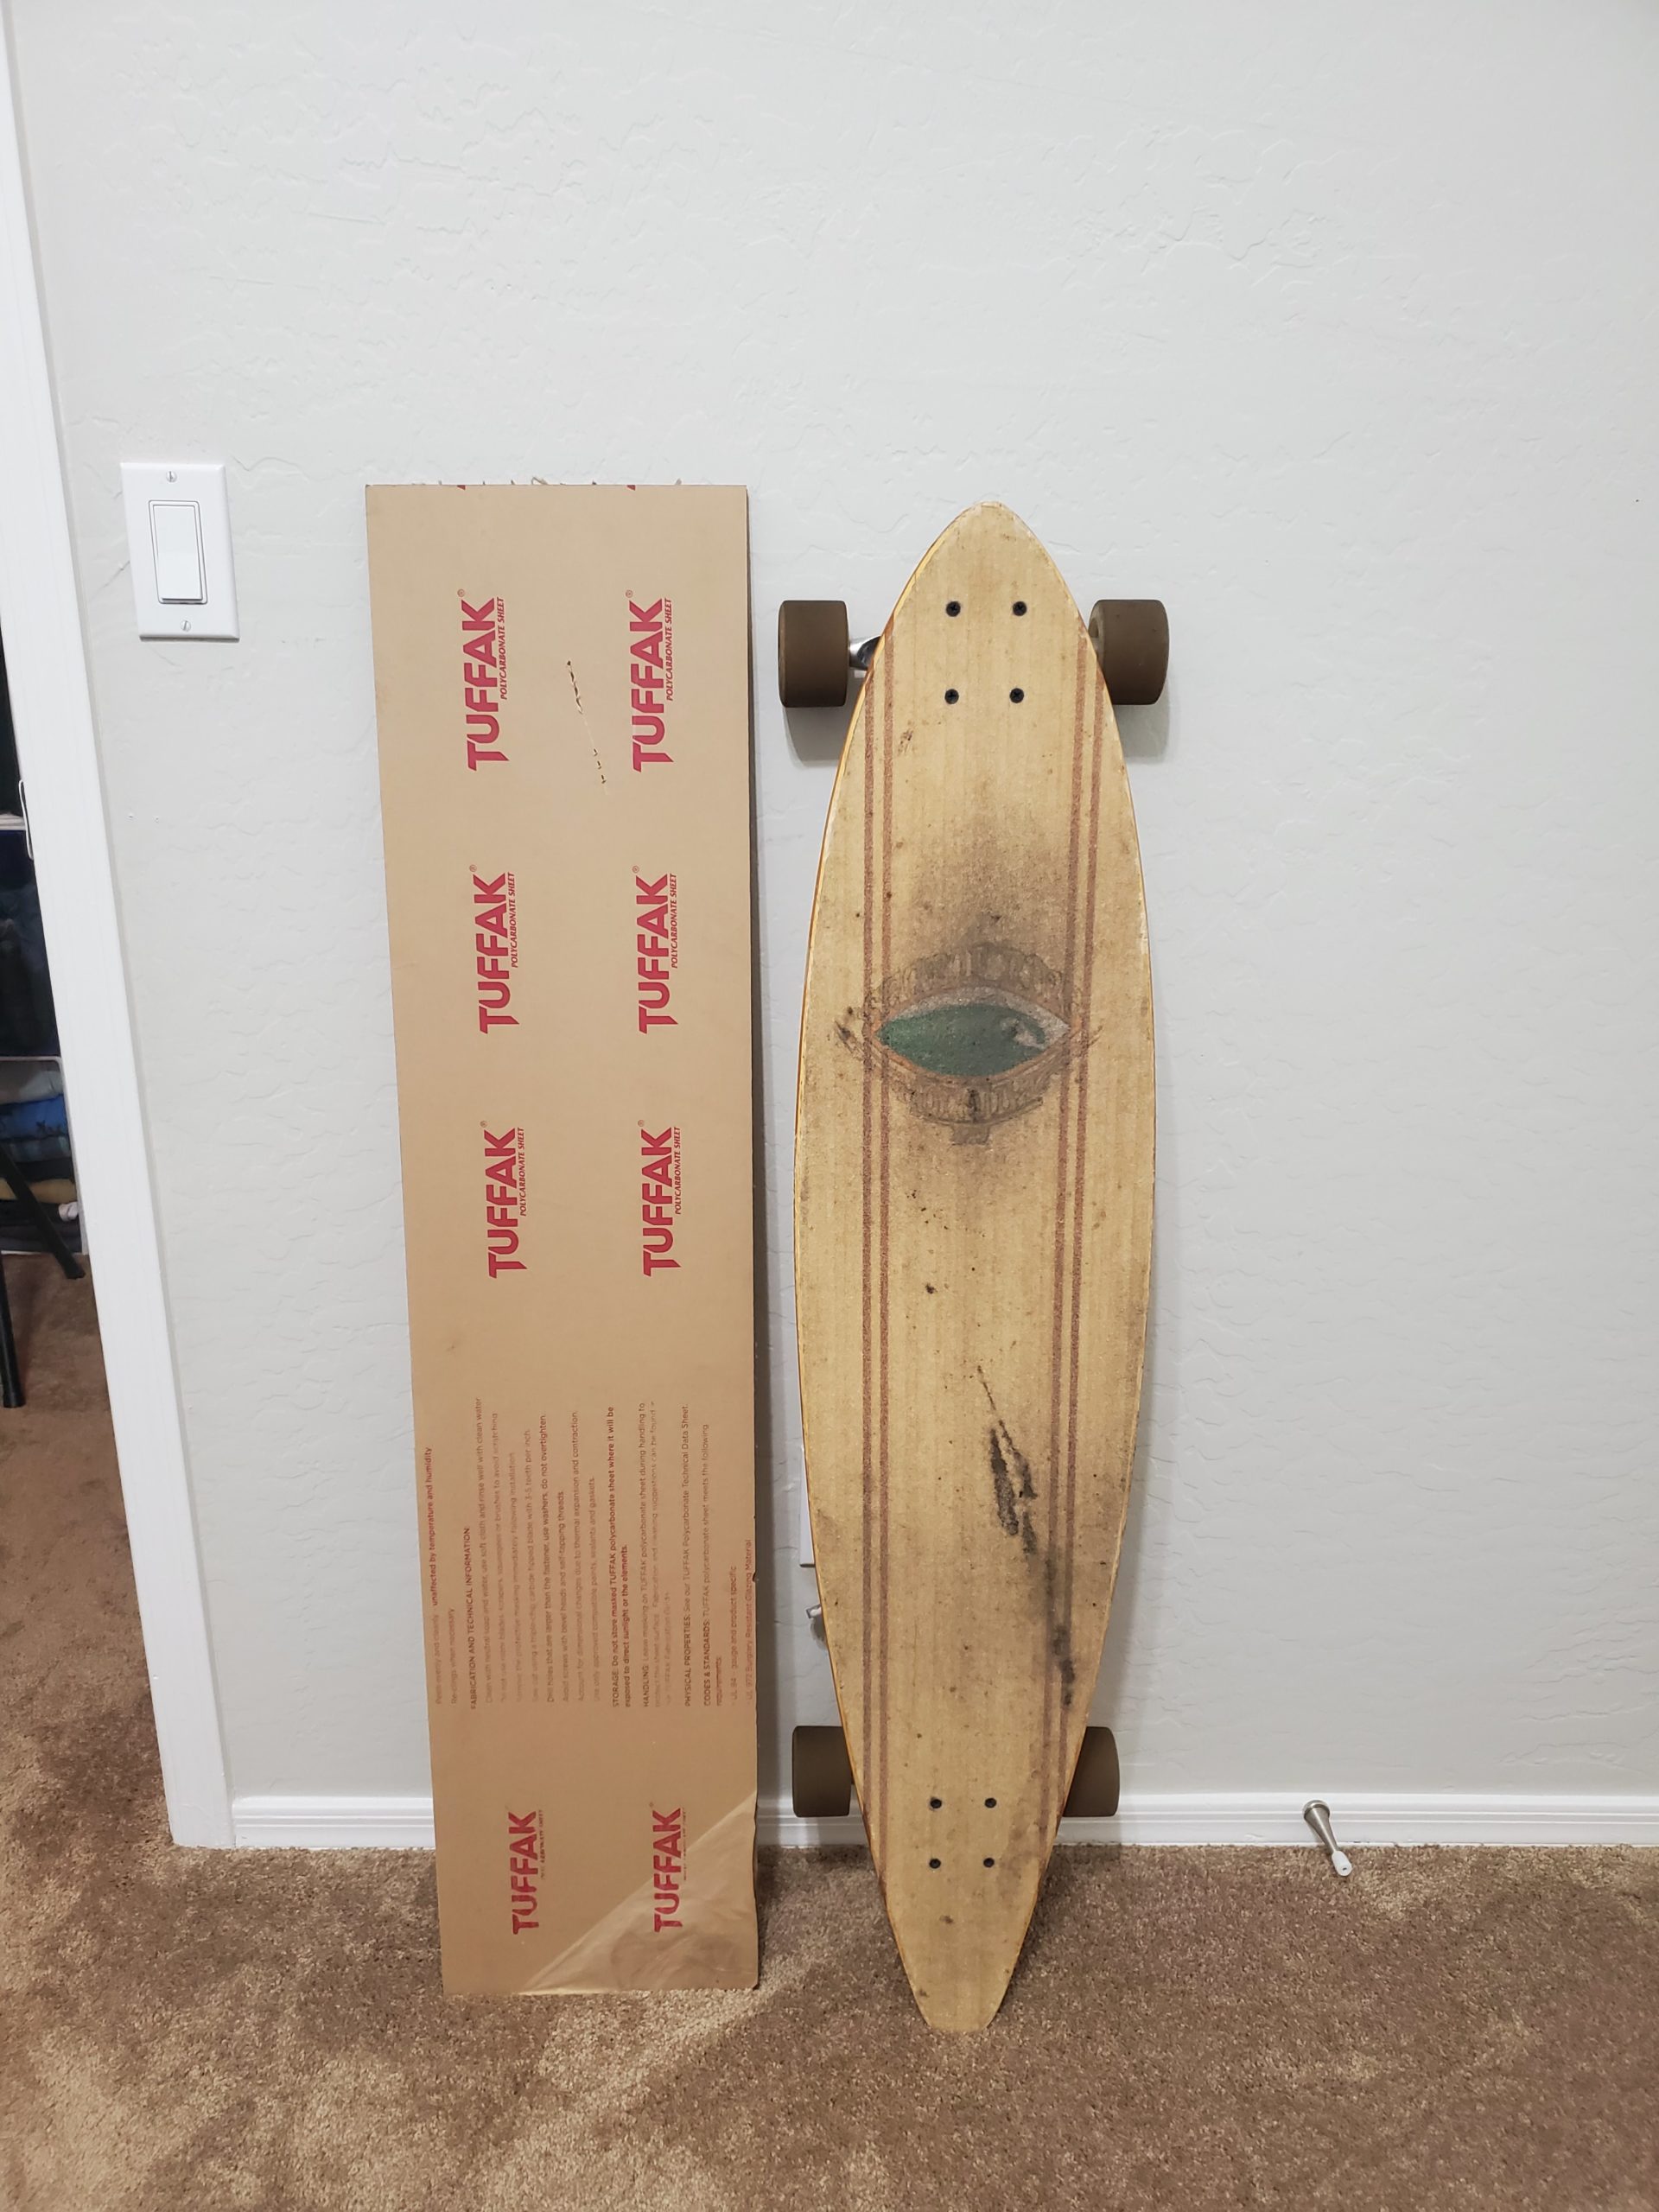
I bought a piece of polycarbonate from a local plastics supplier. I had them cut it 48″ x 10″ x 1/2″ and it costs about $70. Its quite heavy and not very stiff. The reason I chose polycarbonate over acrylic is because I didn’t want to have to worry about it shattering (either while making it, or while riding it — which would be quite dangerous).

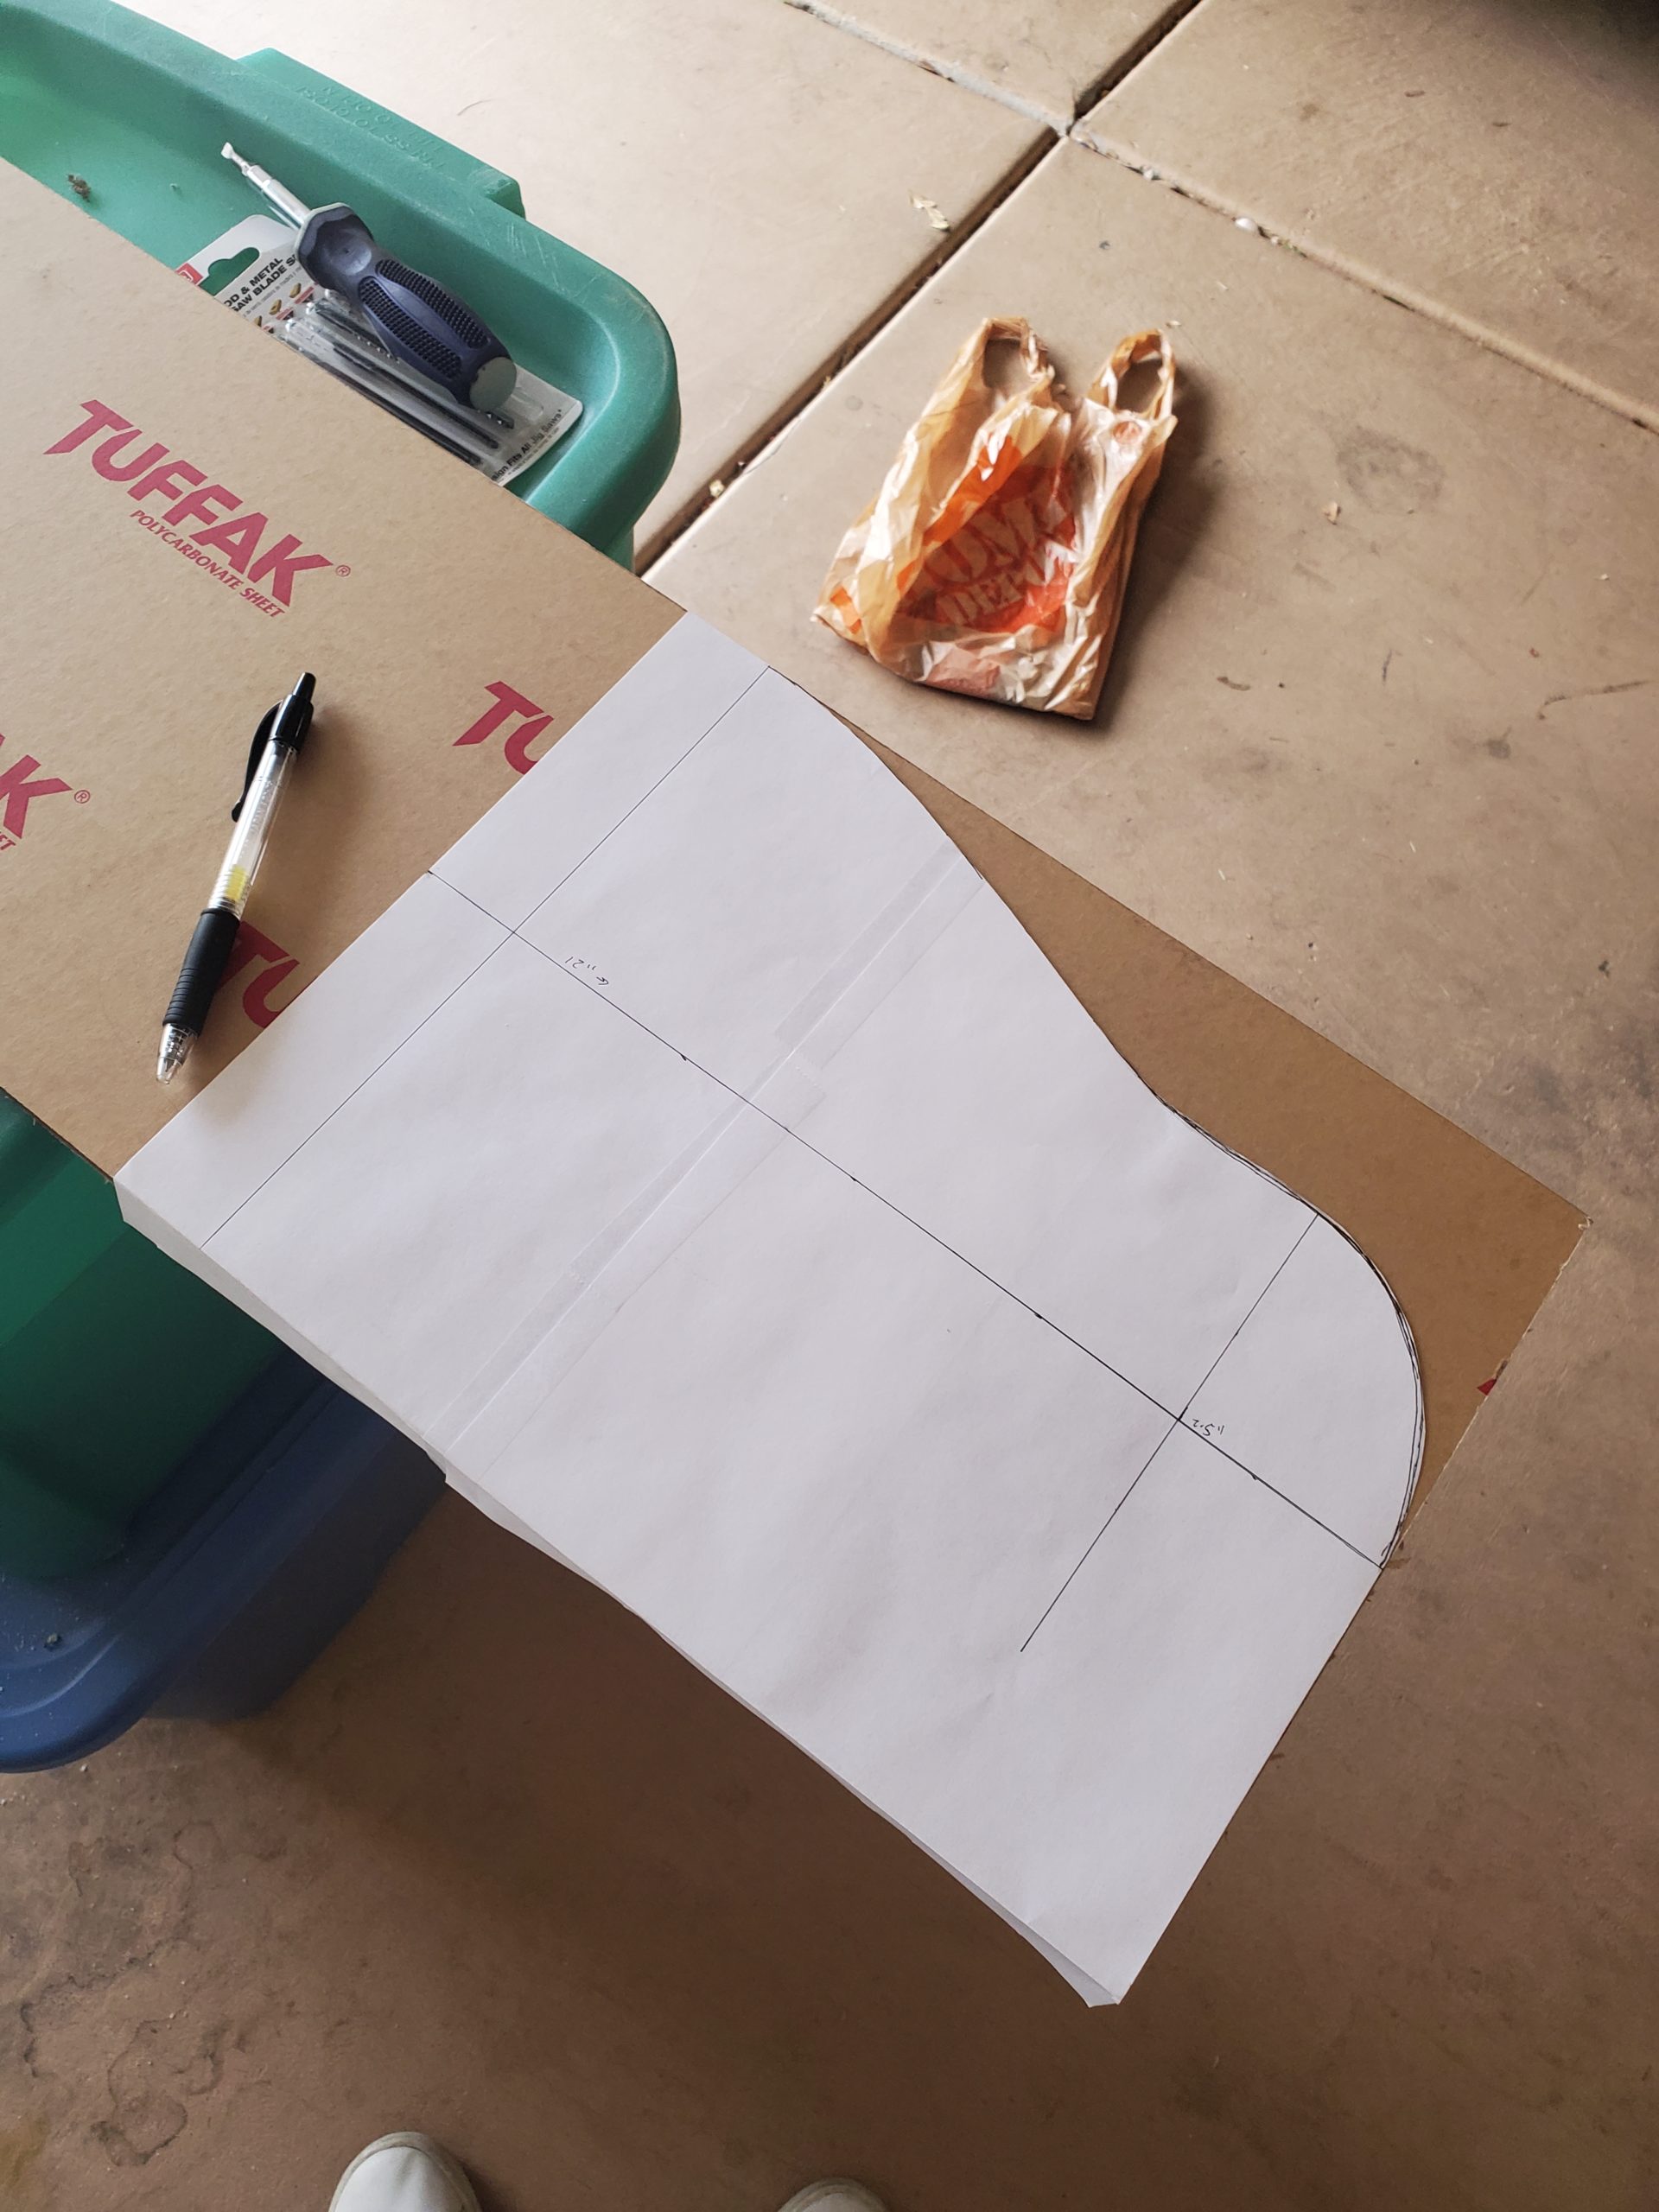
[ Creating The Shape ]
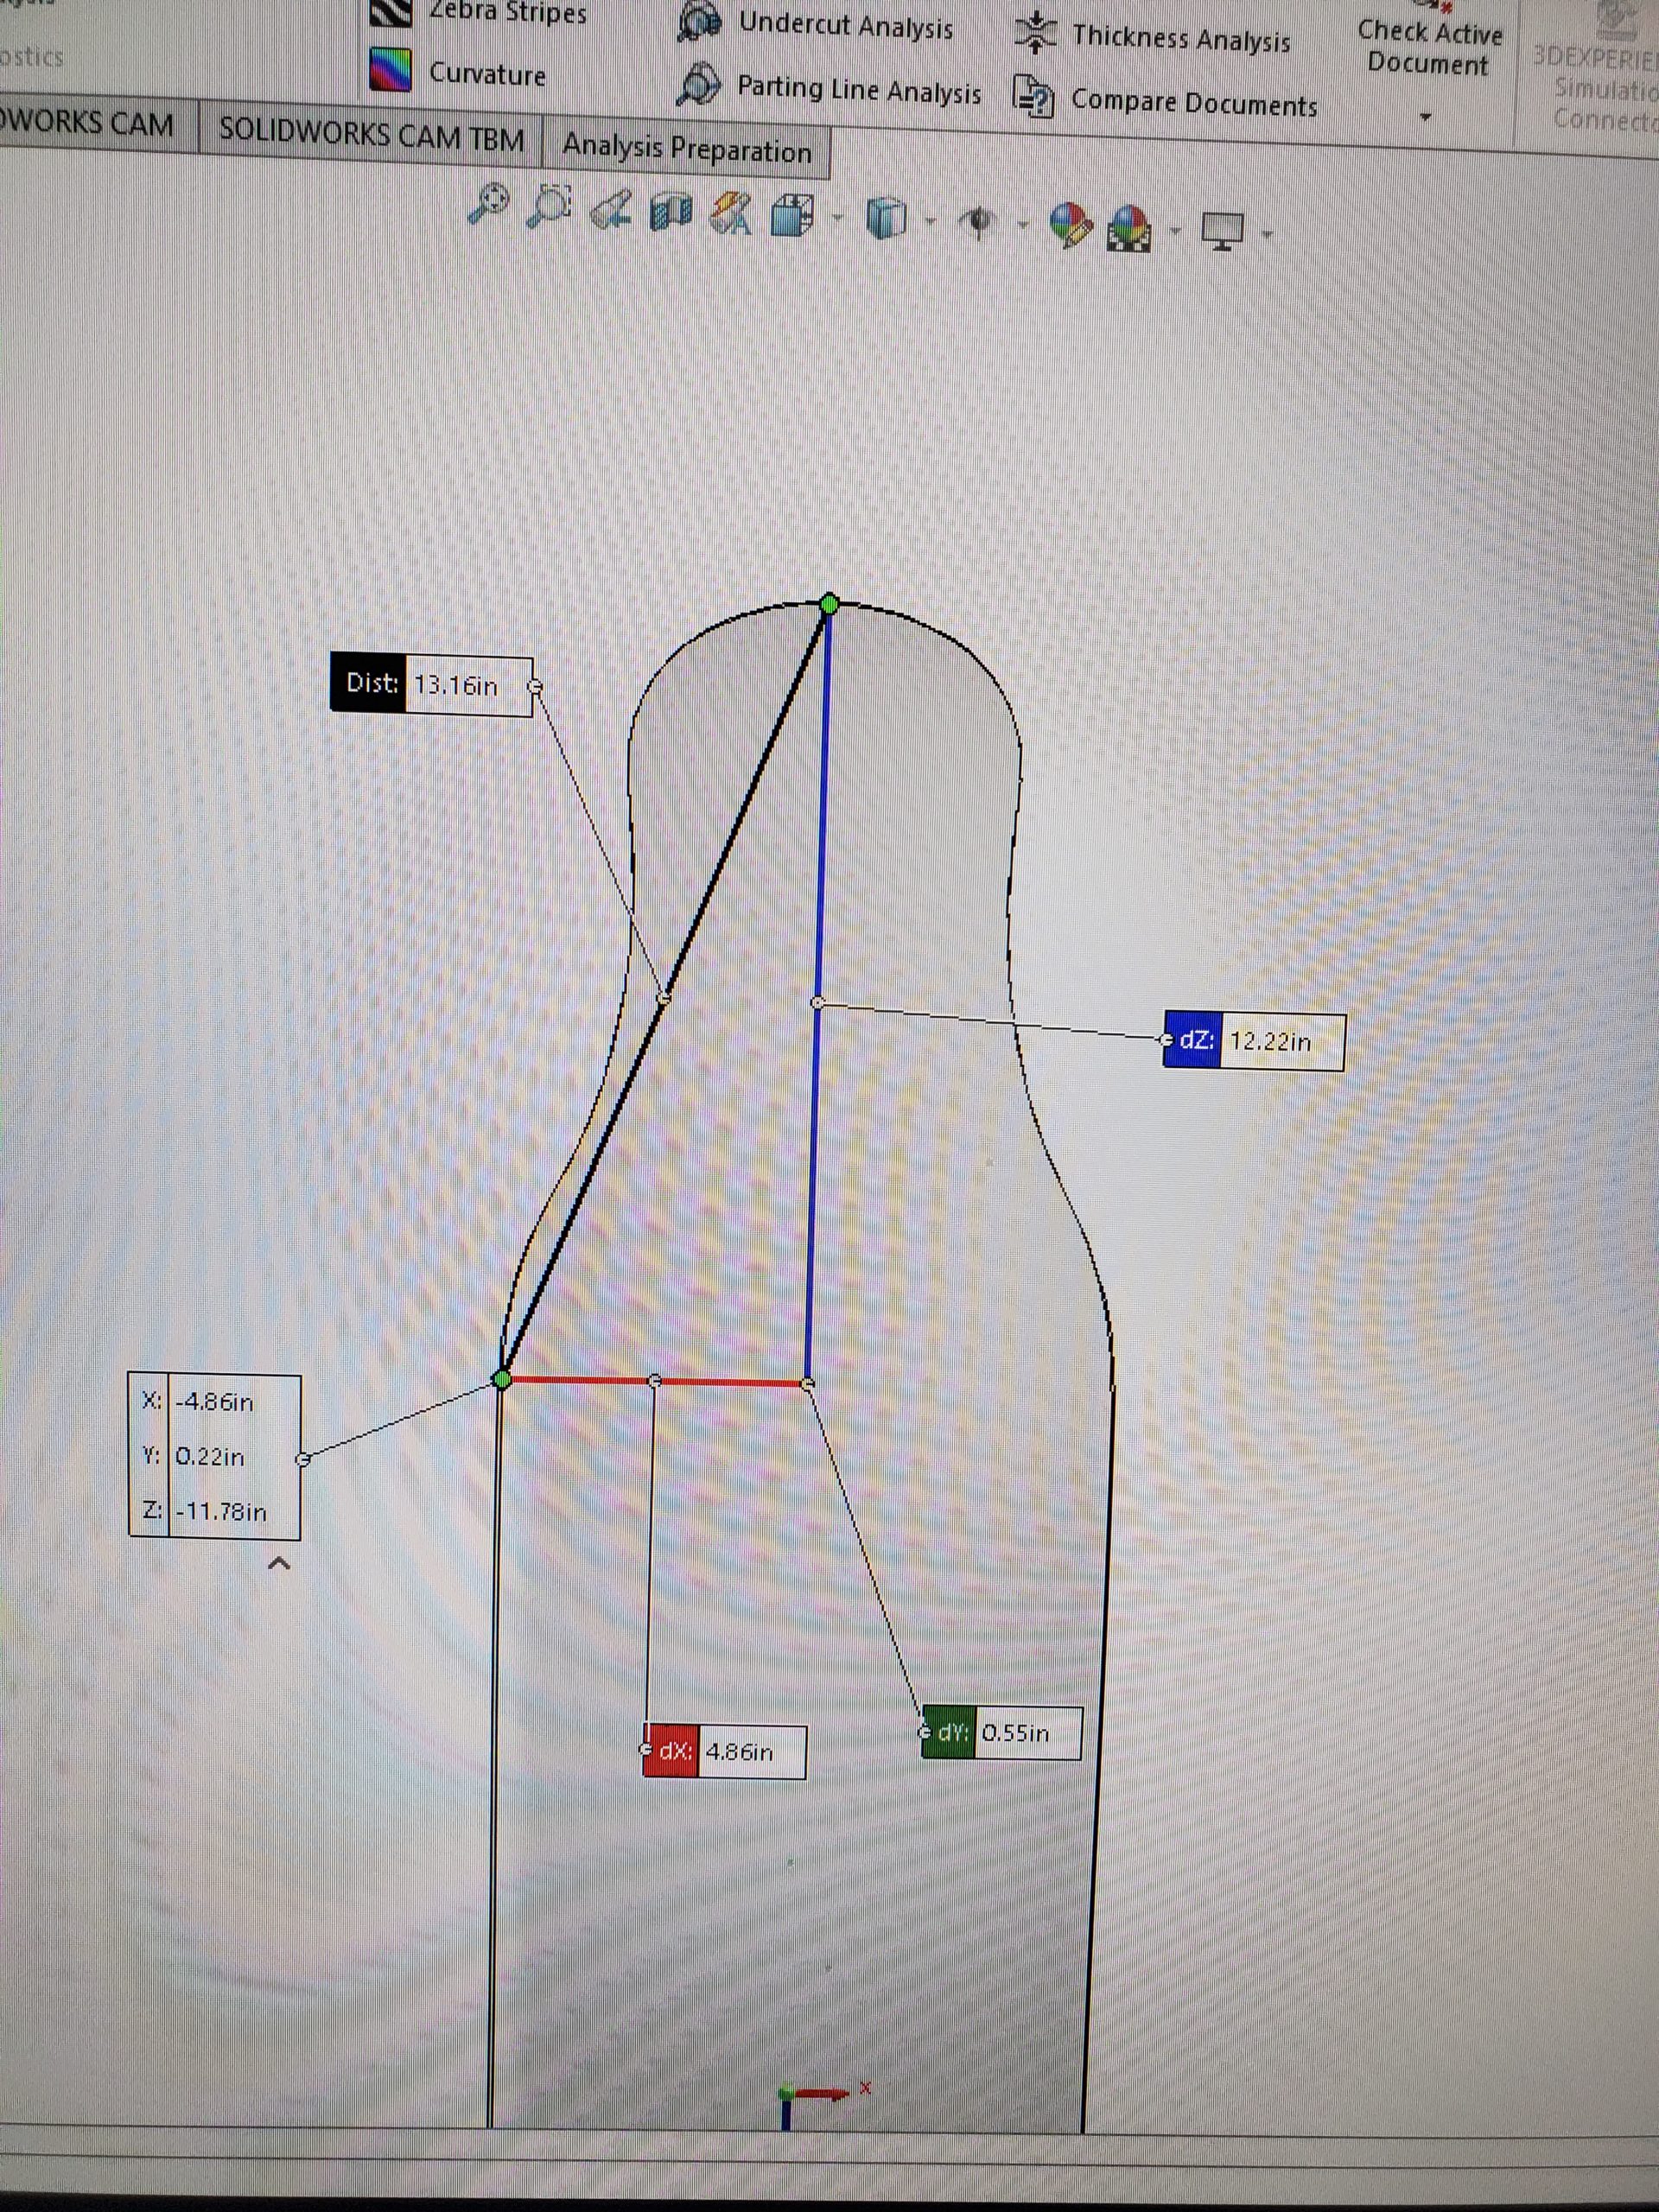
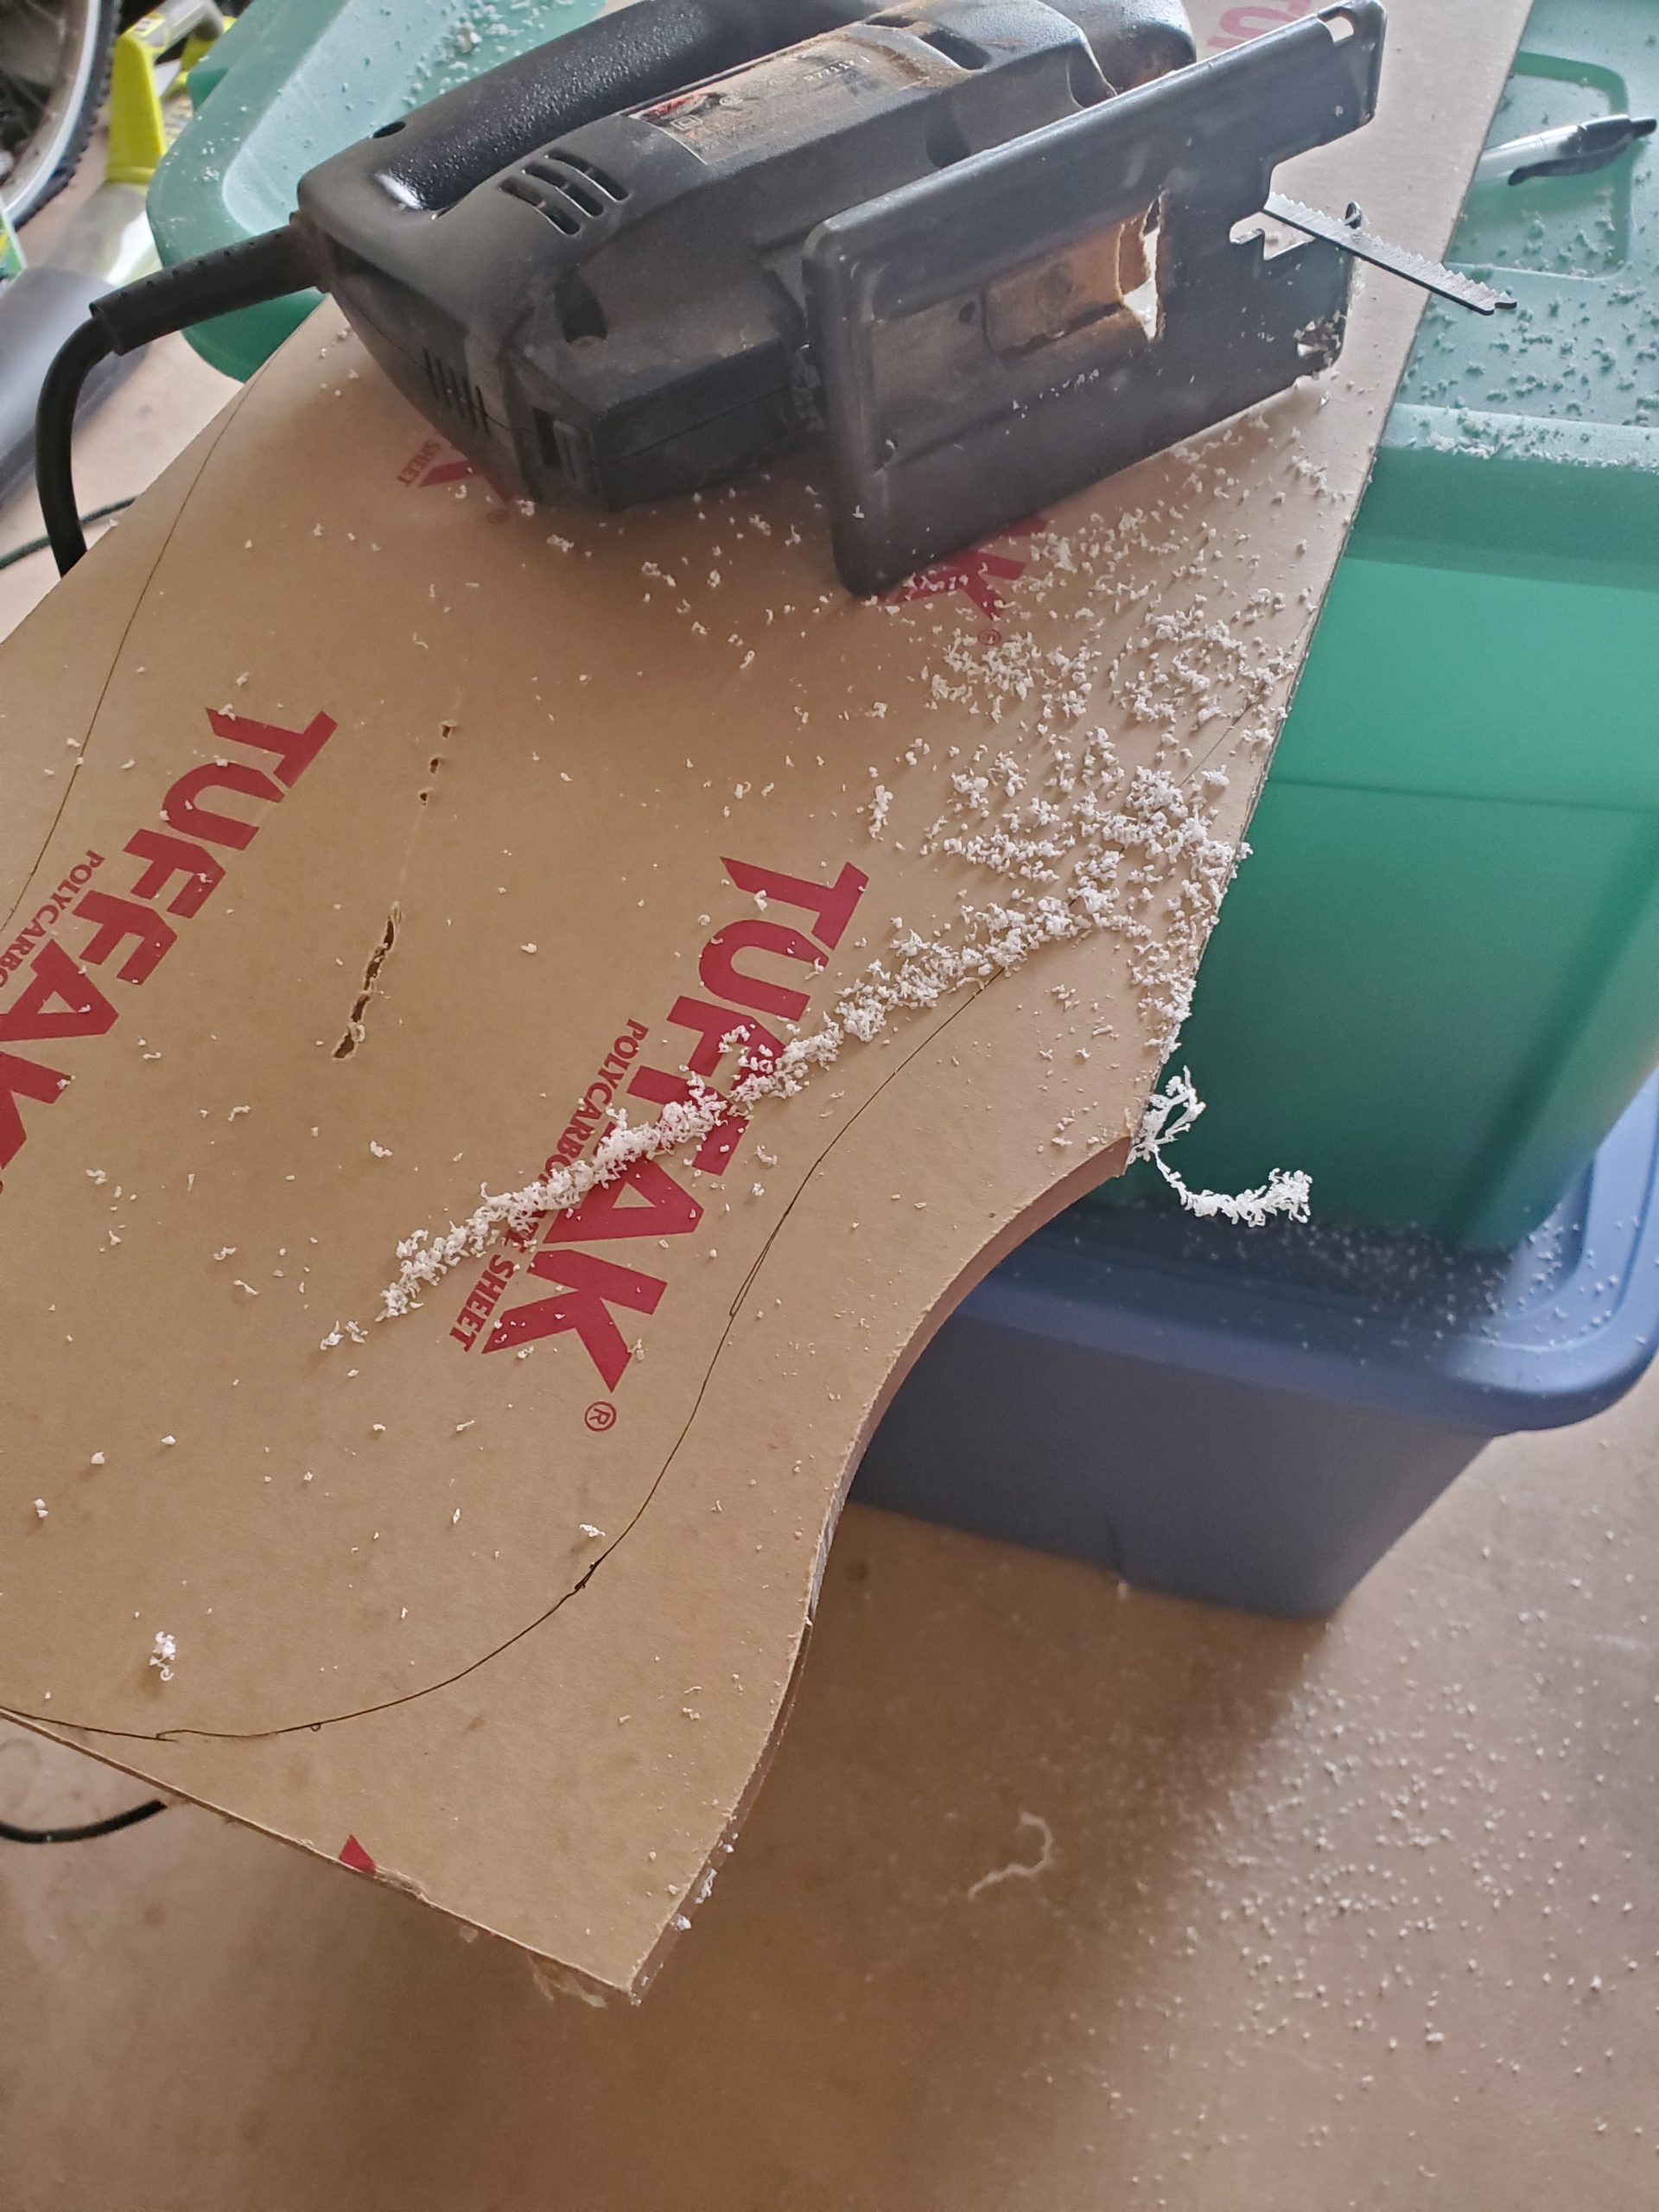
I used the cad model I created to get a general idea of the dimensions. I then free handed the curve onto a piece of paper and used this as a template to make all the curves. This allowed me to make them all exactly the same shape, even if it wasn’t exactly what the cad model was. I then used a Jigsaw to cut them — which worked much much better than I expected it to. I bought a couple different blades from Home Depot and found one that worked perfectly. The edge turned out quite smooth.
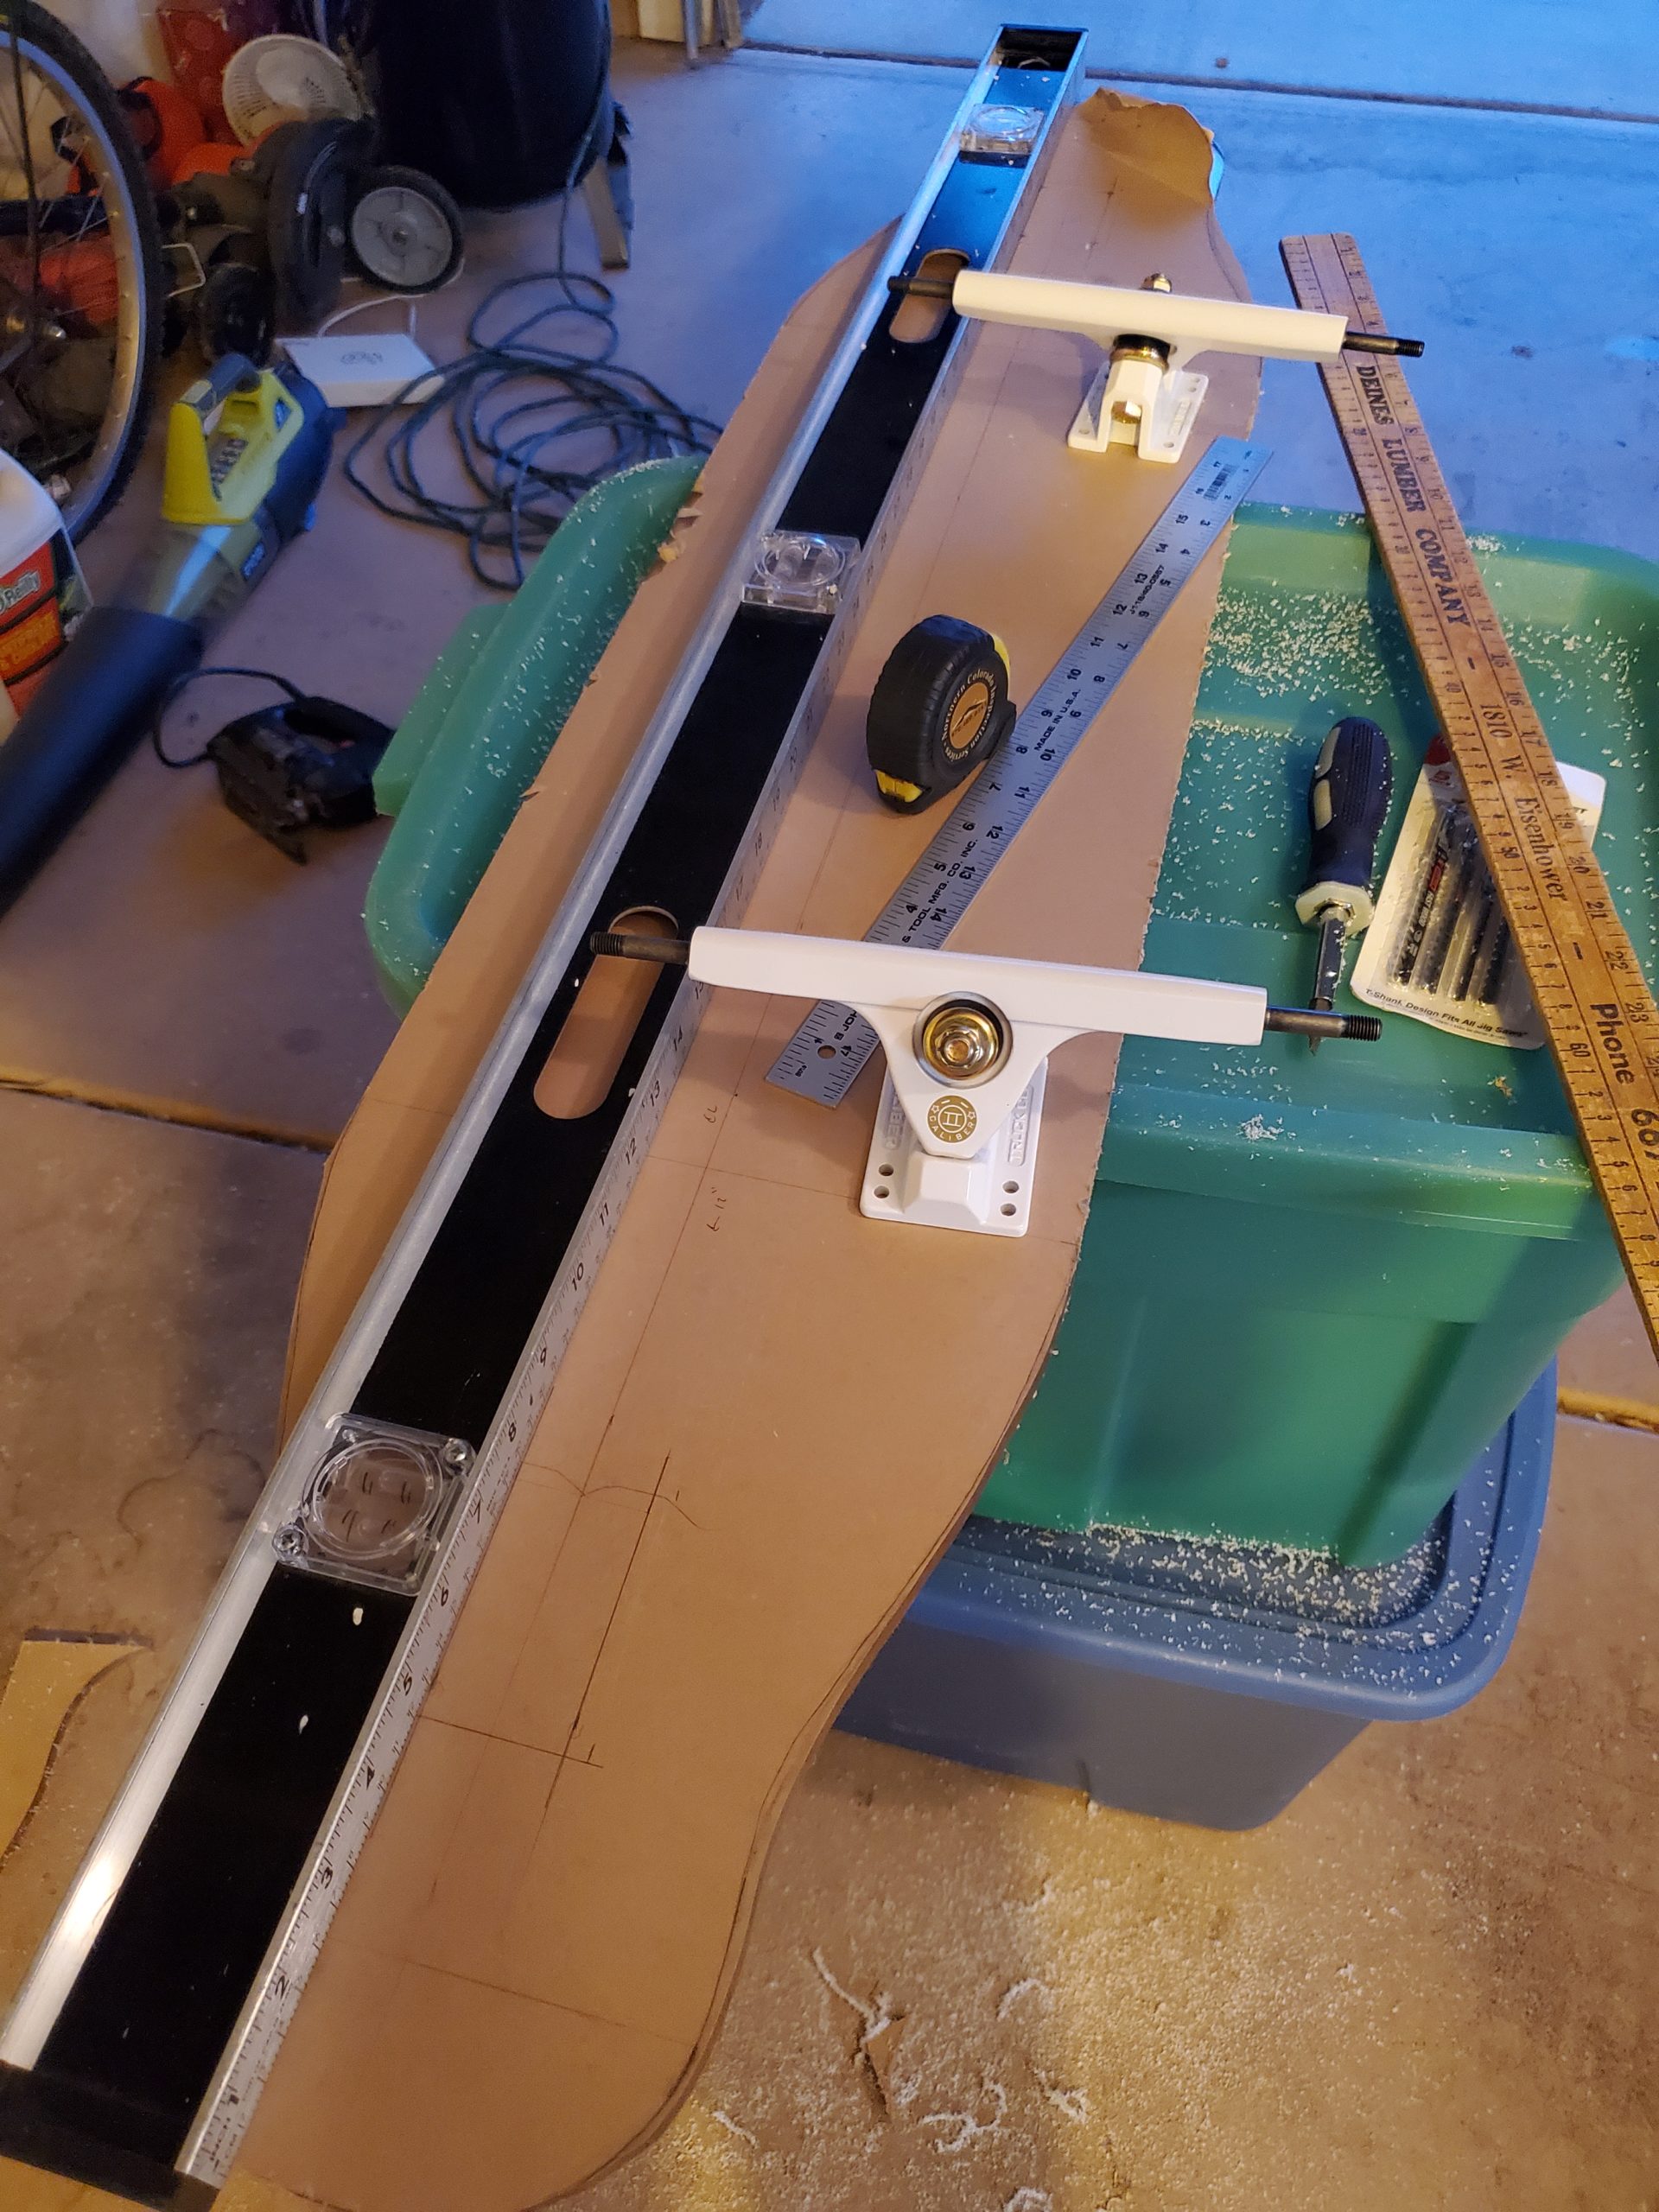
[ Mounting Holes ]
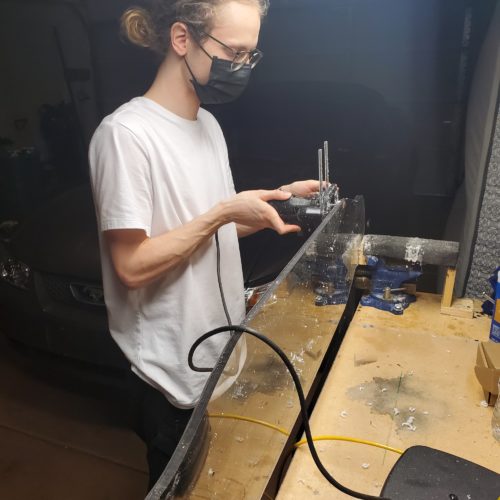
I used a long level to ensure that the two trucks would be lined up exactly with each other even if they weren’t perfectly aligned with the board. I wasn’t sure how much of an effect this would have, but I wanted to make sure it would ride properly and this seemed like a critical step. I bought some #10-32 hardware and used that… although I ended up needing to buy more once I increased the ride height in the next few steps. Pulling of the sheet was very fun.

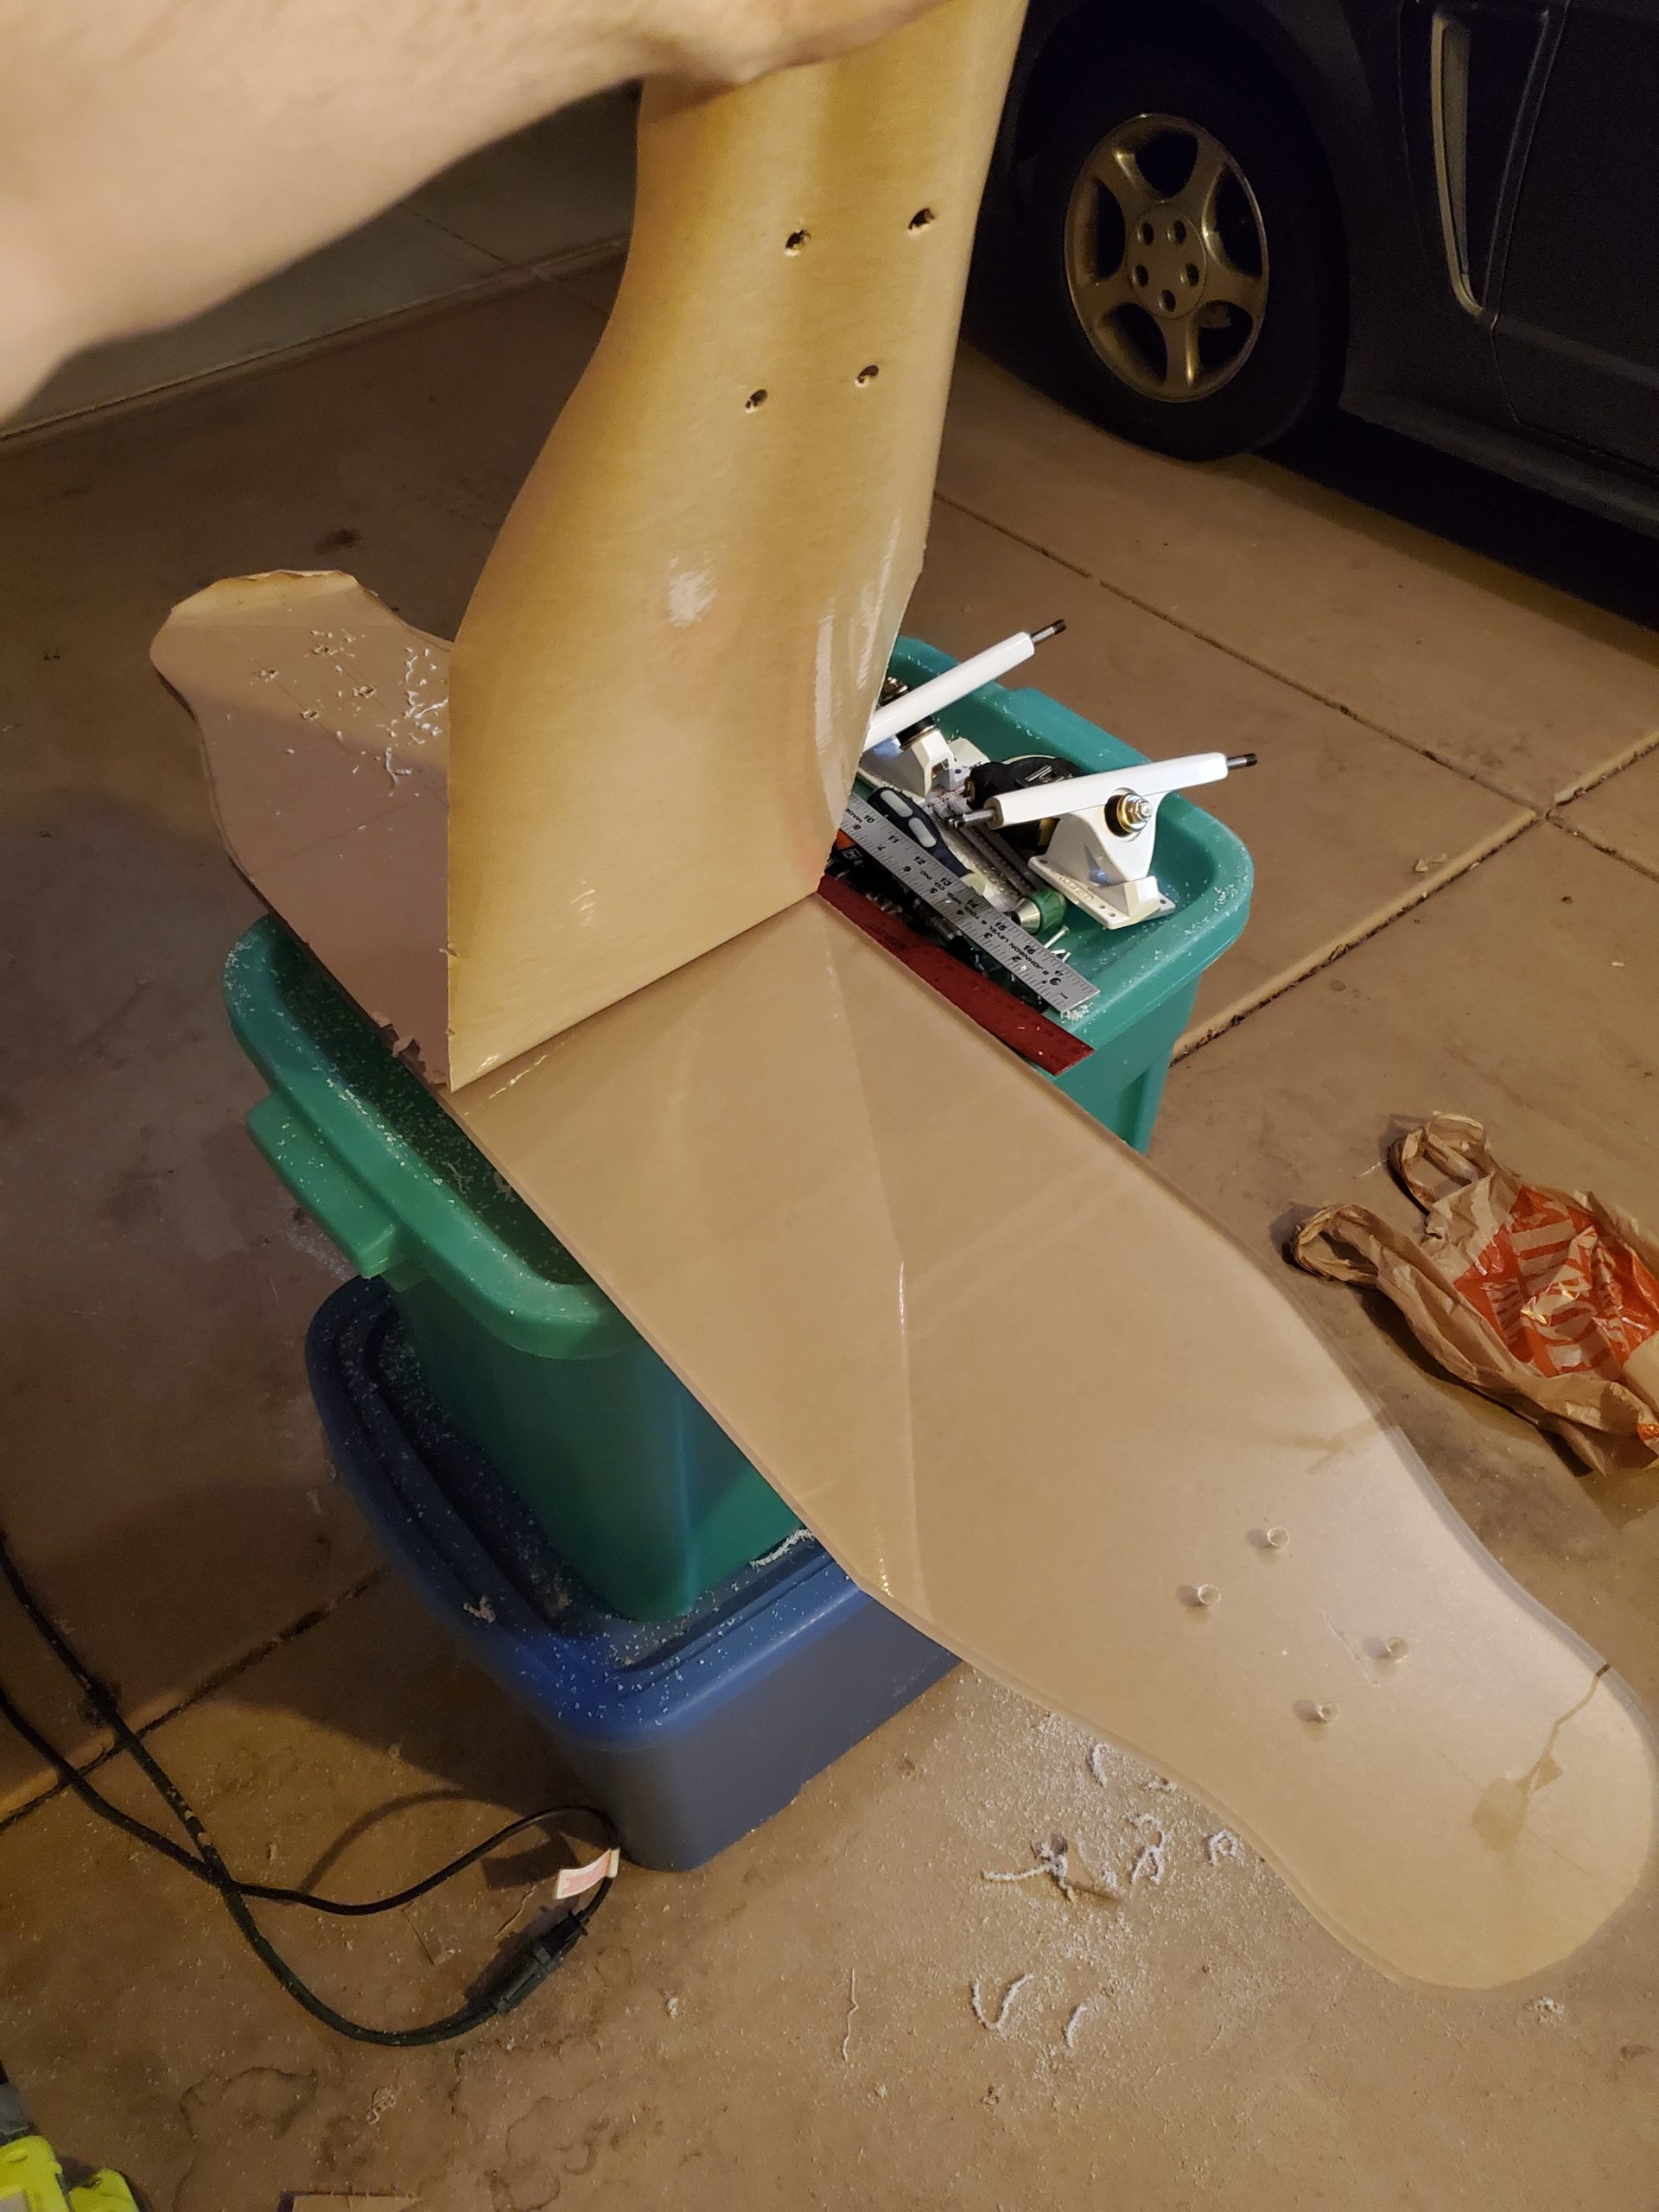
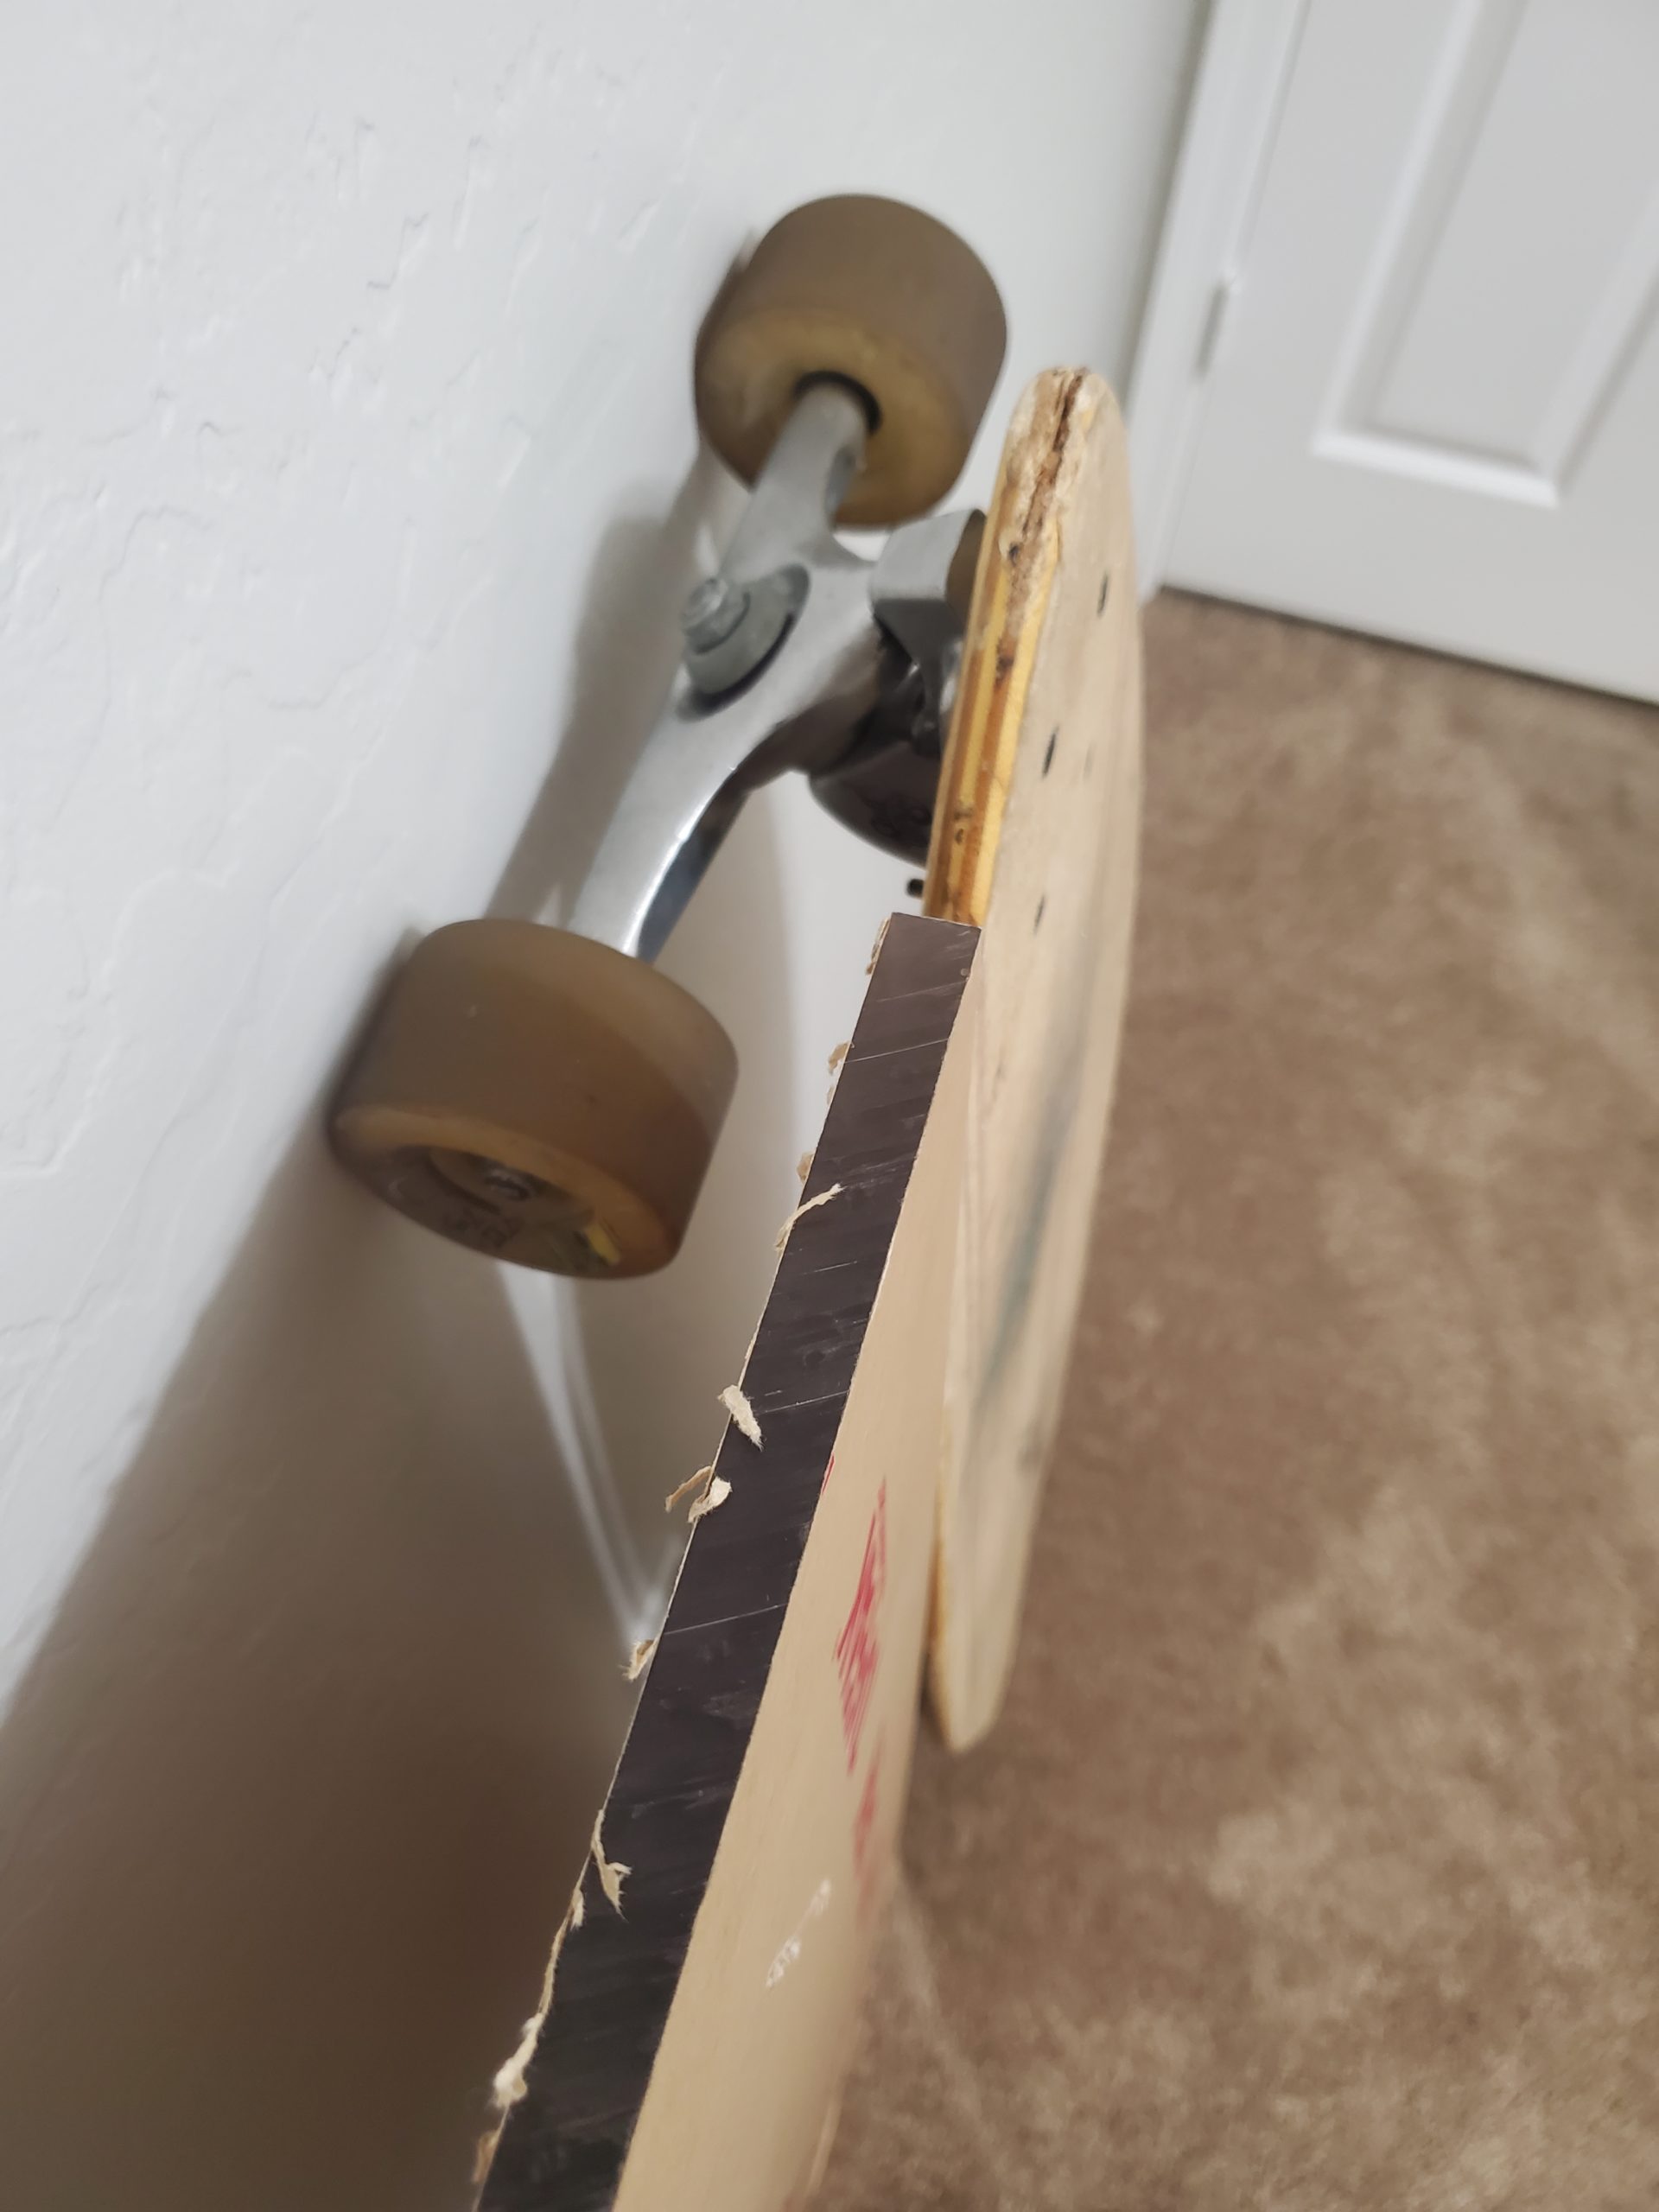
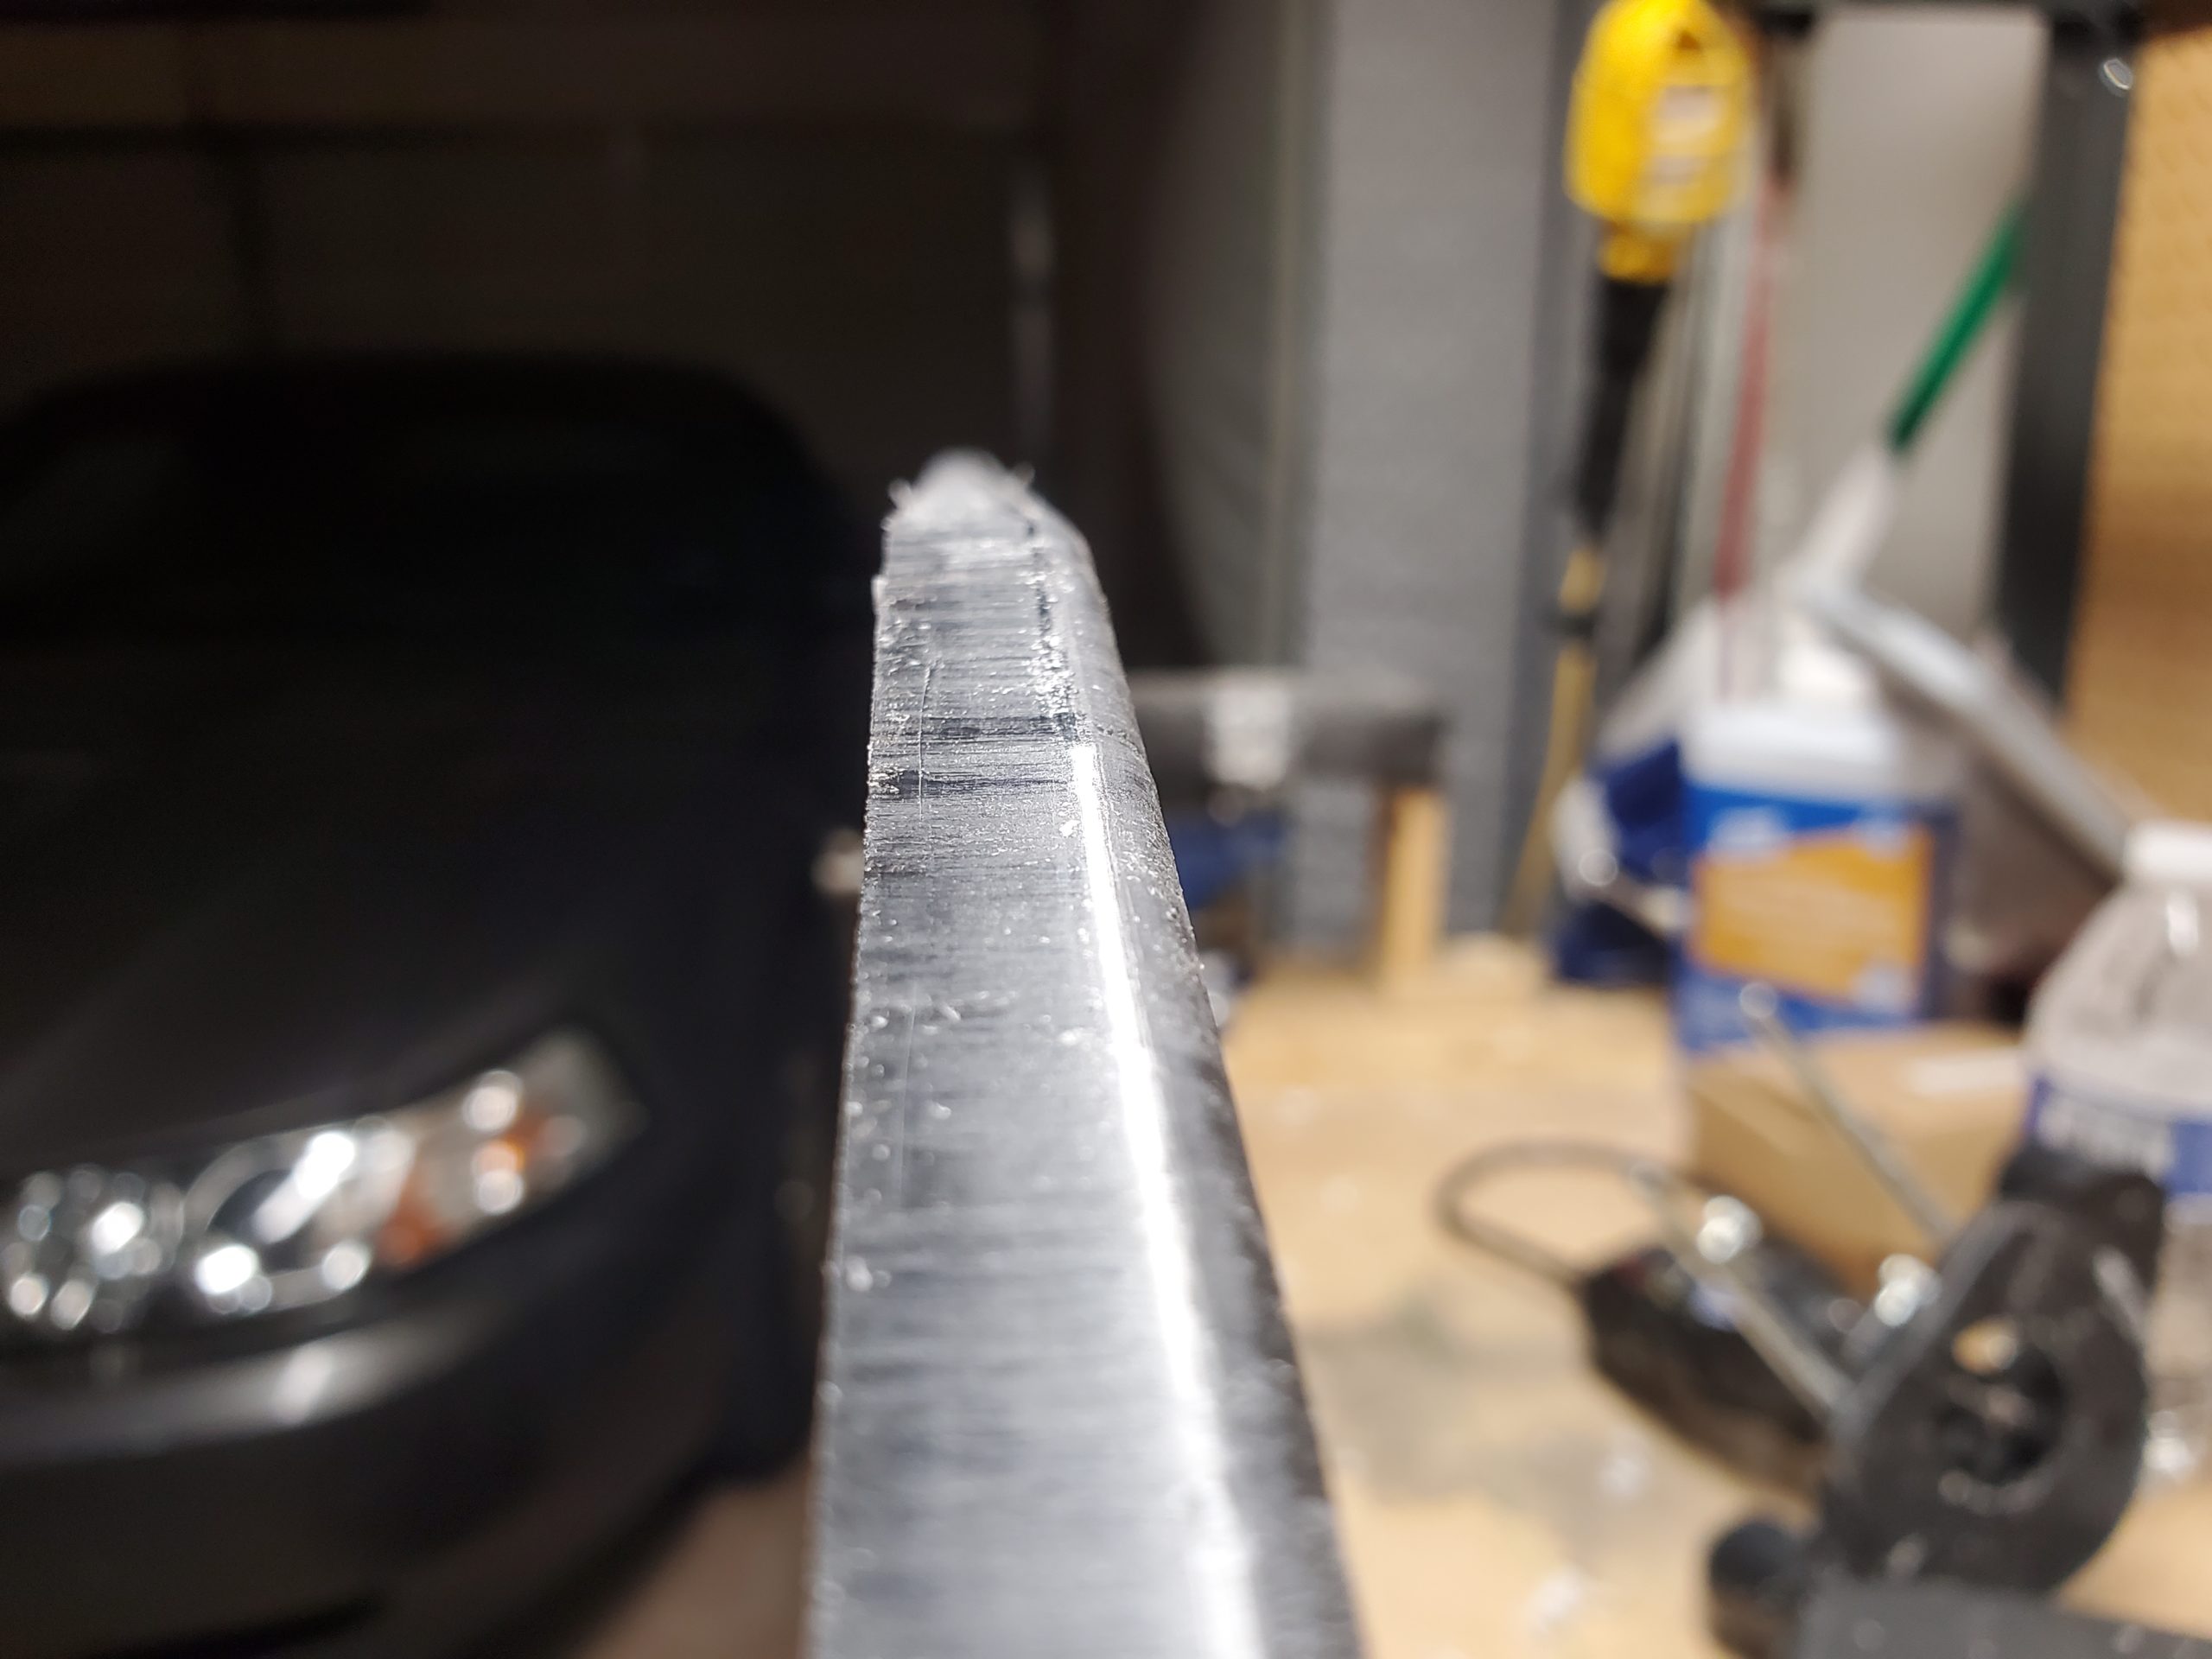
[ Edge Refining ]
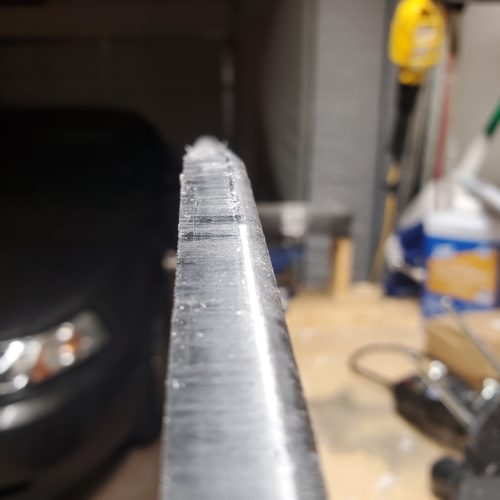
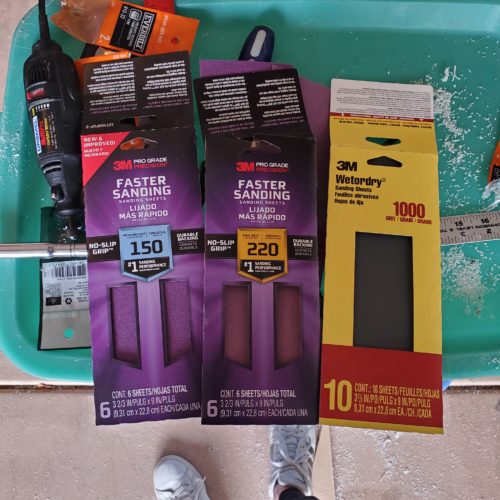
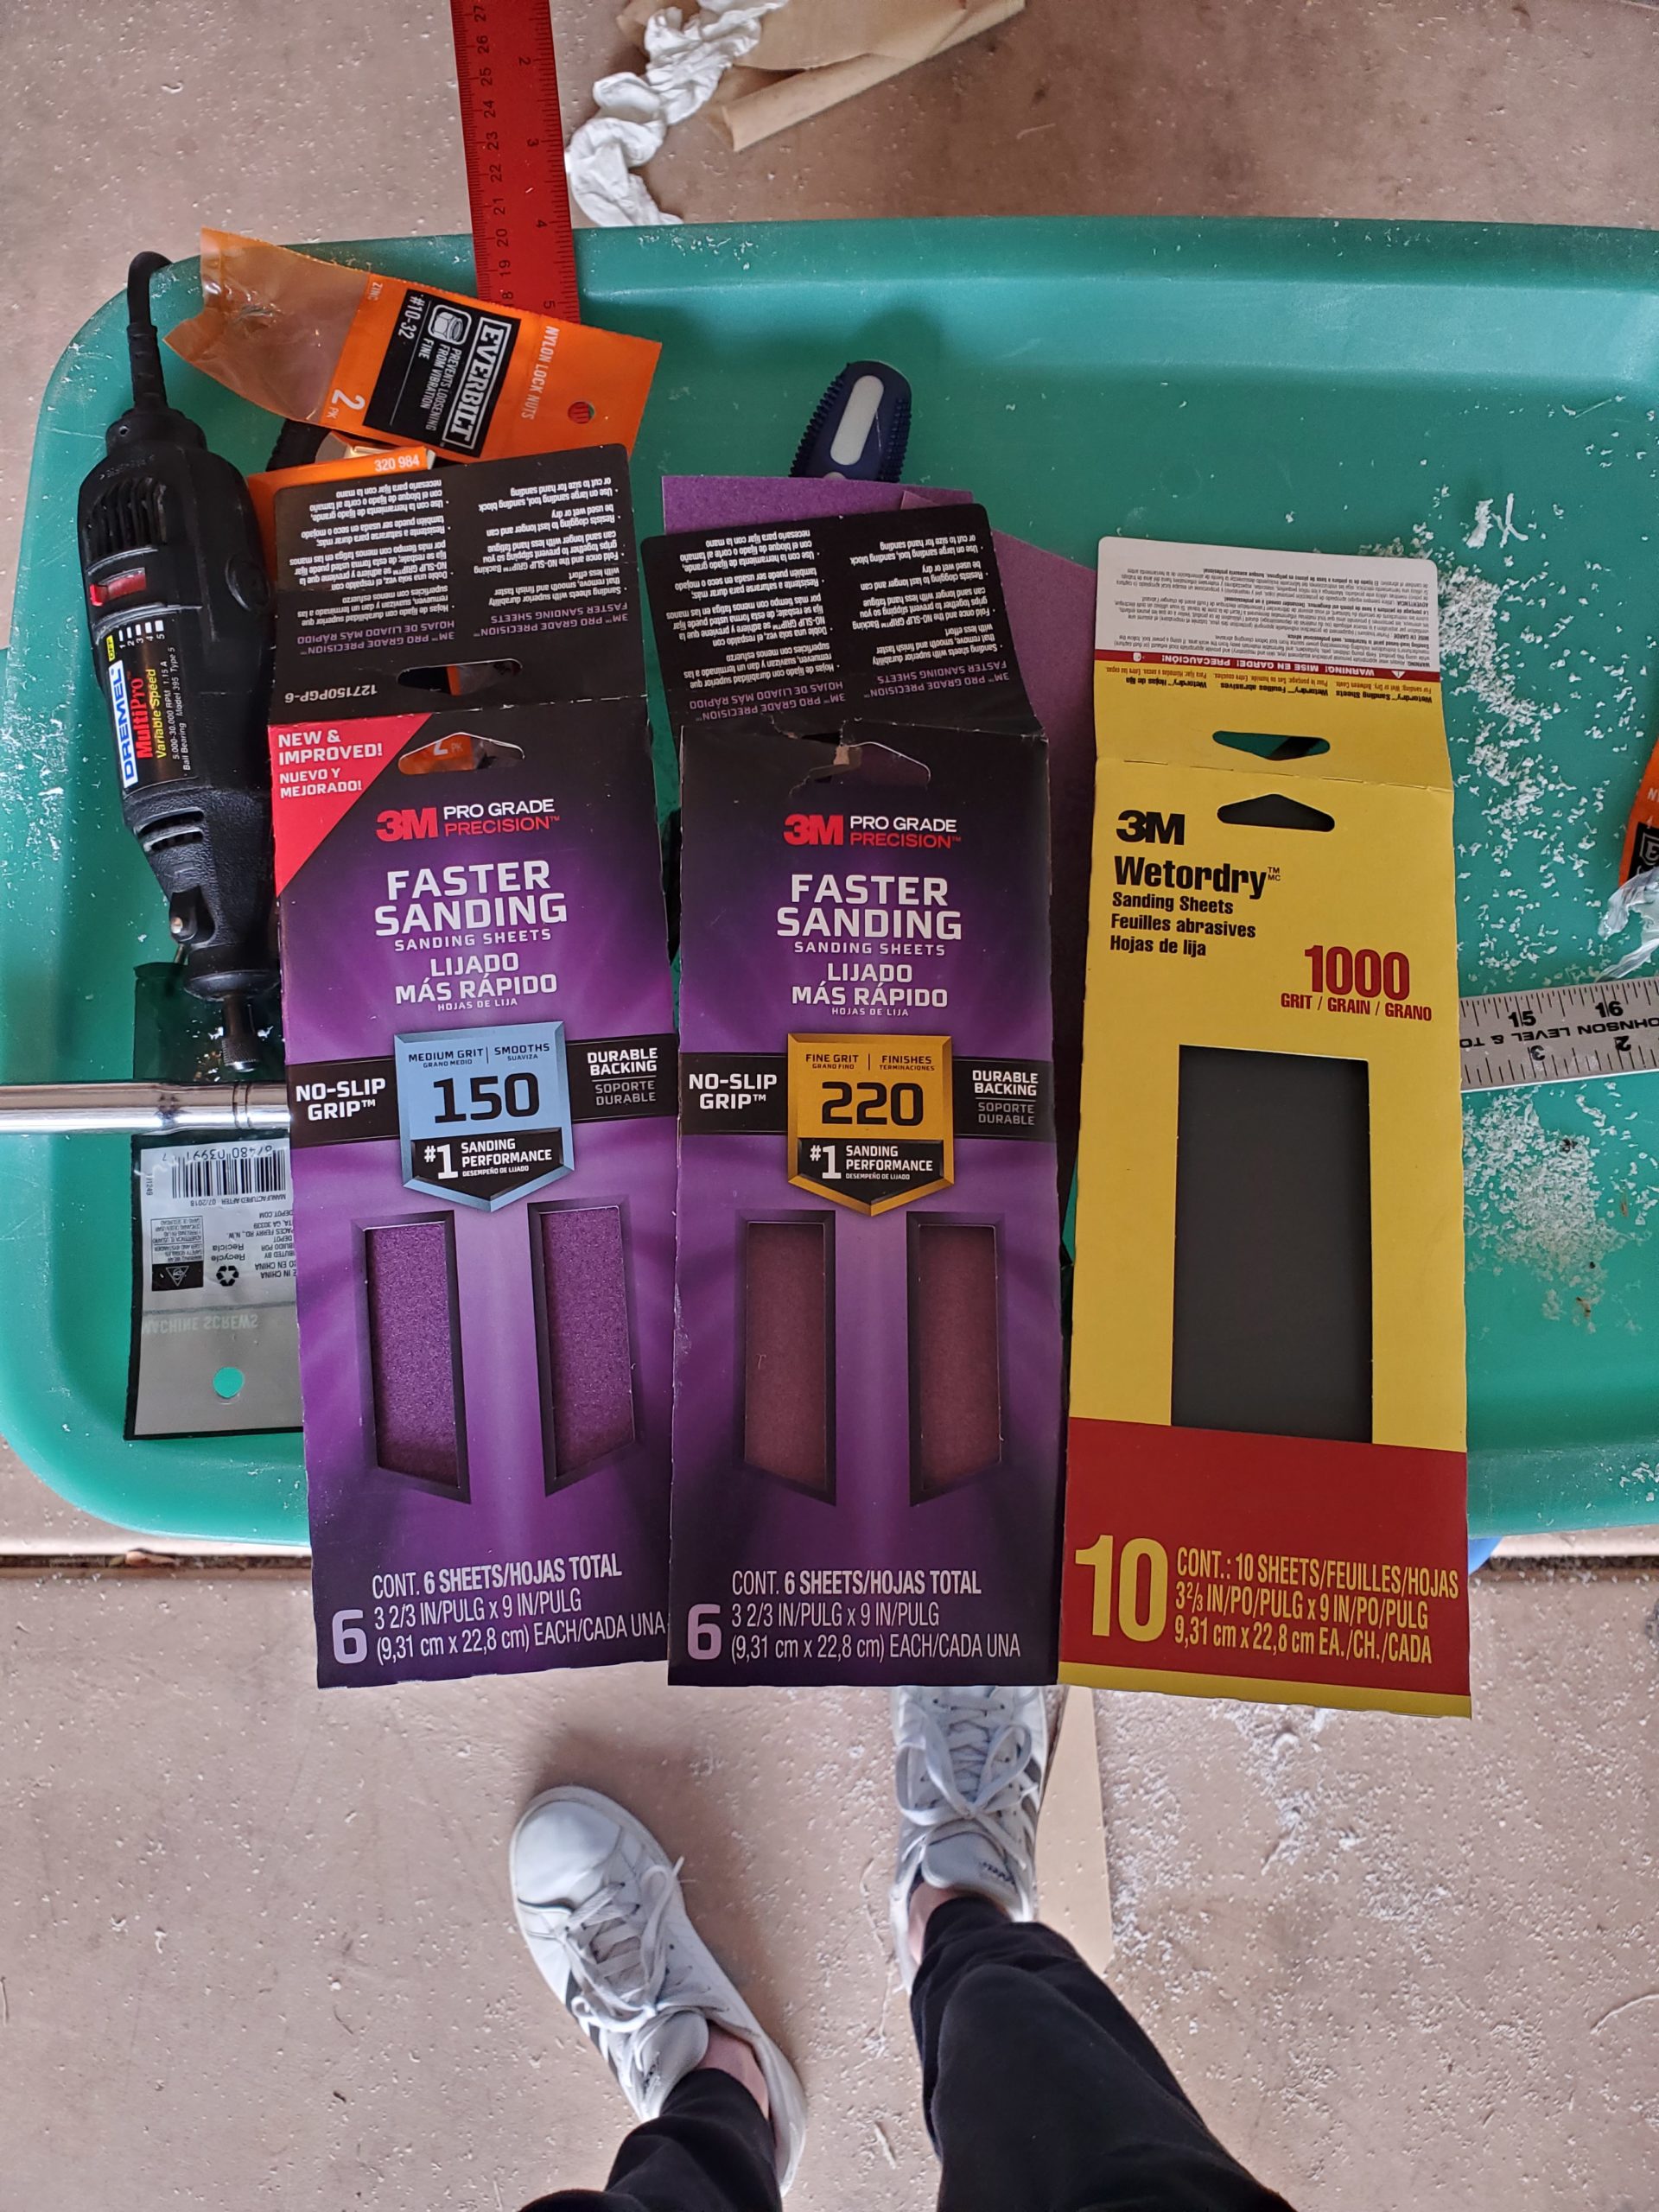
I used a Dremel tool with a router bit to take the edge off. I didn’t originally plan to do this, but it worked out so well I’m glad I did. Below you can see the before and after of the router step. After that, I used a series of 150 -> 220 -> 1000 sand paper to buff the edges. I used an electric sander, which was ideal because it still took 2+ hours with that. The edges turned out super smooth. Much better than the jigsaw cut alone (as shown below)
[ Risers and Final Assembly ]
I tested out the board with only the clear deck and as expected from my beam bending calculations it bent almost all the way to the floor. I anticipated this, but only had a vague idea of how to fix it. I ended up picking a 1/2″ aluminum tube from Home Depot and creating custom rises to put the rod in between the trucks. My original plan was to use a flat bar, but the I value (geometric value for how much something will bend) wasn’t high enough so I needed something thicker but not as heavy. I ended up with the round tube and I think that was a good design choice as well. The rounded look really fits the design and I think it looks even better than the board without the rod.
It was a lot of work, but it turned out really well and I’m super pumped to ride it.
[ Video Presentation ]
[ Image Links ]
Hi-tech Office Design – Ray Service – Tetris-db (tetris-db.com)
Hoodie ninja techwear | Urban fashion, Cyberpunk fashion, Mens outfits (pinterest.com)
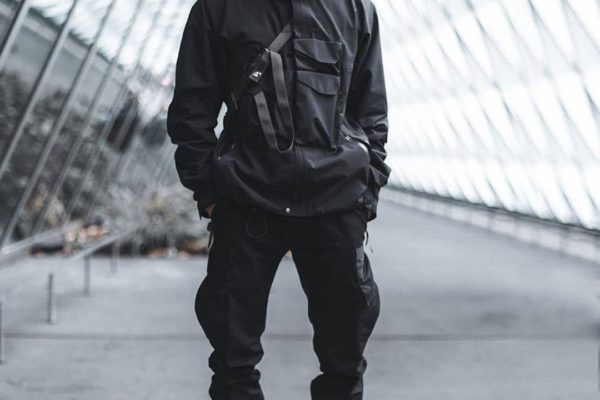
Pin on techwear inspo (pinterest.com)
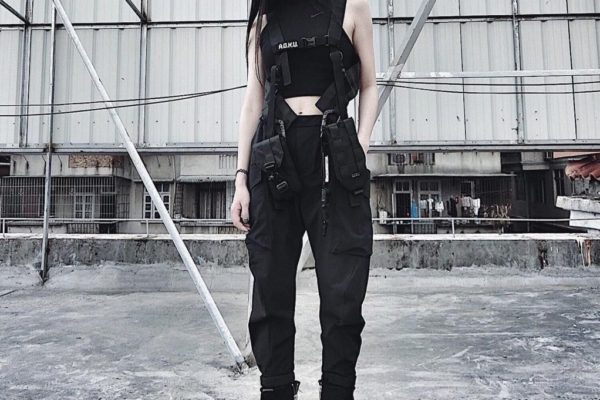
E-Jay | 张毅杰 (@abeastinside) • Instagram photos and videos
https://www.geometrix.ru/works/w/?id=55&lang=eng via https://www.impressiveinteriordesign.com/exciting-new-apartment-with-futuristic-design-elements-that-are-truly-unforgettable/
https://permafrost.no/projects/level
Stylish-Modern-Table-Lamps-for-Home-Decoration-31.jpg (800×800) (quiet-corner.com)
https://www.digitaltrends.com/home/futuristic-lighting-ideas/
CIRCOLOCIRCOLO – SATTLER (sattler-lighting.com)
Sattler : Luminaires design, Paris, France – Silvera
2 Comments. Leave new
Brayden, I have said this before but I will say it again; I think this project was a super cool idea with an even cooler result. The final product looks extremely clean, as if you could show up to a skate shop and buy one off the shelf. I think the futuristic aesthetic really shines with your use of the clear polycarbonate, white trucks and wheels, and the aluminum bar. I also think the color change from sanding the edges of the board, as well as the black accents in the wheels really make the aesthetic pop. Now that you have had the chance to ride it a little bit more and see how it feels, do you think you might add clear grip tape to the deck? Slipping off the smooth deck would be my main worry when riding this board. Whatever you end up doing with that, I think you did a fantastic job, and this is an awesome new addition to your collection!
Hey Brayden,
I think you studied and understood what makes your type of furturistic aesthetic really work. It is almost clinical in nature with how clean it looks and that translates surprisingly well to the longboard without it looking too cliche. I just had a question about the board itself, usually a regular deck will layer different types of wood to give the skateboard/longboard the trustworthy strength along with enough flexibility to improve the ride, does the polycarbonate exhibit some of the same properties as a tradtionally layered board? If not, do you think their are ways to capture that while maintaining a truly clear board? Awesome project overll tho!