
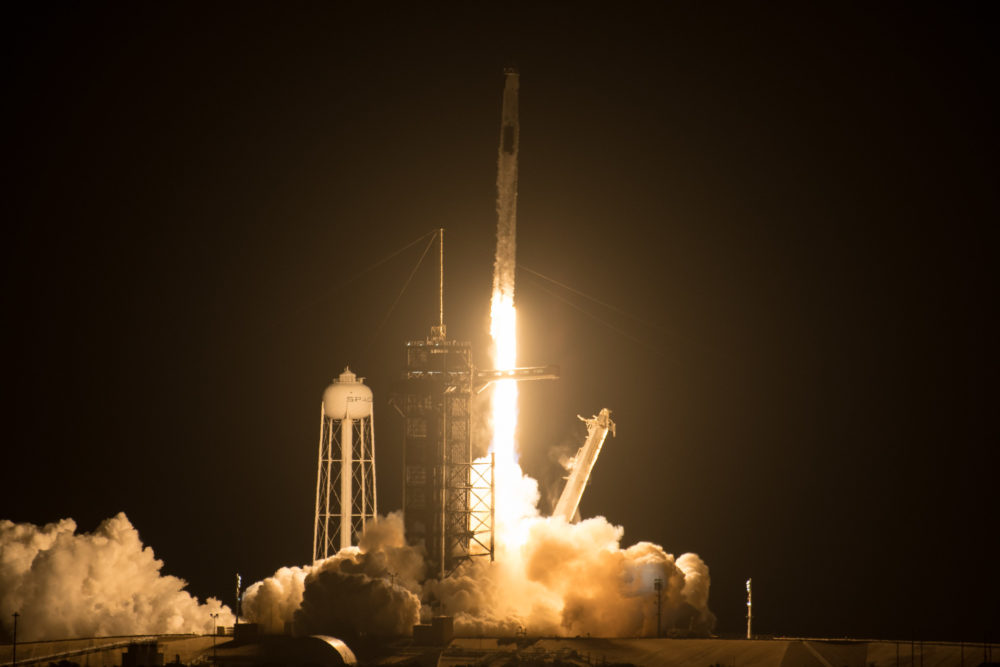
Rockets are some of the most incredible machines humanity has created—structures of explosive fuel that propels their cargo, whether it’s a satellite, equipment, or people, beyond the planet’s atmosphere and into space. The sheer power of these creations are on display whenever they launch; they unleash their enormous energy in a tower of fire through their engines and the entire thing is lifted up, up into the sky balanced on a stream of light. The exhaust swirls and billows from the launchpad in a spectacular flash of steam. I wanted to capture this in my final project.
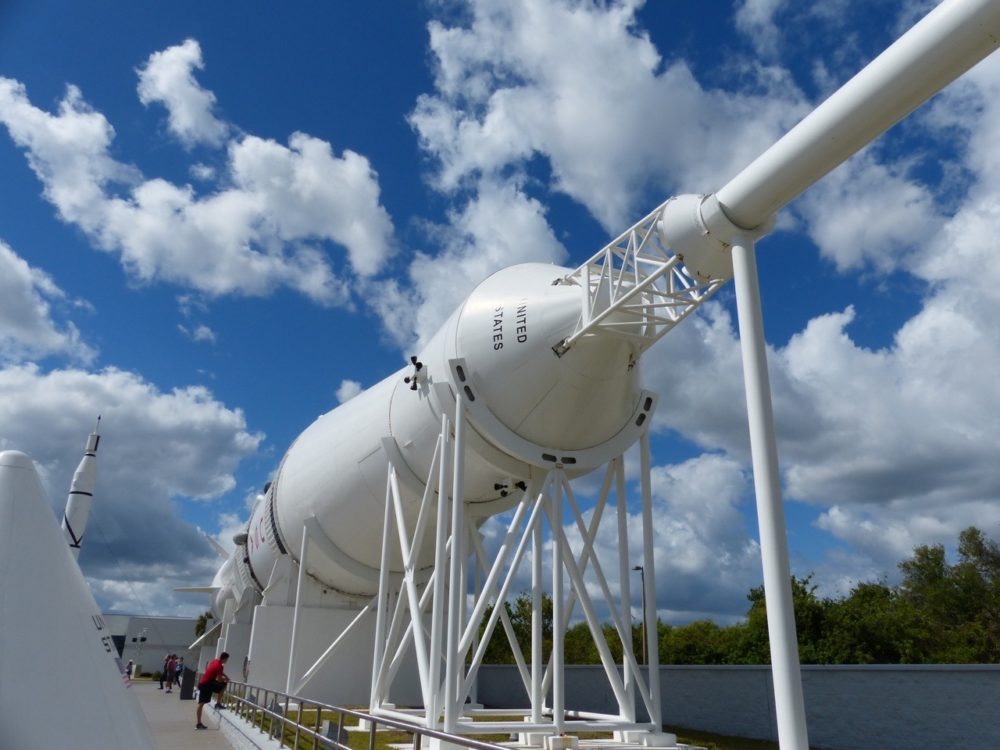
After visiting Cape Canaveral and getting a glimpse of what was possible with space-travel, I have always wanted to design something that could fully capture the sense of wonder and awe that I felt seeing those machines for the first time. Once you see the scale of one of those rockets, watching them on a screen never feels the same way again. It just doesn’t capture how absolutely massive these things are or how complex they have to be until you can see one towering in the air or stretched out over a hanger.
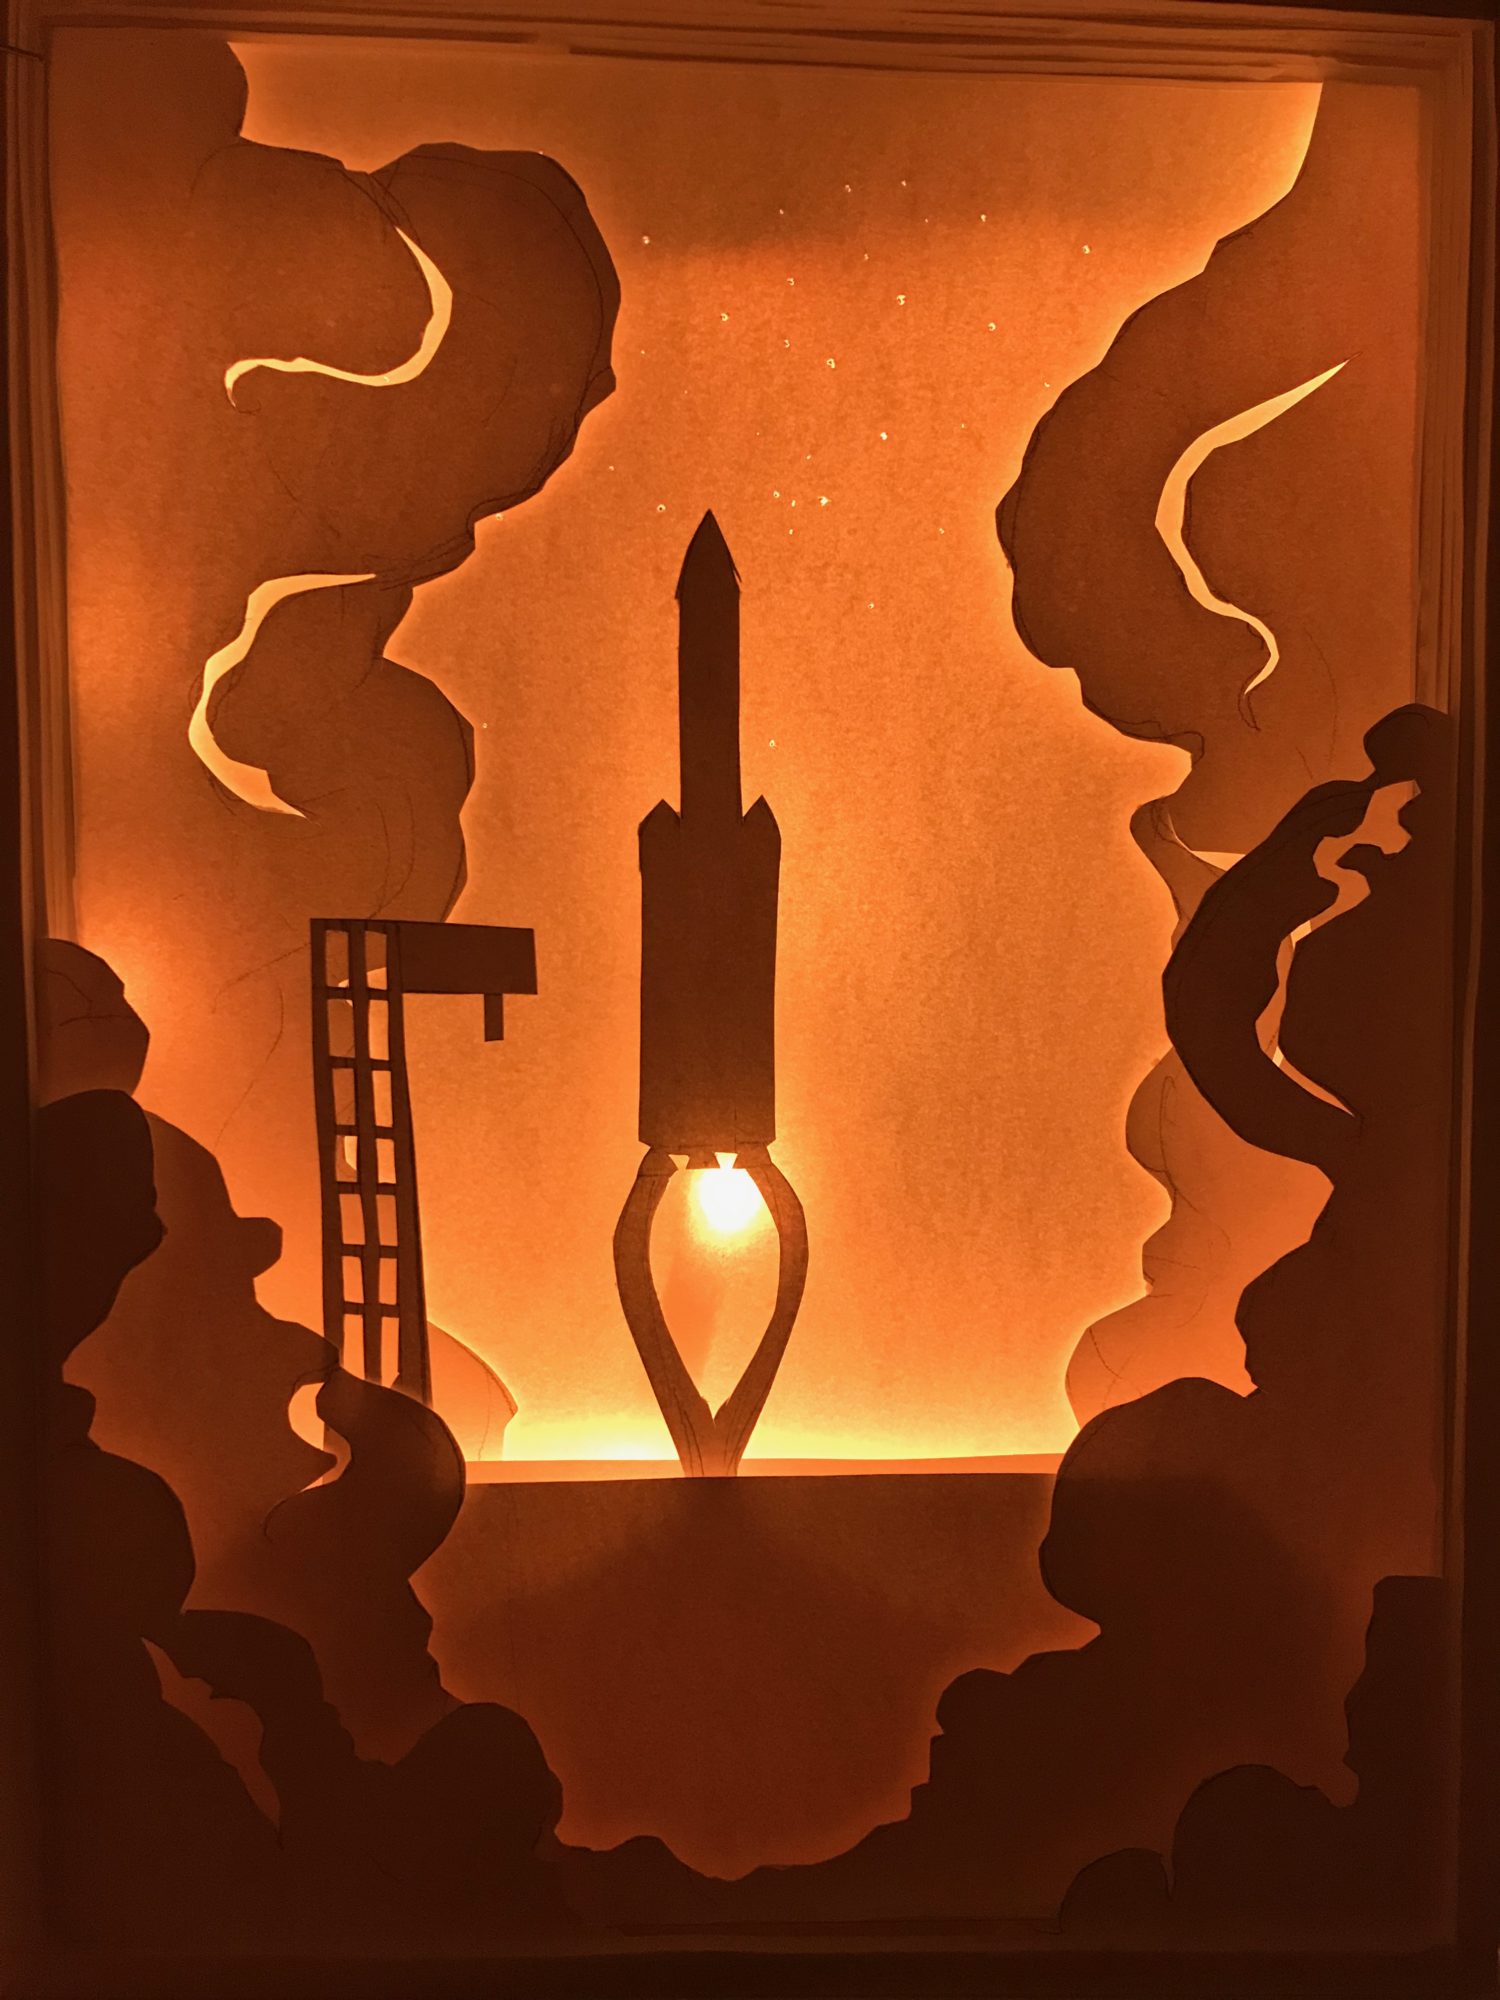
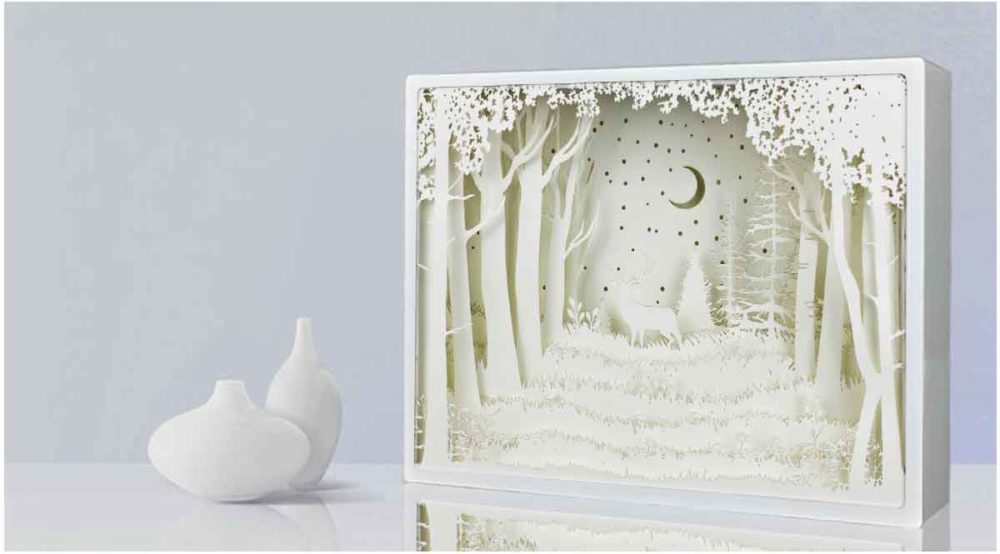
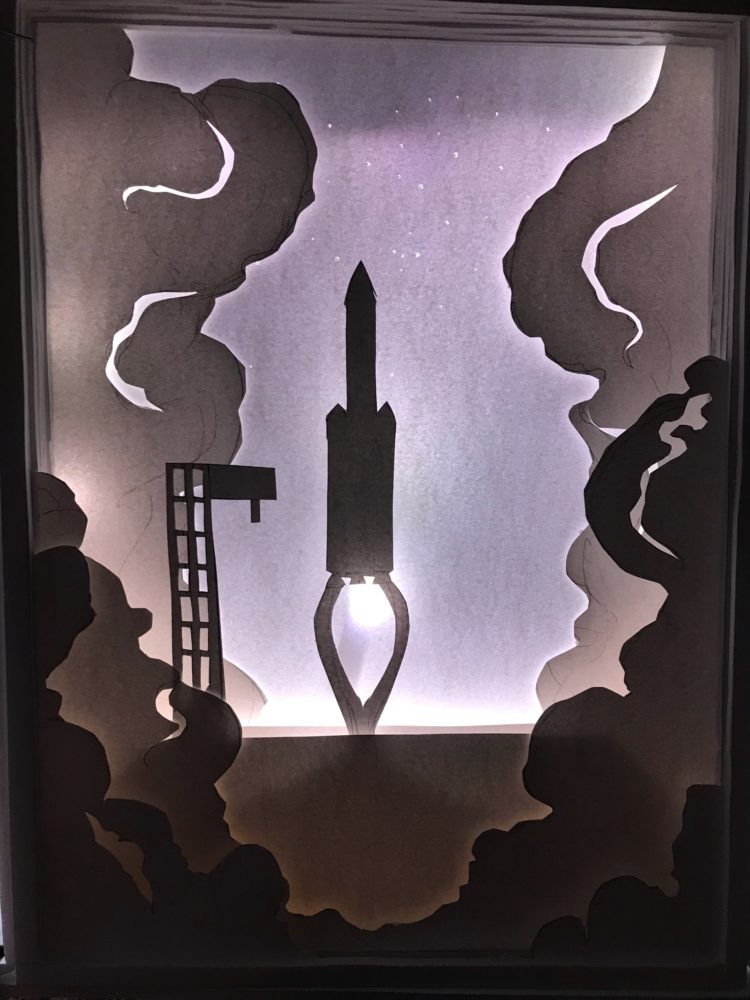
The goal: create a paper-cut light box. These are boxes with layers of paper that are cut into a design that is illuminated from behind. The amount of depth and variation in the layers can create many combinations of light and shadow. The primary way images are conveyed are always in silhouette, where the outlines of the images is what informs their shape and sense of form.
For materials, I gathered paper from a sketchbook with under 130g, 9x12in paper as well as some 130g 12x12in paper sheets. I decided not to use the heavier paper sheets due to their thickness, and after testing the paper with the LED’s, which I sourced from Amazon. The LED’s had a built-in electronic control system that allowed me to change colors, making it unnecessary to use Arduino to create the effect. Along with these, the main structural component was 1/8in thick, 14x12in foam boards.
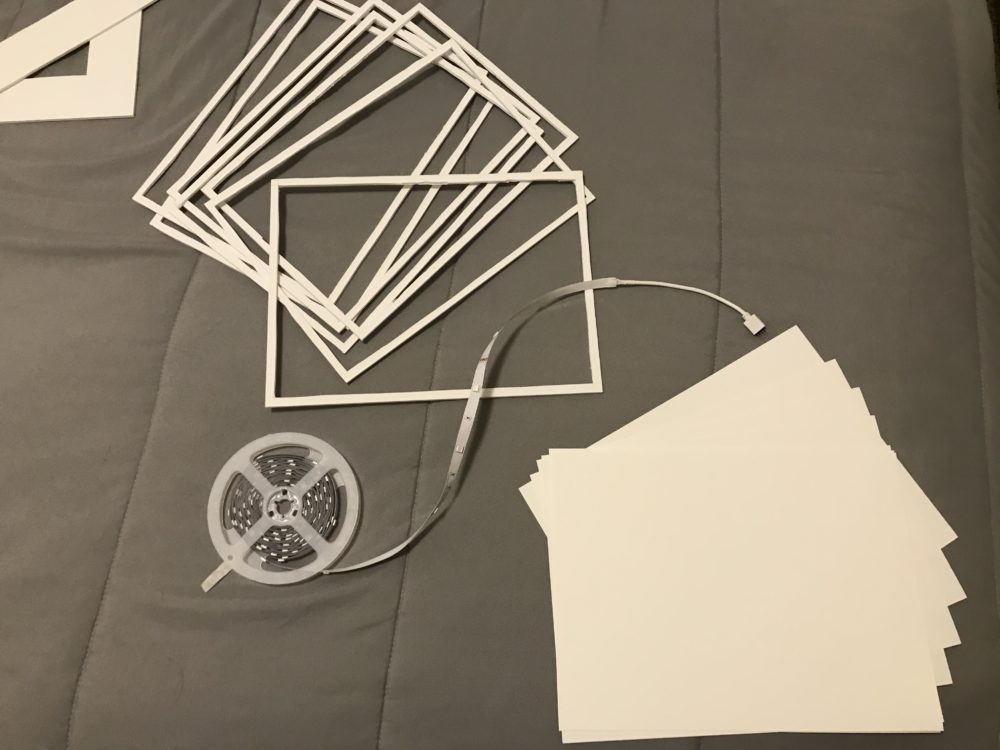
To construct the piece, I used an X-Acto knife to cut the paper sheets, as well as a utility knife to cut the thick foam. For glueing the various layers together, I used a paper glue that didn’t smell very good. Additional tools actually came with the LEDs, which were used to mount the strip to the foam.

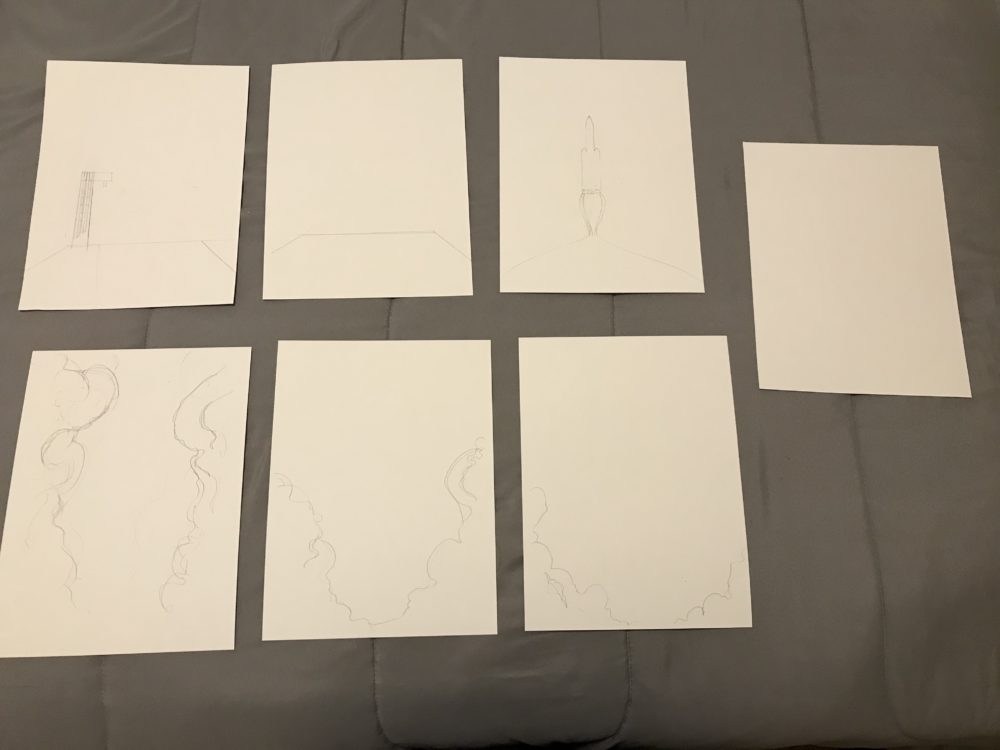
The first real step of creating the design was to draw and sketch the patterns that would be seen for each layer of paper. I made sure to use straightedges for drawing the rocket, launch pad, and tower. The cloud layers, however, had more organic shapes and therefore allowed for a more loose, freehand approach. I didn’t need to be especially careful for these, and instead I made sure to keep the forms as flowing and energetic as I could. Stylization was critical at this stage.
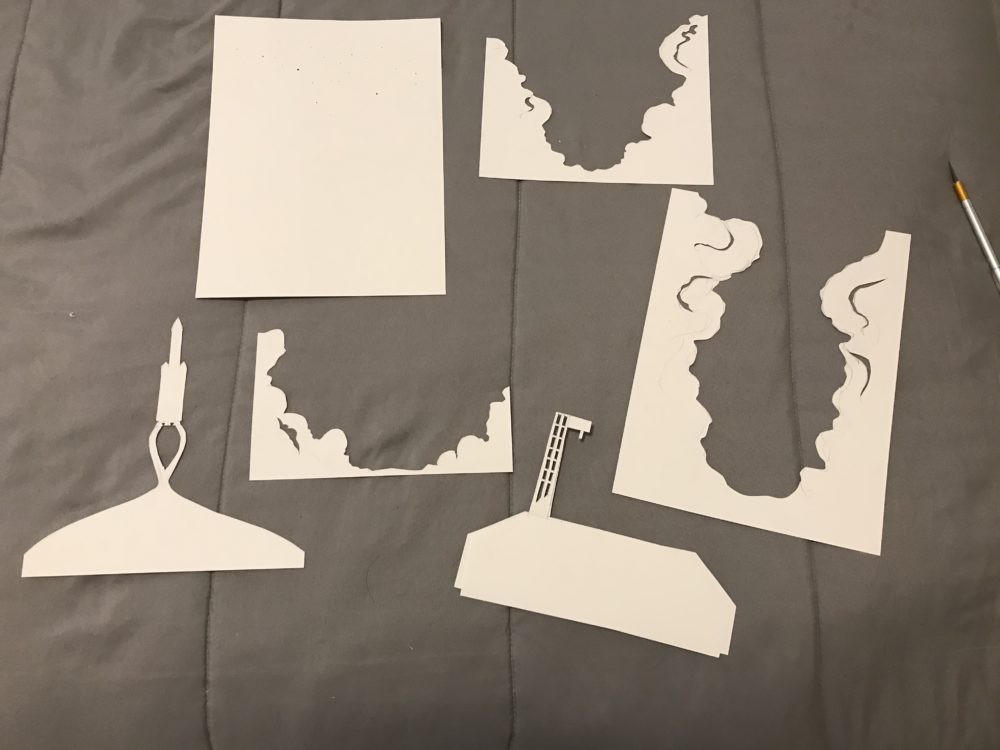
After this, I was able to cut out the various layers, paying close attention to the structural elements and taking my time with the geometric shapes. When cutting out the clouds, I had to focus on keeping my cutting line as smooth as possible, which was difficult because the cutting was best with more straight lines. I also realized that I could create a starry night effect on the background diffusing layer if I cut small holes in the top of the sheet.
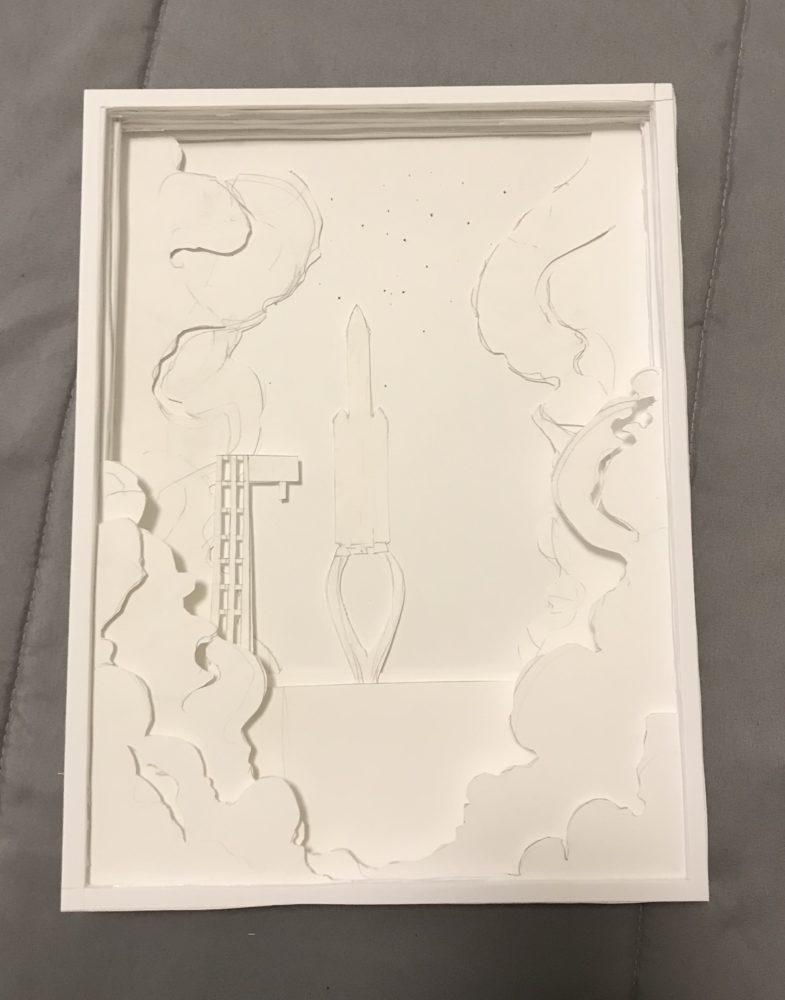
For the final cutout, I stacked together the different layers of the design. Although not especially remarkable when not lit up, it had a layering effect that I believe achieved the look and flow that I wanted it to have. It was promising for the final design.
After arranging the lights in the back of the foam, and touching one of the lights to the background layer for the lit engines of the rocket, I turned everything on and was greeted with a satisfying view.

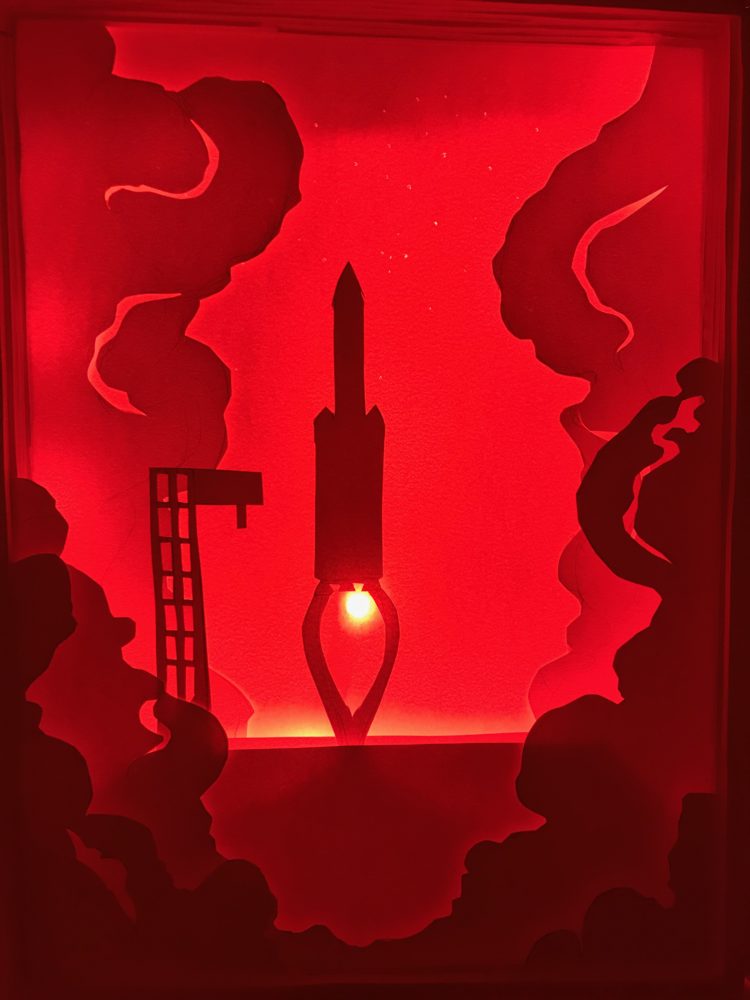
The primary color that works with this design is most likely the warm orange that gives everything a rich glow. Other colors are also possible, giving the design an aspect that changes with time. The static color that I believe is best aside from orange is the white color, because it almost gives the piece a serene feel. The red, although cool, is a bit too aggressive for the overall look I was trying to achieve. The lights can also cycle through all of the various colors, including green, purple, and more. This gives the piece a sci-fi effect and enhances the stylization.
Overall, I found this piece to be a success. I was able to achieve the look I had originally set out to get, and it has a pleasing look to it. I think this has given me motivation to make more of these in the future with more experimentation in silhouette complexity, subject, and finish. The improvements I would make to this would be focused primarily on the structure of the design. As it is currently held up and framed in foam exclusively, adding a frame out of wood or some other material would greatly enhance the finish and add a nicer quality to the whole thing. Additionally, I would also like to experiment with more variety in colors, like multi-coloration for the background or different effects, perhaps via Arduino as I had originally thought.
At the end of the day, I was satisfied with what turned out. To Infinity…
All other images by me
2 Comments. Leave new
Daedalus,
This project was really awesome to see, and like Josh said above I really like the layers you used to create a variation in the color of the light. What really stood out to me was the smoke layers you had integrated into your piece. Those to me were the coolest parts. One other aspect of your project which I thought was a good touch was how you had a singular light concentrated at the base of the rocket to simulate the flame coming from the bottom of the rocket I’m assuming. I do agree with your suggestion to use an Arduino in future iterations. Like Josh said also, with Arduino there can be numerous other things you could do to make this piece even better than it already is. Overall, great job!
Hey Daedalus,
I really like the final product that you created. The multiple layers which vary the light color and add depth as well as your smoky and starry imagery definitely evoke a sense of wonder and awe. I agree that setting it in a wood frame could make it more finished although I would make it minimal so as to not detract from the scene. Multiple lights would be very cool too, and with Arduino, you could add in blinking lights and possibly even interactivity which would be really cool.