

I was able to gather the materials very easily for this assignment. I only needed parchment paper and a shopping bag. I used a bag from my normal shopping and grabbed some parchment paper, which I needed anyway.
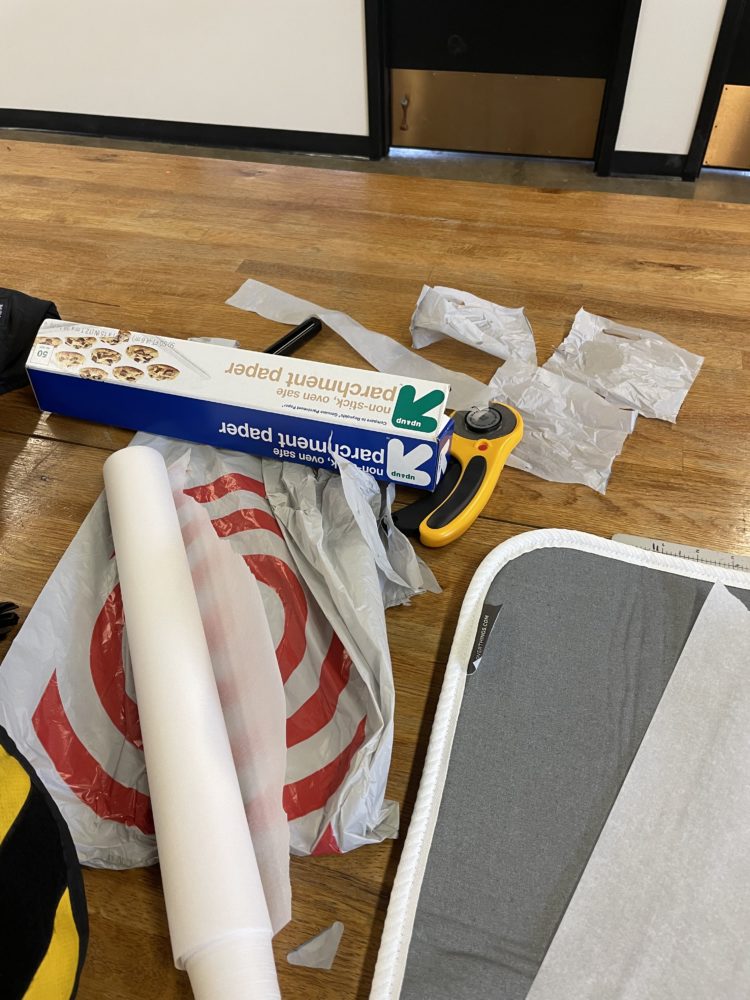
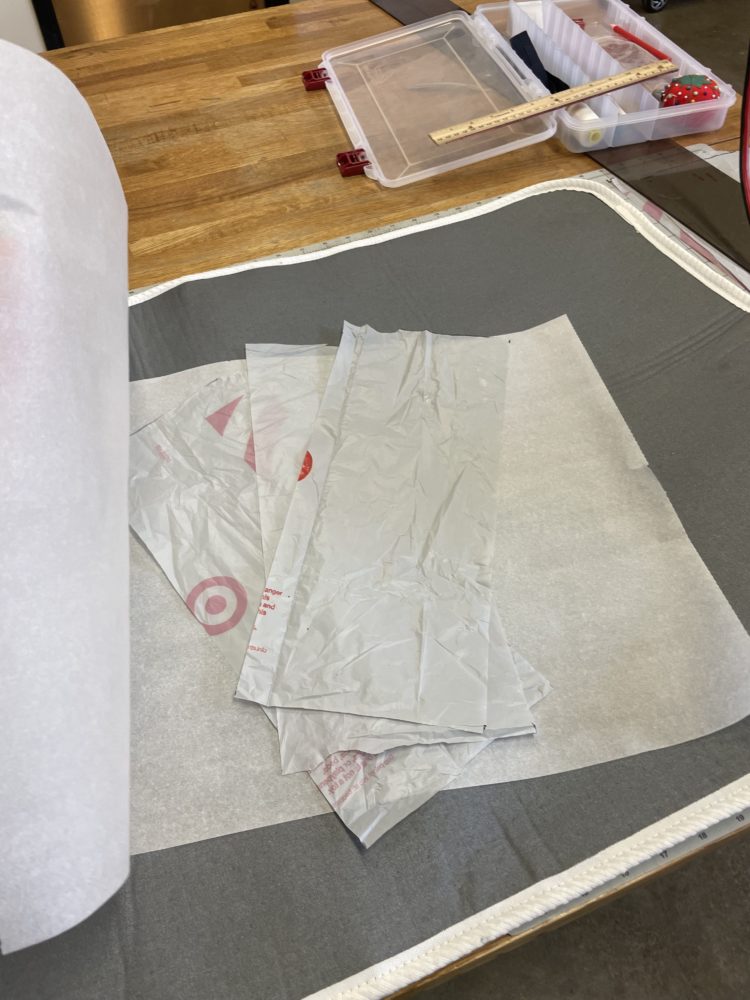
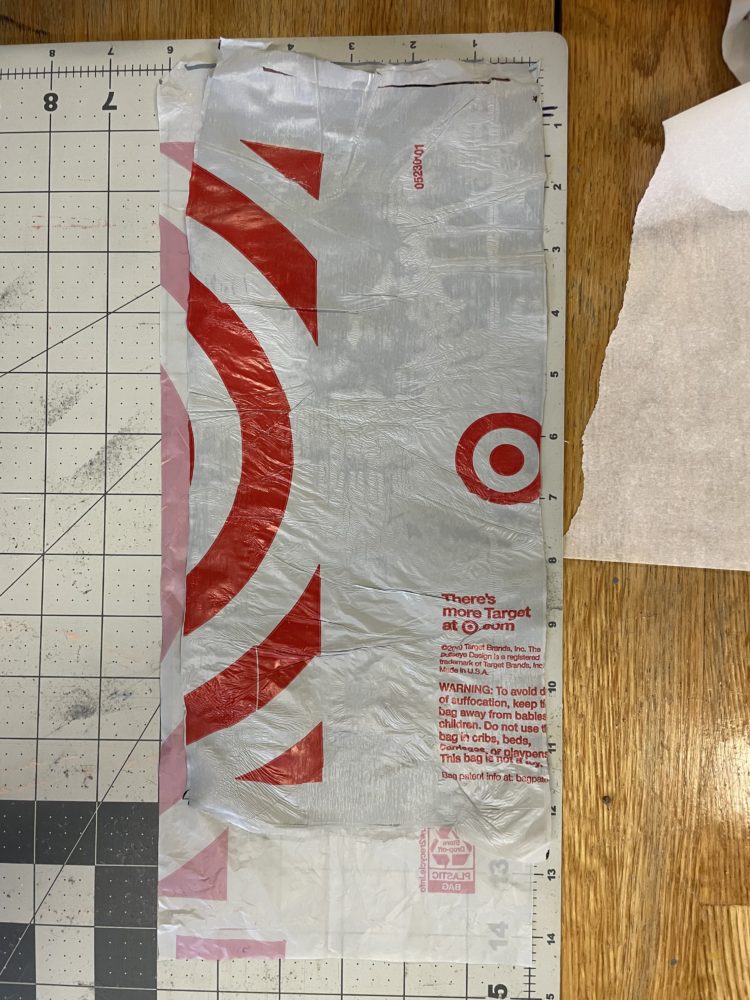
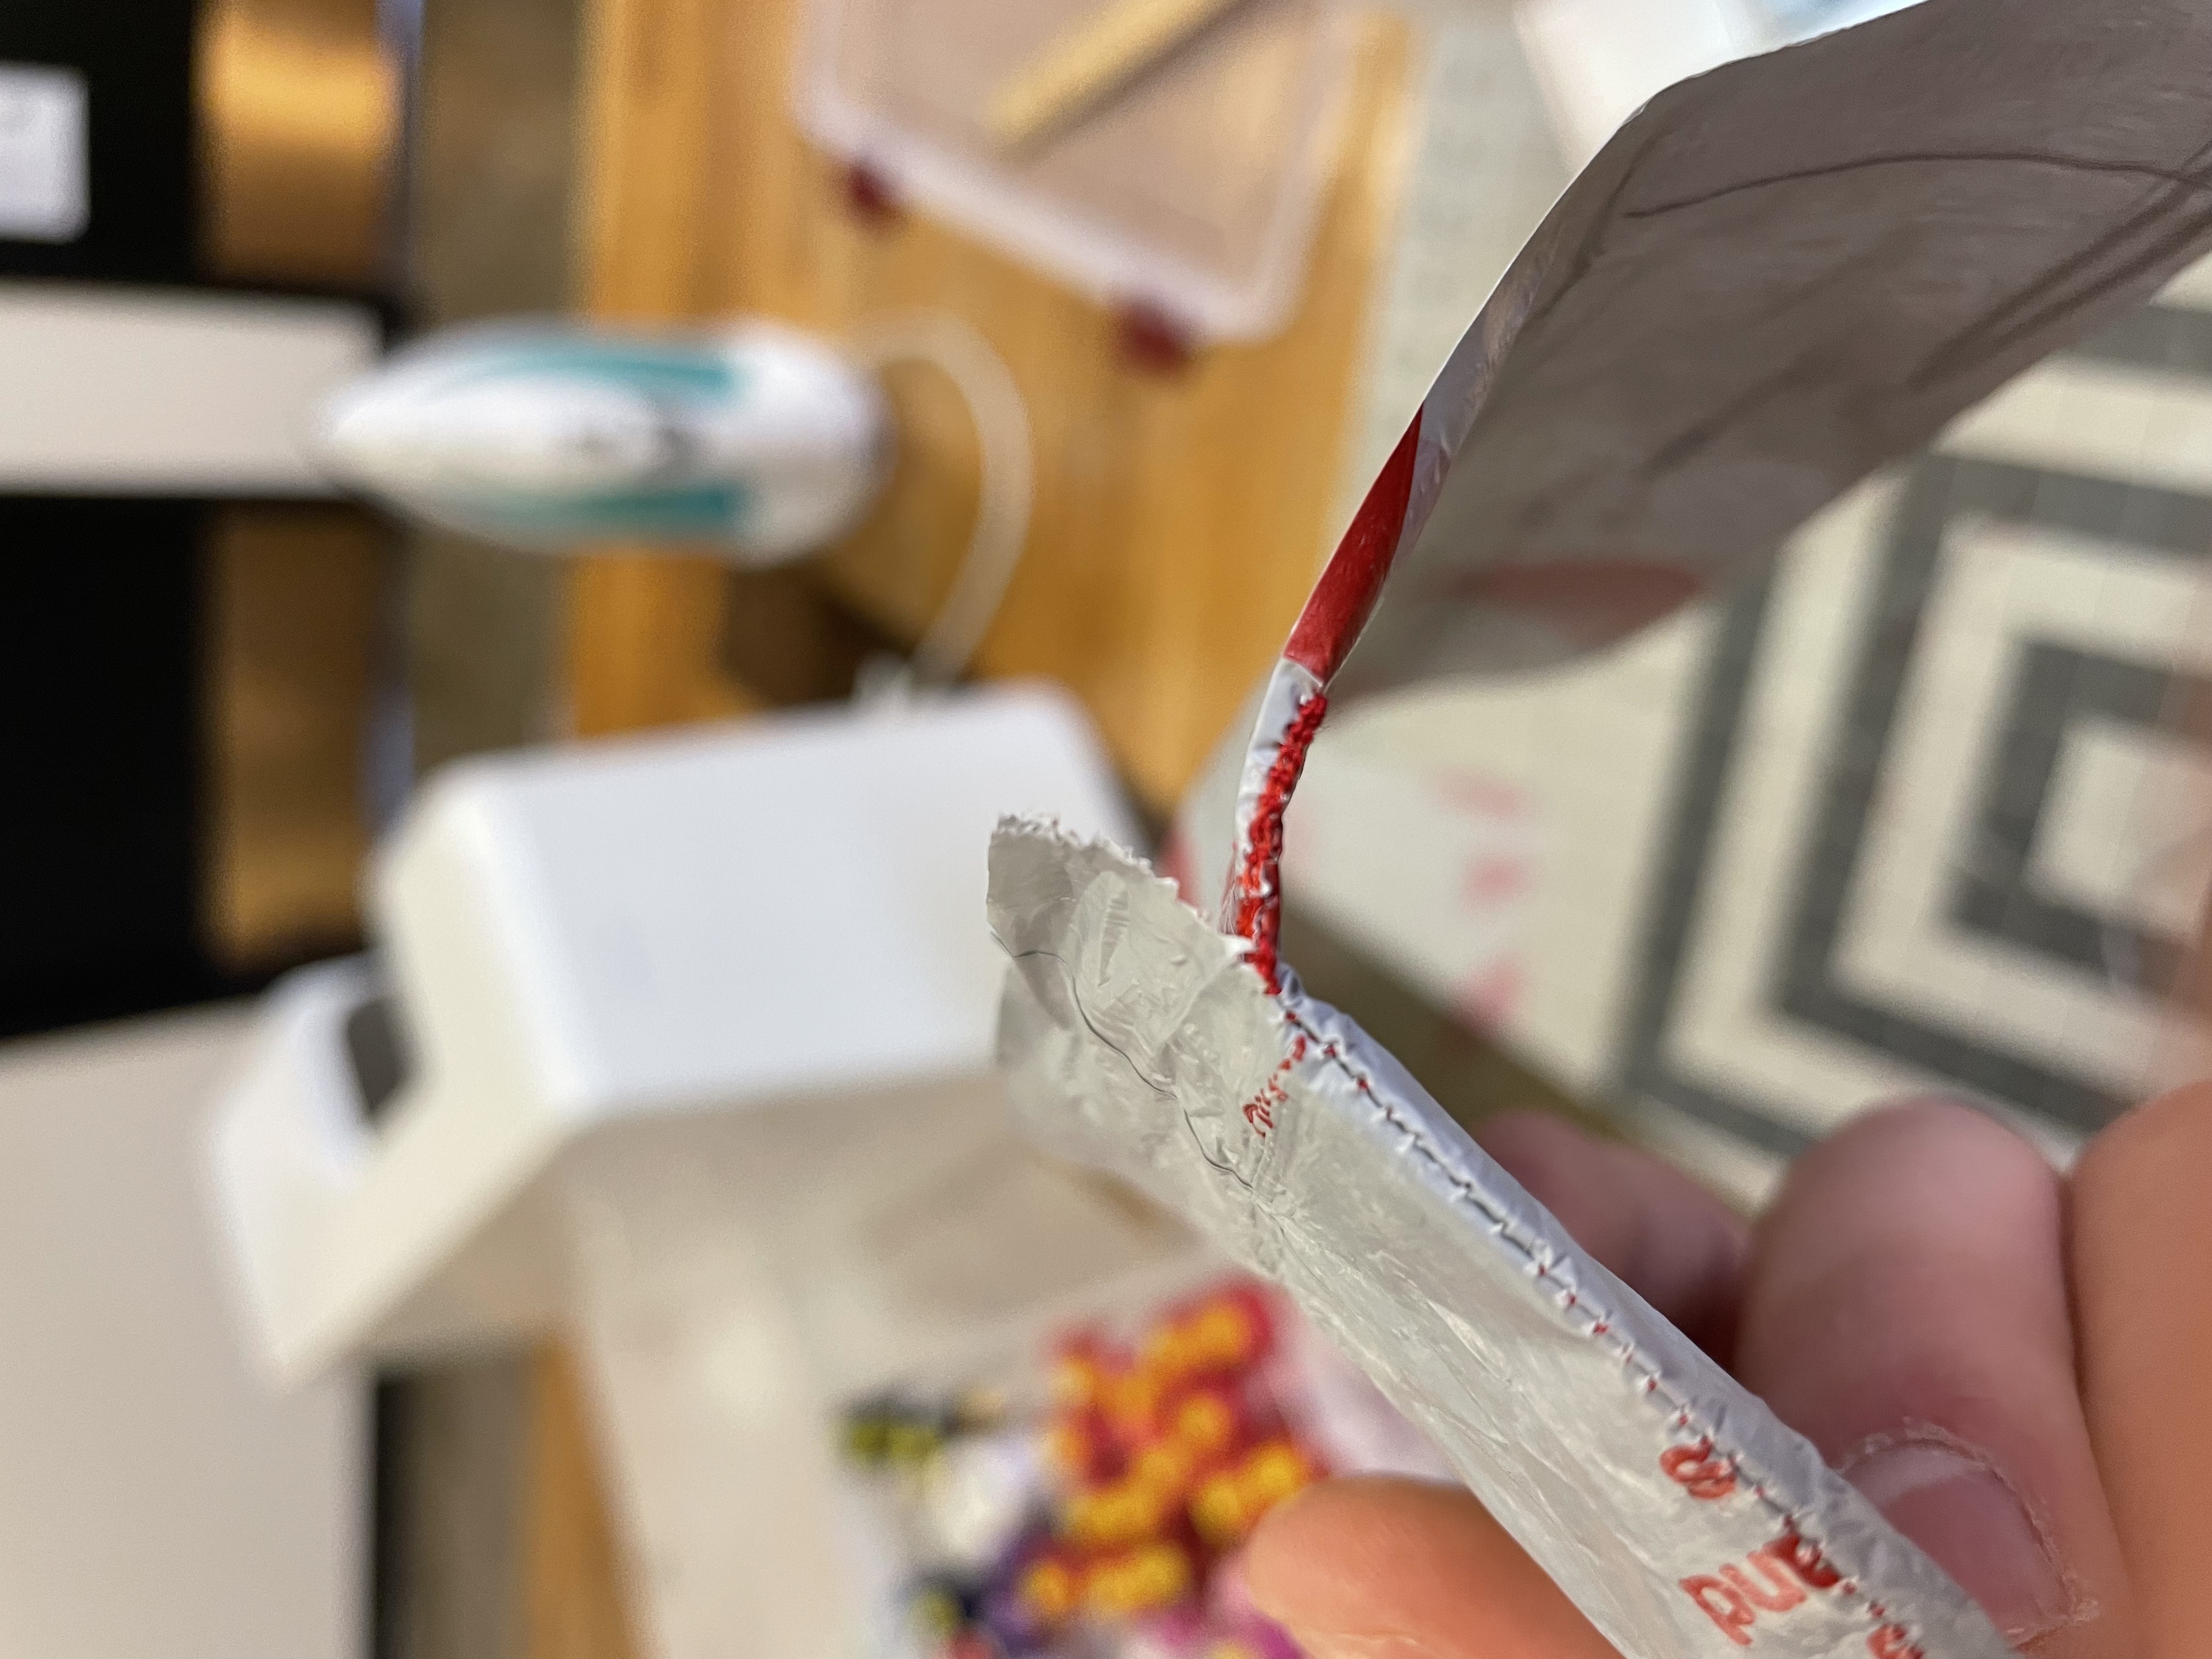
Here you can see my materials. Next I cut the bag up into 14.5″ by 6″ panels. I arrived at the dimensions from the constraints of the bag, how much room I would need for storage, as well as the golden ratio, to give the final dimensions a pleasing aspect. The process I chose for the project requires layers of bag to be fused together to create a stronger material. By sandwiching the layers in parchment paper and ironing, the desired effect is achieved.
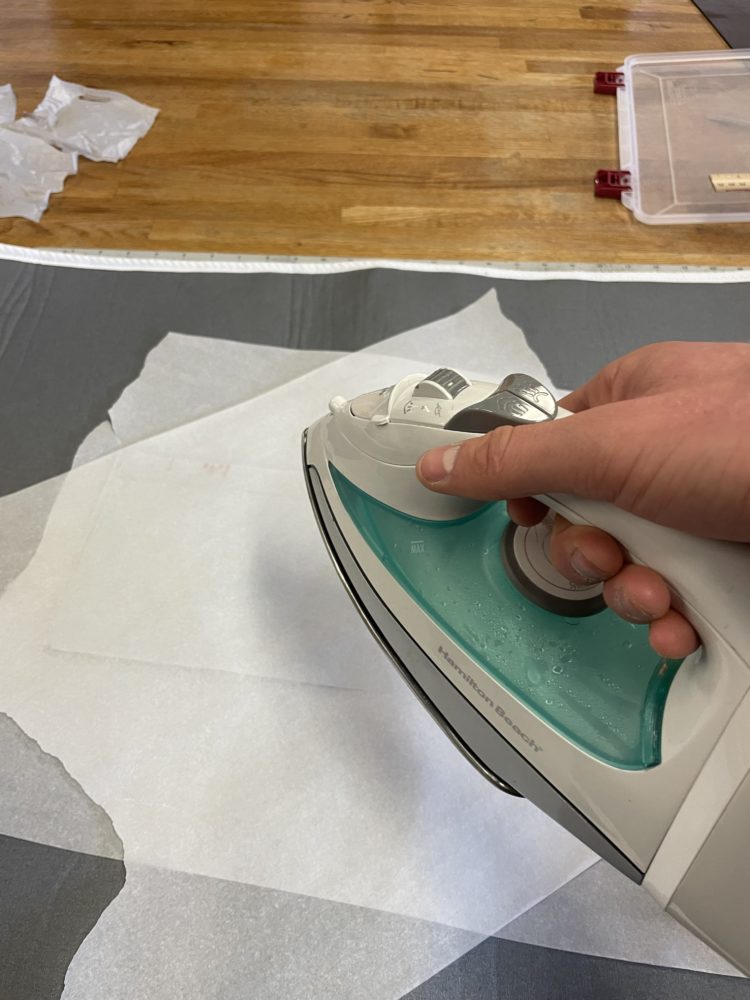

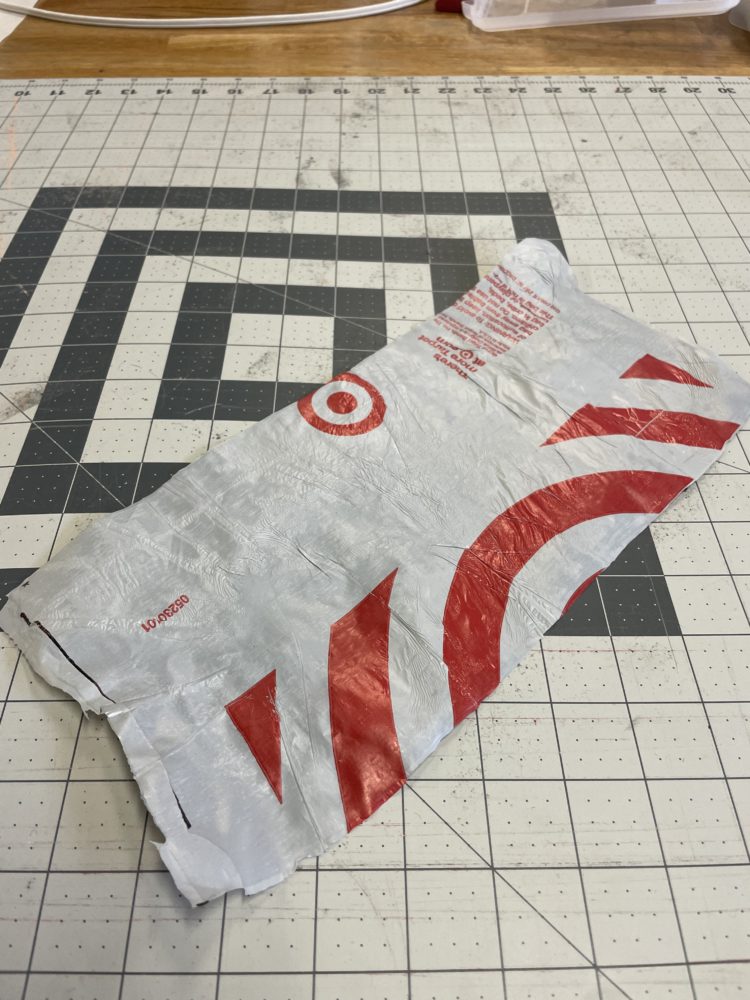
Every so often I had to check the plastic and see which areas still needed heat while trying not to overheat other areas. After the ironing, I realized that the overall size had shrunk almost two inches longways and half an inch sideways. This changed the ratio I had planned and the storage size of the pouch. For future iterations, I can calculate the shrinkage and account for it when cutting material. But for now I want to finish the shrunken version.
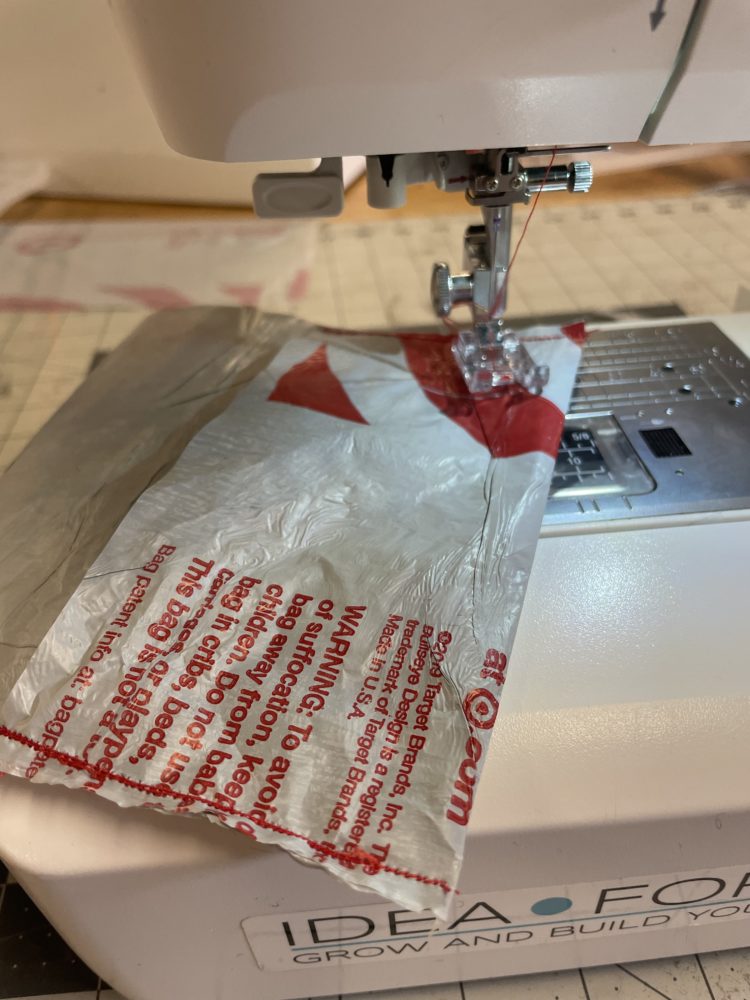
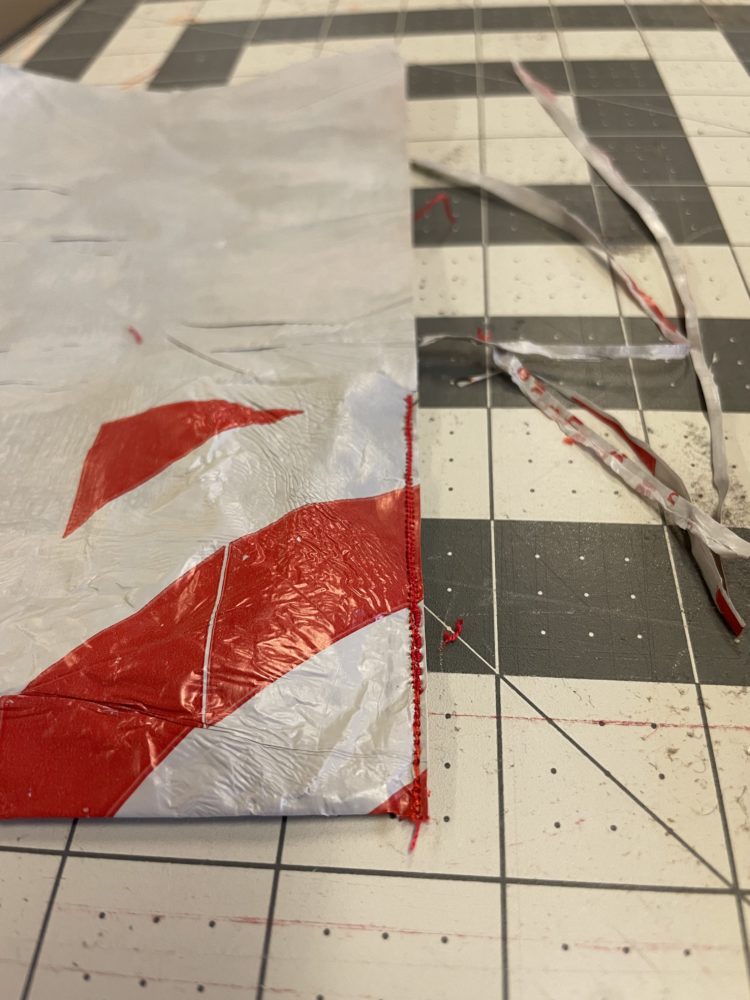
I readjusted the dimensions for the new size after I trimmed the edges to eliminate the waviness created by the heat. I marked where the fold needed to be and grabbed a sewing machine. It only needs two easy stitches down the sides. I still managed to mess these up, but it doesn’t really matter as it will be turned inside out anyway. I got rid of some of the extra material to make the transition work better, but this left too little material on the outside of the thread, which popped a few stitches. Not a huge deal for now.
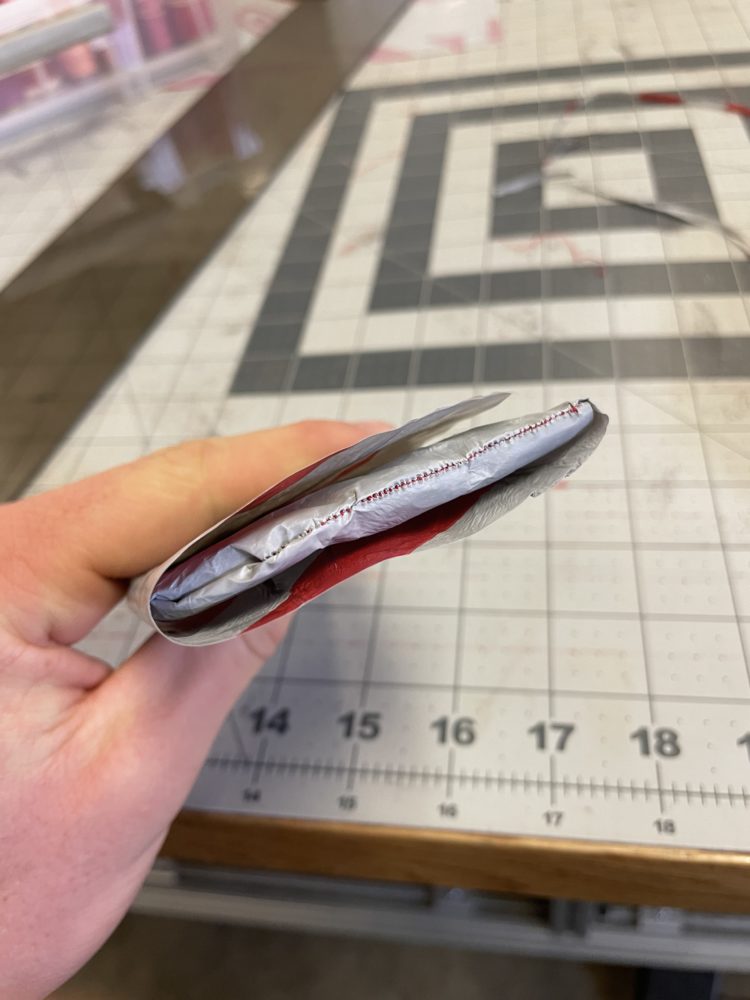
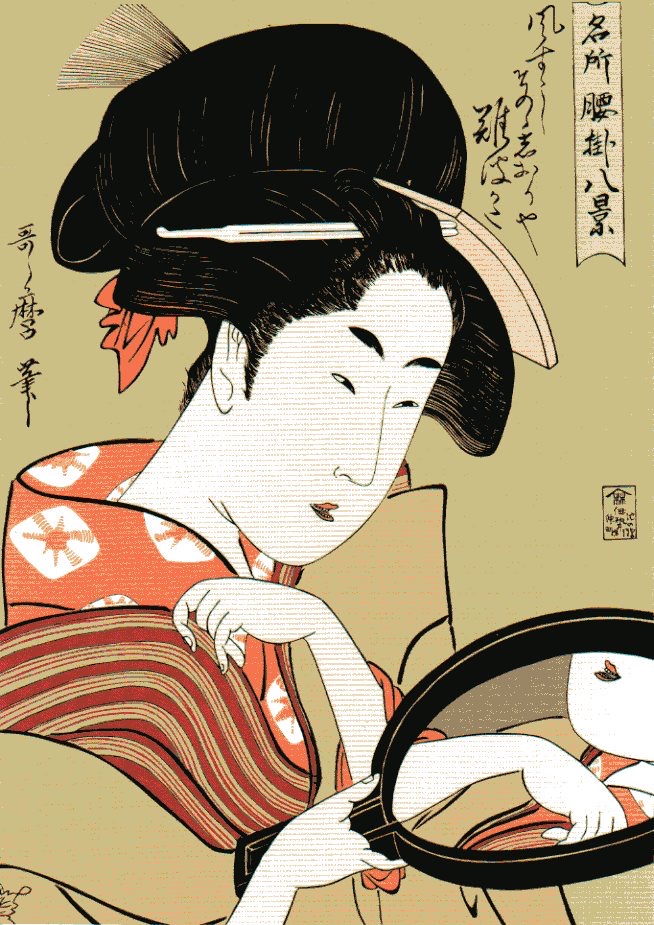
Next came the aesthetic choices. I was initially planning on letting the disjointed pattern of the cut up bags speak for itself. But I accidentally stitched the wrong sides together and the outside of the pouch was completely gray. I went to my original aesthetic and found a Japanese Ukiyo-e print. I was able to trace most of the drawing using my computer as a trace table, but once the material doubled up it was impossible to see the image. I freehanded the bottom section and ended up liking it. After a touch of color and my own addition of a cigarette the first version is done.
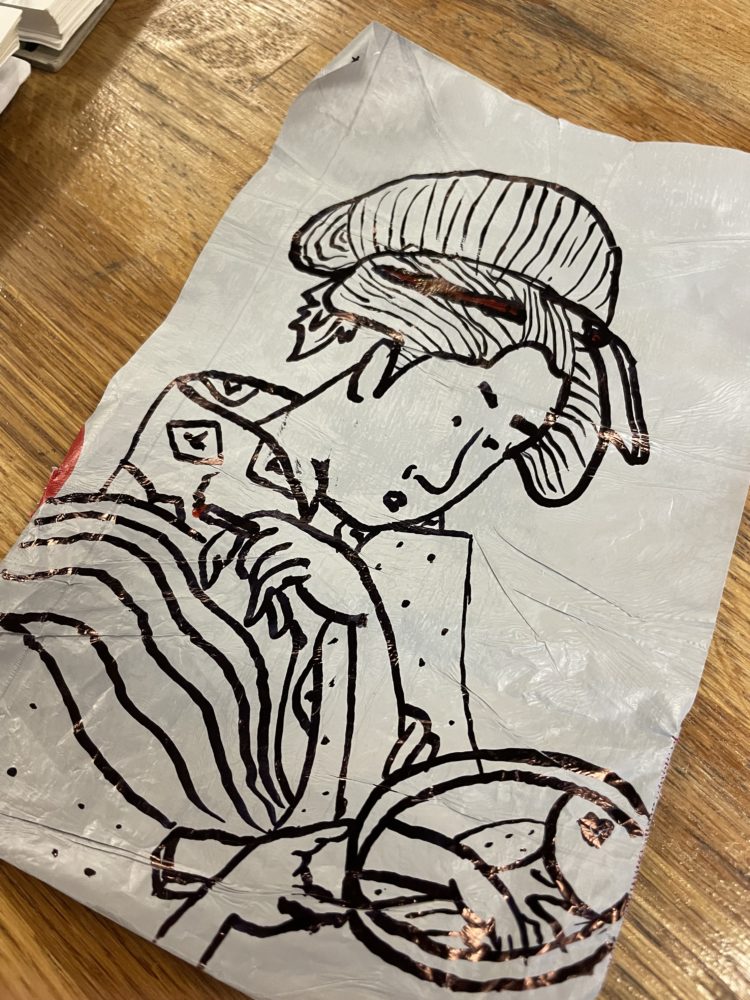

I really like how the pouch unfolds to show the whole image, but rarely will the whole image be seen at once. Usually you’ll just see a piece of it as the rest flows around corners. This is a hallmark of Ukiyo-e which unfold rather than appear in a frame like western art.
4 Comments. Leave new
This is really impressive, the whole process of ironing everything together was totally foreign to me. Really creative idea, are you considering doing further iterations, and if so, are there other materials you would ever use around the outer layer?
I’m always considering iterations. I don’t think I’ll change the materiality, but I would like to make it more repairable and eliminate the stitching. Since it can all fuse together, I’ve been wondering why I don’t just iron the seams together, and since the bag will degrade over time, why not make some way to add on a new layer of plastic whenever you need too?
This looks awesome! I saw your original. post about this project and was wondering how it was going, so I’m glad to see the effort you’ve put in! How did you end up choosing the image you freehanded onto your pouch? Do you plan on adding anything else to your trace?
Thank you. I got the image from a quick google search for a style of Japanese woodblock print. I’ve always liked the style and thought this one was pretty cool, especially since I could give her a cigarette. Probably not adding anything, I don’t trust my drawing anymore than that.