
Where I’m At
Two weeks ago, the Friday before Spring break, I wanted to take my nightstand and throw it in the trash. Maybe even climb onto a roof and throw it off, set it on fire, or take an ax to it. It had caused me frustration of a quantity and duration I cannot recall in any other project. In that week alone I’d had problems with warping, blowout, denting, snipe, and even a misaligned glue up. And most importantly, these issues put me far behind where I wanted to be with the project.
Over Spring break I visited a remote, communal village where I worked, played, made friends, and perhaps most importantly did not touch my project. I wondered how I could possibly pick it up again when it seemed so impossible to bend this project to my will. It wasn’t until the day before I left that I attended a lecture given by a resident potter from the village. In his lecture, he opened up to his own failures and what he’d learned from them. He shared two thoughts that resonated with me especially. First, that to create something is not only to shape your creation, but to be shaped by it. And second, that nothing is permanent. I realized I’d been fighting against both of these inevitabilities. I was trying to make something perfect, something that could last for hundreds of years. I had a clear picture of what I wanted to shape, but I wasn’t letting it shape me back.
Inspiration
In 2021, I built a mortise and tenon chest for the wedding of two of my best friends. It was the most complicated project I’d ever undertaken. I started 4th of July weekend and finished the day before I left for the wedding in mid September. It was intensely challenging but also incredibly rewarding. Ever since then I’ve wanted to make a more complicated piece, using what I learned the last time while pushing myself even farther. In my hubris, I decided to do this for a semester-long class.
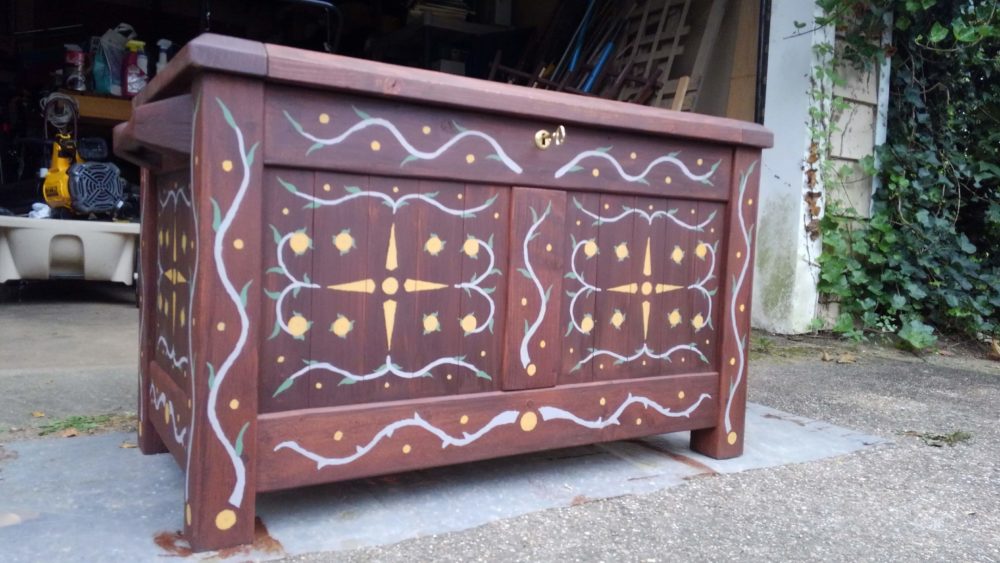
The chest I made for my friends
As if that weren’t a complicated enough task, I decided to add ornamentation to it as well. I talk about ornamentation a lot in my other posts. One could be forgiven for thinking I ornament everything I own, but I actually took up this interest relatively recently. I read a book about ornamentation, Slovenská Ornamentika, over Winter break. Since then, I’ve been learning ornamentation myself and thought it could be interesting to incorporate into a larger project.
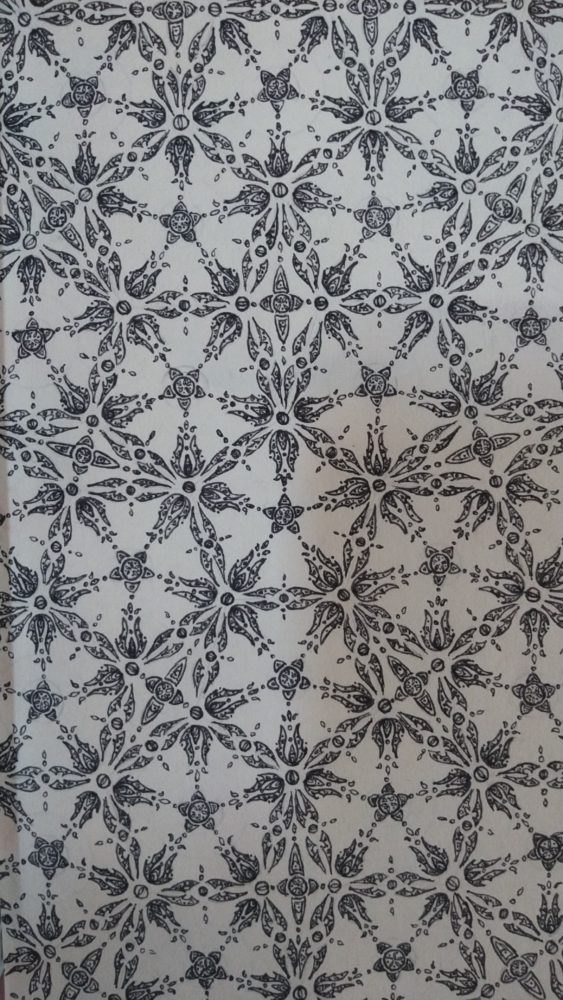
Some of my recent ornamentation work
Vision
I wanted to create a nightstand with traditional joinery techniques for this project. I wanted it to be durable, strong, and lightweight, using zero (not a one!) fasteners and solid mortise and tenon joints. I wanted the piece to showcase the natural beauty of the wood with light ornamentation to compliment it. I discussed my specifications in greater detail in my last post.
Design
I started by making a model of the nightstand in Blender. I mostly used this to block out the look and main features of the design. I like Blender because it’s easy to create complex designs quickly and if good modeling practices are used, it’s also very easy to modify after the fact. I did, however, have problems trying to create drawings in Blender, so I went the old fashioned route and did hand drawings.
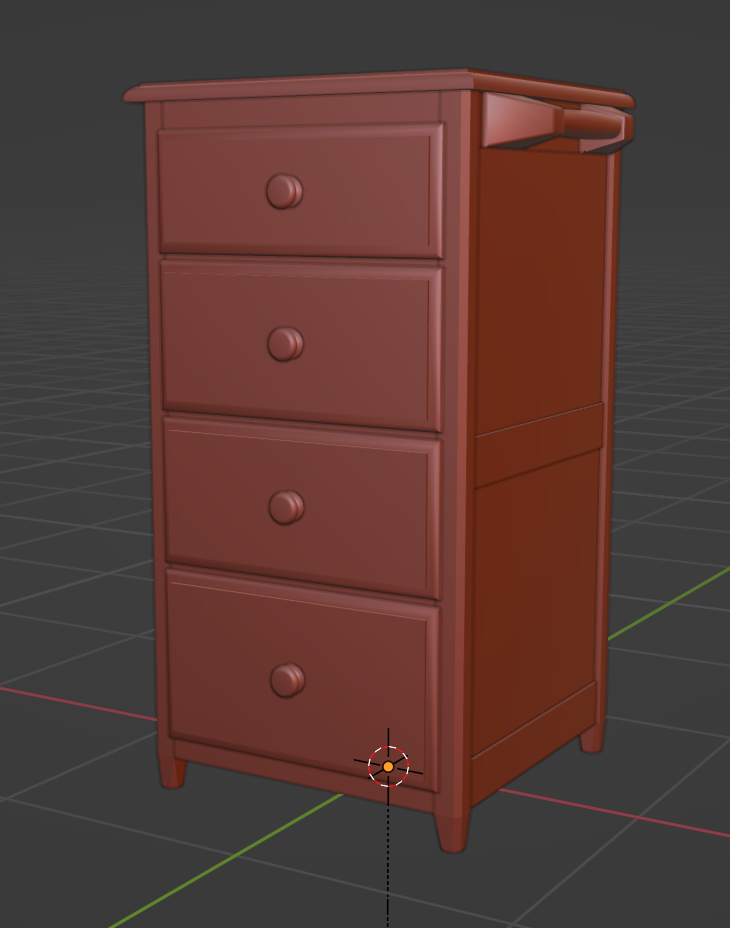
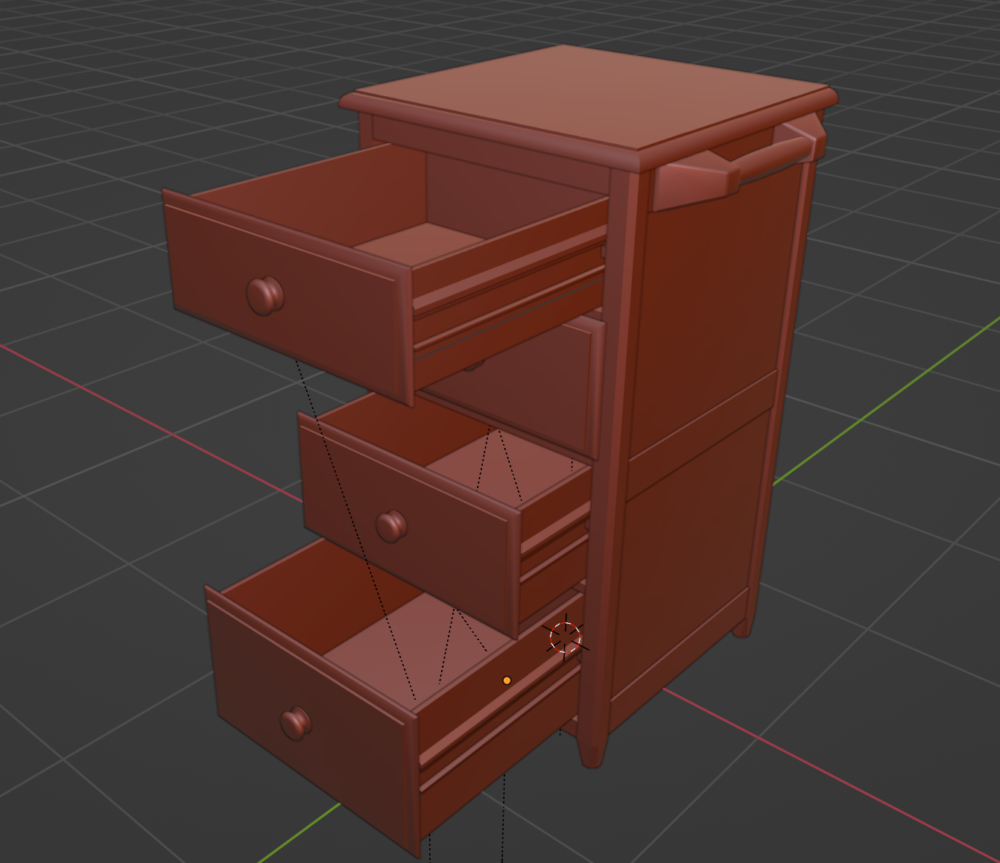
My original 3D model of the nightstand
Fabrication
The first step in fabrication was cutting out the pieces of the frame. I use a method where I first cut pieces to final cross section. I then cut them to length and add any features. In this case, I needed posts with mortises (rectangular holes) and beams with tenons (rectangular pegs). I cut the mortises using a mallet and a chisel and then matched the tenons on the table saw.
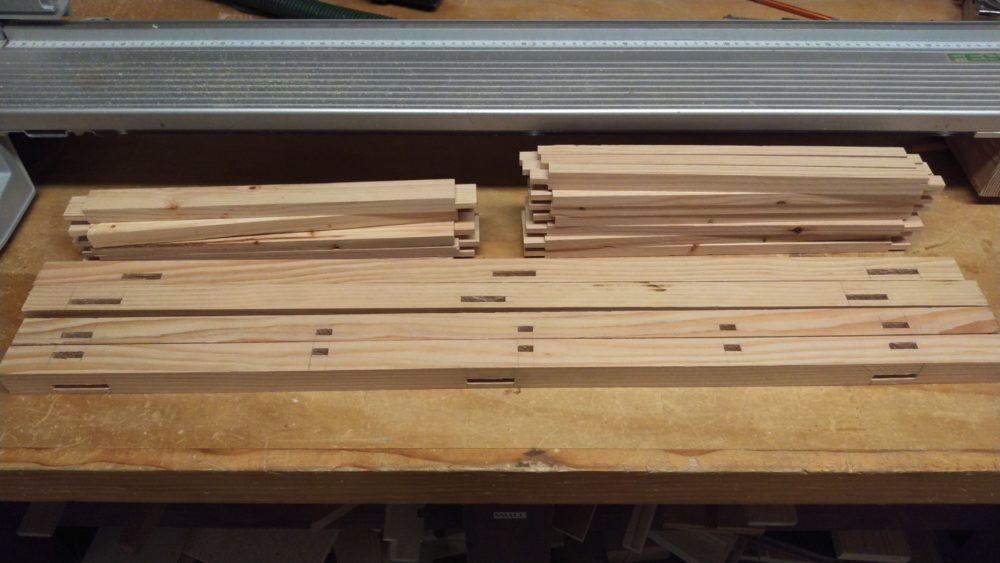
Mortised and tenoned pieces
Once the frame was assembled, I made panels to fill in the empty spaces. I made these by resawing a 2×4 down the middle twice to make 4 thin slices. I made 24 of these and planed them all to the same thickness. I glued them into 6 panels and cut grooves into the posts and beams to hold them.

Gluing up panels
Then I assembled everything. I drilled holes into the cheeks (material next to the mortise) on the posts and drilled offset holes in the tenons. I then used glue and pegs to attach everything together except the panels, which I left unglued so they can expand and contract seasonally. The offset holes help draw the pieces together when assembled. This technique is called “draw boring.”
![]()
Assembling the frame and panels
When the glue was dry I made and added drawer slides. They connect to the front beams with a lap joint and rest on supports in the back.
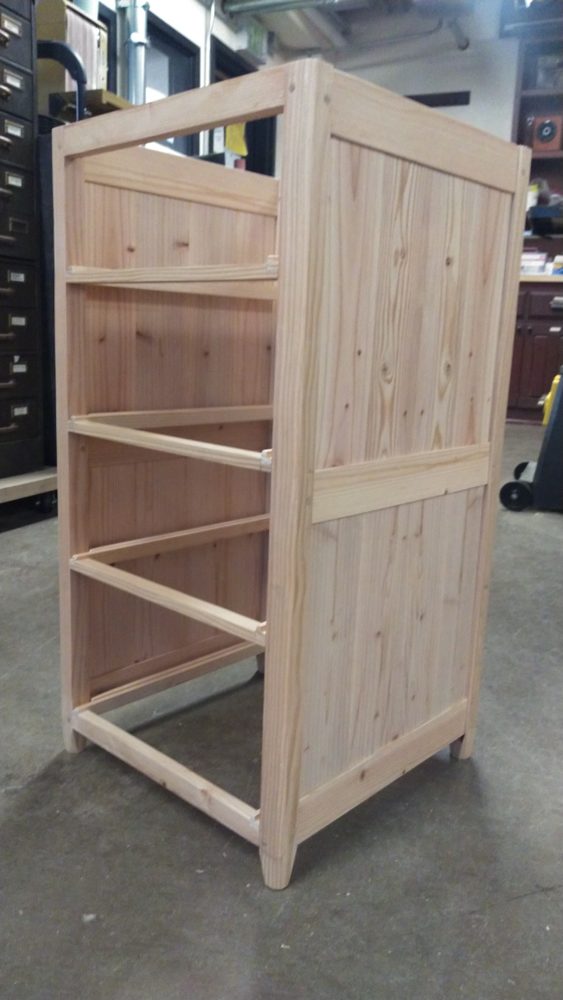
The assembled frame with drawer slides
Finally I made the top surface. I glued 5 pieces of wood together, cut the panel to size, and routed a “thumbnail” profile around the edge. I attached 6 tabs on the underside that were used to attach it to the frame. The inner 2 are glued to fix them in place but the outer 4 have slots to allow for wood movement.
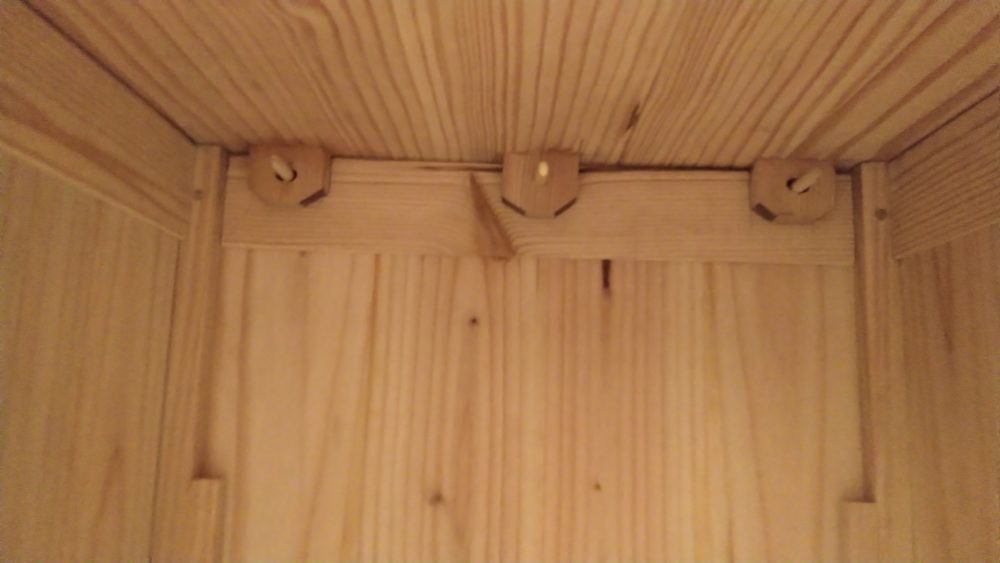
The tabs, pegged into place
Next, I’ll make the drawers, apply a finish to the outside of the chest, and if I have time, paint some ornamentation.

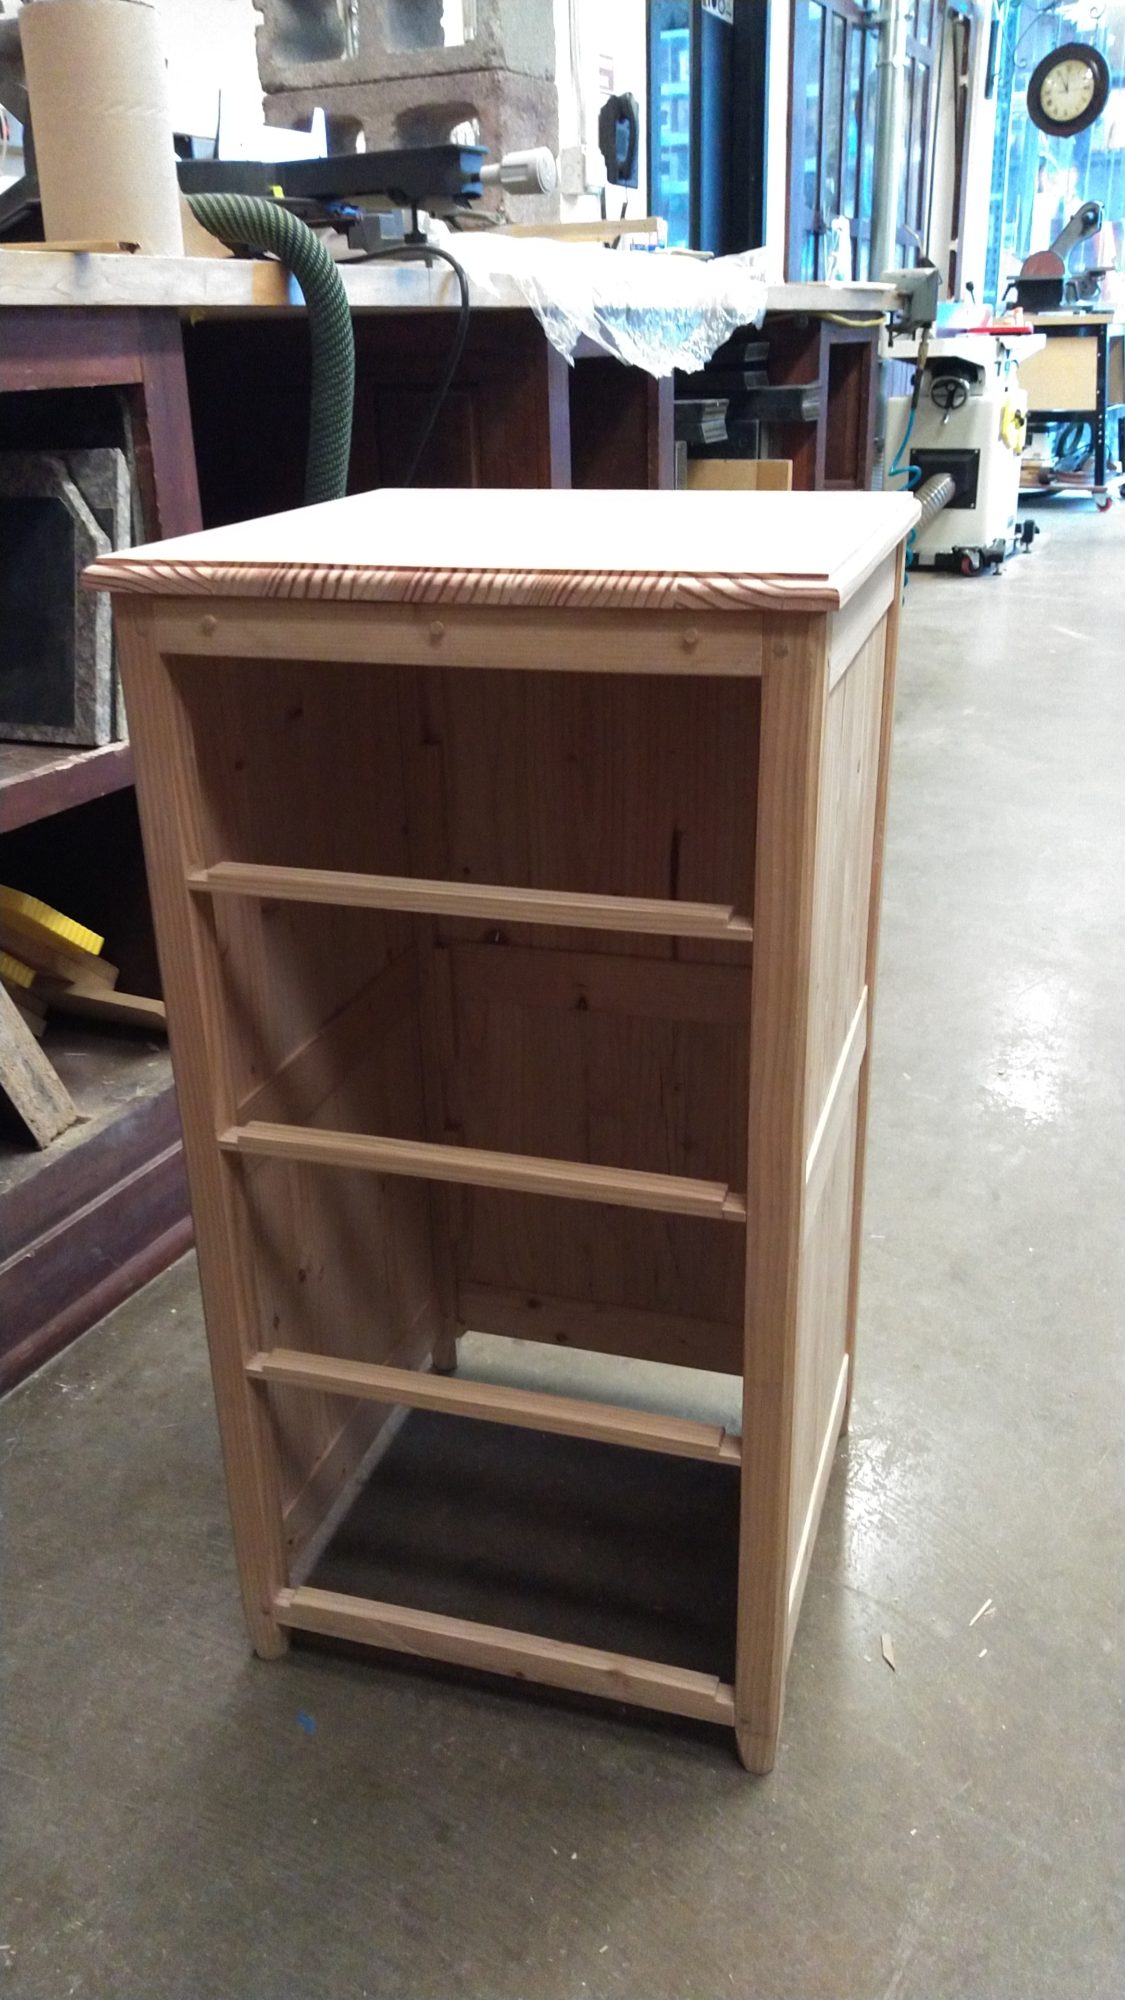
The present state of the nightstand (drawer slides removed)
2 Comments. Leave new
It is very evident that you have put a lot of time and effort into this project so good job on curating that! The wood looks very clean and the fabrication process seems to align with the overall quality look.
Throughout the class you have always shown your interest in folklore and folk art, would you consider changing your aesthetic when you paint it and maybe go outside your comfort with that?
Thanks! It has been quite a challenge. If I change my mind in any direction, it may just be towards not ornamenting it at all, which is in part because of timing, and also because I’ve fallen in love with the way the wood looks on its own.
That being said, folk art and tradition have become integral to the way I see my life. So to earnestly create something that doesn’t embody that would be rather difficult for me. I would rather experiment with and expand on those themes.